
This post may contain affiliate links. Read our disclosure policy
Watch the recipe
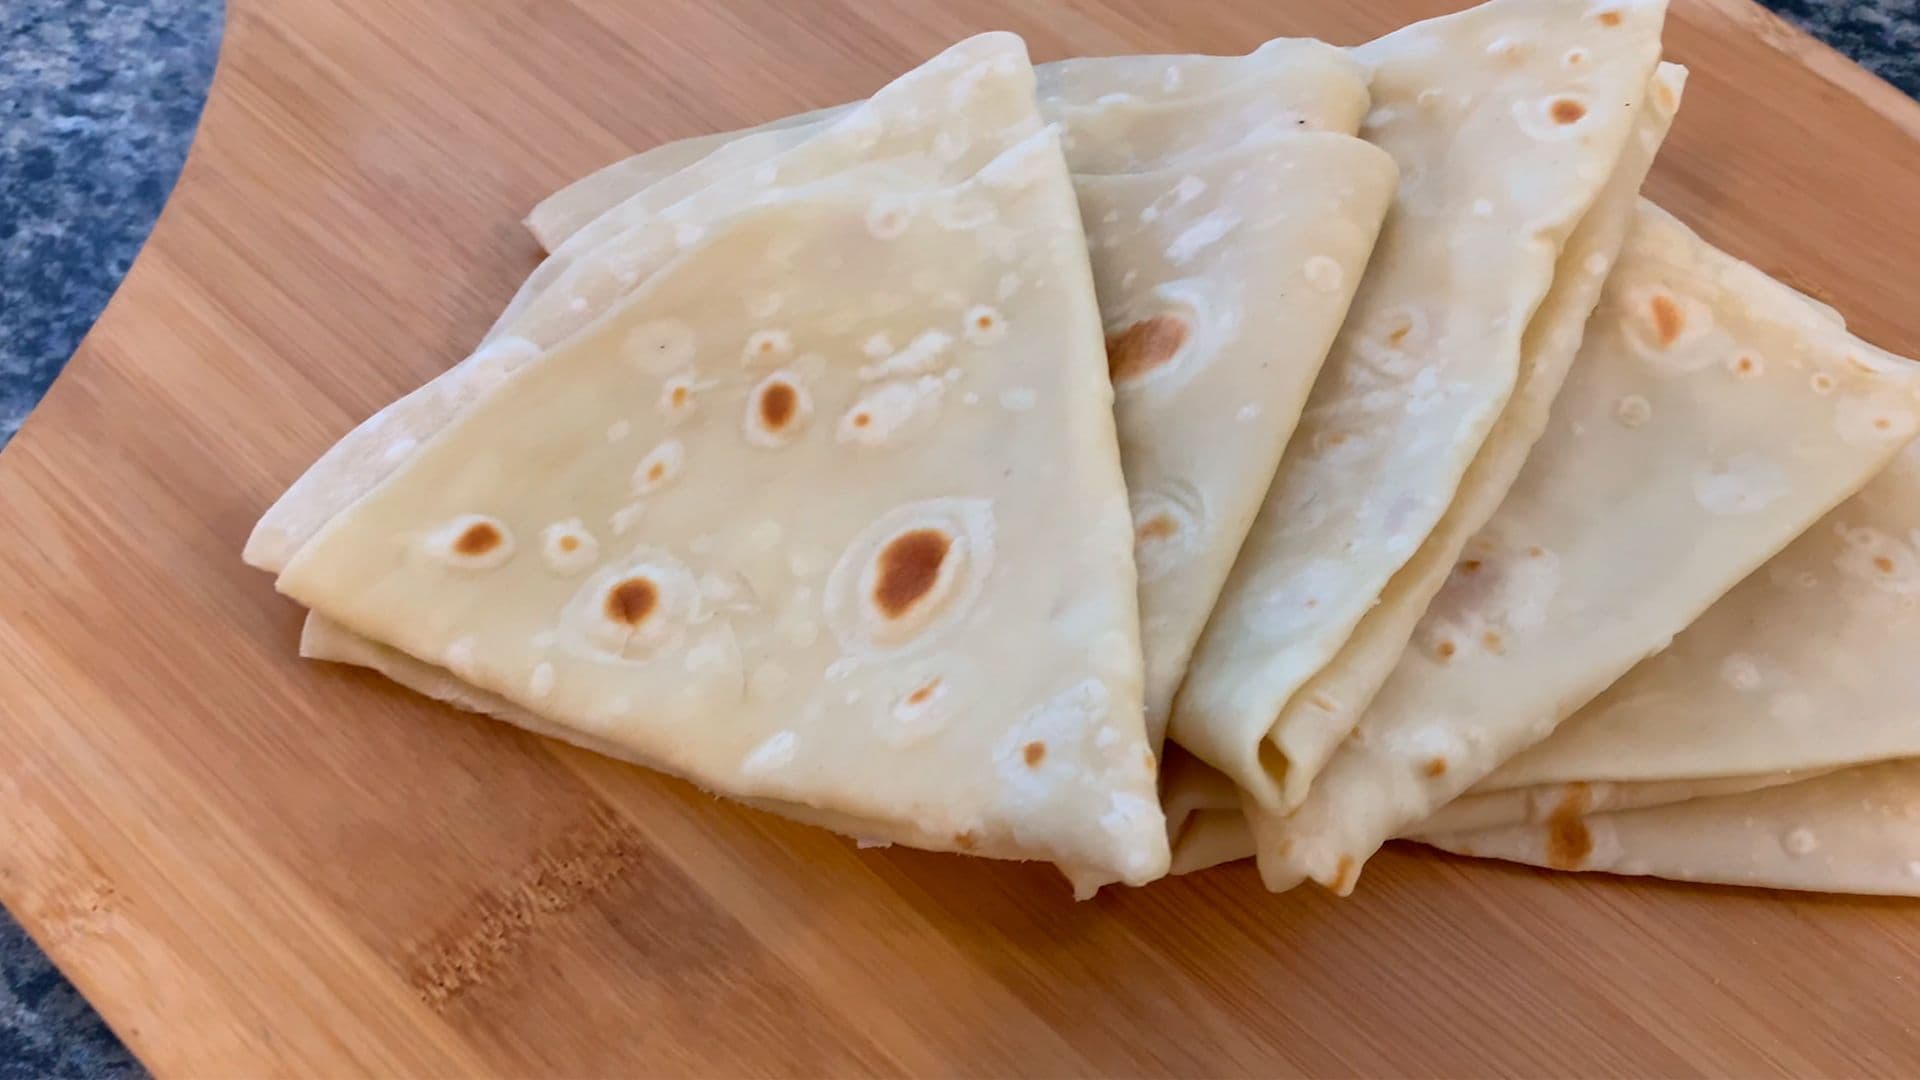
Parathas were prepared every other day at my home and it was usually associated with fun, exciting curries and good TV. The aroma of the delicious ghee scented smoke from the hot tava still brings back beautiful memories. And the triangular shape was as much fun to prepare as it was to tear and enjoy.
Now I did not always get the chance to enjoy the classic triangular paratha, usually when my mother was tired and did not want to put in the extra work. Regardless, you can make them in any shape you can imagine, but triangle is by far the best! Just because if you tear it just right, you can peel off three perfect layers from one paratha.
The key to making the best layered paratha recipe is hidden in the folding technique. I will do my best to depict this process using pictures and my words, but if you really want to see the technique in action, I would recommend watching the video here.
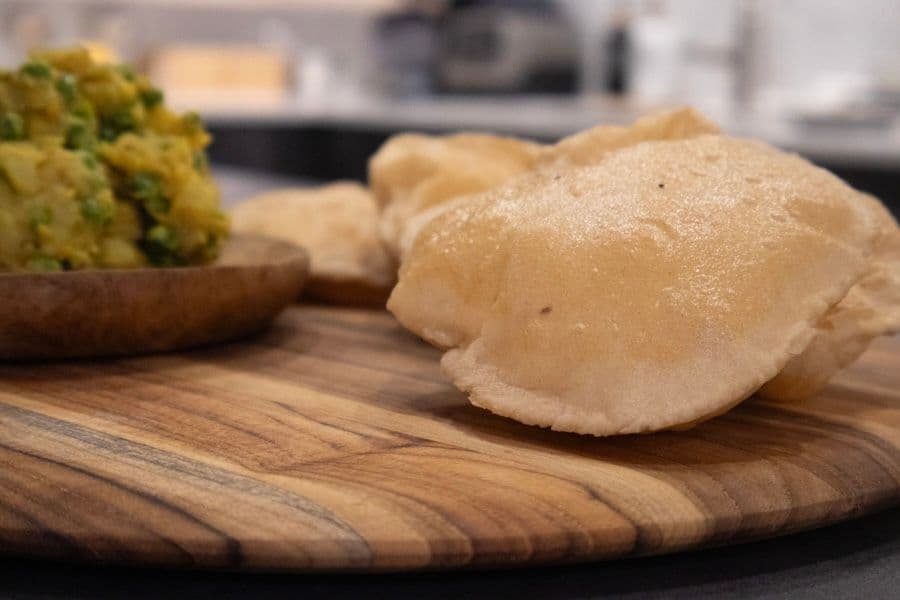
I mostly enjoy parathas with dry or semi-dry curries while I can have rotis with a curry with gravy as well. Personally, the reason is the crisp outside of the paratha which I feel works great with curries that do not take away from the texture.
What is Paratha?▼
Parathas are a soft, thin and flaky bread that are a staple in Indian households. You can enjoy parathas with your favourite curries, and they’re perfect for breakfast, lunch or dinner. The classic paratha, which is the one I’ll be showing you how to make in this recipe, is made with atta flour, a type of whole wheat flour. We knead the dough with ghee and water. Then, we’ll roll out the dough into triangular-shaped layers, and cook on a hot tawa pan or griddle. We brush on some ghee or oil on both sides to get a lovely golden brown colour. You can also make stuffed parathas, and I’ve got some great recipes that you can check out!
How to Make Paratha Vegan?
The only component of parathas that are not vegan is the ghee that’s used in the dough and for cooking. To make this recipe vegan, simply use your favourite plant-based oil. I would recommend coconut oil because it will add a nice flavour, and coconut oil is great to cook at high temperatures.
Best Flour to Make Parathas?▼
This layered paratha is made with a type of whole wheat flour called Atta Flour. You can purchase atta flour at any Indian or South Asian grocery store, and some grocery stores may sell it, depending on the region. My favourite brand of atta flour is the Aashirvaad Whole Wheat Atta.
How to Make Layered Paratha
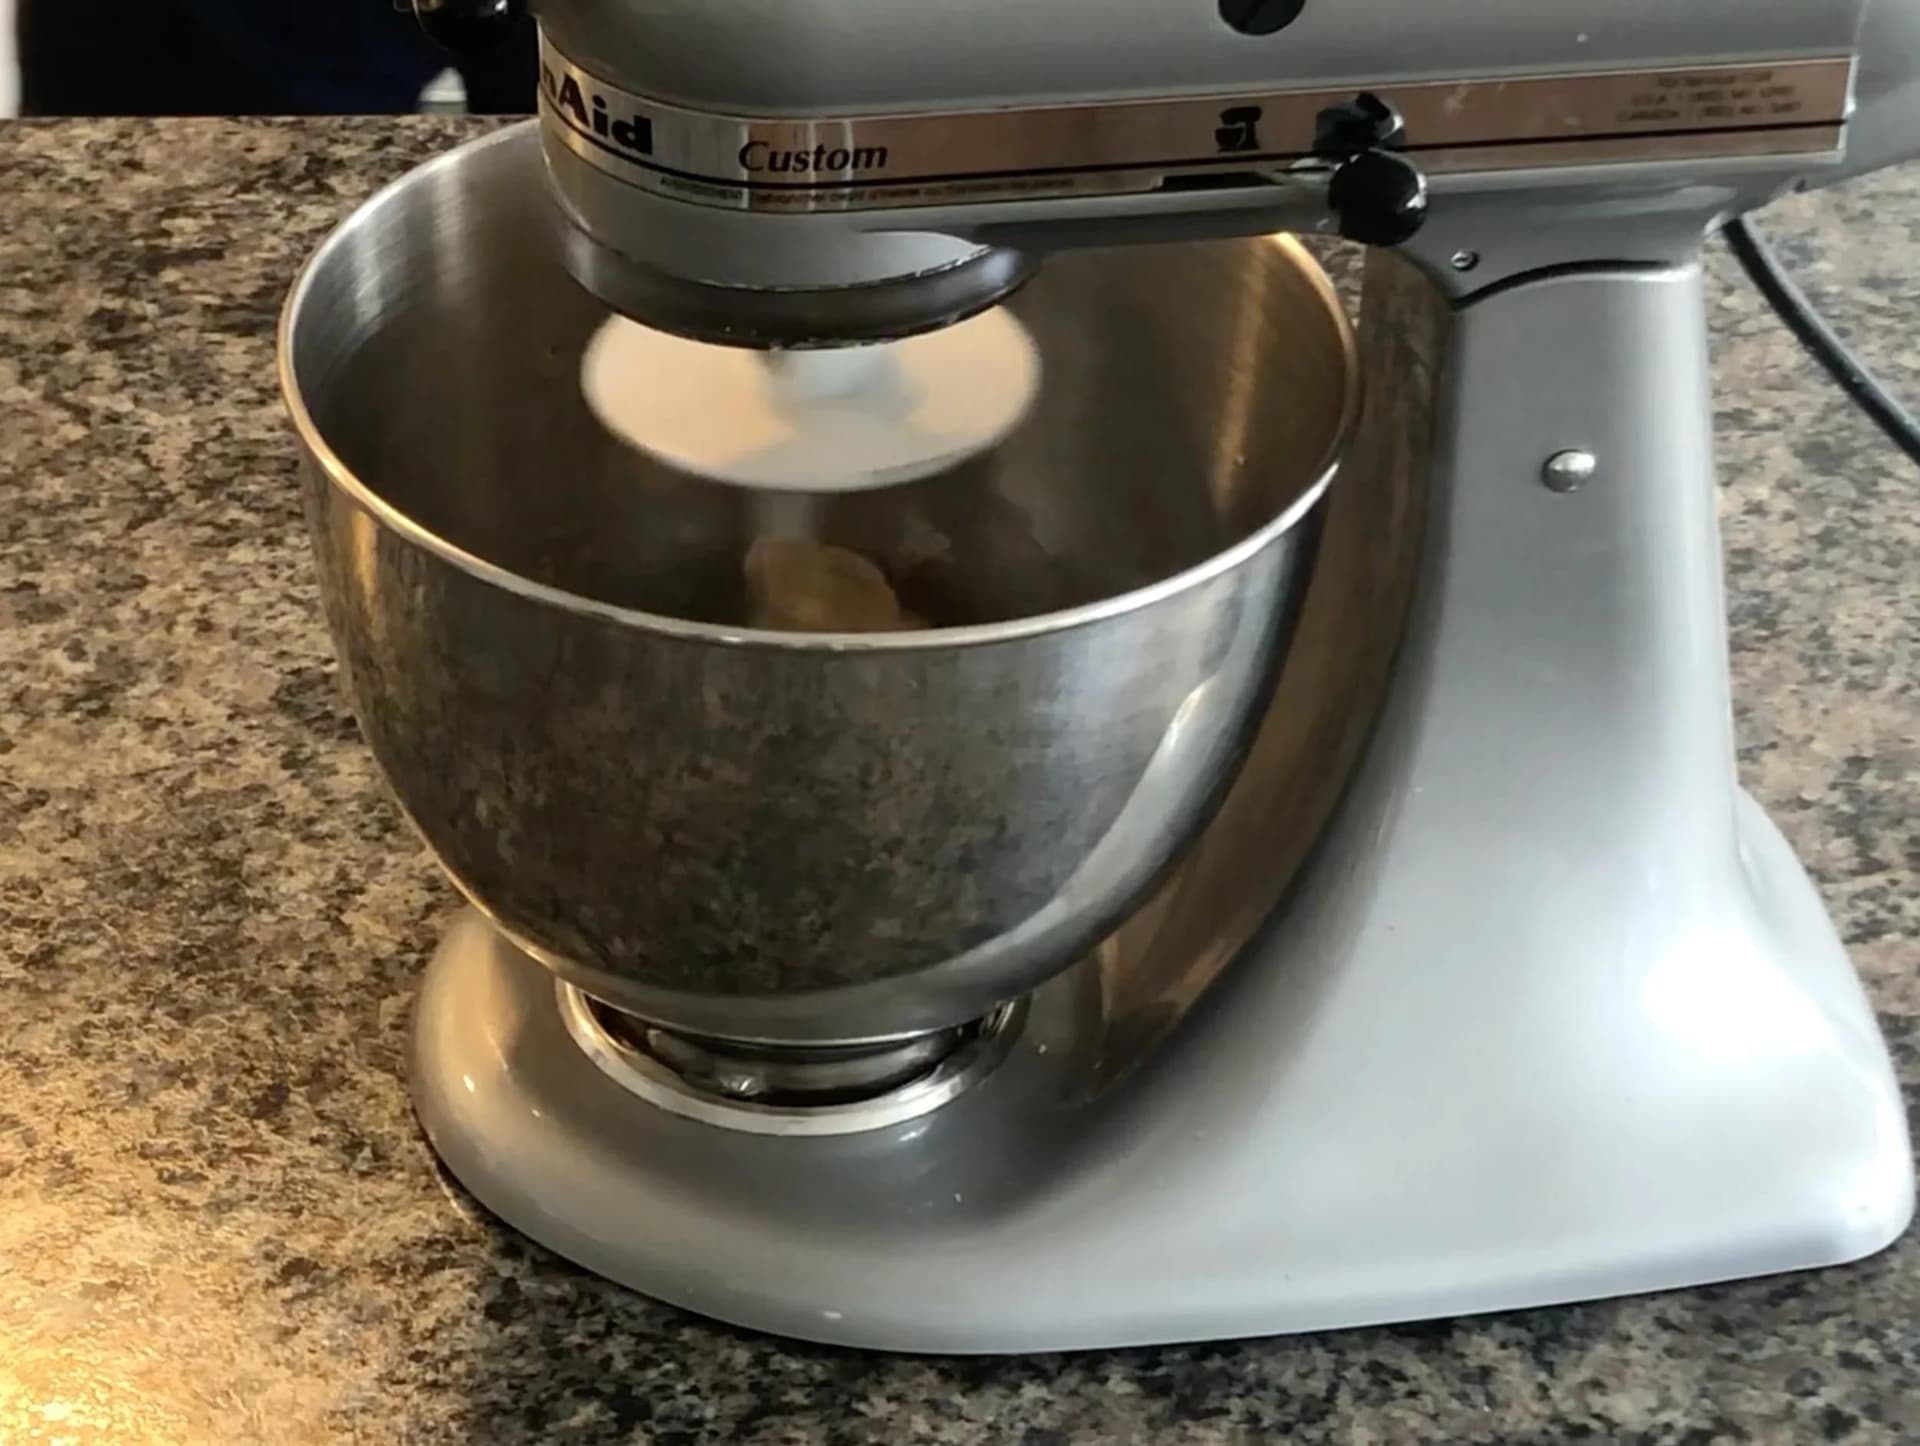
Preparing the Dough
Add water slowly onto the flour while kneading, The dough should be soft not sticky. If the dough becomes too dry, add more water 1 tsp at a time and continue kneading. If it is too wet, add flour 1 Tbsp at a time until the dough is soft and smooth.

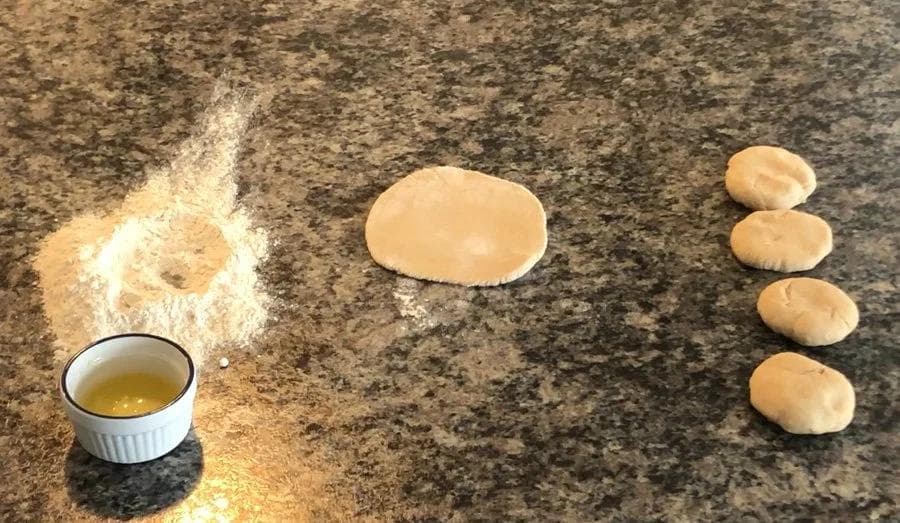
Rolling Out the Dough
Once the dough has rested, divide the dough into 4-5 equal portions. Working with one portion at a time, roll the portion into a smooth ball. Gently flatten and roll the dough into a disk, about 4-5 inches wide.

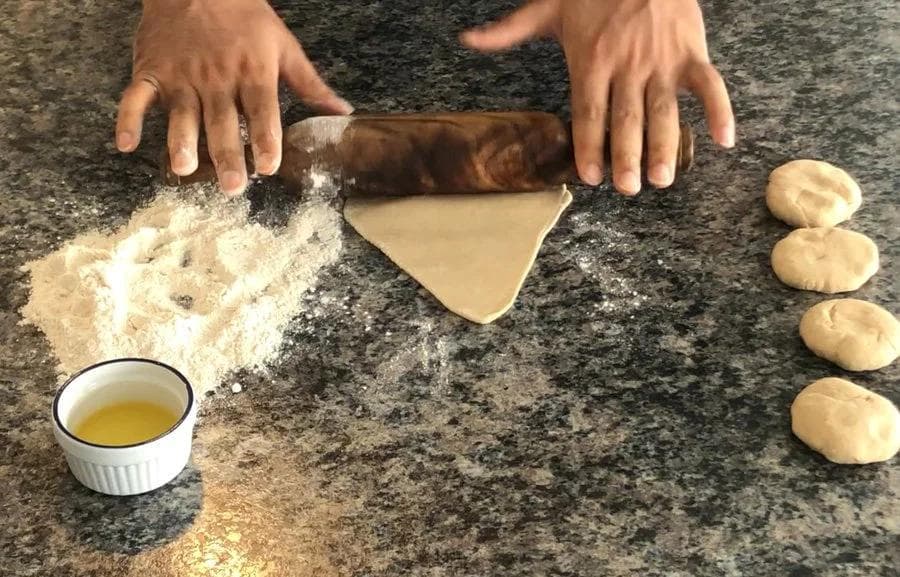
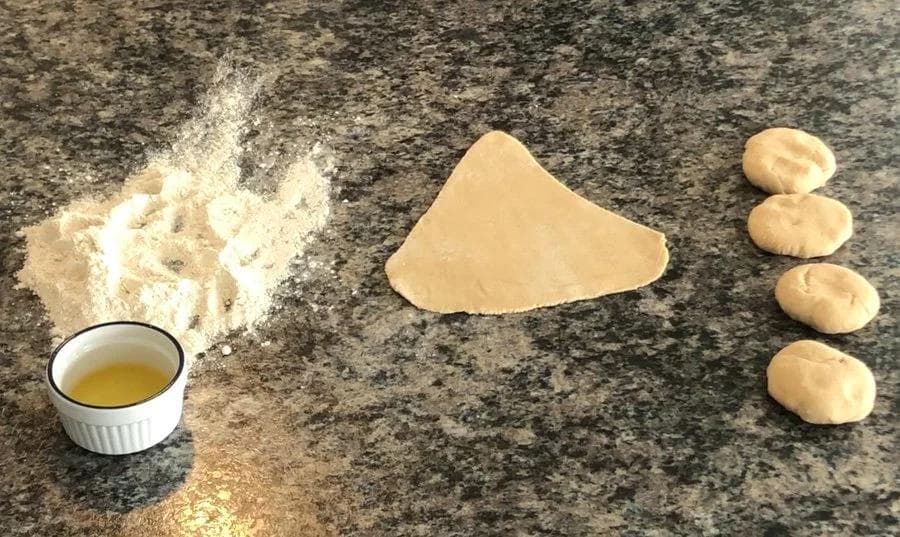
Brush the surface with ghee and dust lightly with atta flour. Fold the dough in half and again brush with ghee and lightly dust with atta flour. Fold the dough in half again, into a triangle and gently roll out the dough into a thin triangle.


Cooking the Paratha
Heat a tawa/cast iron pan on medium high heat. When the tawa begins to lightly smoke, place the dough on the pan. Cook for 30 seconds to 1 minute or until bubbly and lightly browned.


Using tongs, flip the paratha and brush some ghee. Flip again and apply more ghee and cook until light brown patches appear.


Tips for Making the Softest Parathas
- Make sure to knead a soft dough, this will help you to roll the dough thin which will make it softer.
- Allow the dough the full time to rest. The kneading process makes the dough tight from the constant compression. The resting time not only allows you to roll and portion the dough easier, it ensures the dough has no cracks and is soft as ever.
- Dust the dough with flour while rolling and layering. The layering process adds ghee into several layers of the paratha and the flour helps to ensure the layers remain separate. As the paratha cooks, the steam released from the various layers make the paratha soft.
- Don’t over cook the paratha on the hot tawa pan. Making it too crispy will take away from it’s softness. We are just looking for light brown spots - think of a Dalmation!
Storing Unused Dough and Parathas
- If you are anything like me, I would make sure there is no unused dough! Paratha is just so good. But, in case you do have some, I would suggest wrapping up the dough in plastic wrap and placing it in the refrigerator. Make sure to use it within 2-3 days, the dough may turn dark the longer it stays in the fridge.
- If using refrigerated dough, take the dough out of the fridge at least an hour before to allow it to come up to room temperature. This will make the dough pliable and make the kneading process easy.
- Any cooked paratha, on the other hand can be wrapped in a moist kitchen towel and stored in a container. To reheat, simply place in the microwave/hot tawa/oven for 30 seconds to a minute to bring it back to life.


Comments
No comments yet — be the first to share your thoughts!
Leave a comment