


This post may contain affiliate links. Read our disclosure policy
Watch the recipe

What Is This Rajma Masala Recipe?
Rajma is for some the official dish of North India, especially in the Punjab region. Rajma in Hindi translates to “kidney beans,” but rajma refers not only to beans but to this curried kidney bean as well! Rajma Masala translates to “curried kidney beans in gravy,” which is what I’ll be showing you how to make today. This classic Indian kidney bean curry gets its flavors and color from red kidney beans, ginger, garlic and sweet red tomatoes. If you’re in North India, then you know that rajma masala is definitely a household favorite! I personally know that I can’t name anyone who doesn’t like rajma, and I’m sure after you try this recipe my list will still be blank! Serve this rajma with some rice, crispy potatoes, and breads of your choice. I’ll give you some delicious serving suggestions to pair with your rajma later on in this post, so stay tuned! If you’re new to Indian cuisine or want to expand your horizons with beans, then I encourage you to prepare this Rajma Masala as part of your Live to Cook one-month challenge! The new year is upon us so it’s time to set some goals in the kitchen, and my one-month challenge is the perfect opportunity for you to cook like you’ve never cooked before! You can get started for free today by signing up to my email newsletter, plus all of my latest recipes will be sent directly to your inbox!
My usual time to have rajma growing up was during lunch time! Imagine this, a mountain of rice with huge spoonfuls of the soft kidney beans and sauce, with crispy potatoes. Yes, it was great! A little secret here, while eating rajma, I am rushing in my head to pick out the kidney beans so I can enjoy my favorite part. The rice, sauce and potatoes. This combination is deadly and is not at all possible without kidney beans.
By the way, here’s a tip! If you have leftover rajma, it will taste even yummier when you eat it the next day! I’ll give you all the details on how to store your rajma properly and reheating rajma. You can even freeze rajma masala!
Be sure to watch the video recipe to see how to make this homestyle rajma recipe! I would really appreciate it if you would please subscribe to my YouTube channel if you’re not already and be sure to press the bell button to be notified when all of my video recipes go live! Let’s get cooking!

Dietary Considerations for Punjabi Rajma Masala
This Rajma Masala is:
- Vegetarian, and vegan-friendly if you substitute the ghee for olive oil
- High in plant-based protein
- High in fiber
- Budget-friendly
- Gluten-free if using certified gluten-free hing
- Low in calories
Why You’ll Love Curried Kidney Beans
- Aromatic and packed with flavors
- Packed with protein, fiber, vitamins and minerals
- Easy preparation
- Make-ahead friendly
- Adored by children
- Easily cooked in bulk
- Plenty of ways to serve this dish!
Health Benefits of Rajma
Who else associates beans with farting? Am I childish? Yeah, I’ve heard that many times! But let’s forget about that and focus on some amazing health benefits that come from these beans!
For 100 grams of cooked kidney beans, we get:
- Almost 9 grams of protein
- Over 6 grams of fiber
- Vitamins and minerals such as manganese, potassium, iron, and copper.
Source: Healthline

Questions You May Have!
Can I Use Canned Kidney Beans?▼
Technically you can used canned kidney beans if you really want to, but I find that they do not absorb the spices and the sauce as well as dried beans which were freshly cooked do. If you are using canned kidney beans, then you simply add them in at the same stage where we add our freshly cooked beans in the recipe.
Are there other types of beans I can use for Rajma MAsala?▼
There are so many types of beans that can be used for rajma masala and each variety will add its own subtle twist of flavor and texture. Try out these varieties from your local grocer or purchase them on Amazon using my links and see which you enjoy the most. Some notable ones include:
- Red Kidney Beans - Lal Rajma
- Dark Red Kidney Beans - Lal Rajma
- Speckled Kidney Beans - Chitre Rajma
- Jammu Red Kidney Beans - Jammu Rajma
- Pinto Beans - Not native to India so they are simply referred as Pinto Beans.
As I describe in my free motivational guide to explore your potential in the kitchen, Make Cooking Fun!!, if you’ve got a suitable substitute for an ingredient, then feel free to use that! If you have any of these beans already on hand, then there is absolutely no need to buy the chitre rajma - the rajma I used here - to make rajma masala. Any other type of the red kidney beans above work, and even pinto beans work, although they are not Indian! If you happen to have both, then a combination I really enjoy is to mix red kidney beans with pinto beans!
What If I Don’t Have a Stovetop Pressure Cooker?▼
I actually don’t have a stovetop pressure cooker, and I’ve been without one for a long time! It was just giving me too many problems so I threw it to the wind! If you’ve got an Instant Pot, then you can pressure cook your dried beans in that. I’ve got both stovetop pressure cooker and Instant Pot instructions for cooking the beans, so don’t worry! If you want more details on cooking beans in the Instant Pot, then check out my complete guide here.
Do I Have to Soak The Rajma?▼
Yes, you really do need to soak the rajma for best results. If you don’t soak your kidney beans, then you will need to cook the kidney beans for much longer. The disadvantage of cooking un-soaked beans your pressure cooker or Instant Pot is that the beans may not cook consistently - some beans may be perfectly cooked, but some may turn out slightly mushy. When you soak the beans, you’re more likely to get consistent results in the cooking process, plus the beans will not have to cook for as long! Furthermore, I do find that the overall softness and taste of the beans are not the same when you cook un-soaked beans versus soaked beans, and this will affect the overall dish negatively. Really plan out your rajma feast and take the time to soak them accordingly!
However, if you are reading this close to dinner time and you seriously want to have some rajma masala tonight and you have an Instant Pot, then you can follow my Instant Pot Rajma Masala which actually uses un-soaked kidney beans! This recipe does take longer than making stovetop rajma, but it works for last-minute plans!
Can I use Canned Tomatoes for Rajma?▼
Canned tomatoes or even strained tomatoes in the form of passata can be a great substitute for fresh tomatoes, in case you are not able to find good quality produce for some reason. Just make sure to use a 1:1 ratio, 2 medium tomatoes roughly are equal to 3/4 to 1 Cup of canned/strained tomatoes.
Can I Add Cream to This Rajma Masala?▼
To begin, this is a homestyle rajma masala, so usually you do not put cream in rajma masala in homestyle cooking. However, even in restaurants, where I have had lots of rajma masala on a number of occasions, not one of the dishes have had cream in them, and quite frankly adding cream to rajma is news to me! You can do it if you really want to, but I personally don’t believe cream has a place in rajma masala. Additionally, if you have used olive oil in this rajma recipe, then adding cream will no longer make the recipe vegan.
Tips for Making the Best Rajma
- Plan ahead and soak the beans for at least 4-6 hours before cooking. While an Instant Pot can cook rajma from dried, I find the quality of the softness and doneness in the rajma is not the same as pre-soaked and then cooked.
- Season the cooking water before cooking the rajma and add aromatics such as cloves and cinnamon. This will inject the beans with a ton of flavor!
- The bean to water ratio is 1 to 4. Reserve the cooking water for the rajma, it contains a lot of flavor and provides the classic color we all love in rajma masala.
- The base flavor of this curry comes from the “masala” that we cook with the pureed onions, ginger, garlic and tomatoes. Make sure that you cook the masala well, until reddish brown and almost dried out.
- Don’t over-do the amount of spices. It is easy to get excited and add excess spices in anticipation of the final dish. Trust me, tomato and onion mixture will shine through and add wonderful flavors with the right amount of spices.
- Topping the dish with ghee is a must in any North Indian household - try and find Amul Desi Ghee, I find this variety to be the most flavorful brand of packaged ghee.

Tools Needed to Make Kidney Bean Curry
- Instant Pot or pressure cooker
- Mixing bowl
- Salt crock
- Cutting board
- Sharp chef’s knife
- Food processor
- Measuring spoons
- Measuring cups
- Spatula
- Pot
- Ladle
Ingredients for Punjabi Rajma Masala
There aren’t many ingredients needed for this home-style rajma masala! Just a little bit goes a long way to truly let this gravy and the red kidney beans shine in this dish! Remember to scroll to the bottom of this post for the FULL PRINTABLE recipe card with all ingredients listed with their quantities and to save the recipe for later. You can also scale the recipe based on how many portions of rajma masala you’re looking to make and the individual ingredient quantities will automatically be scaled for you!
This is what you’re going to need:

- Beans: I used rajma chitra, which is a type of speckled pale red kidney bean.
- Red onions
- Ginger-garlic paste: Check out my recipe on how to make your own ginger-garlic paste in the blender here. It’s made with 2 garlic cloves and a 1/2 inch piece ginger.
- Tomatoes
- Cumin seeds
- Rajma masala
- Water
- Deggi mirch
- Garam masala
- Salt
- Hing
- Bay leaf
- Ghee: Or olive oil to make the recipe vegan.
- Cilantro: For garnish.
How to Make Rajma Masala
Cooking the Rajma
Soak the rajma in water for at least 4-6 hours.

Pressure Cooker
Add rajma to stovetop pressure cooker and add 4 times the volume of water, along with salt, cinnamon and clove. Cook for 2-3 whistles on high heat, then turn down the heat to medium and cook for 15-20 minutes. Let the pressure release naturally.
Add rajma to the Instant Pot and add 4 times the volume of water, along with salt, cinnamon and clove. Set Instant Pot to Pressure Cook mode on High and cook for 8 minutes. Ensure Instant Pot is in Sealing mode. Let the pressure release naturally (about 20 minutes).


Making the Masala
Begin by adding the ginger, garlic, and onion in a food processor with a bit of water.
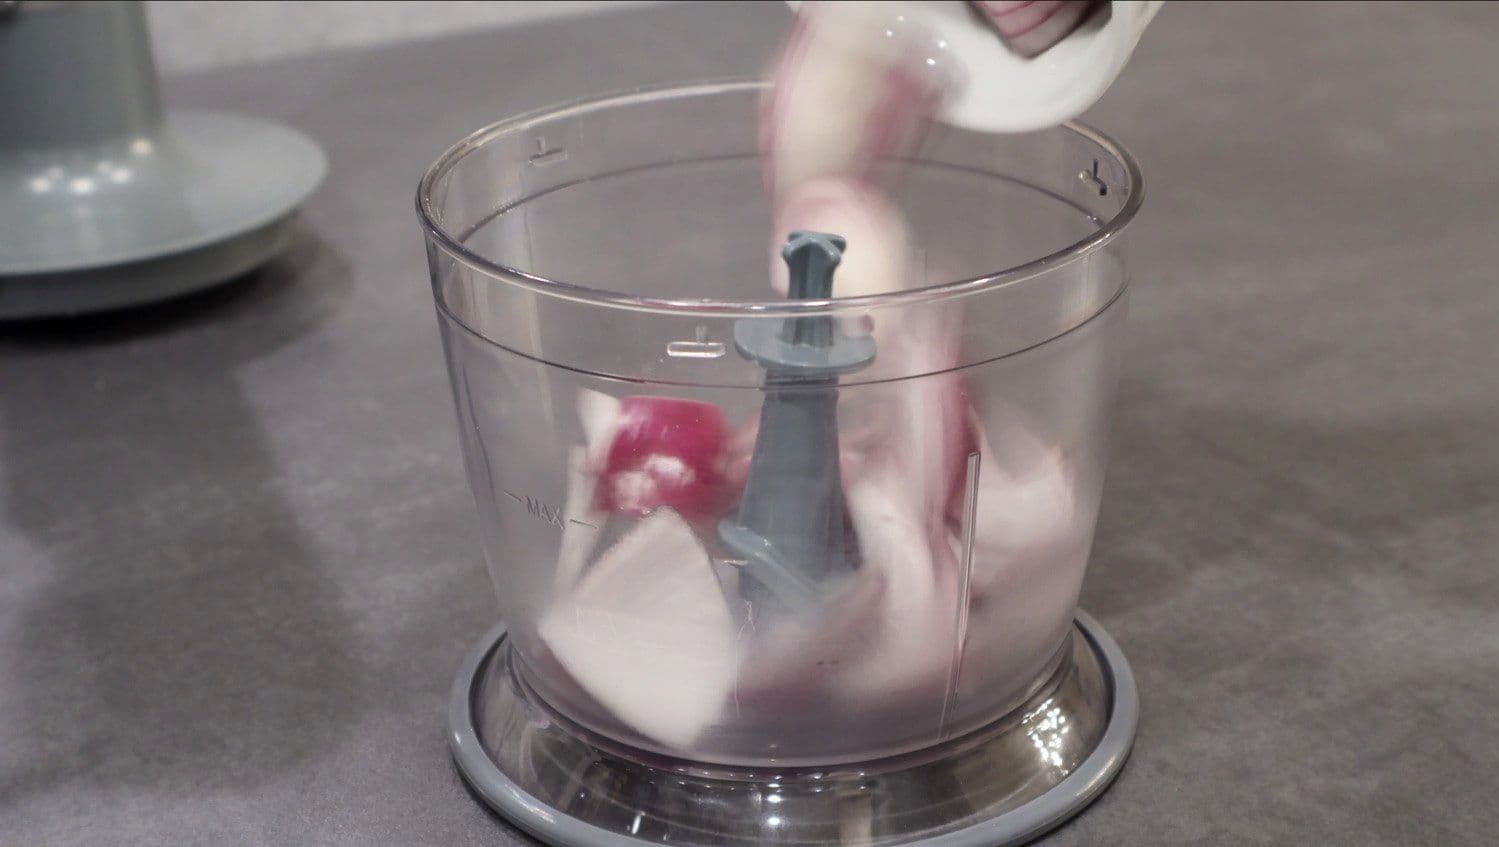


Purée until everything is well combined.


Heat a pot on medium heat and add ghee/olive oil. When the pot is hot, add hing and cumin seeds. Cook until cumin seeds turn reddish brown and aromatic, then add the bay leaf.


Add onion, ginger, garlic puree. Once the mixture starts to change color add rajma masala and deggi mirch, mix well and continue cooking until mixture is dry and golden brown. Add a splash of water if mixture gets too dry and starts to stick.


Purée the tomatoes in a food processor.
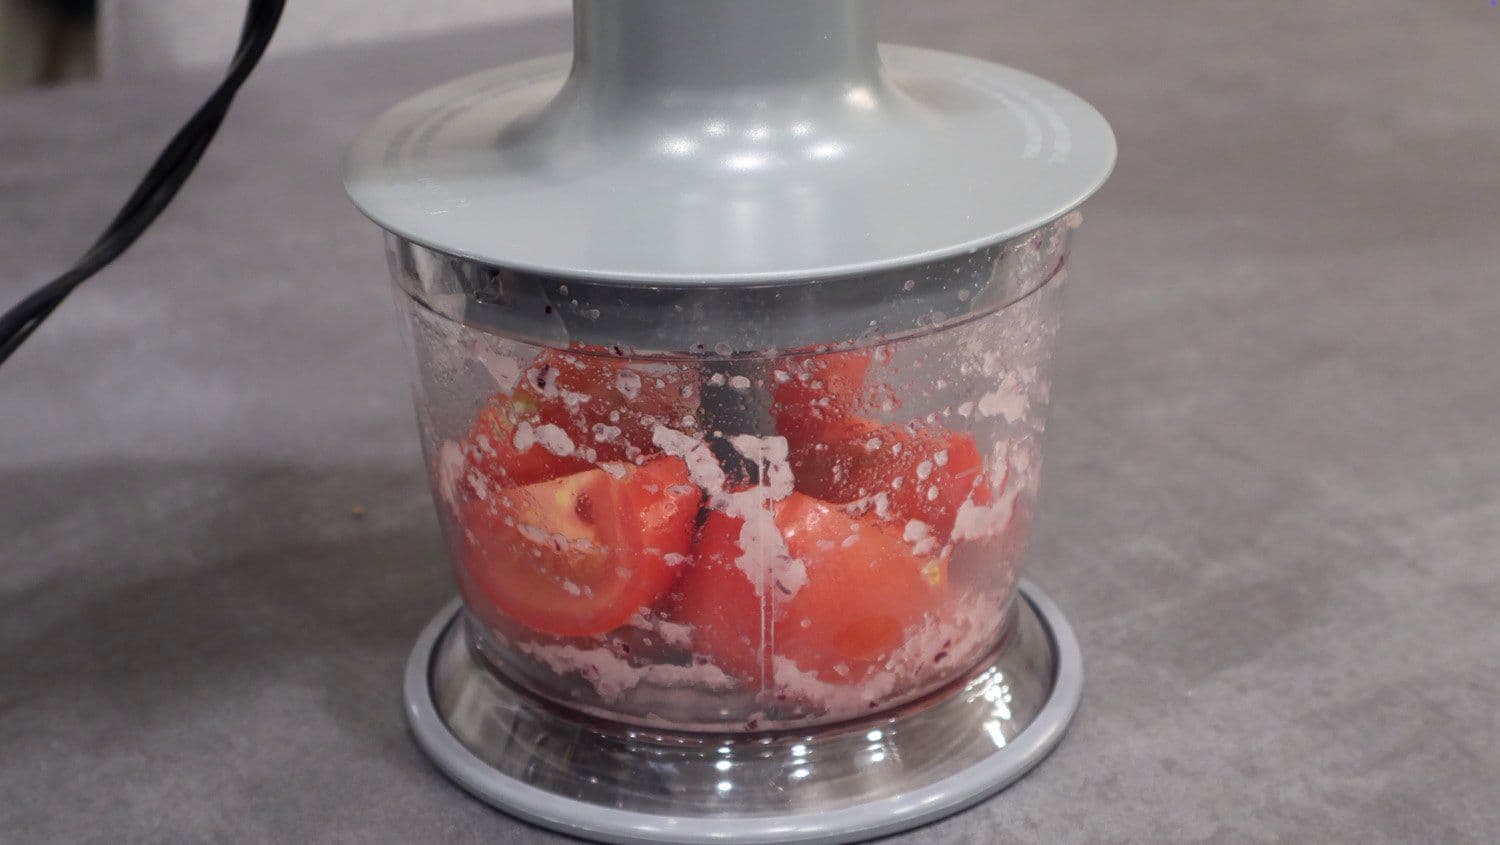

Add tomato purée and bring to boil. Add 1/2 tsp salt and cook with a lid on until the mixture turns redder and becomes dry, about 7-10 minutes. Keep stirring from time to time.


Add cooked kidney beans along with the reserved cooking water to make a runny gravy. Season with salt and add garam masala and mix well.


Simmer on medium low heat with the lid on until the gravy starts to thicken.

When the gravy is thick, remove the lid. Taste and adjust for salt as needed.


Serve over rice, with potatoes, and/or bread.

Garnish with cilantro and enjoy!


How to Serve Rajma Masala
Rice
- Simple Steamed Basmati Rice
- Indian-Style Cilantro-Lemon Rice
- Easy Indian Turmeric Rice
- Pudina-Dhanya Pulao (Indian-Mint Cilantro Rice)
- Light and Healthy Vegetable Rice Pulao
Potatoes
- Crispy Aloo Bhujia is my favorite potato dish to complete my rajma! You could even add in some potatoes with the kidney beans so that the potatoes cook with the beans and all the amazing flavors of your rajma. I love this variation!
Bread
Sauce
Can I Make Rajma Masala in Advance?▼
You know what, I’ll do one better. I’m actually going to recommend making too much rajma masala. Why? Well, you gotta see for yourself how good it is the next day! So whatever you think you’re going to eat, plan for some leftovers. I’ve had rajma for breakfast even and I love it! Simply transfer the remaining rajma to a container and store in the refrigerator or the freezer.
You can keep cooked rajma in the fridge for 3-4 days, or freeze it for up to 6 months.
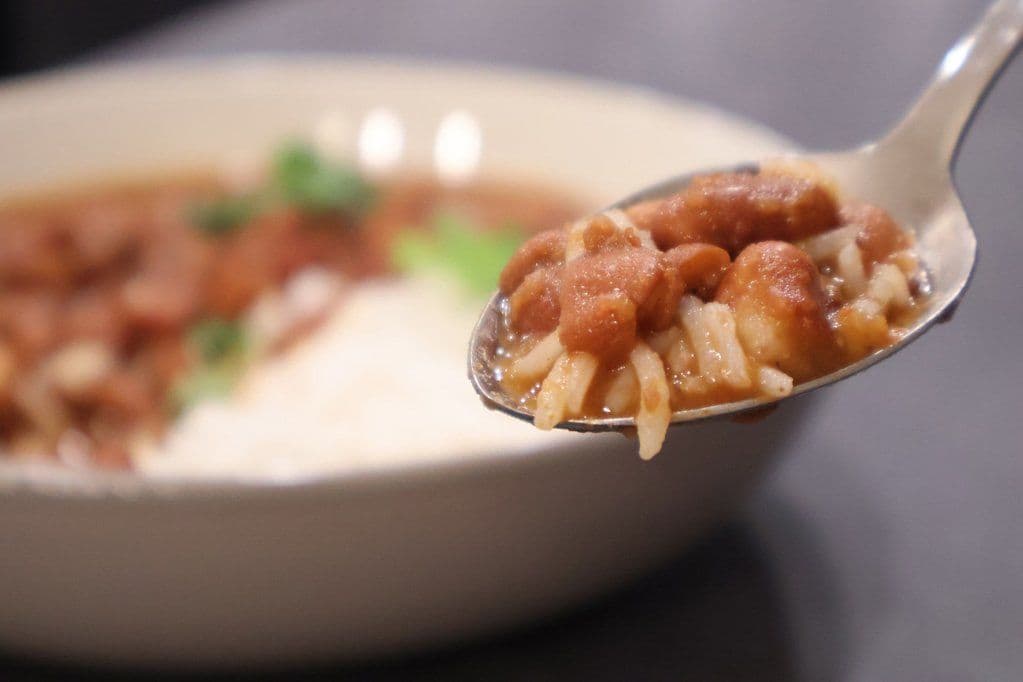
To Reheat From the Refrigerator
In the microwave: Heat uncovered for 2-3 minutes, stirring at 45 second intervals.
Over the stove: Transfer the contents to a pan or pot and bring to a gentle simmer over medium low heat.
To Reheat From the Freezer
In the microwave: Heat uncovered for 2-3 minutes, stirring at 45 second intervals.
Over the stove: Thaw the rajma masala overnight and then transfer the contents to a pan or pot and bring to a gentle simmer over medium low heat.

Love a good rajma? Try my Punjabi lobia next — another hearty North Indian legume curry.
Easy Swaps and Variations for Rajma Masala
No rajma masala in the house? You can get close with the Indian spices most kitchens already keep: a teaspoon coriander powder, half a teaspoon cumin powder, a quarter teaspoon turmeric powder and red chili powder to taste, stirred in at the same point in the recipe. Deggi mirch is what gives this rajma curry its deep colour without much burn, and Kashmiri red chilli powder is the closest substitute if you cannot find it. A slit green chili dropped in with the onion tomato masala brings a cleaner, fresher heat than powder does, and a pinch of kasuri methi crushed between your palms at the end adds that faintly bitter restaurant note. Whole black peppercorns and a black cardamom pod can join the cinnamon and clove in the cooking liquid while the beans boil.
The beans vary too. Small dark red rajma holds its shape and is what I use; chitra rajma, the speckled kidney bean from Jammu, is smaller, cooks faster and goes creamier. If you are short on time, two 15 oz cans of kidney beans, drained and rinsed, will stand in for the 1 cup of dried rajma. Skip the pressure cooker step entirely, add them where the recipe calls for the cooked beans along with about 2 cups water in place of the reserved cooking liquid, and simmer a little longer so the gravy still picks up their flavour. Dried beans are better, but canned rajma on a Wednesday beats no rajma at all.
For a richer Punjabi rajma recipe, restaurants often finish the pot with a tablespoon of butter or a swirl of heavy cream; heavy whipping cream does the same job, and full-fat coconut milk is the dairy-free version, though it takes the flavour somewhere slightly different. I puree the onion, ginger and garlic rather than using fine chopped onions, because it gives a smoother gravy. If you prefer texture, finely chop half a large onion and saute it until deep golden instead. Two large tomatoes can replace the two medium ones; just cook the puree a couple of minutes longer, until it goes dry and red, before the beans go in. And whichever route you take, keep tasting and adjusting the consistency with the cooking liquid until the gravy coats a spoon rather than pooling around it.
Rajma Chawal: Why Rice Is the Default Pairing
Rajma chawal, rajma with rice, stopped being a suggestion a long time ago and became the dish itself. In Punjabi homes Sunday lunch is rajma chawal, full stop, and there is a reason beyond habit: beans and rice eaten together give you a more complete protein than either does alone, and plain steamed rice is the right blank canvas for a gravy this heavily spiced. Brown rice works if you want the extra fibre, though it wants a longer cook and a slightly looser gravy so the plate does not turn stodgy. When rice is not what you are after, a hot roti or a torn piece of naan does the job just as well, and mopping the last of the gravy off the bowl with roti is quietly the best part of the meal. With a total time of about 55 minutes, most of it hands-off while the beans cook under high pressure, this feeds four comfortably.
Let me know what you think of this recipe in the comments! If you’ve tried this recipe, be sure to post it on social media and tag it with #cookingwithanadi and mention me @cooking.with.anadi. Thank you!
Recipe by Anadi Misra
Make perfect Rajma Masala at home with this step-by-step guide. A rich, hearty North Indian kidney bean curry packed with bold spices — comfort food the whole family will love.
Stovetop
4.8 · 4 ratings
10 min
Prep
45 min
Cook
55 min
Total
4
servings
medium
Level
Ingredients
Ingredients
Tap any quantity to scale
- (180 g) rajma/red kidney beans · make your ownShop →
- water(as needed)
- (15 ml) ghee · make your ownShop →
- (1 g) cumin seedsShop →
- hingShop →
- medium onion(roughly chopped)
- (8 g) ginger-garlic paste · make your own
- (1 g) rajma masalaShop →
- (1 g) deggi mirchShop →
- bay leafShop →
- medium tomatoesShop →
- (1 g) garam masalaShop →
- cilantro(for garnish)
- salt(to taste)Shop →
Instructions
To prepare the rajma/kidney beans
- 1
Stovetop Pressure Cooker: Add rajma to stovetop pressure cooker and add 4 times the volume of water, along with salt, cinnamon and clove. Cook for 2-3 whistles on high heat, then turn down the heat to medium and cook for 15-20 minutes. Let the pressure release naturally.
Stovetop Pressure Cooker: Add rajma to stovetop pressure cooker and add 4 times the volume of water, along with salt, cinnamon and clove. Cook for 2-3 whistles on high heat, then turn down the heat to medium and cook for 15-20 minutes. Let the pressure release naturally.
- 2
Instant Pot: Add rajma to the Instant Pot and add 4 times the volume of water, along with salt, cinnamon and clove. Set Instant Pot to Pressure Cook mode on High and cook for 8 minutes. Ensure Instant Pot is in Sealing mode. Let the pressure release naturally (about 20 minutes).
Instant Pot: Add rajma to the Instant Pot and add 4 times the volume of water, along with salt, cinnamon and clove. Set Instant Pot to Pressure Cook mode on High and cook for 8 minutes. Ensure Instant Pot is in Sealing mode. Let the pressure release naturally (about 20 minutes).
To prepare the rajma masala
- 1
Begin by adding the ginger, garlic, and onion in a food processor with a bit of water. Purée until everything is well combined.
Begin by adding the ginger, garlic, and onion in a food processor with a bit of water. Purée until everything is well combined.
- 2
Heat a pot on medium heat and add ghee/olive oil. When the pot is hot, add hing and cumin seeds. Cook until cumin seeds turn reddish brown and aromatic, then add the bay leaf.
Heat a pot on medium heat and add ghee/olive oil. When the pot is hot, add hing and cumin seeds. Cook until cumin seeds turn reddish brown and aromatic, then add the bay leaf.
Learn the technique - 3
Add onion, ginger, garlic puree. Once the mixture starts to change color add rajma masala and deggi mirch, mix well and continue cooking until mixture is dry and golden brown. Add a splash of water if mixture gets too dry and starts to stick.
Add onion, ginger, garlic puree. Once the mixture starts to change color add rajma masala and deggi mirch, mix well and continue cooking until mixture is dry and golden brown. Add a splash of water if mixture gets too dry and starts to stick.
- 4
Puree the tomatoes in a food processor. Add tomato puree and bring to boil. Add ½ tsp salt and cook with a lid on until the mixture turns redder and becomes dry, about 7-10 minutes. Keep stirring from time to time.
Puree the tomatoes in a food processor. Add tomato puree and bring to boil. Add ½ tsp salt and cook with a lid on until the mixture turns redder and becomes dry, about 7-10 minutes. Keep stirring from time to time.
- 5
Add cooked kidney beans along with the reserved cooking water to make a runny gravy. Season with salt and add garam masala and mix well. Simmer on medium low heat with the lid on until the gravy starts to thicken.
Add cooked kidney beans along with the reserved cooking water to make a runny gravy. Season with salt and add garam masala and mix well. Simmer on medium low heat with the lid on until the gravy starts to thicken.
- 6
When the gravy is thick, remove the lid. Taste and adjust for salt as needed. Serve over rice, with potatoes, and/or bread.
When the gravy is thick, remove the lid. Taste and adjust for salt as needed. Serve over rice, with potatoes, and/or bread.
Notes
- •Add lesser rajma masala if you are sensitive to spice. The deggi mirch helps add colour, without adding much spice.
Did you make this recipe? Tag @cooking.with.anadi on Instagram and hashtag it #cookingwithanadi

Tested & written in Anadi’s kitchen
Recipe history
- April 16, 2026 — Reworked and refreshed for the 2026 relaunch — new photography, restructured and standardized ingredients & instructions.
Filed under
You might also like

No-Soak Instant Pot Rajma Masala - Curried Red Kidney Beans
Make rich, creamy Rajma Masala in your Instant Pot with no soaking required. This one-pot curried red kidney beans recipe is easy, hearty, and perfect for a satisfying Indian dinner.

Delicious Punjabi Lobia Recipe: Step-by-Step Guide
Make authentic Punjabi Lobia at home with this easy step-by-step guide. A hearty, flavorful black eyed pea curry packed with bold spices — perfect for a satisfying vegetarian Indian meal.

Instant Pot Indian Black Eyed Pea Curry (Lobia Masala)
Lobia Masala made easy in the Instant Pot! This hearty Indian black eyed pea curry is packed with bold spices, totally vegetarian, and ready in one pot for a satisfying weeknight dinner.
Easy Punjabi Chole masala - Homestyle Chickpea Curry
Make authentic Punjabi Chole Masala at home with this easy, homestyle chickpea curry recipe. Bold spices, rich flavor, and simple steps make it a perfect vegetarian dinner any night of the week.
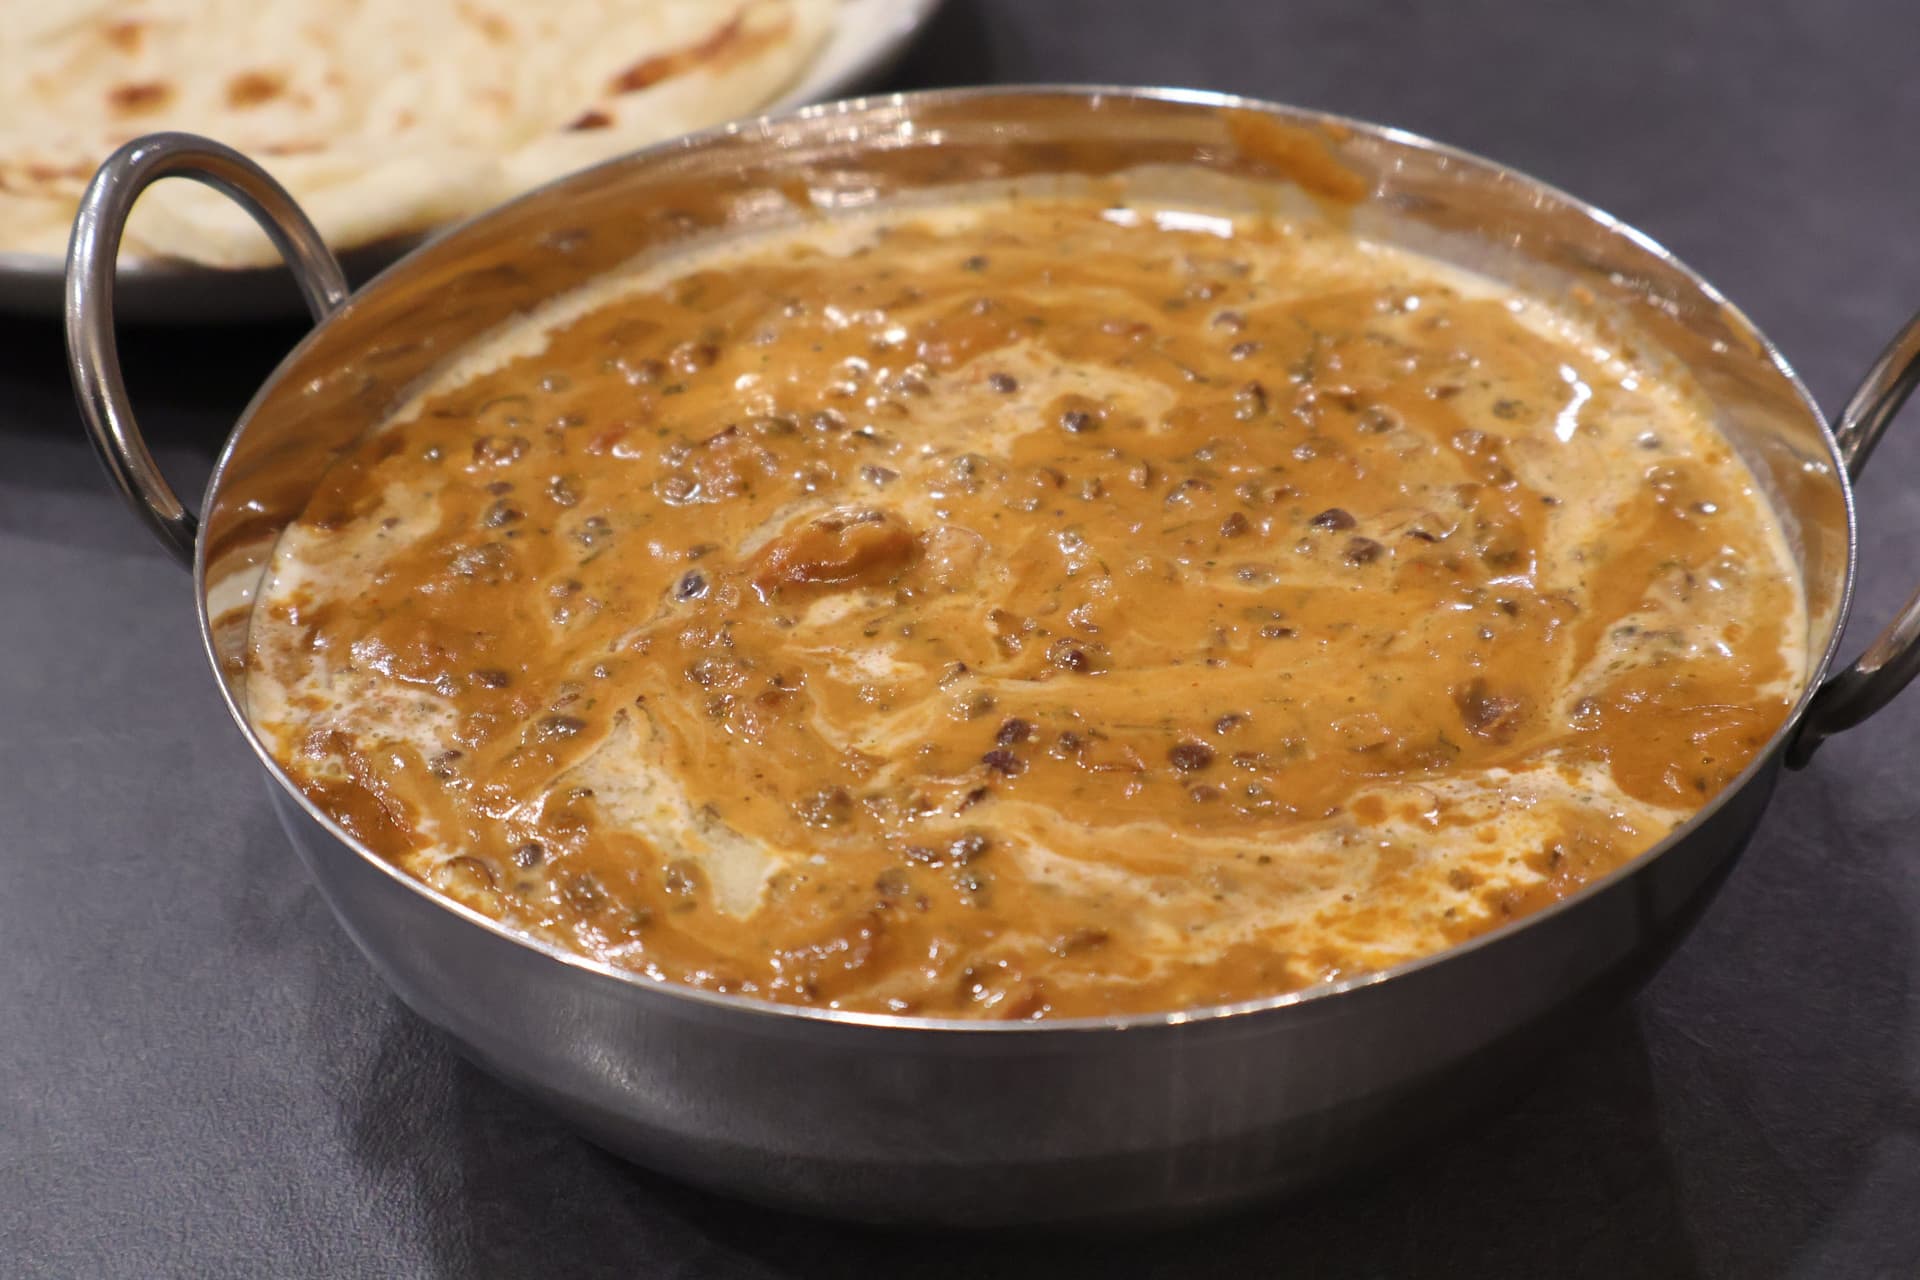
Indulgent Restaurant-Style Dal Makhani Recipe
Rich, creamy, and deeply satisfying, this restaurant-style Dal Makhani brings bold Indian flavors straight to your kitchen. A hearty vegetarian dinner the whole family will love.

Instant Pot Khichdi - Lentils & Rice Porridge
Warm, comforting Instant Pot Khichdi is the ultimate one-pot Indian meal. This creamy lentil and rice porridge comes together fast and makes an easy, satisfying vegetarian lunch or dinner.


Comments
No comments yet — be the first to share your thoughts!
Leave a review
Be the first to share how it went — your note helps other cooks (and earns the recipe its stars).