Make rich, golden ghee at home with just one ingredient and simple steps. Our foolproof ghee recipe delivers pure, nutty clarified butter perfect for Indian cooking and beyond.
Ghee is a type of butter that is stable at room temperature. Milk solids and water have been removed so that it is solidified. Ghee is a staple cooking oil in Indian cuisine, and if you’ve seen my recipes, you know that I can’t live without it! It’s got a nutty taste and the aroma is absolutely incredible. Ghee has been recently spread across other cuisines too.
Ghee is excellent to use to sauté vegetables or as a fat in making desserts. Additionally, you can shallow fry or deep fry certain snacks in ghee because it has a high smoke point. Of course, you can add a dollop of ghee over bread, lentils, or veggies for some more flavor! Think of it similar to coconut oil!
The brand of ghee I purchase is Amul ghee. Somehow, it landed in Canada at my local Indian grocer, however, I know a lot of them don’t carry this brand of ghee. For example, my uncle can’t find it, so when I see him, I’m happy to gift him a tin! Whenever I’m asked what brand of ghee I recommend, my first recommendation will always be Amul. I’m so lucky I can find it here, because that is truly the ghee I used to use in India!
I find other store-bought ghees don’t have the same quality as Amul. However, I have found one organic brand that is quite delicious. Regardless, the best quality ghee is extremely expensive. Amul ghee costs over $20 CAD and I remember the other ghee I enjoyed was about $15 CAD for a very small jar.
That’s why you may want to see how to make ghee at home! To be honest, before now, I had only made ghee once before, and it was quite recently! It was New Year’s Day, and I was going to make puris (deep-fried puffy breads made with atta flour). I opened my pantry and realized I didn’t have enough ghee to deep fry! Oh no, what was I going to do?
Well, I was silly and walked all the way to the Indian store and saw that it was closed. Yeah, who am I kidding, why did I think it would be open on the holiday? I don’t know, on some holidays it actually has been open!
Anyway, everything was closed and I didn’t want to ruin my dinner. I had some butter in the fridge, so what was the answer? Make ghee!
It’s not hard to do but it does take a bit of time and effort. I describe the level of difficulty of making ghee similar to that of a risotto. You let the butter do its thing, but when it’s time to strain the solids out, then you gotta keep whisking away! So it’s quite an arm workout!
Trust me, if you want the tastiest ghee that’s budget-friendly, then you need to try this out! I find the ghee made from scratch is the best ghee I’ve had apart from the Amul ghee! I’ll admit that this ghee tastes a bit different from the Amul ghee, but I’ll get into the reason why shortly.
Regardless, this homemade ghee made at home saved my dinner, and I couldn’t have been happier! Maybe next time I’ll gift my uncle some ghee from scratch instead!
Don’t forget to watch the video to see exactly how to make ghee from butter. If you’re not already, please subscribe to my YouTube channel and hit the bell button so you’re notified when all my video recipes go live! I love to record my recipes to complement the blog posts so you’re set up for success! Let’s get to making some delicious ghee at home!
Benefits of Ghee
Ghee is a source of fat that’s excellent for you! The back of the Amul ghee tin literally states the benefits of having one spoon of ghee per day, which include:
Providing your body with energy
Adding flavor to your food
Adding a rich aroma and nuttiness to your food
Yes, ghee is absolutely delicious, so that’s a huge benefit! However, let’s also review the nutritional benefits of ghee.
Ghee is a saturated fat - it is stable at room temperature. While ghee is a type of butter, it is more concentrated in fat per gram than butter because all of the water and milk is removed. The fats contained in ghee have the following health benefits:
The potential to reduce gut inflammation and improve digestion
High in Vitamin A
Omega-3 fatty acids support heart health
High in conjugated linoleic acid, which can help prevent conditions including cancer, high cholesterol, and obesity.
Of course you don’t want to have too much since it is high in calories and saturated fats, which could increase your LDL cholesterol. However, a little really will go a long way for your health and your tastebuds!
For more information about the health benefits of ghee, check out this article by Healthline.
What is Ghee Used For?▼
Well it’s harder to find a situation where you wouldn’t use ghee versus where you would! (Butter Chicken for example, if you were wondering).
No need to limit your use of ghee to only Indian recipes, however! You can use it whenever you’d want as you would use butter, and it will add an excellent aroma and flavor! For instance, try replacing butter with ghee in your Mashed Potatoes or use ghee to pan-sear your Curried Scallops! Experiment with it and see what creations you can come up with!
Clarified Butter vs. Ghee
The two terms tend to be used interchangeably. While the concept behind making the two is similar, there is a slight difference between clarified butter and ghee.
Clarified butter has the butter brought up to a boil and then you skim off the foam, then pour off the remaining butter fat. However, with ghee, you need to heat the butter (or cream) until all the water boils off. The solids will go brown and sink, and then you will strain out those solids. In essence, ghee is a type of clarified butter, so it’s not incorrect to describe ghee as clarified butter!
Is there Dairy in Ghee?▼
Technically, yes, there is dairy in ghee. Since it is made with butter or cream, there is dairy. While we extract all of the milk solids, since ghee was still made from dairy, you can’t call it dairy-free. However, because the milk solids were extracted, ghee is fine for consumption for those who are lactose intolerant.
My go-to vegan alternative for ghee is olive oil, but I would also recommend coconut oil if you’re looking for a similar nutritional profile and the high smoke point that ghee has.
Equipment for Ghee From Scratch
Our ghee recipe will require a couple of tools to yield the best results:
The butter will turn clear with a minimum amount of foam over the top. The aroma will also become very fragrant and if you’ve never known what ghee smells like, you’ll know when its ready.
The color will also turn a rich golden brown.
Ingredients for This Ghee Recipe From Butter
For this recipe, the only thing you need is butter! Some recipes make ghee from milk or cream, which I’ll discuss later in this post. I recommend the best quality of butter you can find, since that will give you the best tasting ghee! I also recommend you use unsalted butter or else your ghee will be very salty, and that won’t be pleasant!
Be sure to scroll to the bottom of this post for the FULL PRINTABLE Recipe Card to save this post for later! You can adjust the quantity of butter you need based on how much ghee you want to make, and all the instructions are there!
How to Make Ghee
In a sauce pan, add all of the butter and turn the heat to medium. Heat the butter until it is molten.
Maintain the heat between medium-low and medium to keep the butter at a gentle simmer. Once the butter starts to simmer, it will separate into 3 layers, clear, cloudy in the middle and foam at the top. Using a spoon or a slotted spoon, skim off the foam from the top layer.
Continue repeating the same for around 20-25 minutes, or until most of the foam has been skimmed off. Prepare a mason jar/large bowl with a cheese cloth. Carefully pour the ghee through the cheese cloth.
Ghee is ready for you to enjoy.
Tips for Excellent Ghee
It’s important to skim off any foam from the top layer as it develops. There is a chance for it to turn brown which will affect the flavor of the ghee.
The butter should be gently simmering, maintain the heat to ensure the butter does not burn.
Look for the butter to turn aromatic (different aroma than molten butter) and for most of the foam to disappear - this is the hint to a ghee that’s ready.
How Would I make Ghee from Cream/Milk?▼
I mentioned earlier that my ghee tastes a bit different from the Amul ghee I like to use. If you check the back of the Amul tin, it states that the ghee is made from cream. This is another option to make ghee at home.
Hint: Sign up to the newsletter and subscribe on YouTube to know how make this when it drops!
How to Store Ghee▼
To store ghee, I recommend you transfer into a mason jar. For the best flavor, I recommend you keep ghee at room temperature for about three months. You could refrigerate it for longer if you’d like, I’d say about six months.
Note that at colder temperatures your ghee will solidify!
How to Use Homemade Ghee
Once you have a jar of golden ghee, it earns its place in almost every meal. Here are my favorite ways to use it:
Tempering and dal: warm a spoonful of ghee for a tarka (tempering) of cumin and spices, or simply drizzle it over a hot bowl of dal.
Rice and curries: stir ghee into plain steamed rice, jeera rice, or biryani, and use it as the cooking fat for rich, aromatic curries.
Breads: brush warm parathas, roti, and naan with ghee for extra flavor and a beautiful shine.
Everyday cooking: spread it on toast, spoon it over khichdi, or use it to fry and sauté — ghee's high smoke point makes it ideal for high-heat cooking.
Sweets: ghee is the classic fat for Indian sweets and halwa, giving them their signature richness.
Desi Ghee, Makkhan and Malai: A Quick Note
Traditional desi ghee is made by gently simmering butter — often makkhan (white butter) churned from cultured cream or the malai skimmed off milk — until the milk solids toast to a golden brown and the fat turns clear and nutty. Whether you start with store-bought butter, as in this recipe, or homemade makkhan, the method is the same: low, steady heat on the stove, a heavy-bottomed pot, and a little patience. This homemade version is the real desi ghee that's a staple in Indian homes and Indian food — noticeably richer and more aromatic than most regular store-bought ghee, and easy to make in small or large batches.
Storing Homemade Ghee
A little care at the end keeps your ghee fresh for months:
Strain it: pour the warm ghee through cheesecloth or a coffee filter to catch the toasted milk solids, leaving behind clear, golden liquid gold.
Use unsalted butter: it gives the cleanest flavor and the prettiest golden hue.
Store it right: keep the ghee in a clean, dry mason jar. With no water or milk solids left, it has a long shelf life at room temperature — just always dip in with clean, dry spoons to keep it from spoiling.
What butter is best for making ghee?▼
Use good-quality unsalted butter. Grass-fed butter gives a richer color and flavor, but any unsalted butter works beautifully.
How much ghee does a pound of butter make?▼
You lose the water and milk solids, so a pound of butter yields roughly one and a half cups of golden ghee.
Salted vs. Unsalted Butter, and More Ways to Use Ghee
A few last notes to round things out:
Salted vs. unsalted butter: unsalted butter gives the cleanest flavor and is what I recommend. You can make ghee from salted butter in a pinch, but it will taste saltier and tends to foam more, so skim carefully.
Solid or liquid is normal: don't worry if your ghee firms up on the counter — ghee melts back into a clear golden liquid the moment it's warmed and re-solidifies as it cools. Both states are perfectly fine.
Shelf-stable storage: because all the water and milk solids are gone, ghee is shelf-stable and keeps for months at room temperature in a clean, dry jar.
Baking and beyond: ghee isn't just for Indian dishes — it's lovely in baking too. Swap it in for butter in cookies or shortbread for a nutty depth of flavor.
Let me know what you think of this recipe in the comments! If you’ve tried this recipe, be sure to post it on social media and tag it with #cookingwithanadi and mention me @cooking.with.anadi. Thank you!
Recipe by Anadi Misra
Experience the Magic of Homemade Ghee at Your Fingertips
Make rich, golden ghee at home with just one ingredient and simple steps. Our foolproof ghee recipe delivers pure, nutty clarified butter perfect for Indian cooking and beyond.
In a saucepan, add all of the butter and turn the heat to medium. Heat the butter until it is melted.
In a saucepan, add all of the butter and turn the heat to medium. Heat the butter until it is melted.
2
Maintain the heat between medium-low and medium to keep the butter at a gentle simmer. Once the butter starts to simmer, it will separate into 3 layers, clear, cloudy in the middle and foam at the top. Using a spoon or a slotted spoon, skim off the foam from the top layer.
Maintain the heat between medium-low and medium to keep the butter at a gentle simmer. Once the butter starts to simmer, it will separate into 3 layers, clear, cloudy in the middle and foam at the top. Using a spoon or a slotted spoon, skim off the foam from the top layer.
3
Continue repeating the same for around 20-25 minutes, or until most of the foam has been skimmed off. Prepare a mason jar/large bowl with a cheesecloth. Carefully pour the ghee through the cheesecloth.
Continue repeating the same for around 20-25 minutes, or until most of the foam has been skimmed off. Prepare a mason jar/large bowl with a cheesecloth. Carefully pour the ghee through the cheesecloth.
4
Ghee is ready for you to enjoy.
Ghee is ready for you to enjoy.
Nutrition per serving
143
Calories
0g
Protein
0g
Carbs
16g
Fat
0g
Fiber
0g
Sugar
129mg
Sodium
Share This Recipe
Did you make this recipe? Tag @cooking.with.anadi on Instagram and hashtag it #cookingwithanadi
Tested & written in Anadi’s kitchen
Free weekly newsletter
Cook something new every week
One tested recipe and a real weeknight tip from my kitchen, every Friday.
Join 40,000+ home cooks who visit Cooking With Anadi every month.
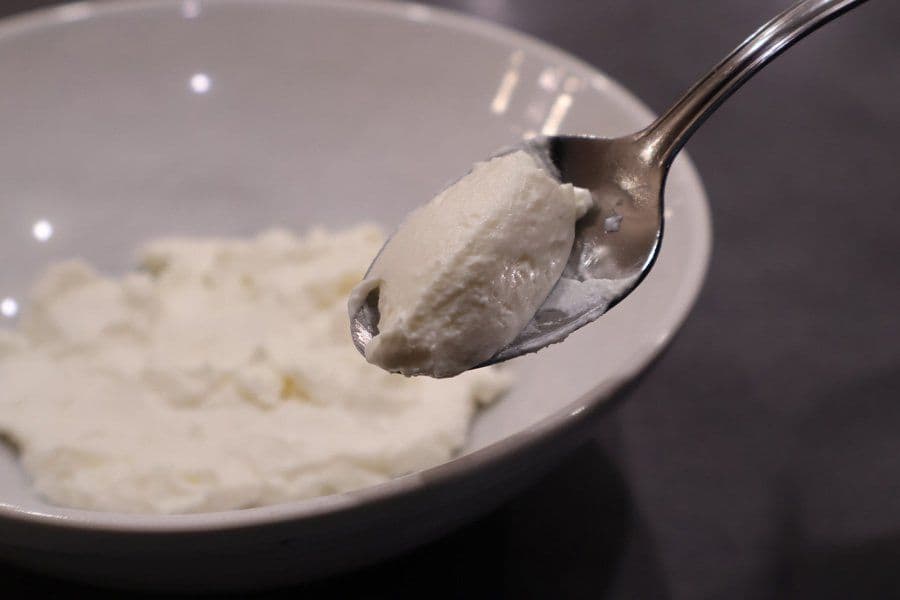
See how to make hung curd at home with easy step-by-step pictures that guide you through every stage of the process. This hung yogurt will become an essential part of your favorite Indian marinades!
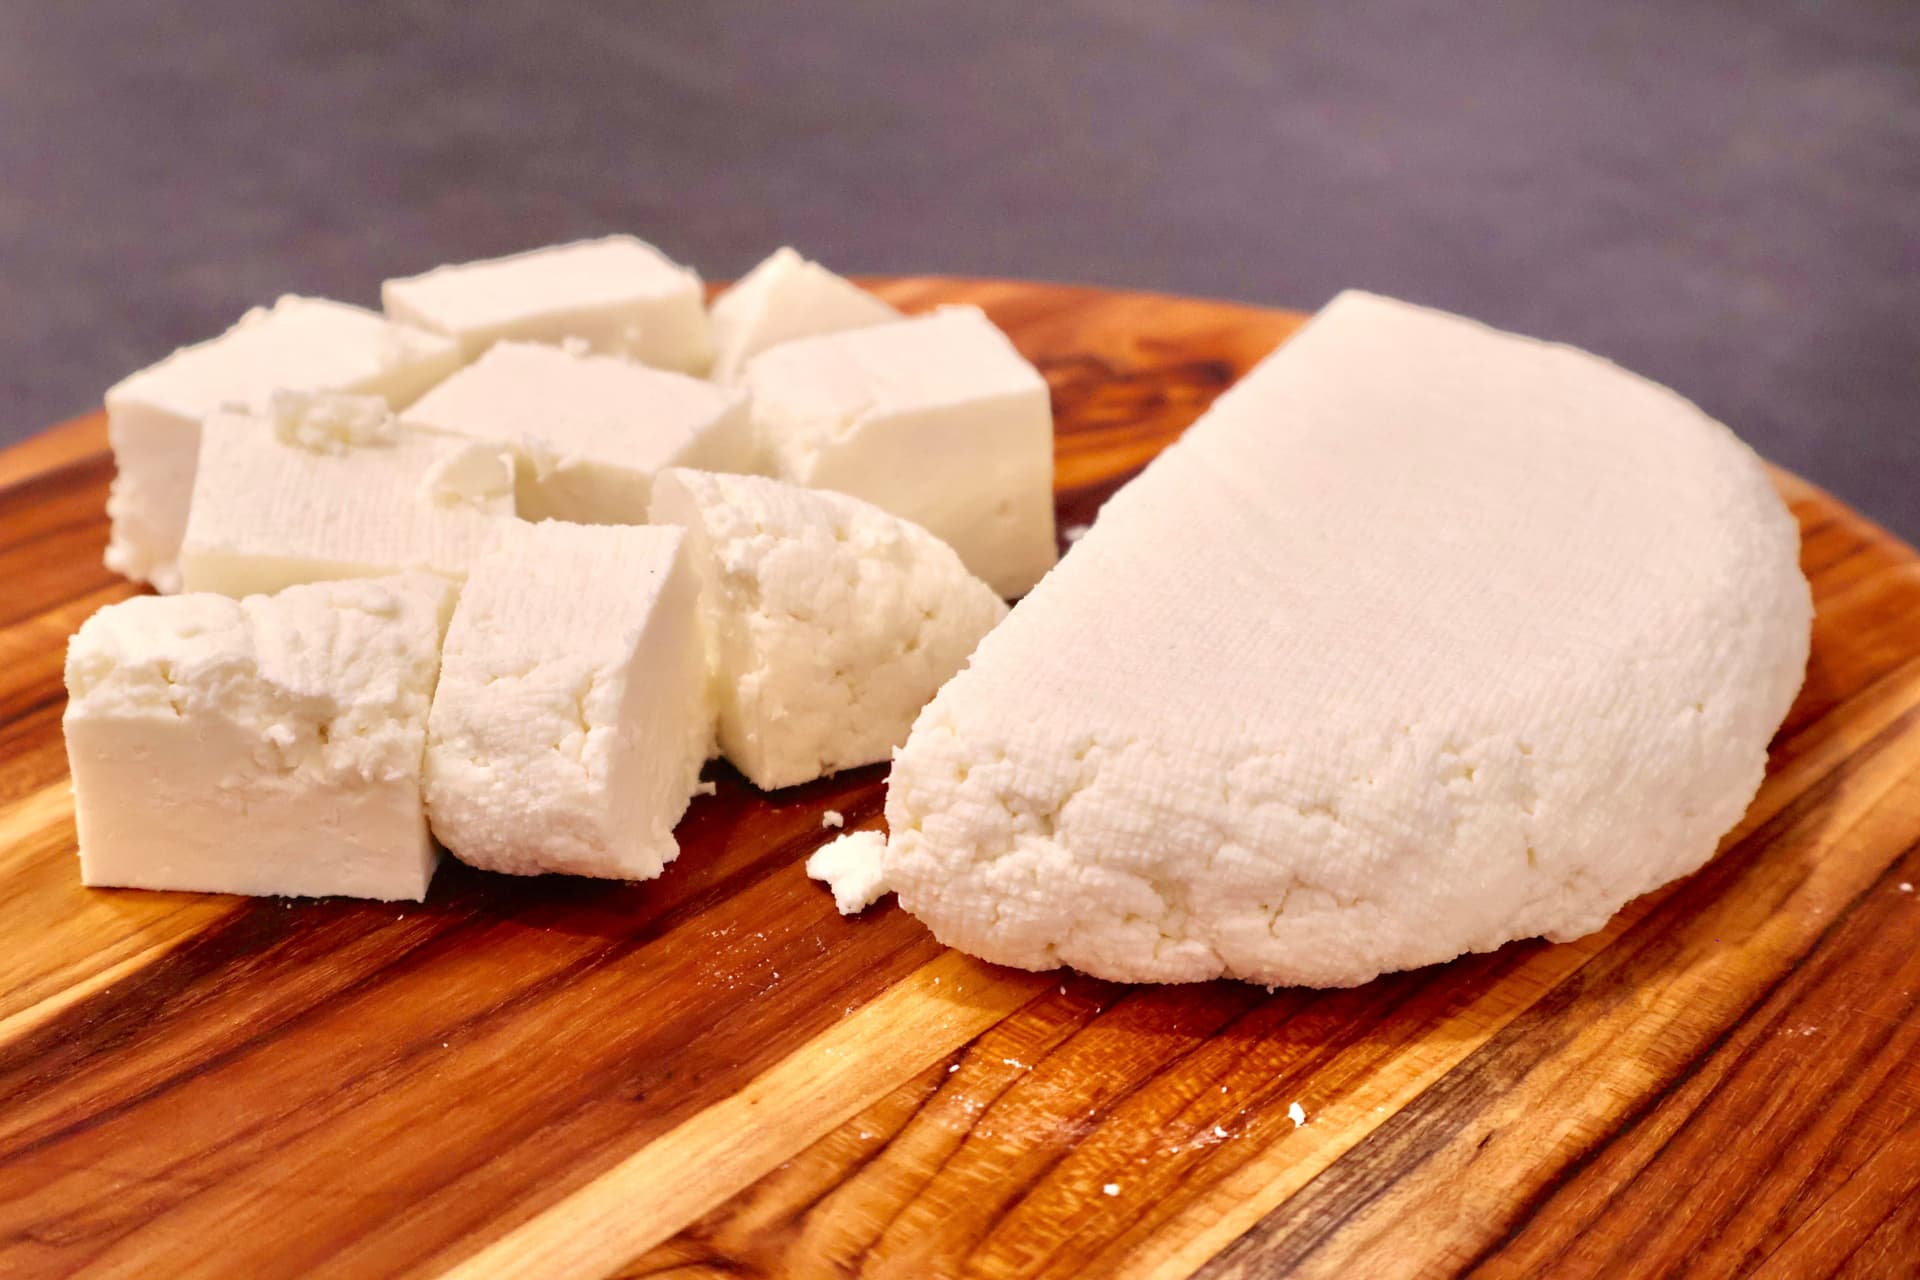
Make fresh, creamy paneer at home with just 2 ingredients! Our ultimate guide walks you through every step to perfect homemade Indian cottage cheese from scratch.
Master Indian Brown Onion Paste at home with this simple, flavor-packed recipe. Build rich, deep flavor into your curries and sauces with just a few pantry staples.
Make flavorful Indian ginger garlic paste in minutes using a blender. This easy, authentic recipe is perfect for prepping ahead and storing for all your favorite Indian dishes.
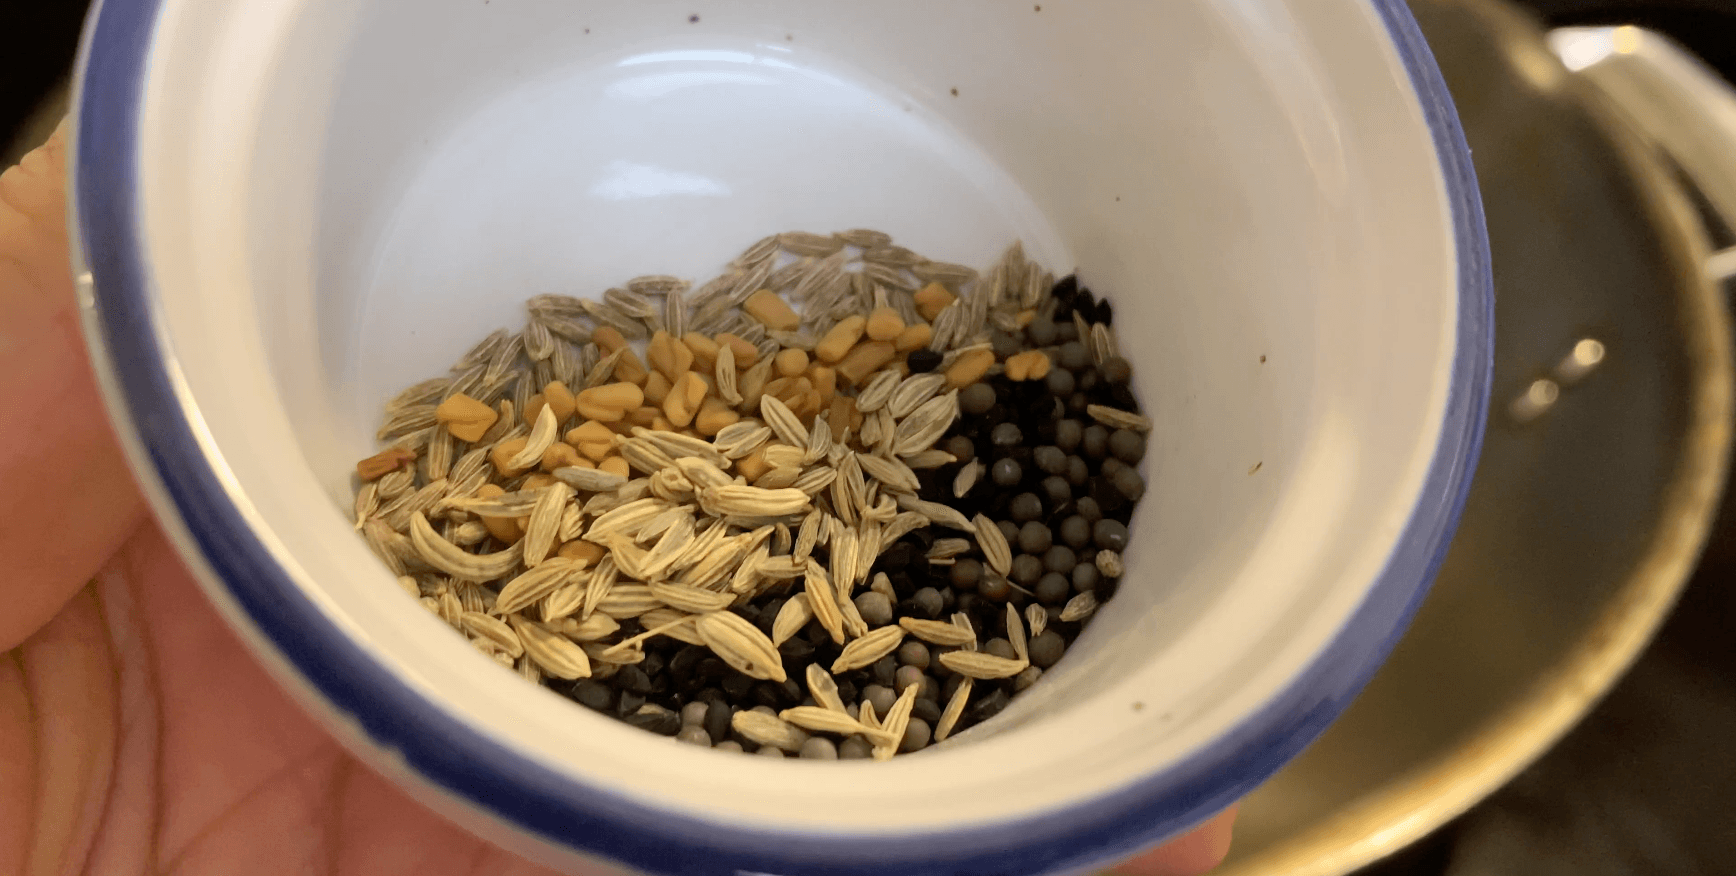
Unlock the secrets of Panch Phoran, the essential Bengali five-spice blend. Quick and easy to make, this aromatic mix transforms everyday dishes with bold, authentic Indian flavor.
Make fresh, soft chenna at home with just milk and a souring agent. This easy homemade Indian cheese recipe is a pantry essential for sweets and curries. Simple steps, perfect results every time.
18 minEasy8 servings
Comments
No comments yet — be the first to share your thoughts!
Leave a review
Be the first to share how it went — your note helps other cooks (and earns the recipe its stars).
Free guide
7 Quick Dinners
Easy weeknight dinners you'll make on repeat.
Join 40,000+ home cooks who visit Cooking With Anadi every month.


Comments
No comments yet — be the first to share your thoughts!
Leave a review
Be the first to share how it went — your note helps other cooks (and earns the recipe its stars).