


This post may contain affiliate links. Read our disclosure policy
Watch the recipe

Cooking With Anadi
12K subscribers · cheese and crispy crust on dough that's easier to digest
I was up for a challenge and went for it: Can I really make a healthy pizza? Yes, you see those recipes for makeshift pizzas all over the Internet for everyone who’s looking to go on some sort of diet. However, I wanted not only to make a healthy pizza, but to make one that is true to my style of cooking and is still tasty.
I believe with this Healthy Pizza that it’s mission accomplished! I’m still using my favorite pizza crust and toppings with only a few modifications (and believe it or not - additions!) to make this pizza delicious and great for your health. If you want to make a lifestyle change but don’t want to cut pizza out of your life, then there is no reason to do so! Depending on your situation, you can easily incorporate this Heart Healthy Pizza any time you would like! I mention in my free motivational guide to explore your potential in the kitchen, Make Cooking Fun!!, that being realistic with your goals is key. While I am referring mostly to cooking, this can also mean to cravings. Cutting things out of your diet entirely is a recipe for disaster, but allowing yourself flexibility to enjoy tasty foods will help tremendously. When you see that you have the power to cook delicious food that is actually nutritious, you’ll be amazed!
Definitely be sure to love your heart with this healthy pizza recipe as part of your Live to Cook one-month challenge. You can get started for free by signing up to my email newsletter today, and you’ll receive all of my latest recipes right to your inbox!
For a step-by-step visual of how to make the pizza dough, topping and broiling the pizza, be sure to watch the video! If you’re not already, be sure to subscribe to my YouTube channel, and press the bell button to be notified when all of my video recipes are live! Let’s get cooking!

Can a Pizza Really Be Healthy?
Depending on where you’re from in the world, you know pizza as an epic dinner. It’s the preferred choice for family gatherings and parties. You may think that there’s no way a pizza can be healthy. Well, let’s see what we can do to modify that!
After wanting to all my life, I finally went to Italy, and I observed how the pizzas were prepared there. The crusts are definitely on the thinner side, and toppings aren’t overloaded, especially the cheese. While it’s not the crazy social media cheese pulls or a loaded stuffed crust pizza, I really enjoyed the light pizzas so I could taste all the flavors!
- Homemade crust: A homemade pizza is truly the language of love, in my opinion. Using your own crust really makes a difference! You have the choice of the type of flour you’re using and the thickness of the crust, plus you’ve got no preservatives. Now, you may be asking: whole wheat or white flour? Everyone praises whole wheat to be the ultimate nutritional choice, but if you’ve got lots of veggies on top, then the fiber you wouldn’t get from the whole wheat crust is negligible. Plus, if you want to stick to your healthy lifestyle, then you have to enjoy it! If you prefer white flour, then go ahead and do that. What will actually really help our health in this homemade crust in particular is the fermentation, coming from the “poolish.” This step is preliminary to making the dough.
- Size: The smaller the portion the less calories you will eat! If you want the satisfaction of eating an entire pizza, simply use less dough to make it. This pizza is smaller than the usual pizzas I make. Of course, just to be clear, depending on what your body needs and your current health status, I’m not giving a blanket statement to eat the whole pizza.
- Homemade sauce: To be fair I always make my own pizza sauce, and that’s the way to go! You avoid preservatives, artificial color dyes, and who knows what else. Plus, it’s easy and tasty!
- Moderate amount of cheese: Yes, cheese pulls are fun, but even part-skim mozzarella cheese is high in calories and saturated fat, and each little bit will add up quickly.
- Olive oil: Although calorie-dense, olive oil is excellent for your heart health. This reduces bad cholesterol and raises the good one. We’ll be brushing some olive oil on the crust and drizzling it over the pizza.

What Kind of Pizza is Bad for Heart Health?▼
As much as I love to order Pizza Hut and Domino’s online, those are honestly the bad ones for heart health. They are factory-made and full of chemicals that we can’t pronounce, especially in their meats! If you’re going to order from a pizza chain, then your best bet is to order as little toppings as possible to keep the ingredient list small. However, let’s be honest and admit that the doughs are very crusty and buttery unless you get the thin crust. Pizza from your favorite pizza chain can be a special occasion when you don’t want to cook dinner and get delivery, but you really should make it a once-in-awhile situation.
Let’s be fair and not only demonize the pizza chains. Even if you’re making a pizza yourself, you can still make it unhealthy. For instance, by packing on high fat cheeses, processed red meats like sausage and pepperoni, and loading up the butter on the crust, you’ve probably got the most delicious masterpiece ever, but it will not help with your heart health!
What Kind of Pizza Dough is used for Heart Healthy Pizza?▼
The dough I’m using for this Heart Healthy Pizza is the Napoletana pizza dough. If you’ve seen my other pizza recipes, then you know that it’s my absolute favorites! I know that I need to try others, but for the purposes of the heart healthy pizza, then this was the best choice. I’ll quickly go over it, but if you want more details, then be sure to check out the complete recipe.
What I will be doing here to enhance the “healthiness” of this pizza is adding a “poolish” to the dough. A poolish is a starter that ferments for 18 hours, made with water, salt and yeast. Fermentation aids with digestion, and with respect to the flavor of the crust, it definitely helps with that!

What about toppings?▼
Here’s what to keep in mind for toppings on your healthy pizza:
- Cheese: As much as I love cheese, when we need to moderate the amount of cheese for our pizza in this case. After being to Italy, I noticed that they hardly put any cheese on their pizzas! I’m using part-skim mozzarella, which has protein and a lower amount of fat, plus calcium to support strong bones.
- Vegetables: Here we have tomatoes, onions, and green peppers.
- Protein: We’ll add pan-fried chicken breast, cut into cubes.
- Greens: Arugula and basil for garnish.
Other Topping Ideas
- Vegetables: You could also do cherry tomatoes, other pepper colors, mushrooms, or zucchini.
- Greens: Spinach or kale.
- Protein: For vegetarians, you can do tofu. For meat-eaters, another lean protein is extra lean ground beef, turkey breast, or pork tenderloin. For pescatarians, shrimp is a lean protein choice!
What Temperature Do We Need to Cook the Pizza?▼
To get the perfect pizza crust, you want to preheat your oven to 500 F, or the highest temperature your oven can reach. Then, when you will be cooking the pizza, change your oven to the “Broil” setting.
Tools Needed to Make Heart Healthy Pizza
- Baking steel and/or baking stone
- KitchenAid
- Wooden pizza peel and a metal peel
- Bench scraper
- Pizza wheel cutter
- Mixing bowl
- Whisk
- Garlic press
- Cutting board
- Basting brush
- Paring knife
- Ramekins
Ingredients for a Heart Healthy Pizza
Scroll to the bottom of this post or press the “Jump to Recipe” button for FULL PRINTABLE RECIPE CARD that has all ingredients and their quantities, plus you can save the recipe for later. You’ll also be able to scale the recipe based on how many pizzas you’re looking to make so that you have the right amount of toppings!
For the Pizza Dough

- 00 flour or bread flour: The preferred choice is 00 flour, but if for whatever reason you can’t find it, then feel free to substitute with bread flour.
- Instant Yeast
- Salt
- Lukewarm water (60-70F) + ~200 g/mL lukewarm water (60-70F)
- Extra virgin olive oil
For the Sauce
- Extra virgin olive oil
- Passata or tomato puree
- Garlic cloves: Minced
- Dried oregano
- Tomato paste
- Chili flakes
- Salt to taste
For the Healthy Pizza
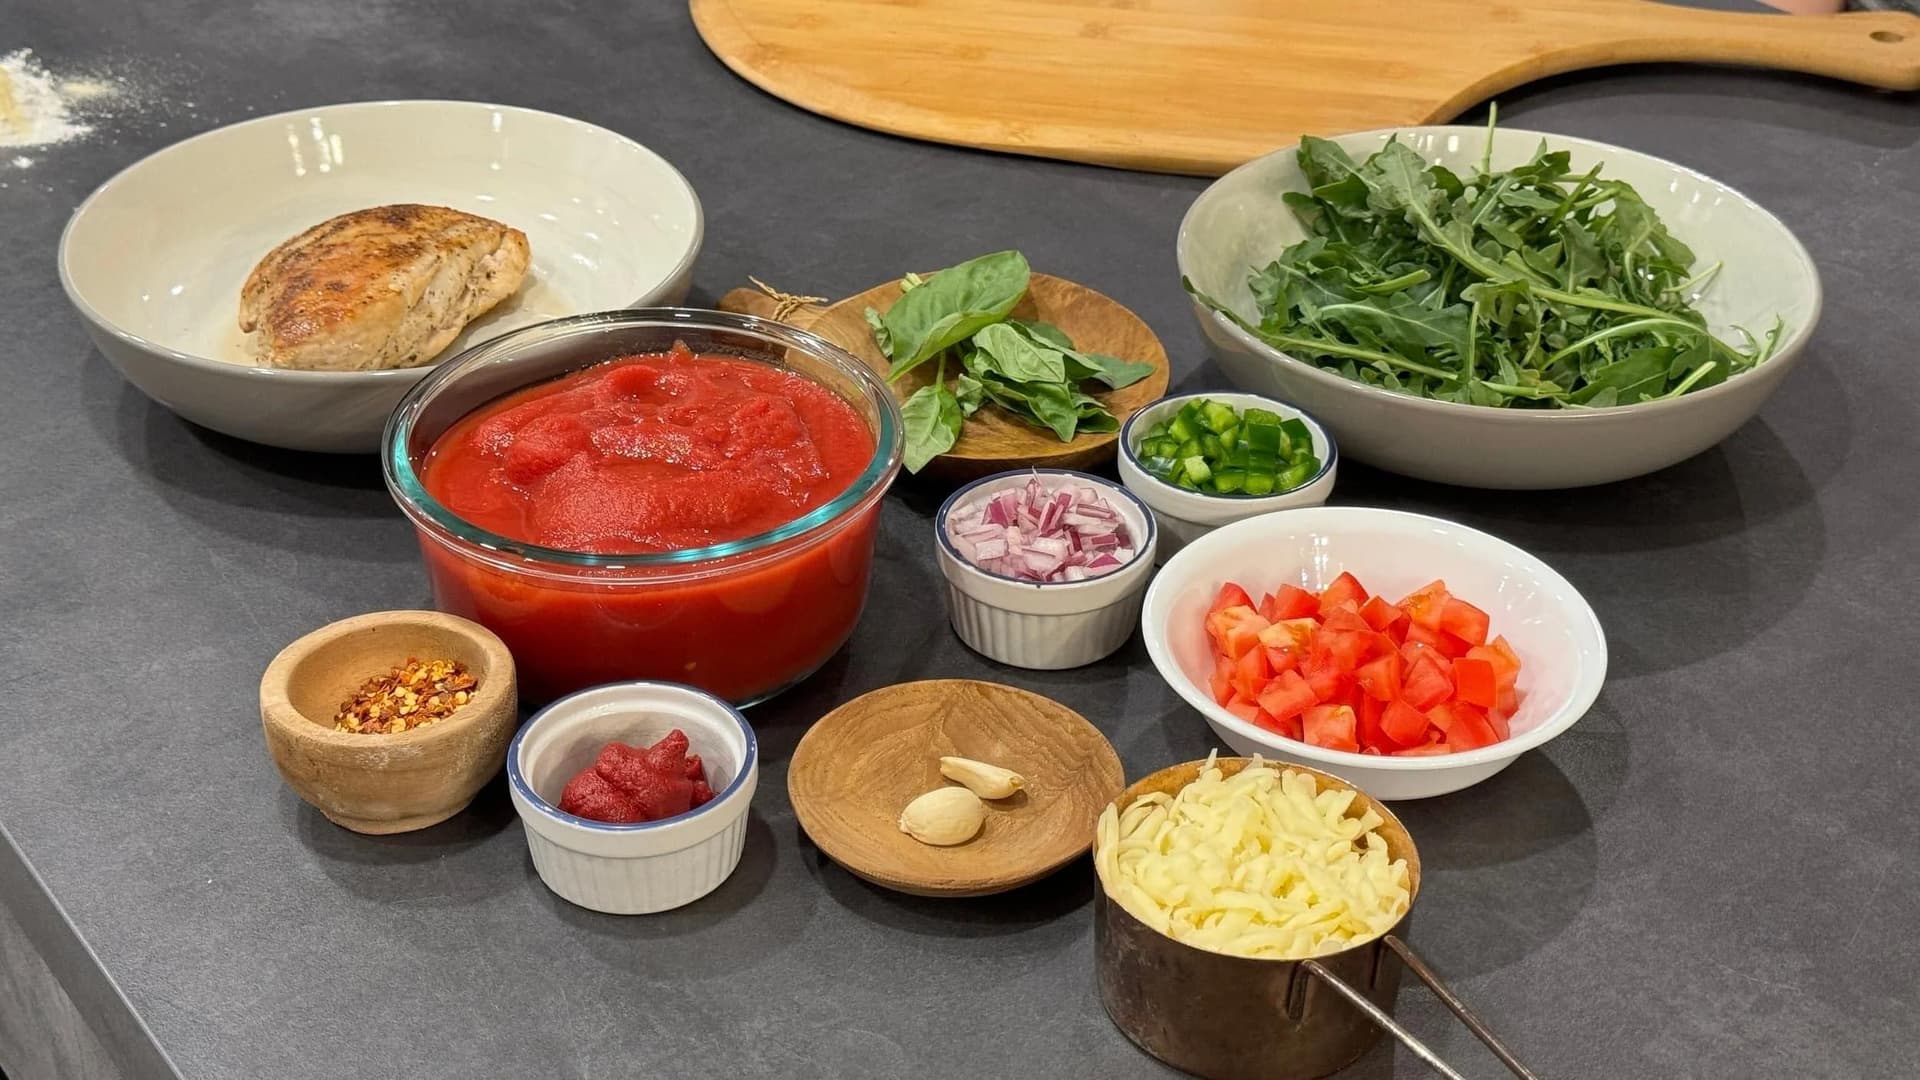
- Mozzarella cheese: Part-skimmed mozzarella is key here so that you get the flavor of a classic pizza but without overdoing the greasiness.
- Chicken: We’ll first pan-fry our chicken breast and then we’ll cut this into small pieces to add over the pizza.
- Vegetables: Tomatoes, green peppers, and onions.
- Arugula: Some greens to be added at the end so that you keep the crunch!
- Olive oil & minced garlic: To brush on the crust when the pizzas have finished baking.
- 00 flour or bread flour: As required for dusting.
How to Make Heart-Healthy Pizza
For the Poolish
Add the yeast and water to a bowl and whisk well until the yeast is dissolved and you see bubbles at the top. If you don't see bubbles, the yeast is dead and you need to restart with a fresh batch of yeast.
Add flour and mix well with a spatula and scrape down the sides of the bowl.
Cover with a plastic wrap and set in a warm, draft free place for 18 hours. If you will not be using the poolish immediately after, store in the fridge. Before using, allow the poolish to come to room temperature by setting the poolish on the countertop for at least 30 mins.
For the Pizza Dough
Add yeast and 70 g of lukewarm water to a bowl and whisk until water is bubbly. Mix until you see no granules of yeast floating on the water. If the yeast doesn't dissolve, the yeast is likely dead and you will have to start over with fresh yeast.
Add flour to the bowl of your kitchen aid mixer and add all of the yeast-water mixture. Then, slowly add most of the cold water while continuing to knead with the dough hook. Add the remaining cold water back in the bowl of yeast water and swirl and add to the dough.
Knead until the dough comes together and there is no dry bits of flour. Stop the mixer and add the poolish, continue to knead until you have a soft, pliable dough which is not sticky to touch. Add more flour/water as required to reach this consistency.

Stop the mixer and add the salt. Knead on low speed for 1 minute.
Stop the mixer, add the olive oil and knead on low speed for 1 minute. After 1 minute, remove the dough from the dough hook, place in the bowl of the mixer and knead for 30 seconds to a minute.
Then, transfer the dough to your countertop and continue kneading, stretch and fold the dough for 1-2 minutes.
Form the dough into a ball and set aside on the countertop/bowl. Cover with a damp kitchen towel and let rest for 20 minutes.
Then, portion the dough into 3 equal parts and for each portion fold the dough onto itself to create a tight surface tension as you seal/pinch the folds. Be careful not to de-gas the dough too much. The portions should resemble a ball of fresh mozzarella. This is a great time to freeze any dough you are not planning to use right away.
Transfer the dough portions to a baking sheet or plate and cover with 2 layers of plastic wrap. Let the dough rise for at least 24-72 hours in the refrigerator.

For the Sauce
In a bowl, combine all the ingredients for the sauce, mash the tomatoes and mix well. Adjust with salt for seasoning.


For the Toppings
Place one baking steel/stone on the second highest rack of the oven and another one at the bottom most rack. Preheat oven at 500 F for 1 hour. Remove the pizza dough and sauce out to come up to temperature while the oven preheats.

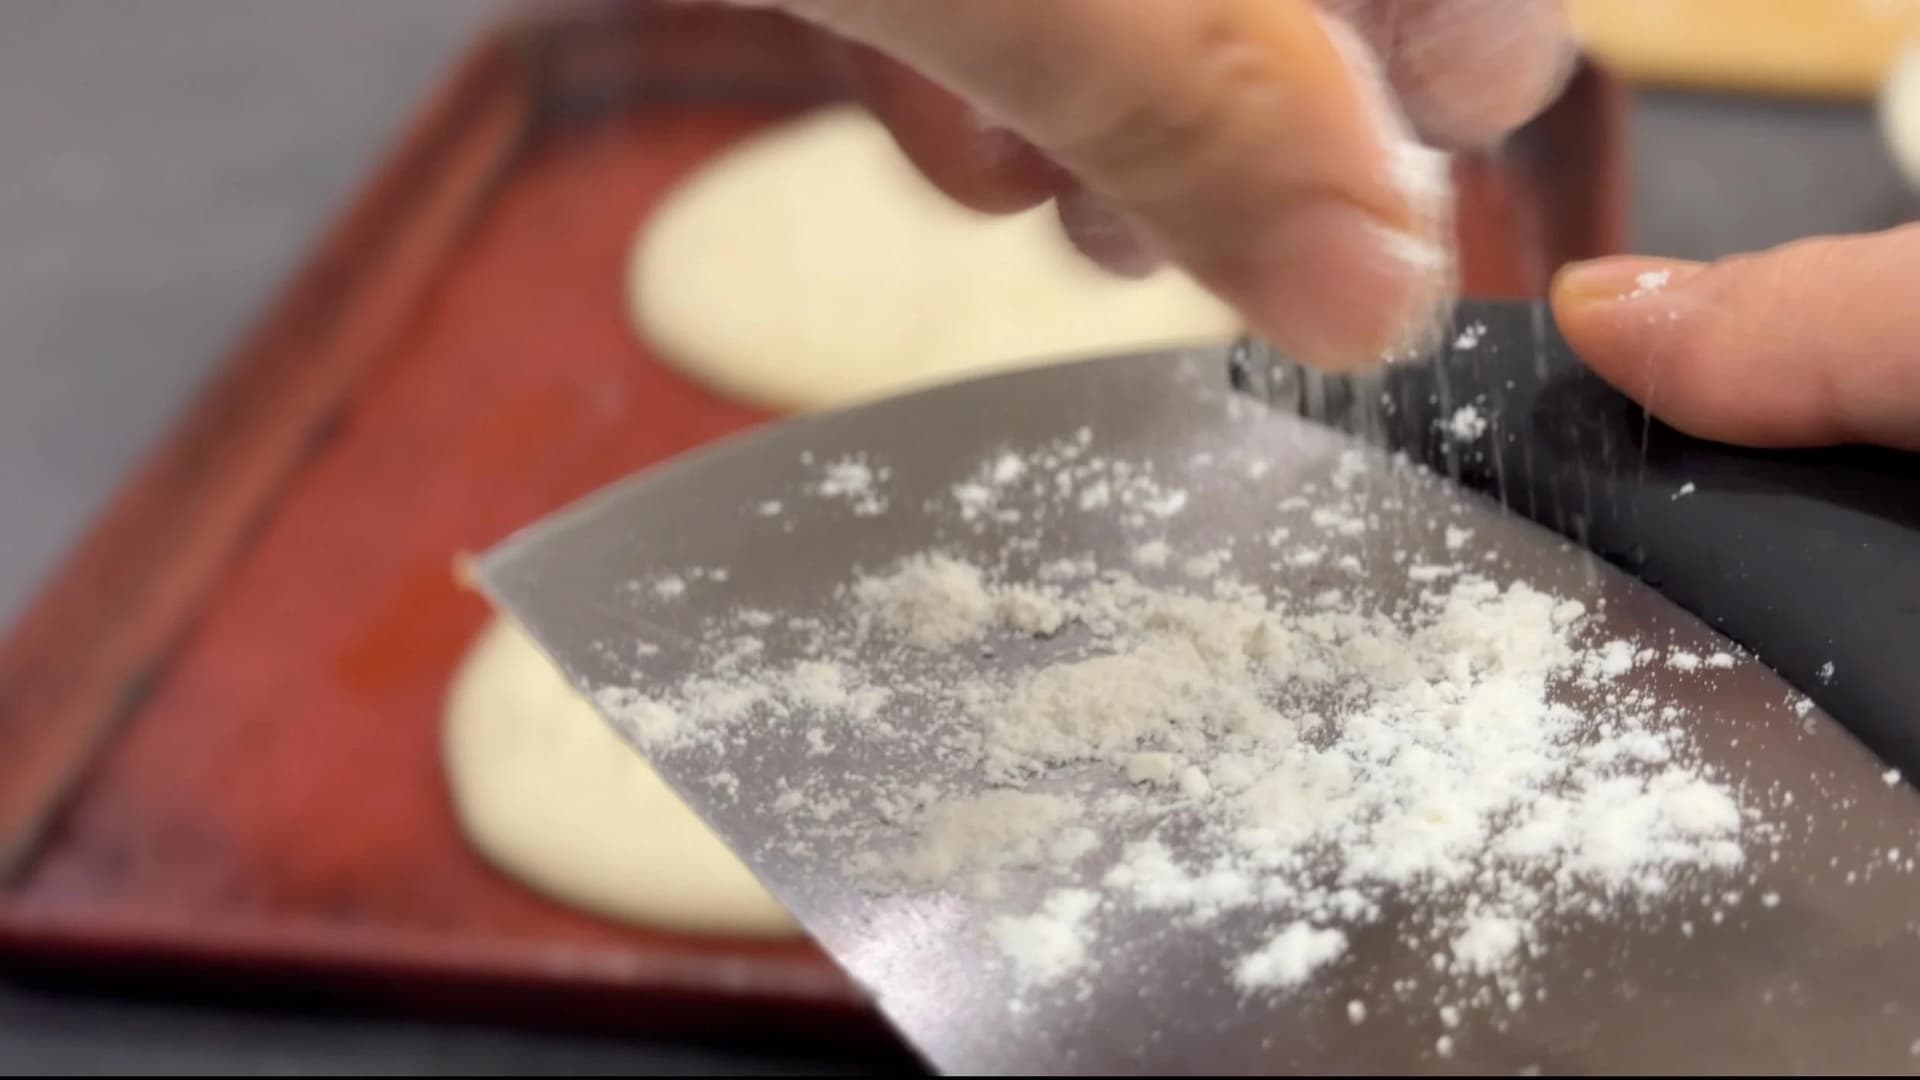
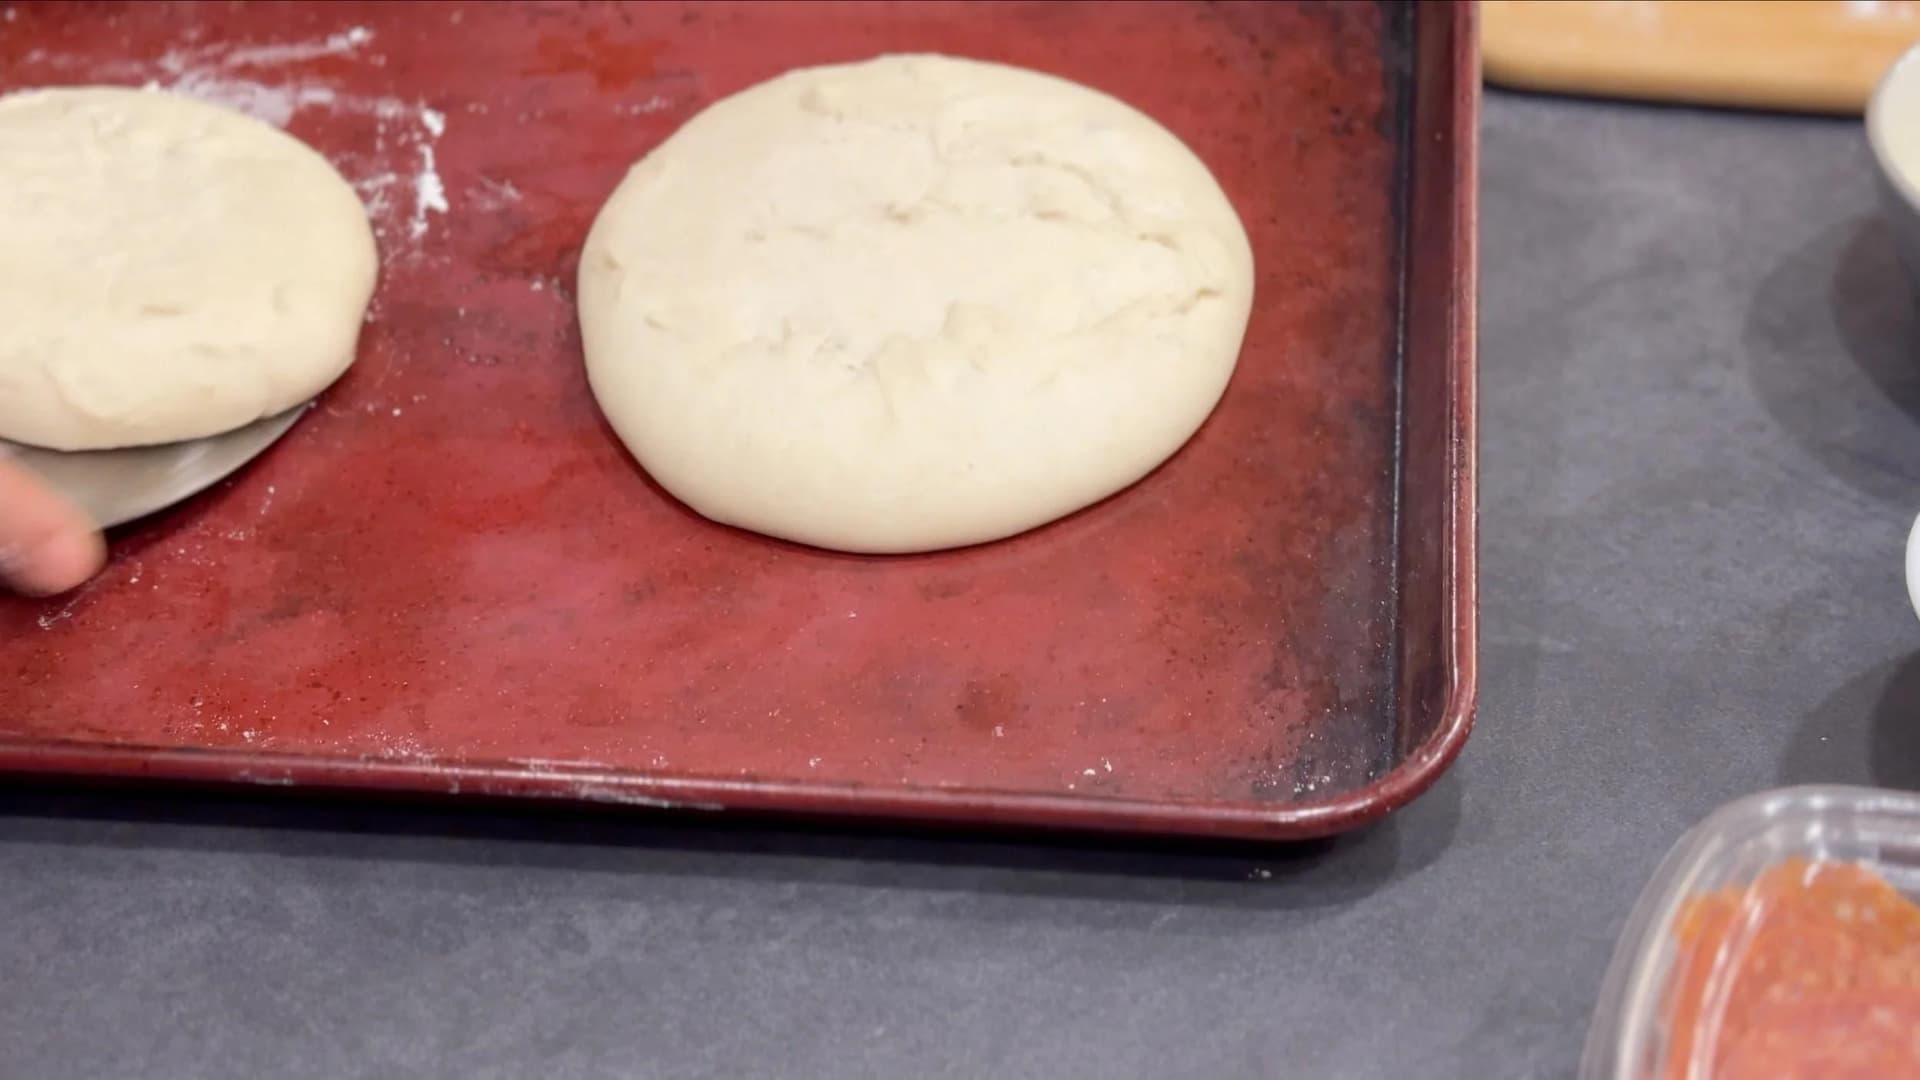
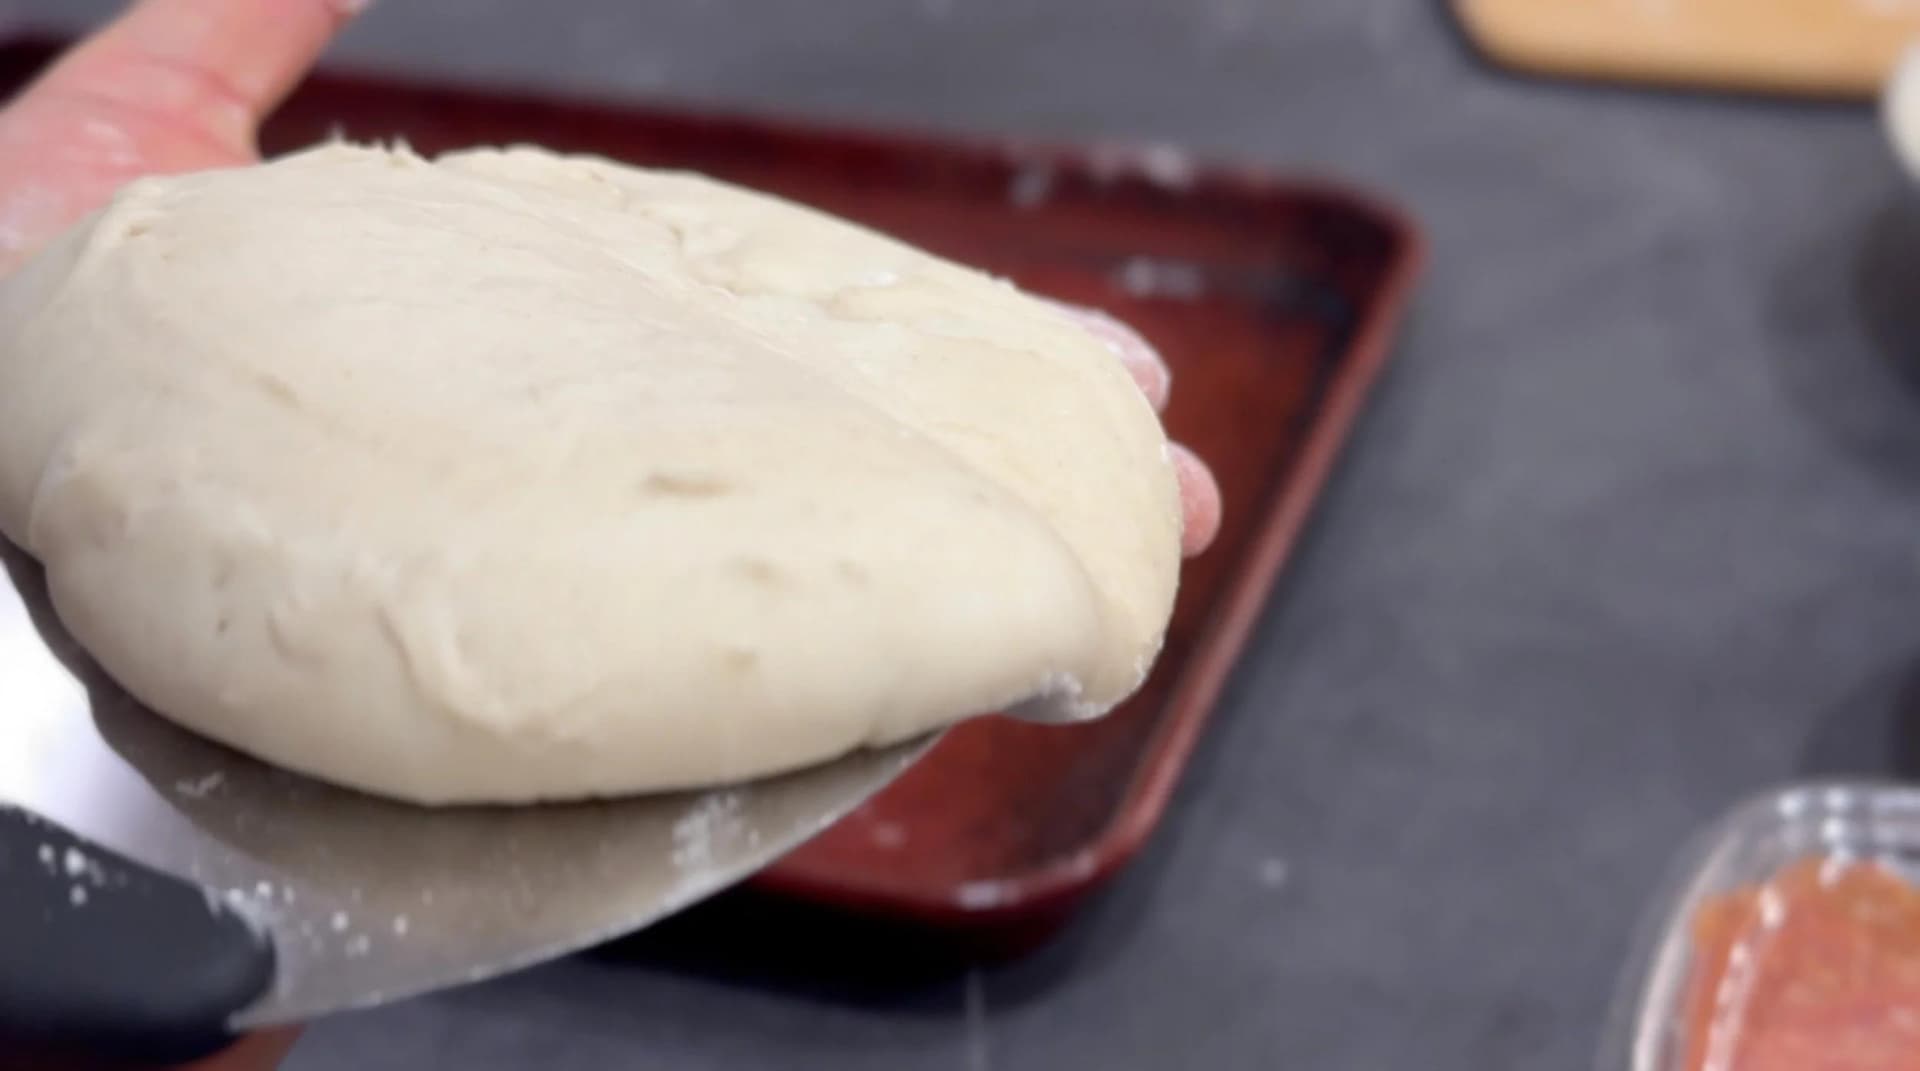
Dust your countertop with flour and starting with one portion of dough at a time, add the dough ball over the dusting mixture. Starting from the center of the dough, press down on the dough and create a rim around the side.
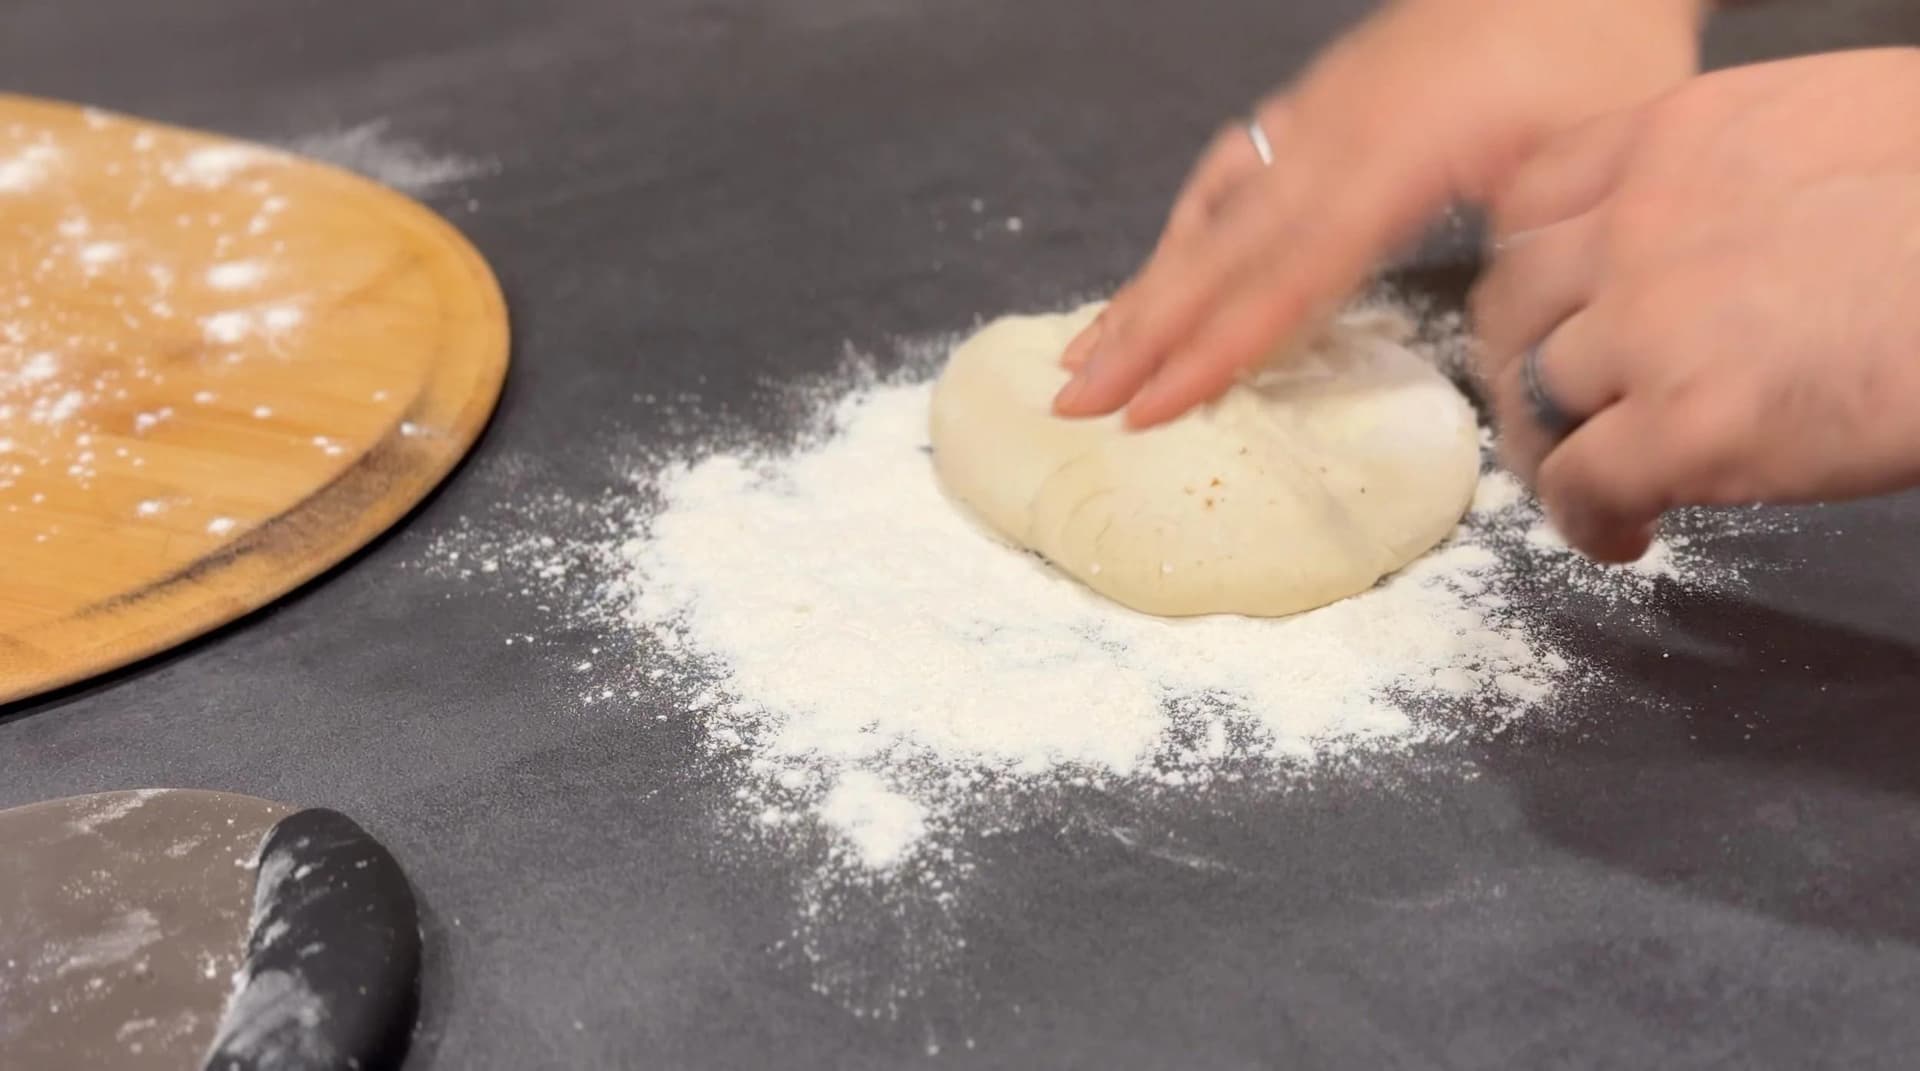
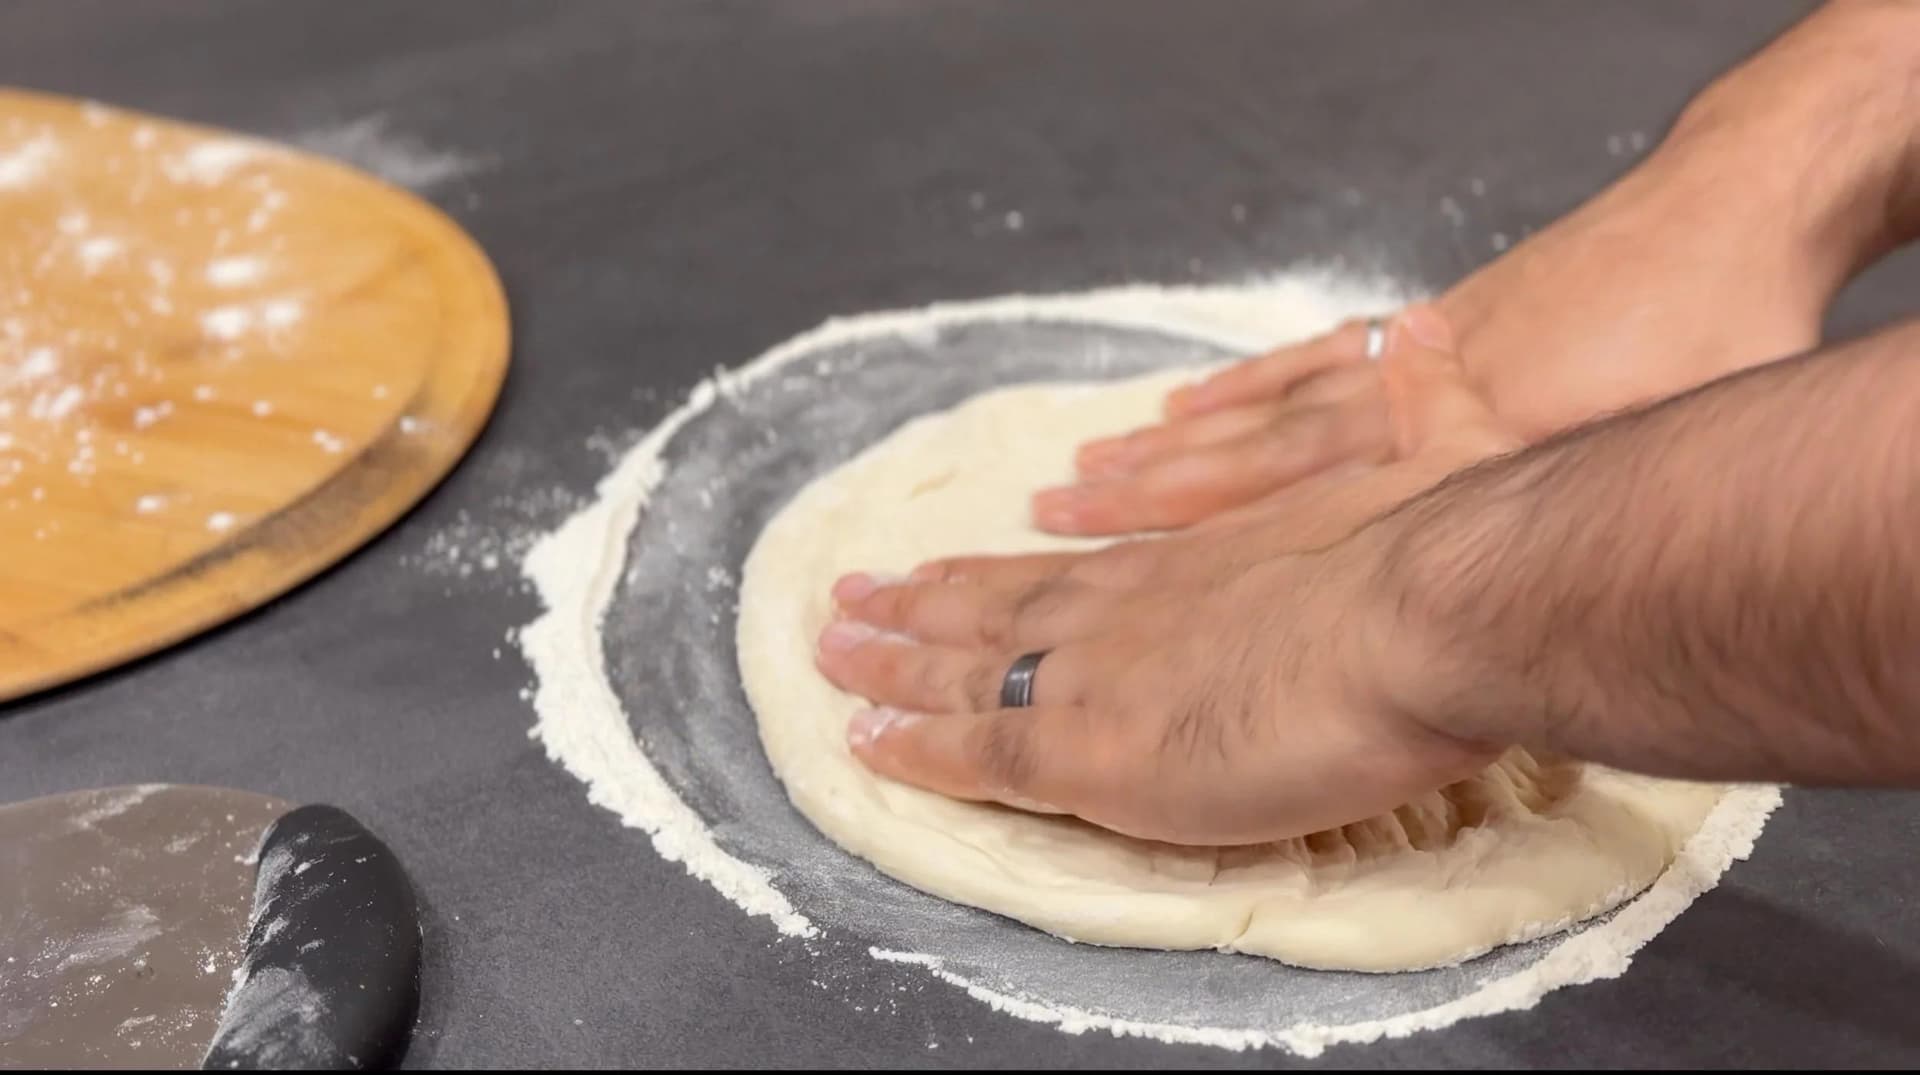
Continue pressing down the center to stretch the dough. Then, hold the dough from the rim and rotate to let gravity stretch if further. You can also you use knuckles to stretch the dough, until the diameter is about 10 inches.
To Cook the Pizzas
Set oven to Broil mode, let top steel/stone heat for 8-10 minutes.
Dust a wooden pizza peel with flour and place the stretched dough on the peel.


Add 1/3rd of the tomato sauce and spread until the edge of the pizza. Add the mozzarella and spread evenly.


Add the chicken, onions, peppers, tomatoes, and olive oil. Spread evenly over the pizza.


In a swift push and pull motion, place the pizza on the top baking steel/stone.

Bake for 1 1/2 - 2 minutes or until the crust has some char or brown spots and the cheese has molten.

Then transfer the pizza to the bottom steel/stone to finish off the crust of the pizza, about 30 seconds to 1 minute.

Remove the pizza from the oven and top with garlic oil. Slice the pizza and then top with arugula.


Serve hot and enjoy!

Tips for a Tasty and Nutritious Pizza
- If the yeast doesn’t dissolve after mixing, the yeast is likely dead. As a result, it’s best to start over.
- Avoid degassing the dough too much as you are folding the individual portions onto itself. If you over-work the dough, it will start to resist as you start to stretch the dough for the pizza.
- To continue on your pizza-making journey after this recipe, I highly recommend you invest in a baking steel and/or baking stone. They are cheap, and an essential tool for pizza makers.
- You want to preheat your oven to its highest temperature for at least one hour before baking the pizza. This will mean that your baking steel and/or baking stone is hot and ready for pizza, giving you the crispiest crust.
- Use a pair of baking steels/stones if possible, setting up one of them towards the top rack of the oven and the second one at the bottom.
- Turn the oven to the “Broil” mode 10 minutes prior to cooking the pizzas (I do this right before topping the pizza) to make the top steel/stone scorching hot. This will help rapidly cook the crispy crust.
- Finish the crust by transferring the pizza to the bottom stone/steel.
- Keep the arugula chilled in the fridge until ready to serve to keep it nice and crisp.
What Makes This Pizza Heart Healthy?
A pizza does not become healthy by becoming joyless — it gets there through a series of small decisions, and this recipe makes most of them at the ingredient level. The dough is 460 g of flour split across three pizzas, so the carbs land at a sensible portion rather than a whole-tray blowout, and the calories follow the portion size. The 3 cups of shredded part-skim mozzarella spread across those three pizzas keeps the saturated fat in check, and cheese is where most of the unhealthy fats on a pizza actually live. The protein is diced cooked chicken breast, one of the leanest proteins you can put on bread. And the toppings do real work: tomatoes, peppers, onions and a handful of arugula added after baking bring vitamins and nutrients a plain cheese pizza simply does not have.
Sodium is the one to keep an eye on, and it is worth being honest about it. Between the 10 g of salt in the dough, the salt in the sauce and the mozzarella, this is still a salty meal — and sodium is the dietary factor most closely tied to blood pressure. If that is something you are managing, hold back on the salt in the sauce and use a little less cheese rather than trying to make up for it elsewhere. As a healthy dinner this works best as one pizza per person alongside a salad, not two on their own.
Whole Wheat, Cauliflower and Gluten-Free Crust Options
The crust here is a Napoletana dough built on 00 flour and an 18-hour poolish, and the post already raises the whole wheat versus white flour question. The practical answer: swapping the whole 460 g for whole wheat pizza dough gives you the whole-grains and the fibre, but a denser, less airy result, because the bran cuts through the gluten strands as they form. Replacing about a third of the 00 flour is the compromise most people prefer — you get a nuttier whole wheat pizza crust that still puffs at the rim. Whole wheat also drinks more liquid, so expect to add a splash beyond the 200 ml of cold water.
A cauliflower crust is a different recipe rather than a modification of this one, and the same goes for gluten-free. Neither behaves like a poolish dough on a 500 F baking steel, and both want a par-bake before the toppings go on. If a healthy crust is the goal and gluten is not a problem for you, the thin, well-fermented crust in this recipe is already doing most of the work — the 24 to 72 hour cold ferment develops flavour and lets you stretch the dough thinner, which is the real difference between a Neapolitan base and a thick takeaway one.
Vegetarian, Vegan and Other Topping Swaps
Vegetarian pizza: leave the chicken off and add tofu, or simply lean harder on the vegetables — bell peppers in any colour, mushrooms, zucchini, olives and cherry tomatoes all sit well on this base.
Vegan pizza: use a dairy-free cheese in place of the part-skim mozzarella and skip the chicken. Dairy-free cheeses brown differently under a broiler, so add them slightly later or accept a paler top.
Baby spinach: the arugula goes on after baking to keep its crunch, and baby spinach can go on the same way. If you would rather it wilt, tuck it under the cheese before the pizza goes in.
Parmesan cheese: a light grating of parmesan over the mozzarella buys a lot of savoury flavour for very little volume, which is a useful trade when you are keeping the cheese moderate.
Pesto: a spoonful thinned with olive oil and drizzled over after baking, rather than used as the base, keeps the tomato sauce where it is and still gets you the basil.
Balsamic glaze: a thin zigzag over the arugula right at the end is the classic finish, and it adds sweetness and acidity without adding fat.
Red pepper flakes: the sauce already takes chili flakes to taste, so keep more at the table if you like the heat sharper on the plate than baked in.
Saute onions: the diced onions go on raw and cook through in the minute or two under the broiler. If you prefer them sweet and soft rather than sharp, saute onions in a little olive oil first and let them cool before topping.
How to Store Leftover Heart Healthy Pizza▼
If there are leftovers, then don’t worry about it! The way that I store my leftover pizza is by wrapping the individual slices in plastic wrap and keeping it in the fridge. Your best bet is to reheat pizza slices in a microwave or air fryer.
You only need about a minute for your pizza to be completely warmed through if reheating in a microwave. To reheat your pizza in an air fryer, I would heat at 400 F for about a minute or two. To reheat in the oven, I would follow the same steps as in the air fryer, but the process will take longer since your oven will require time to preheat.
I would really avoid reheating your pizza in the microwave since the crust definitely gets soggy!
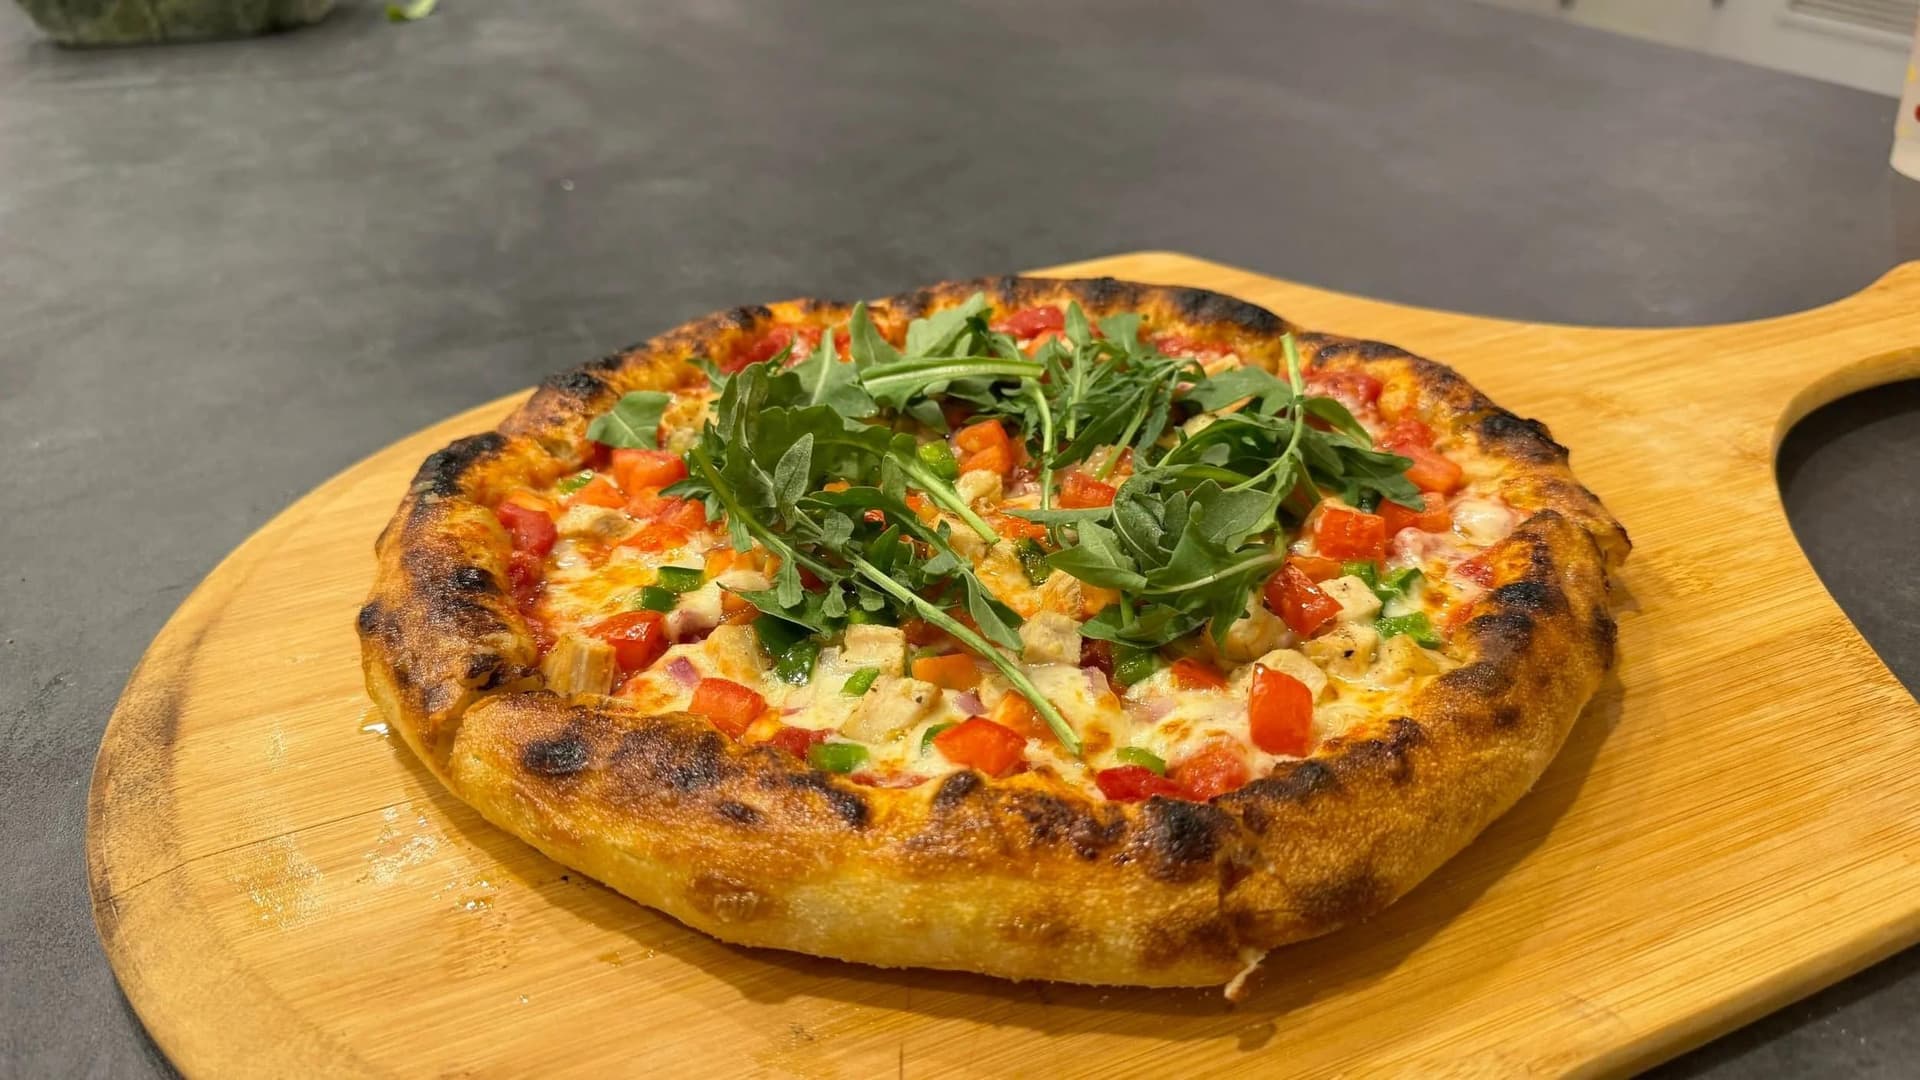
Let me know what you think of this recipe in the comments! If you’ve tried this recipe, be sure to post it on social media and tag it with #cookingwithanadi and mention me @cooking.with.anadi. Thank you!
Recipe by Anadi Misra
Craving pizza without the guilt? This heart-healthy pizza recipe delivers all the cheesy, crispy satisfaction you love with better-for-you ingredients. Make it at home tonight!
Stovetop
5.0 · 1 rating
50 min
Prep
15 min
Cook
60 hr
Rest
61 hr 5 min
Total
3
pizzas
hard
Level
Ingredients
Ingredients
Tap any quantity to scale
For the Poolish
For the Napoletana dough
For the pizza sauce
For the pizzas (3 total)
- (340 g) mozzarella cheese(shredded)
- (16 g) diced cooked chicken breast(diced, cooked)
- (15 g) diced peppersShop →
- (20 g) diced onions
- (30 g) diced tomatoesShop →
- basil(for garnish)Shop →
- arugula(for topping)
- flour and semolina(equal parts, as required for dusting)Shop →
- garlic oil (to brush on the crust) · make your own
Instructions
For the poolish
- 1
Add the yeast and water to a bowl and whisk well until the yeast is dissolved and you see bubbles at the top. If you don't see bubbles, the yeast is dead and you need to restart with a fresh batch of yeast.
Add the yeast and water to a bowl and whisk well until the yeast is dissolved and you see bubbles at the top. If you don't see bubbles, the yeast is dead and you need to restart with a fresh batch of yeast.
- 2
Add flour and mix well with a spatula and scrape down the sides of the bowl.
Add flour and mix well with a spatula and scrape down the sides of the bowl.
- 3
Cover with a plastic wrap and set in a warm, draft free place for 18 hours. If you will not be using the poolish immediately after, store in the fridge. Before using, allow the dough to come to room temperature by setting the poolish on the countertop for at least 30 minutes.
Cover with a plastic wrap and set in a warm, draft free place for 18 hours. If you will not be using the poolish immediately after, store in the fridge. Before using, allow the dough to come to room temperature by setting the poolish on the countertop for at least 30 minutes.
For the Napoletana dough
- 1
Add yeast and 2.5 oz of lukewarm water to a bowl and whisk until water is bubbly. Mix until you see no granules of yeast floating on the water. If the yeast doesn't dissolve, the yeast is likely dead and you will have to start over with fresh yeast.
Add yeast and 2.5 oz of lukewarm water to a bowl and whisk until water is bubbly. Mix until you see no granules of yeast floating on the water. If the yeast doesn't dissolve, the yeast is likely dead and you will have to start over with fresh yeast.
- 2
Add flour to the bowl of your kitchen aid mixer and add all of the yeast-water mixture. Then, slowly add most of the cold water while continuing to knead with the dough hook. Add the remaining cold water back into the bowl with the yeast-water and swirl and add to the dough.
Add flour to the bowl of your kitchen aid mixer and add all of the yeast-water mixture. Then, slowly add most of the cold water while continuing to knead with the dough hook. Add the remaining cold water back into the bowl with the yeast-water and swirl and add to the dough.
- 3
Knead until the dough comes together and there is no dry bits of flour. Stop the mixer and add the poolish, continue to knead until you have a soft, pliable dough which is not sticky to touch. Add more flour/water as required to reach this consistency.
Knead until the dough comes together and there is no dry bits of flour. Stop the mixer and add the poolish, continue to knead until you have a soft, pliable dough which is not sticky to touch. Add more flour/water as required to reach this consistency.
- 4
Stop the mixer and add the salt. Knead on low speed for 1 minute.
Stop the mixer and add the salt. Knead on low speed for 1 minute.
- 5
Stop the mixer, add the olive oil and knead on low speed for 1 minute. After 1 minute, remove the dough from the dough hook, place in the bowl of the mixer and knead for 30 seconds to a minute.
Stop the mixer, add the olive oil and knead on low speed for 1 minute. After 1 minute, remove the dough from the dough hook, place in the bowl of the mixer and knead for 30 seconds to a minute.
- 6
Then, transfer the dough to your countertop and continue kneading, stretch and fold the dough for 1-2 minutes.
Then, transfer the dough to your countertop and continue kneading, stretch and fold the dough for 1-2 minutes.
- 7
Form the dough into a ball and set aside on the countertop/bowl. Cover with a damp kitchen towel and let rest for 20 minutes.
Form the dough into a ball and set aside on the countertop/bowl. Cover with a damp kitchen towel and let rest for 20 minutes.
- 8
Then, portion the dough into 3 equal parts and for each portion fold the dough onto itself to create a tight surface tension as you seal/pinch the folds. Be careful not to de-gas the dough too much. The portions should resemble a ball of fresh mozzarella. This is a great time to freeze any dough you are not planning to use right away.
Then, portion the dough into 3 equal parts and for each portion fold the dough onto itself to create a tight surface tension as you seal/pinch the folds. Be careful not to de-gas the dough too much. The portions should resemble a ball of fresh mozzarella. This is a great time to freeze any dough you are not planning to use right away.
- 9
Transfer the dough portions to a baking sheet or plate and cover with 2 layers of plastic wrap. Let the dough rise for at least 24-72 hours in the refrigerator.
Transfer the dough portions to a baking sheet or plate and cover with 2 layers of plastic wrap. Let the dough rise for at least 24-72 hours in the refrigerator.
For the pizza sauce
- 1
In a bowl, combine all the ingredients for the sauce, mash the tomatoes and mix well. Adjust with salt for seasoning.
In a bowl, combine all the ingredients for the sauce, mash the tomatoes and mix well. Adjust with salt for seasoning.
For the pizzas
- 1
Place one baking steel/stone on the second highest rack of the oven and another one at the bottom most rack. Preheat oven at 500°F for 1 hour. Remove the pizza dough and sauce out to come up to temperature while the oven preheats.
Place one baking steel/stone on the second highest rack of the oven and another one at the bottom most rack. Preheat oven at 500°F (260°C) for 1 hour. Remove the pizza dough and sauce out to come up to temperature while the oven preheats.
- 2
Dust your countertop with flour and starting with one portion of dough at a time, place the dough ball over the dusting mixture. Starting from the center of the dough, press down on the dough and create a rim around the side.
Dust your countertop with flour and starting with one portion of dough at a time, place the dough ball over the dusting mixture. Starting from the center of the dough, press down on the dough and create a rim around the side.
- 3
Continue pressing down the center to stretch the dough. Then, hold the dough from the rim and rotate to let gravity stretch it further. You can also use knuckles to stretch the dough, until the diameter is about 10 inches.
Continue pressing down the center to stretch the dough. Then, hold the dough from the rim and rotate to let gravity stretch it further. You can also use knuckles to stretch the dough, until the diameter is about 10 inches.
- 4
Set oven to Broil mode, let top steel/stone heat for 8-10 minutes.
Set oven to Broil mode, let top steel/stone heat for 8-10 minutes.
- 5
Dust a wooden pizza peel with flour and place the stretched dough on the peel.
Dust a wooden pizza peel with flour and place the stretched dough on the peel.
- 6
Add 1/3rd of the tomato sauce and spread until the edge of the pizza. Add the mozzarella and spread evenly.
Add 1/3rd of the tomato sauce and spread until the edge of the pizza. Add the mozzarella and spread evenly.
- 7
Add the chicken, onions, peppers, tomatoes and spread evenly over the pizza.
Add the chicken, onions, peppers, tomatoes and spread evenly over the pizza.
- 8
In a swift push and pull motion, place the pizza on the top baking steel/stone.
In a swift push and pull motion, place the pizza on the top baking steel/stone.
- 9
Bake for 1½ - 2 minutes or until the crust has some char or brown spots and the cheese has melted.
Bake for 1½ - 2 minutes or until the crust has some char or brown spots and the cheese has melted.
- 10
Then transfer the pizza to the bottom steel/stone to finish off the crust of the pizza, about 30 seconds to 1 minute.
Then transfer the pizza to the bottom steel/stone to finish off the crust of the pizza, about 30 seconds to 1 minute.
- 11
Remove the pizza from the oven and top with garlic oil. Slice the pizza and then top with arugula.
Remove the pizza from the oven and top with garlic oil. Slice the pizza and then top with arugula.
- 12
Serve hot and enjoy!
Serve hot and enjoy!
Did you make this recipe? Tag @cooking.with.anadi on Instagram and hashtag it #cookingwithanadi

Tested & written in Anadi’s kitchen
Recipe history
- April 16, 2026 — Reworked and refreshed for the 2026 relaunch — new photography, restructured and standardized ingredients & instructions.
Filed under
You might also like
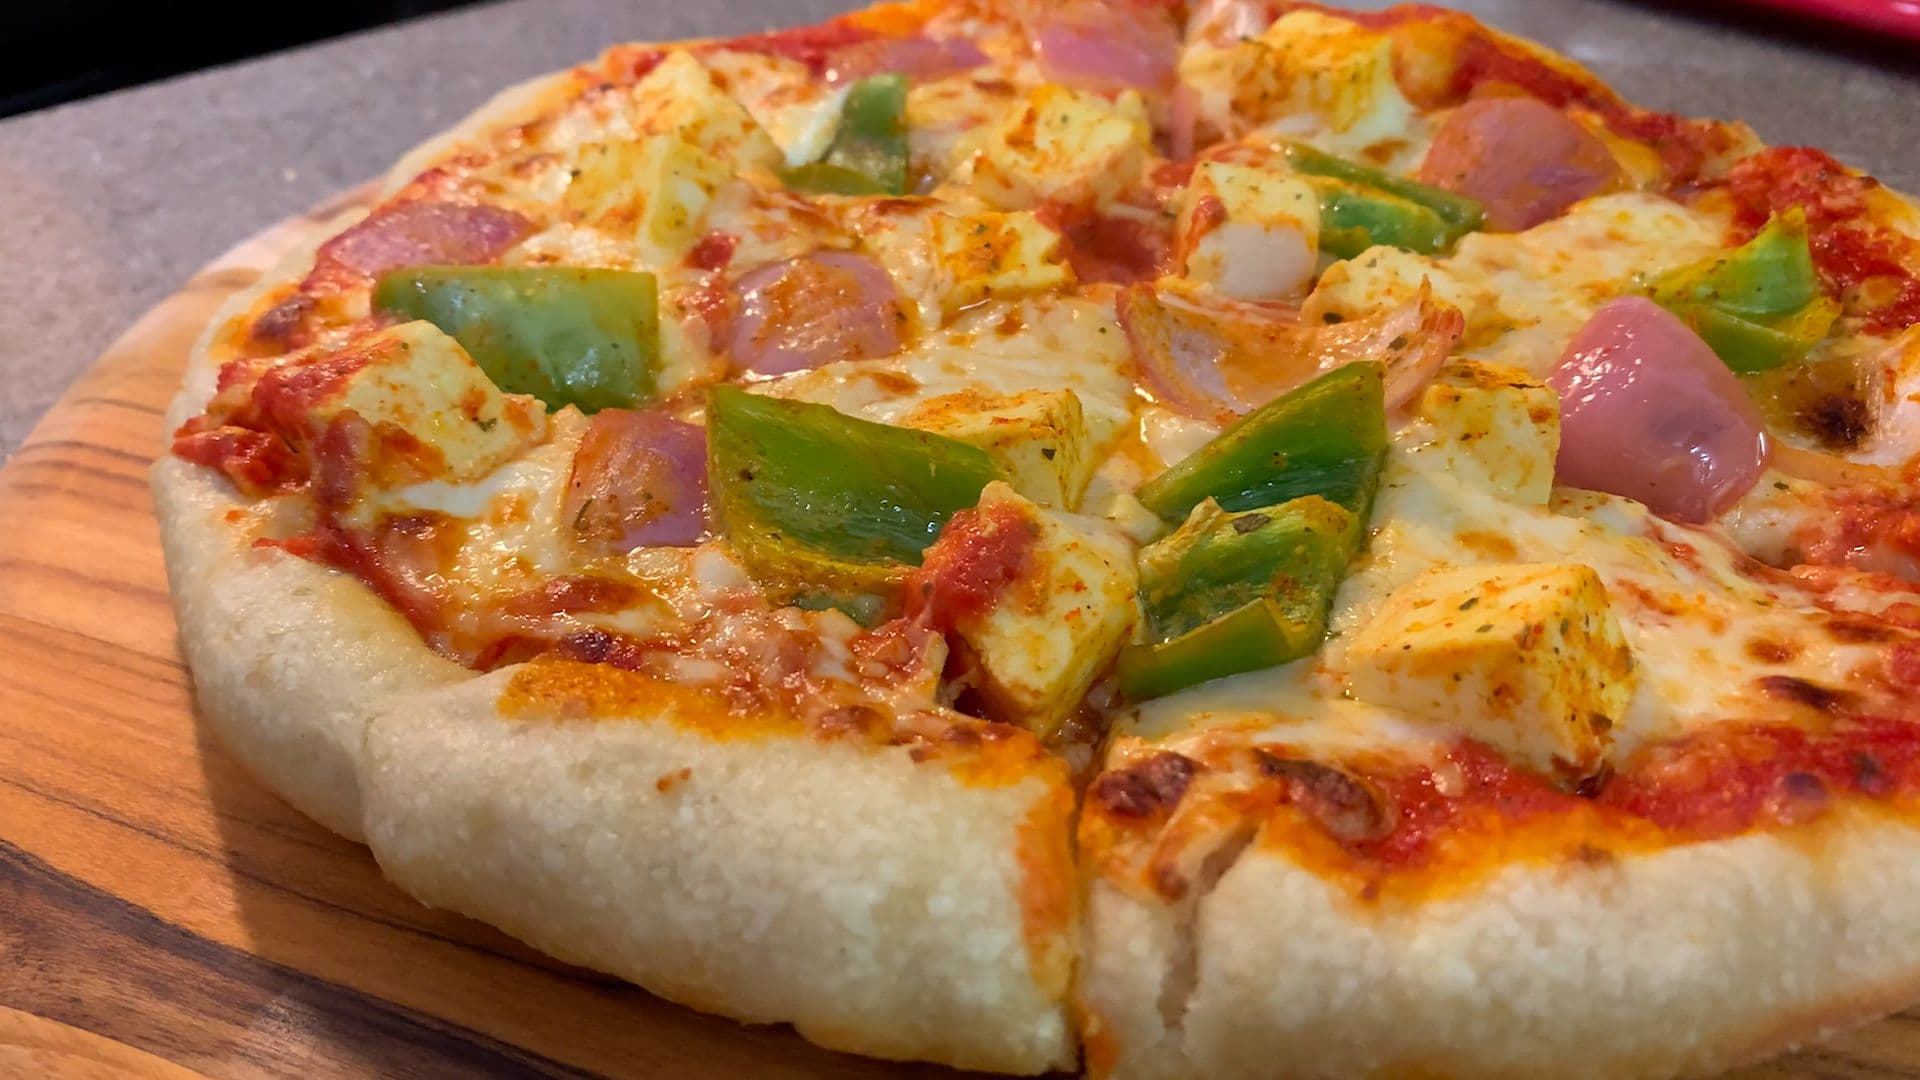
Indian Fusion Paneer Tikka Pan Pizza Recipe
Make paneer tikka pan pizza at home without an oven! This Indian fusion recipe combines crispy crust with creamy, spiced paneer for a quick and flavorful vegetarian meal the whole family will love.
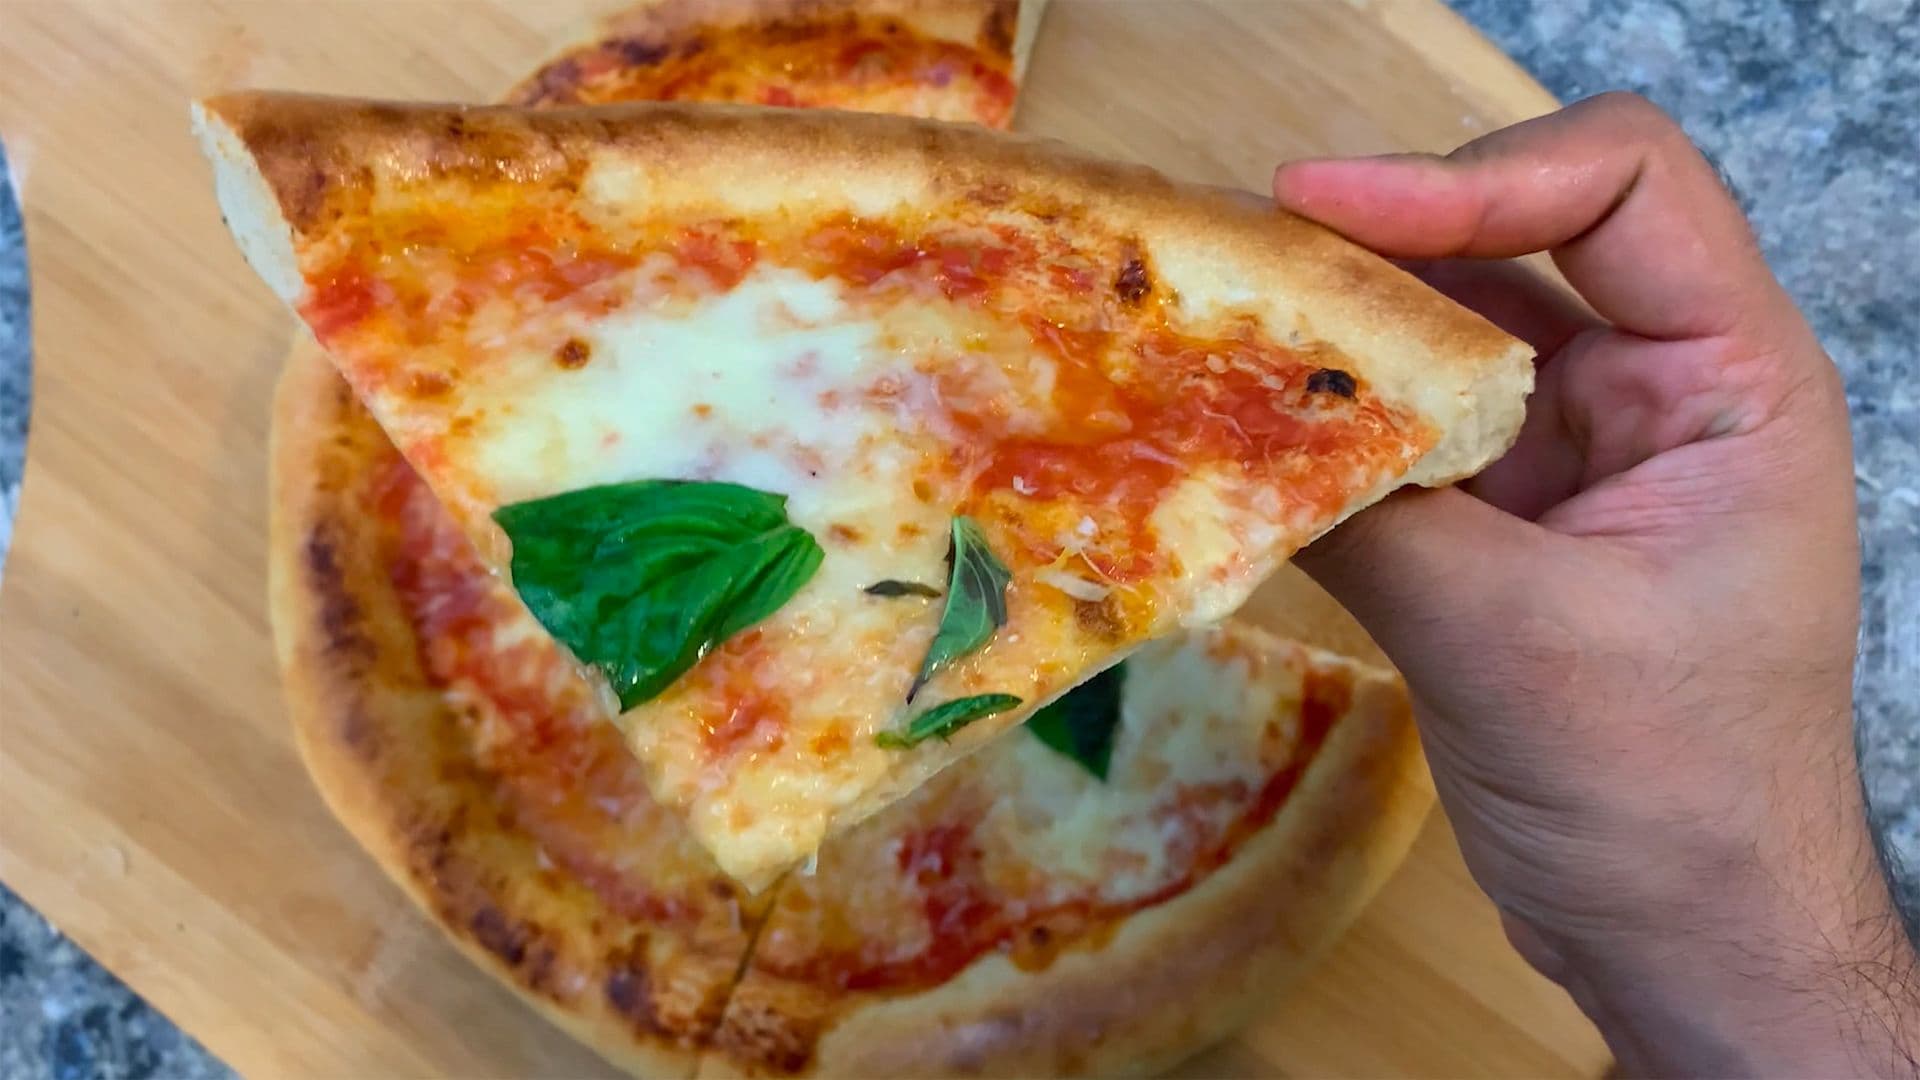
Bring Italy to Your Kitchen: Margherita Pizza Recipe
Make authentic Margherita pizza at home with a crispy crust, fresh basil, and rich tomato sauce. Simple steps, real Neapolitan flavor — no fancy equipment needed.
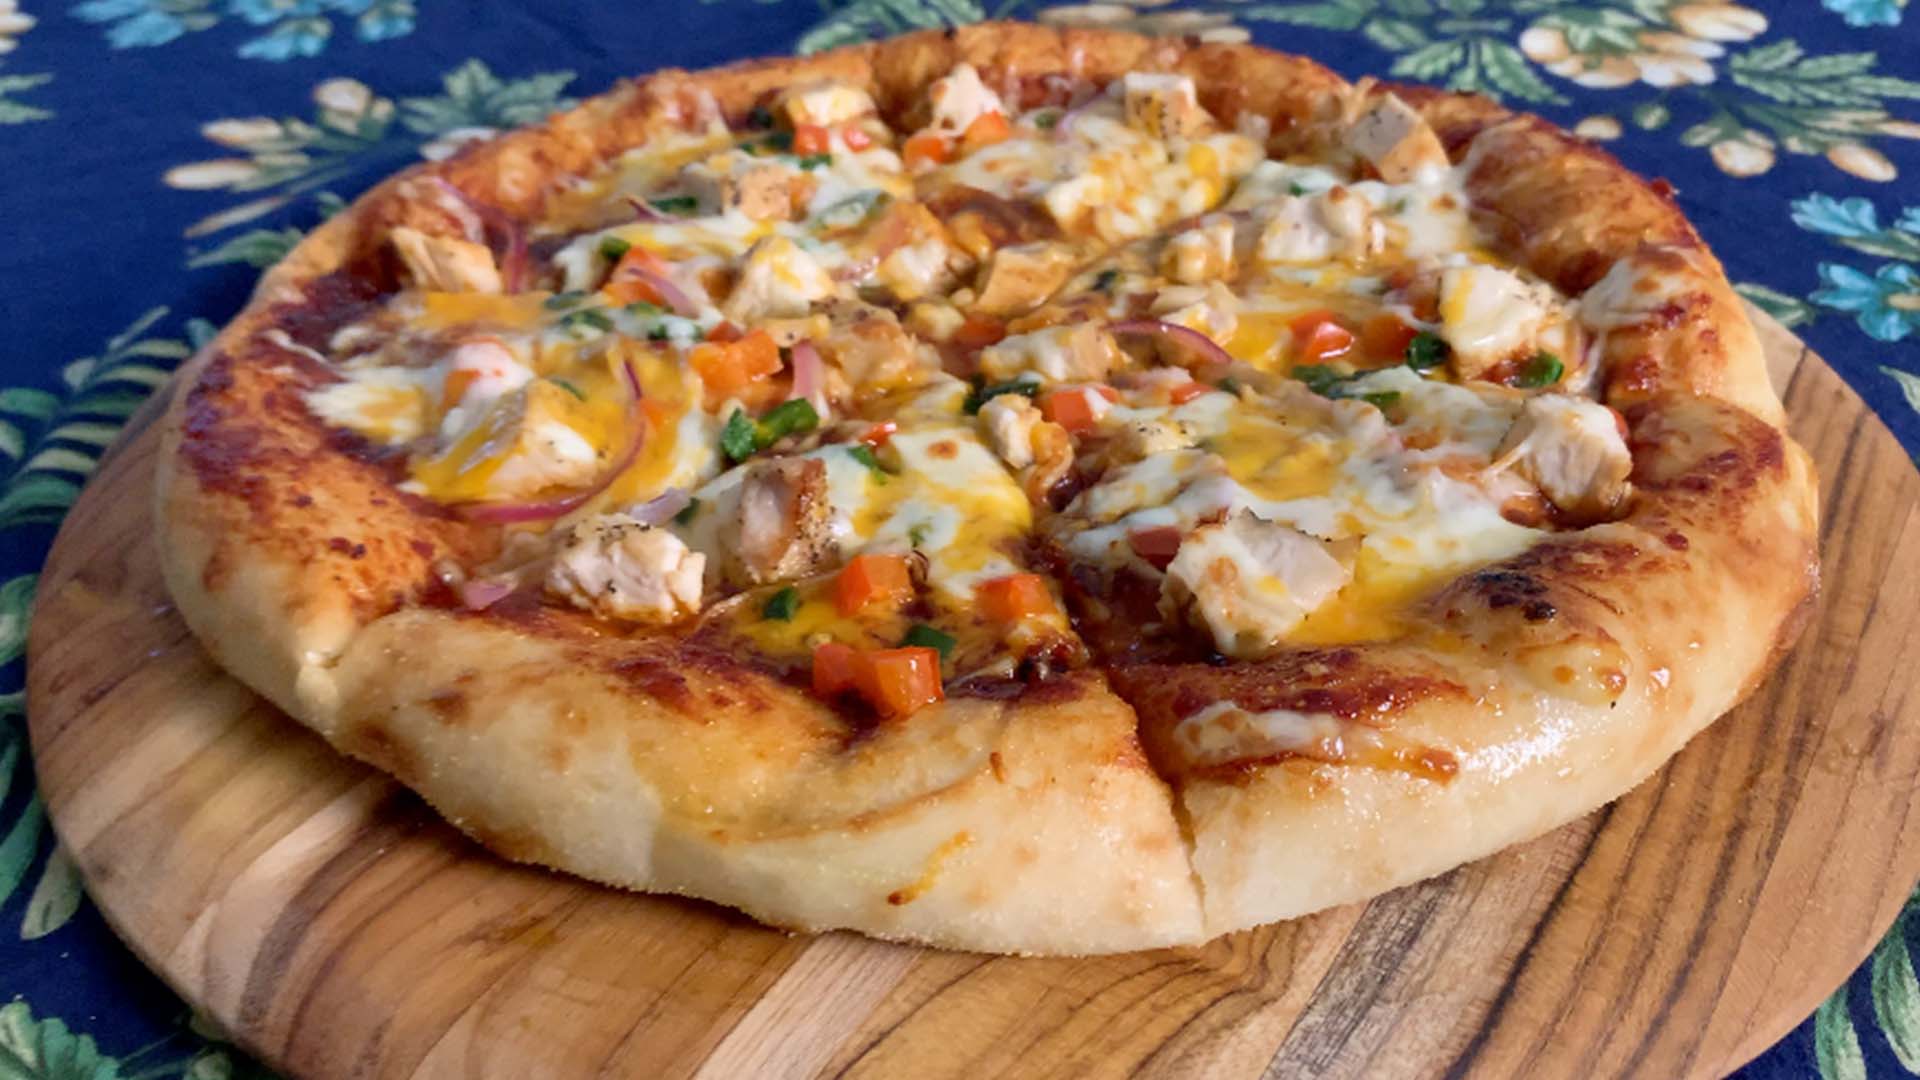
Easy BBQ Chicken Naan Flatbread Pizza Recipe
Make BBQ chicken naan flatbread pizza at home in minutes! Crispy naan, smoky BBQ sauce, and tender chicken make this easy pizza recipe a weeknight winner.

Quick and Delicious Pepperoni Pizza Bagels
Quick, cheesy, and loaded with pepperoni — these pizza bagels make the perfect easy breakfast or snack. Ready in minutes with simple ingredients you already love.
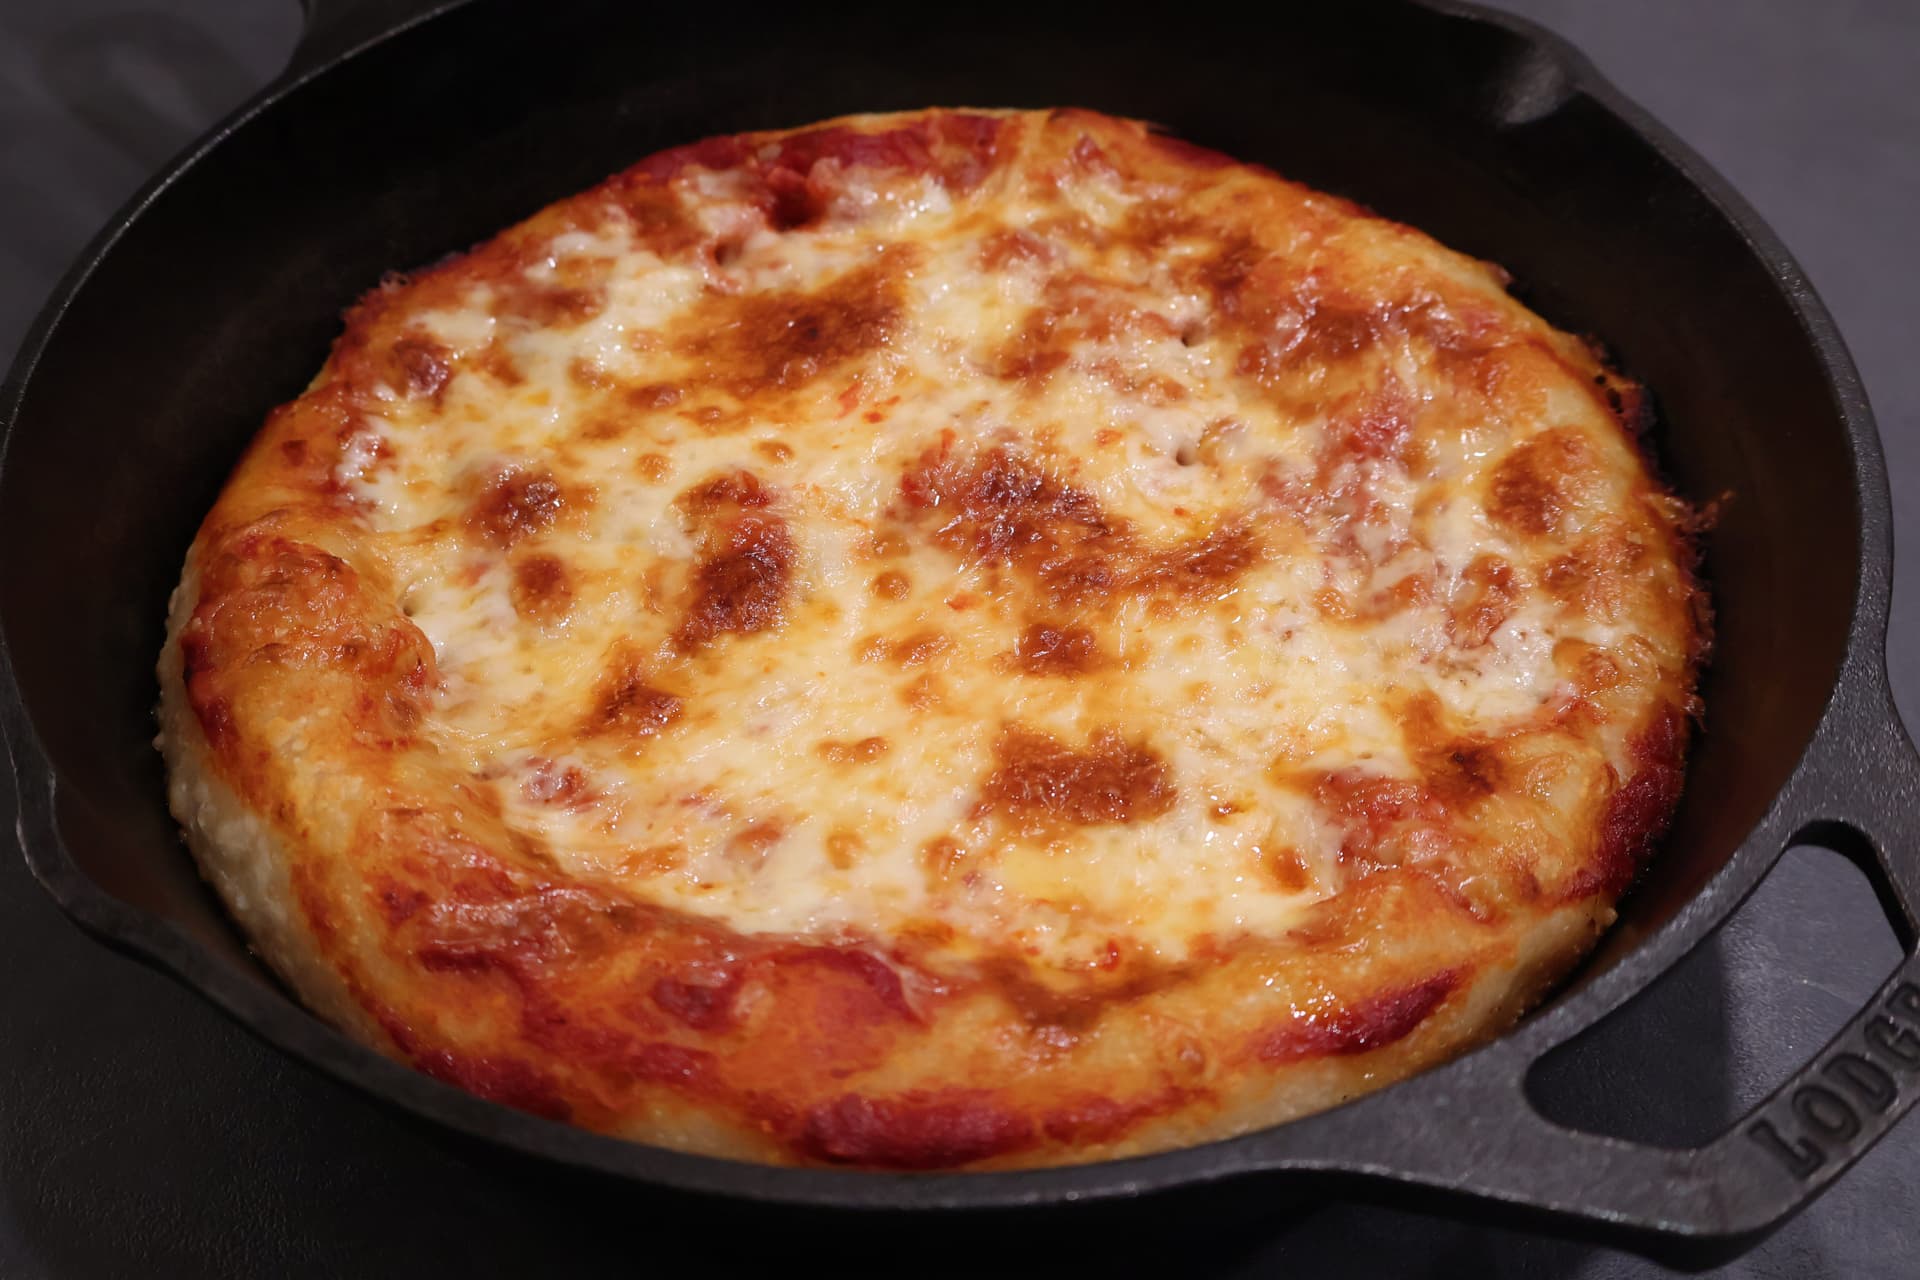
The Most Amazing Cast Iron Pan Pizza Recipe
Make the most amazing cast iron pan pizza at home with a perfectly crispy crust and bubbly cheese. Easy to follow and better than delivery, this recipe will become your new favorite.
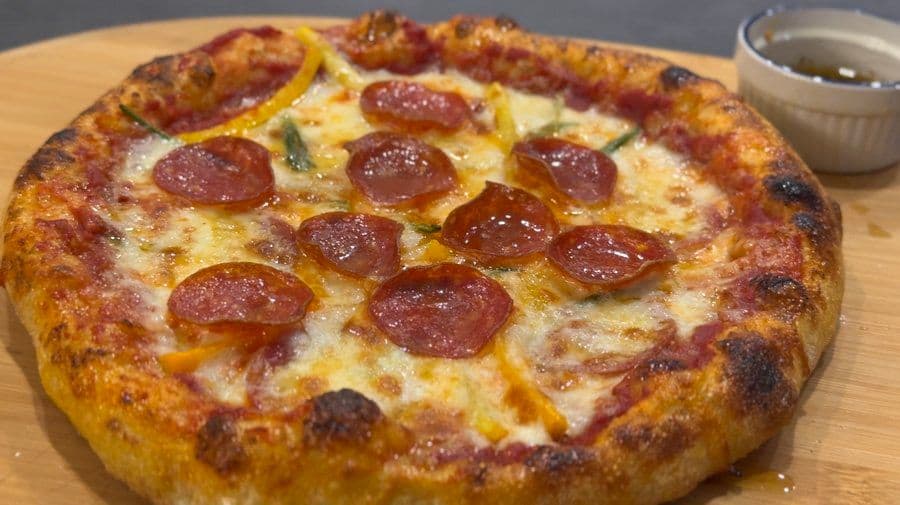
Cheesy 5 Pepper-oni Napoletana Pizza - Pepper Month Special
Cheesy, bold, and loaded with 5 peppers — this Napoletana Pizza recipe brings serious flavor to your kitchen. Perfect for pepper lovers who want an easy, impressive homemade pizza night.


Comments
No comments yet — be the first to share your thoughts!
Leave a review
Be the first to share how it went — your note helps other cooks (and earns the recipe its stars).