


This post may contain affiliate links. Read our disclosure policy
Watch the recipe

Garlic Infused Olive Oil Recipe - 2 Ways!
Do you cook with a lot of olive oil? I know I do! Now what about garlic? For me, those are two big “yups!” They are two necessities that I can’t live without! The combination of the two are just incredible together, but have you ever wanted to switch things up with your regular cooking oil?
When I go to the grocery store, I love browsing specialty oils. The only problem with them is that they’re expensive. You’ve got plenty of options for sure, and one of them is garlic-infused oil. At the grocery store, a 1 cup (250 mL) bottle of garlic oil starts at $7.49 CAD. If you want to use your oil for everyday cooking, then I think you’d be going through a lot of bottles, and that’ll put a dent in your wallet!
You can easily make your own garlic oil for a fraction of the cost right from your own kitchen! This post will provide you two different methods on how to make the best homemade garlic-infused oil that will add tremendous flavor to elevate your daily meals.
If you’re ready for a versatile and delicious condiment that you’ll be grabbing for all the time now, then get ready to follow along with this easy recipe! You can watch exactly how both methods are executed by checking out the video. If you haven’t already, be sure to subscribe to my YouTube channel and don’t forget to hit the bell button so you get notifications when all of my video recipes are live! Let’s get mixing!
What Is Garlic Infused Oil?▼
Garlic Infused Oil is simply oil that was prepared with garlic cloves, but then the garlic is strained from the oil so you’re left with the flavors without actual pieces of garlic. This is excellent for cooking because you don’t have the bits of garlic mixed in with the oil without sacrificing flavor!
As I’ll describe soon, garlic oil is also ideal for individuals who suffer from digestive issues, such as Irritable Bowel Syndrome (IBS) or Small Intestine Bacterial Overgrowth (SIBO).
Even if your gut can tolerate garlic, having an oil that’s infused with garlic is amazing to have in your pantry, and I’m really happy I’ve got plenty of it now! As I describe in my free motivational guide Make Cooking Fun!!, my top 5 tips to explore your potential in the kitchen, using what you have can give you inspiration to try out new recipes. Ever since making my garlic oil, I’ve really been looking forward to using it, particularly while pan-searing some salmon and incorporating it in pasta! I have to admit that by having the garlic flavor in the oil, you save tons of time peeling and mincing or chopping garlic. It may seem like a bit of a lengthy process to do when you’re making the oil, but in the long run you’ll save the time compared to doing it for every single meal. If you’re like me and use garlic for nearly every meal, then that’s a lot of minutes spent peeling!
You can incorporate this garlic oil to make a dish that will fit any of the four themes in my Live to Cook one month challenge! We’re well into January, but that doesn’t mean it’s too late to follow through with that resolution to cook more at home, and a simple swap from regular olive oil to a homemade garlic oil can really take your food from average to restaurant quality! Get started on your cooking journey for free by singing up to my email newsletter!
All About Garlic
Garlic is one ingredient that I always have on hand, and I really couldn’t imagine cooking without it. If I run out of garlic without realizing I will make that trip to the grocery store in a heartbeat to go get it. Food just isn’t as delicious without using garlic!
If you’re familiar with the blog, nearly everything I cook contains garlic. Raw garlic is extremely strong and can be overbearing, but when you cook garlic and combine it with oil or butter, you just get that wonderful aroma that we all know and love! Just garlic and oil smells amazing, and this goes right into your food!
However, I’ve recently learned that some people can’t tolerate garlic. Garlic contains fructans, known as oligosaccharides, which make up the molecular structure of garlic. Some folks with digestive issues such as IBS cannot tolerate garlic. Additionally, patients who look to diagnose a digestive issue follow a low FODMAP (fermentable oligosaccharides, disaccharides, monosaccharides and polyols) diet. The purpose of this diet is to act as a temporary measure to alleviate the symptoms of digestive distress the person is facing and to have a “clean slate,” avoiding all high FODMAP food (where garlic is one of them). However, does this mean that people avoiding garlic should never have the joy of experiencing its delicious flavors? No!
Garlic is water soluble. This means that if you try adding whole cloves of garlic into a dish, then removing the pieces before serving, unfortunately some fructan content will still seep into your food and can cause digestive distress to those who can’t tolerate fructans. BUT garlic is not oil soluble!! This means you can add garlic to oil and then remove it, and the fructan content won’t seep into the food, and you’ll get the incredible garlic flavor you’re looking for.
As I’m currently preparing food for my lady who’s following the low FODMAP diet, I didn’t want to sacrifice any flavor! Of course you can’t use this oil for every single recipe that contains garlic - for instance, Indian butter chicken (murgh makhani), requires ginger-garlic paste. Sadly, you really need real garlic to make that! However, I will give you a list of ideas where you can incorporate this oil infused with garlic to replace minced garlic or chopped garlic, and that list will be quite extensive!
For more information about the low FODMAP diet and how to manage cooking with garlic while following the diet, check out the official article by Monash University.
Do I have to Use Olive Oil?▼
You don’t need to use olive oil to follow this recipe! I chose to use extra virgin olive oil because that’s the oil I typically use for cooking, and olive oil and garlic always pair so well together! You can of course follow the recipe with any neutral oil, such as sunflower oil, grape seed oil, canola oil, or safflower oil, if you don’t want to have the flavor that comes from olive oil.
No-Cook vs Cooked Garlic-Infused Methods
Both the no-cook and the cooked method are very easy. The no-cook method is the more “practical” version that requires the least amount of work and results in an end product that is pretty close to the cooked method. While the cooked method requires a tiny bit more of your time to produce a more aromatic, and intense garlic infused oil. No need to decide now, use both recipes as need arises.
Equipment to Make Garlic-Infused Oil
Ingredients for Homemade Garlic Oil
There are only two simple ingredients for this simple Homemade Garlic Oil recipe. Scroll to the bottom of this post FULL PRINTABLE recipe card to get all the measurements and recipe instructions to save for later. You can also scale the recipe based on how much garlic oil you want to make. You can make a large amount as you’ll see that this can last for quite some time, so if you really love the taste of garlic, then I recommend you make a fairly large portion! The ingredient quantities will automatically adjust for you so you don’t need to do any calculations!
- Olive oil: Extra virgin olive oil is what you want to go for. Extra virgin olive oil is unrefined oil because it’s not treated with chemicals or heat treated. As a result, it retains its olive flavor, along with its antioxidants and vitamins that are excellent for your health.
- Garlic cloves: Fresh garlic cloves that will be either mashed or added in whole, depending on which method you’ll follow.
How to Make Garlic Infused Olive Oil
No-Cook Garlic Oil
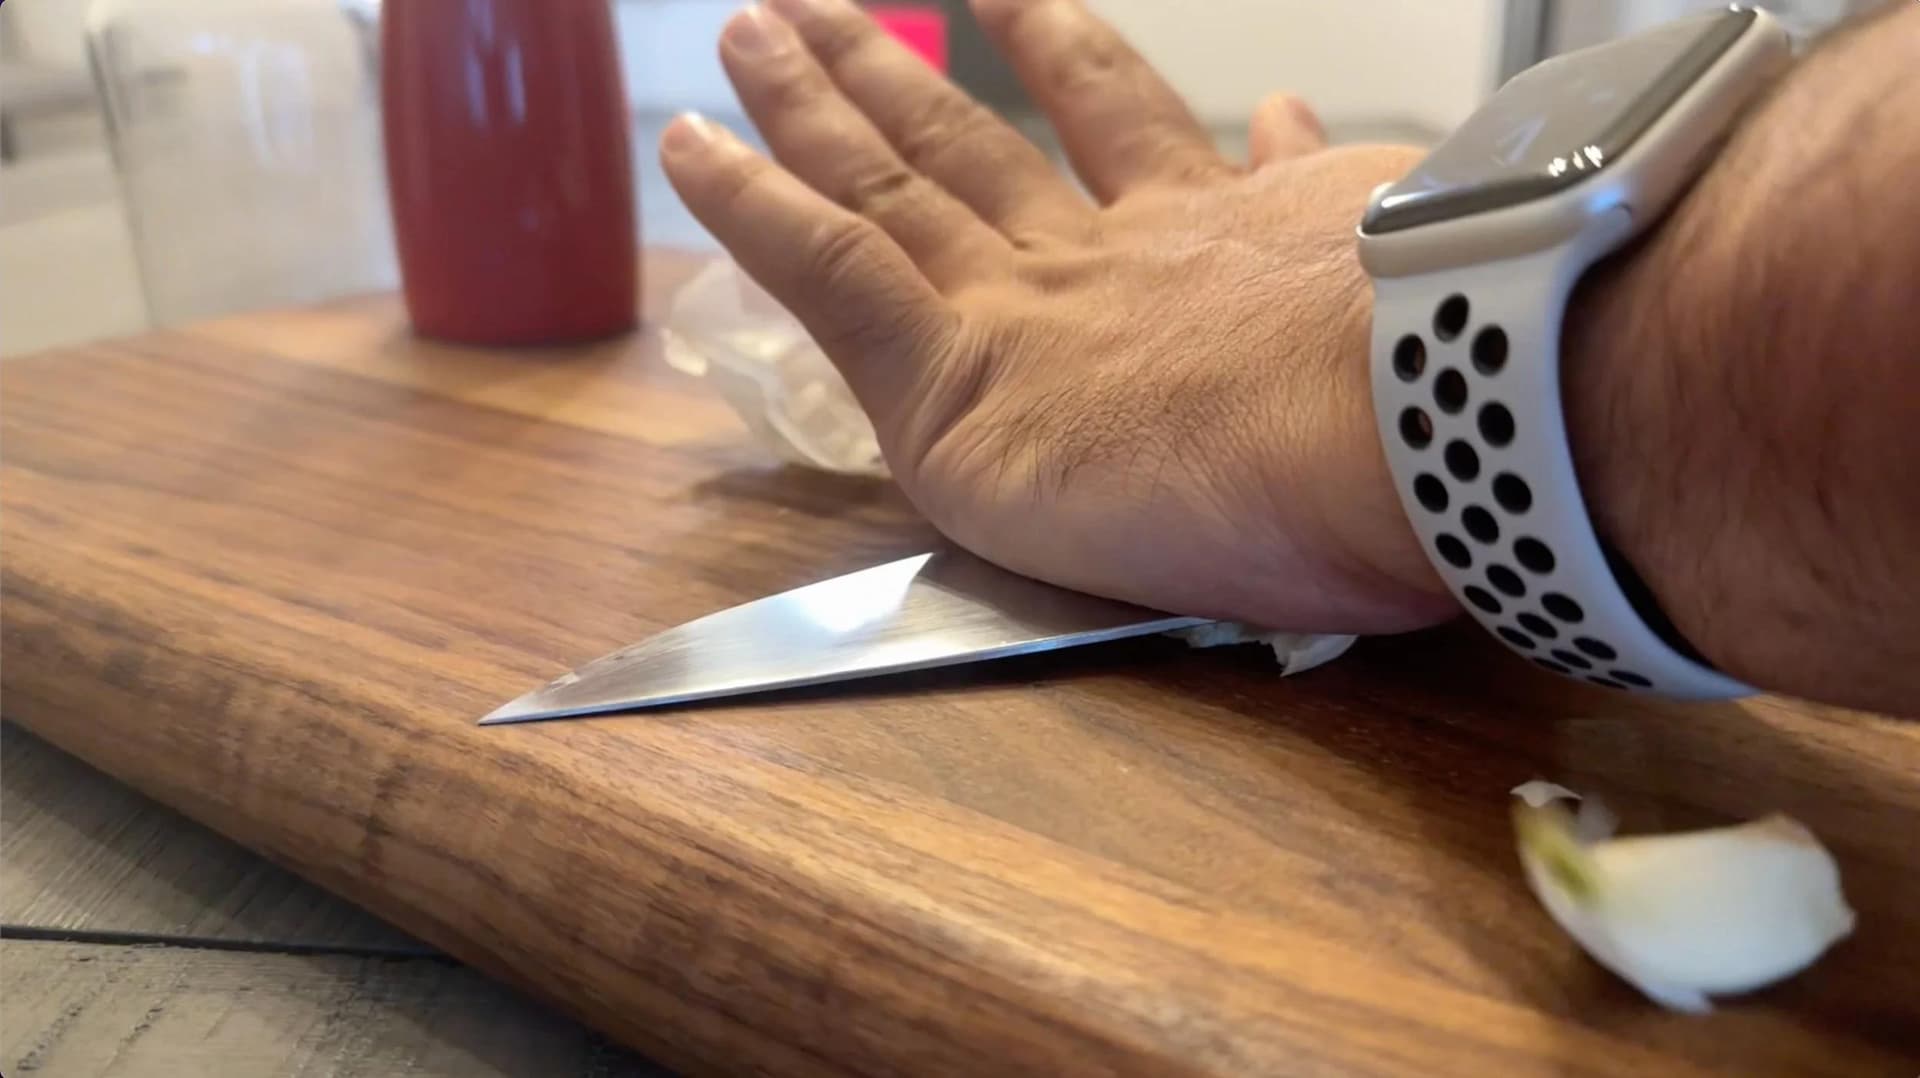
Smash the garlic lightly with the help of a chef's knife and peel the cloves.

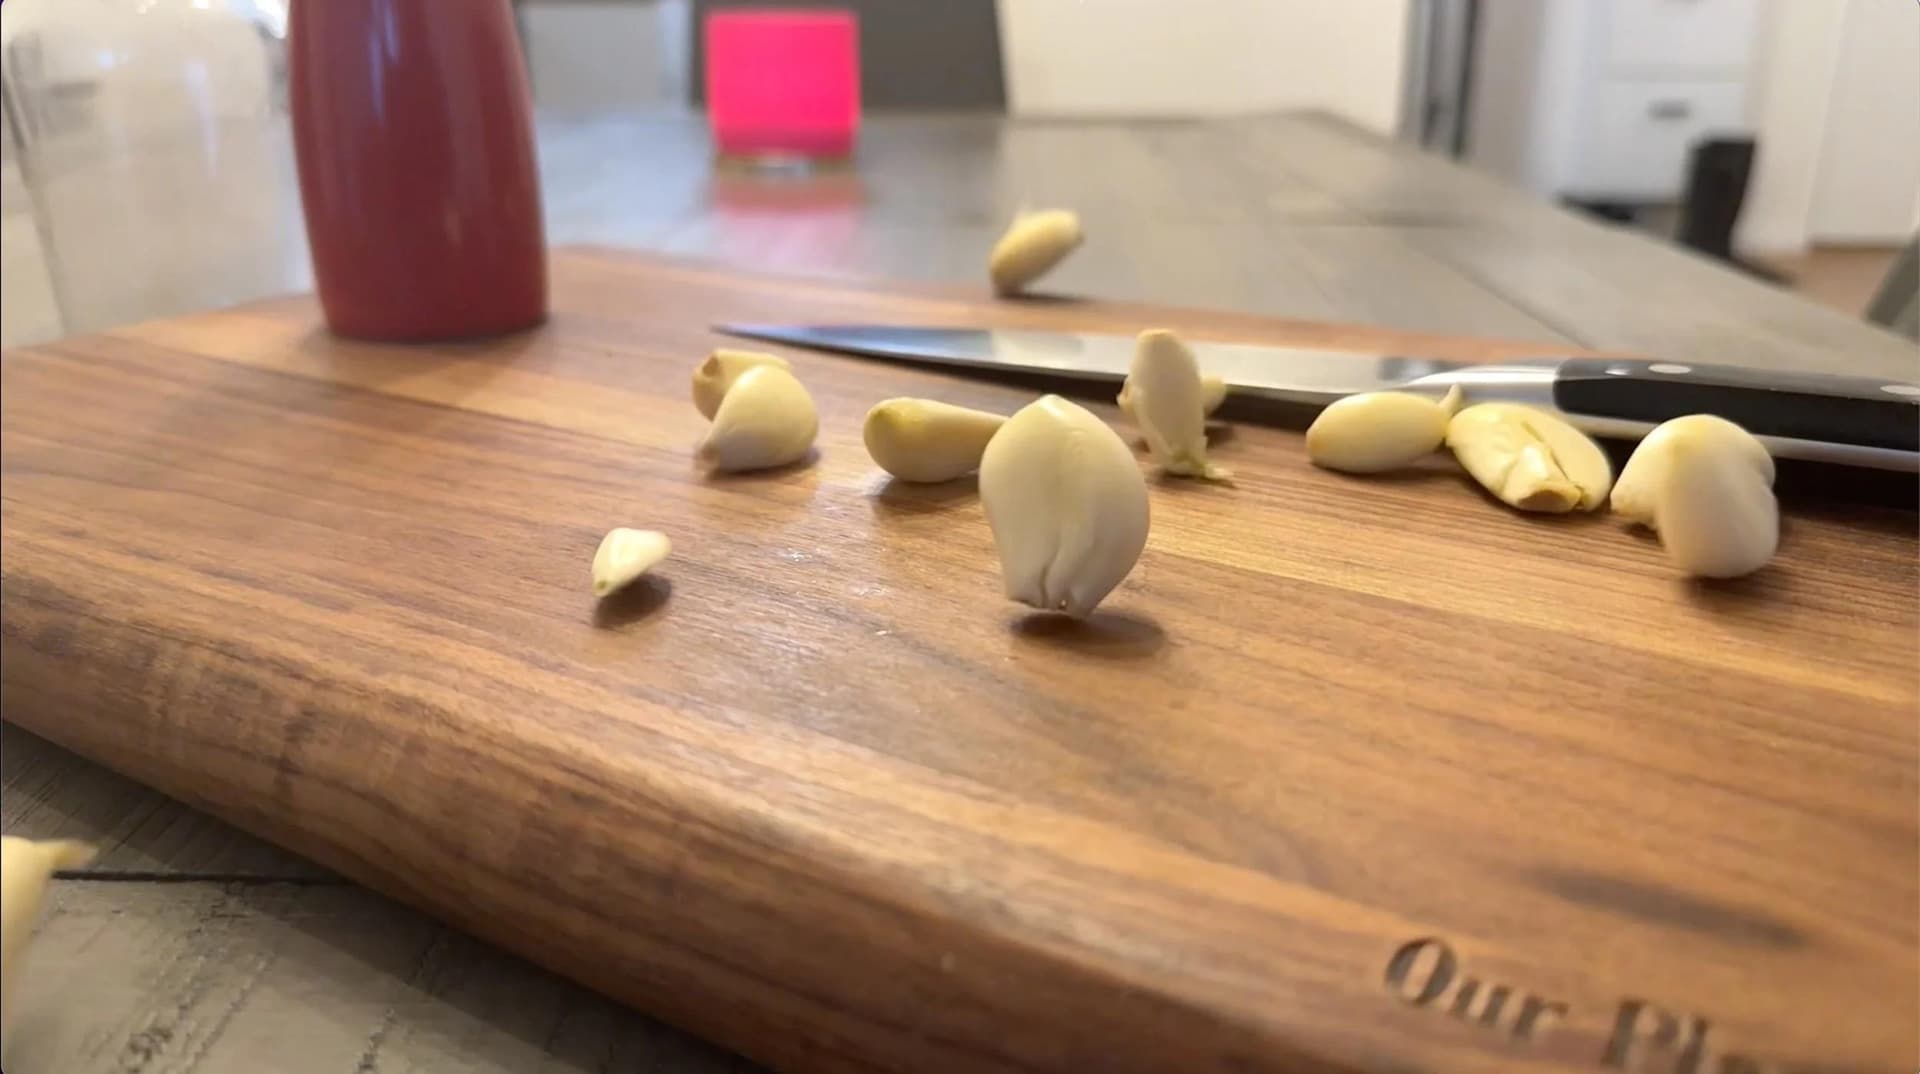
Chop the garlic finely or grind them in a mortar & pestle, or a garlic press.


Place the garlic in a bowl or jar and then add in the olive oil.


Let the garlic steep in the oil for at least 8 hours or preferable overnight in the fridge. Afterwards, you may discard the garlic to keep the garlic infused oil for a long time or keep the garlic in oil for up to 4 days in the fridge.

Cooked Garlic Oil
Smash the garlic lightly with the help of a chef's knife and peel the cloves. Chop the garlic finely or grind them in a mortar & pestle, or a garlic press.
Place the garlic in a saucepan and then add in the olive oil. Turn the heat to medium-low and warm up the oil. Start warming the oil till you see small bubbles around the garlic.

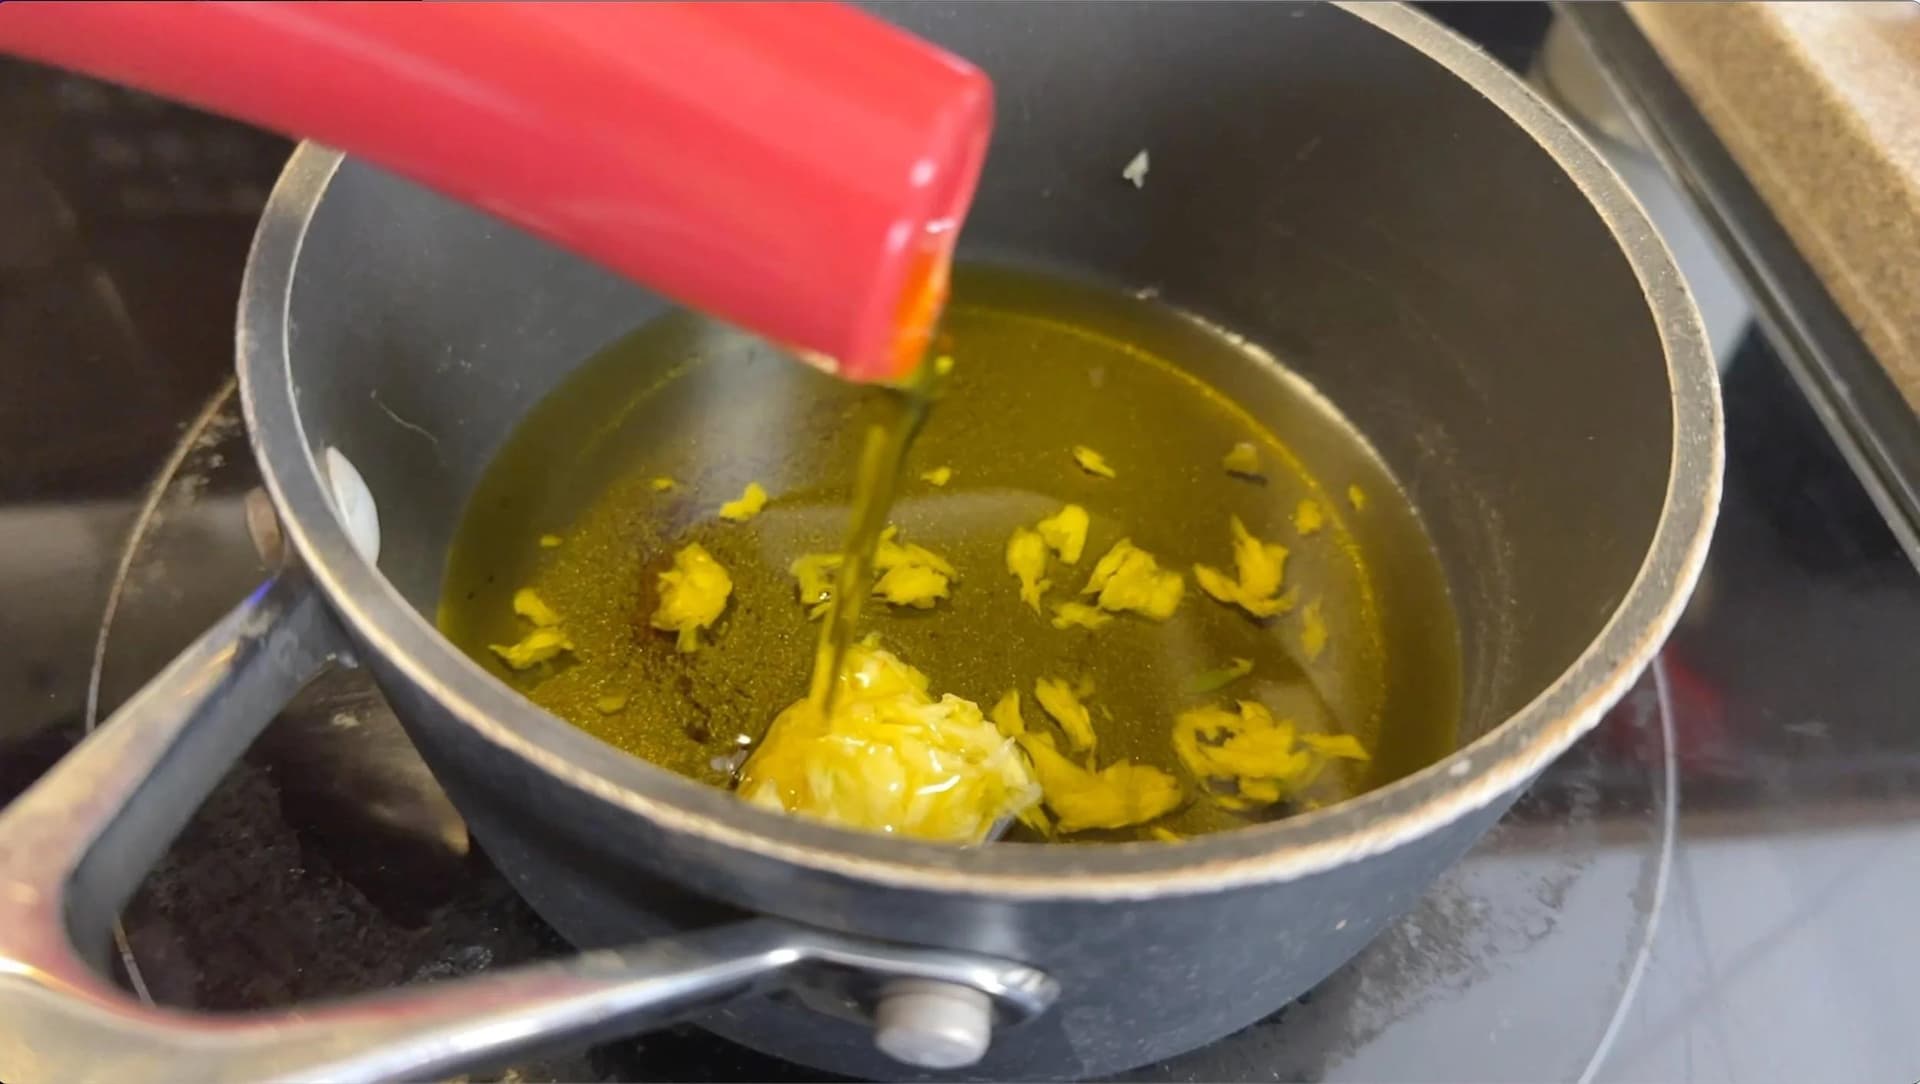


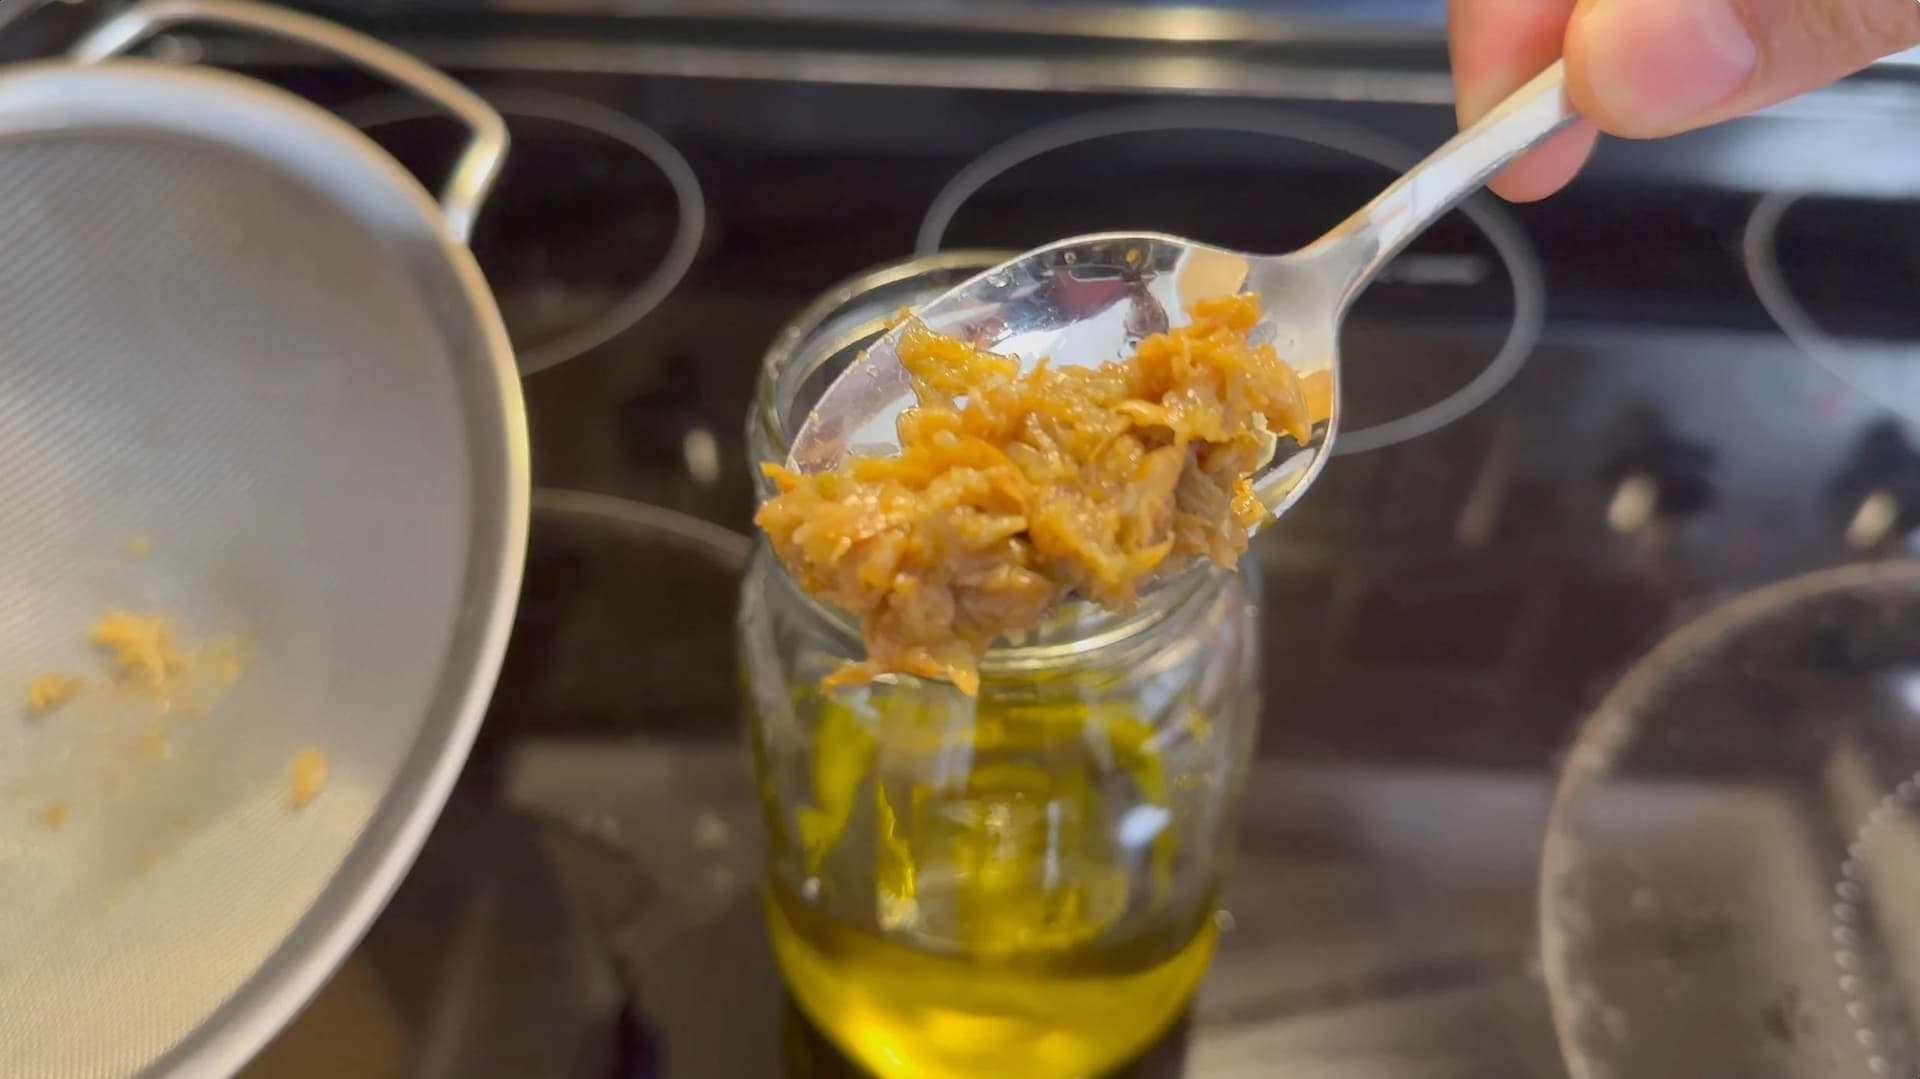
Then, continue cooking gently for 15-25 minutes or until the raw smell of the garlic is gone and you smell the nice roasted flavor. The garlic would also become lightly golden brown and you can use this for cooking. You may discard the garlic to keep the garlic infused oil for a long time or keep the garlic in oil for up to 4 days in the fridge.


Variations for Garlic Oil
Chili Garlic Oil
To make this Garlic-Infused Olive Oil have a hint of spice, you can simply add in some chili flakes as well.
Herb Garlic Oil
You can chop up some fresh herbs to add into your oil such as rosemary, thyme, oregano, or basil. Alternatively, you can use dried spices.
Adding Spices
You can also try adding ground spices that commonly pair well with garlic. Examples include turmeric, cumin, and coriander.
How to Use Garlic Oil
- Pasta: Any pasta where you’ve got garlic and olive oil, you can simply omit adding minced or chopped garlic cloves and use the oil!
- Bread: Garlic bread anyone? You can brush on this oil over your baked bread and there you go - a super simple garlic bread!
- Potatoes: I love to drizzle olive oil on my all my French fries (that aren’t deep fried!) and even my Air Fryer Baby Potatoes! Not only does olive oil add flavor to the potatoes, but it helps to get them crispy. Now drizzling the potatoes with the garlic oil will take them to new heights for sure!
- Pizza: If you’ve seen my pizza recipes, you know that I love to brush garlic oil on the crust. In the past, I’ve quickly made garlic oil by simply combining minced garlic with olive oil in a ramekin. The time taken in both the no-cook and the cooked methods really add tremendously more flavor to the oil, so pizzas are the perfect opportunity to use your delicious Garlic-Infused Oil! You can even use this oil to make an oil-based pizza sauce.
- Protein: If you want to cook up some simple protein such as seafood, poultry, beef, or even plant-based options, then swap your regular olive oil for our enhanced Garlic-Infused Oil! This oil would be fabulous to cook up Juicy Grilled Chicken Breast, Pan-Seared Curried Scallops, Crispy-Skinned Blackened Salmon, or even to sear your Meatballs! You can also add this to make an omelette if you like to cook your omelettes with olive oil. You can apply a drizzle of this over your Fresh and Tangy Egg Toast!
- Rice: You can use this garlic oil to top over Steamed White Rice or to pan-fry any stir fries or pulaos. Some recipes where this garlic oil would be perfect in include Indian-Style Cilantro-Lemon Rice, Indian-Style Egg Fried Rice, or Light & Healthy Vegetable Pulao.
- Salad dressing: This would be an awesome base for a vinaigrette or dressing!
- As a gift: Giving this oil as a gift to a passionate home cook would really be a special DIY gift that would be much appreciated! Nothing beats a thoughtful homemade gift!
How to Store Homemade Garlic Oil▼
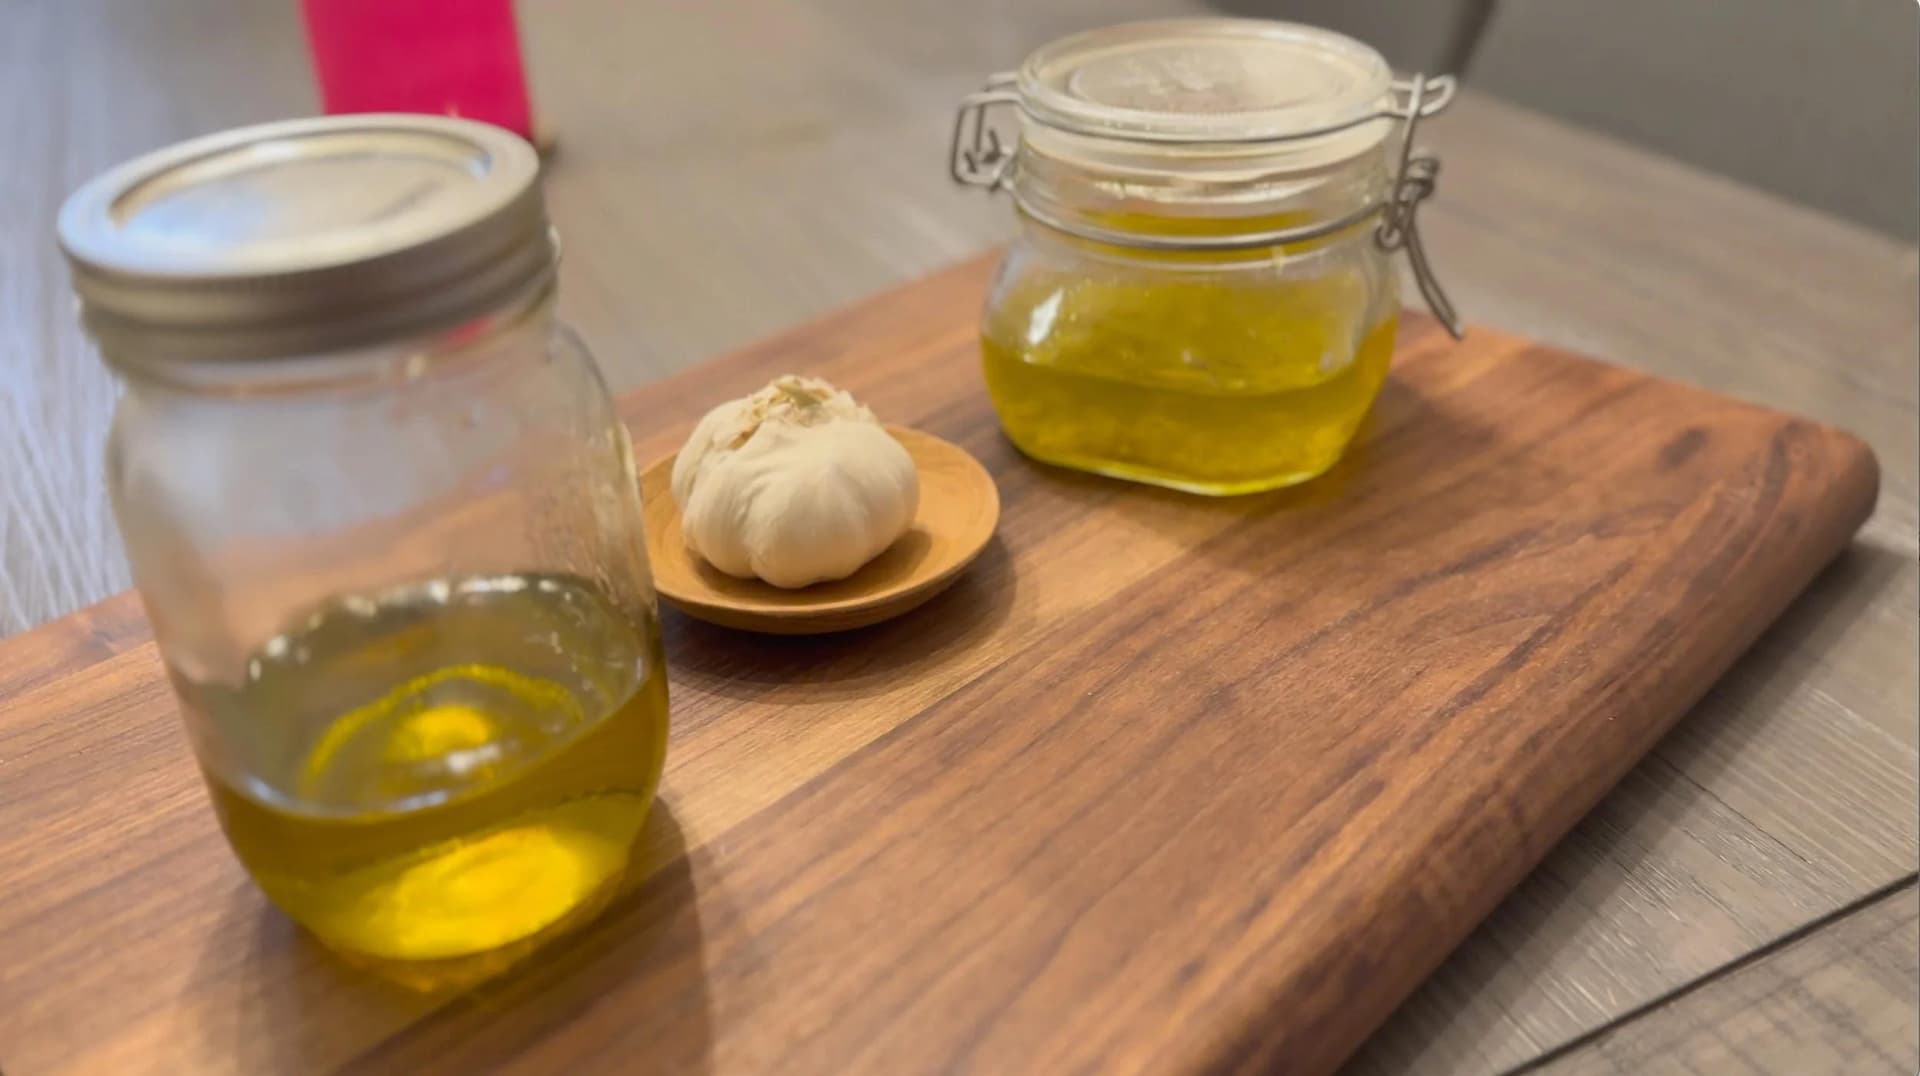
Store your Homemade Garlic Oil in a mason jar or in a squeeze bottle. A squeeze bottle is handy so that you can easily apply it onto a pan or directly onto food. A mason jar is a great storage option if you want to spoon the oil onto food or spoon it to make a dressing. If you are keeping the garlic in the oil, then be sure to store the garlic in oil for up to 4 days in the refrigerator and up to 3 months in the freezer. In case you are only keeping the garlic infused oil, keep reading.
How Long Will Garlic Oil Last?▼
Because garlic-infused oil does not contain the pieces of garlic, you don’t need to worry about botulism. With pieces of garlic, botulism is a major food safety warning. Botulism is a serious illness cause by toxins that affects a person’s nerves, resulting in weakness in the person’s body and heavy breathing. Typically, botulism comes from the bacteria that produce spores, acting as a protective layer. Under certain conditions, such as the garlic going bad, the spores grow and make botulinum toxin. If foods with the toxin are eaten, the person requires immediate medical attention. Otherwise, he or she can suffer from a serious illness or even death. To learn more about botulism, check out this information provided by the Center for Disease Control (CDC).
With that being said, to be safe you should store your Garlic-Infused Oil in the fridge.
Can You Freeze Garlic-Infused Oil?▼
From what I’ve read, you can actually freeze garlic oil indefinitely. The key is how to freeze it so that you’re not defrosting a big batch. One idea is to use ice cube trays so that you have individual portions. Alternatively, ensure you freeze the oil in an airtight container that has a portion you intend on using immediately.
Other Essentials Recipes!
- Classic Spicy Aioli
- Chunky Mango Guacamole
- Garlic Truffle Aioli
- Sweet & Spicy Tomato Chutney
- Sweet & Sour Tamarind Chutney
- Cilantro-Mint Chutney
- Ginger-Garlic Paste
- Authentic Pico de Gallo
- Classic Guacamole
- Yogurt Caesar Dressing
The Room Temperature Rule, and How to Keep It Longer
This is the one part of making garlic oil that is worth being strict about. Garlic is a low-acid vegetable, and sitting it in oil seals it away from air, which is exactly the environment you do not want a jar of it living in on a warm counter. So the rule is simple: homemade garlic infused oil does not get stored at room temperature. Not overnight, not for an afternoon, not in a pretty bottle next to the stove. It goes in the fridge, and with the garlic still in it you keep it for up to four days.
If you want it around for longer than that, the recipe's own route is to strain the garlic out, and the safest way to hold on to it beyond a few days is to freeze it. Pour the finished oil into an ice cube tray, freeze it into cubes, and pop one out whenever you need it. A cube melts into a hot pan in seconds and you skip the four-day clock entirely. The same caution applies to anything else you might be tempted to steep in oil the same way, like onions or fresh herbs, because they are low-acid too.
The Cooked Method: Pan, Heat and Straining
For the cooked version, half a cup of olive oil and the cloves from one bulb of garlic go into a small saucepan. Size matters here only because a wide pan spreads that half cup too thin to cover the garlic. Olive oil is what I use for the flavor, but vegetable oil works and gives you something more neutral with a higher smoke point if you plan to fry with it.
Set it to medium-low. Not very low heat, which will sit there for half an hour without infusing anything, and not medium, which browns the garlic before it has given up its flavor. What you are looking for is small bubbles rising steadily around the garlic and nothing more aggressive than that. From there it is 15 to 25 minutes, until the raw garlic smell has gone and what you can smell instead is roasted, with the garlic turned lightly golden.
You do not need a thermometer for any of this. The bubbles and the smell are better cues than a number, and the visual is unmistakable once you have done it once. When it is ready, either leave the garlic in and use it within four days, or pour the oil through cheesecloth or a fine mesh sieve to strain it clear. The softened garlic you strain out is far too good to bin, so keep it and spread it on toast or stir it into a dressing.
Let me know what you think of this recipe in the comments! If you’ve tried this recipe, be sure to post it on social media and tag it with #cookingwithanadi and mention me @cooking.with.anadi. Thank you!
Recipe by Anadi Misra
Make flavorful homemade garlic-infused oil safely and easily! Perfect for pasta, bread, and pizza, this simple recipe delivers rich, aromatic results every time.
Stovetop
Rate this recipe ✦
5 min
Prep
20 min
Cook
25 min
Total
8
servings
makes ½ cup
easy
Level
Instructions
No-cook method
- 1
Smash the garlic lightly with the help of a chef's knife and peel the cloves. Chop the garlic finely or grind them in a mortar & pestle, or a garlic press.
Smash the garlic lightly with the help of a chef's knife and peel the cloves. Chop the garlic finely or grind them in a mortar & pestle, or a garlic press.
- 2
Place the garlic in a bowl or jar and then add in the olive oil. Let the garlic steep in the oil for at least 8 hours or preferably overnight in the fridge. Afterwards, you may discard the garlic to keep the garlic infused oil for a long time or keep the garlic in oil for up to 4 days in the fridge.
Place the garlic in a bowl or jar and then add in the olive oil. Let the garlic steep in the oil for at least 8 hours or preferably overnight in the fridge. Afterwards, you may discard the garlic to keep the garlic infused oil for a long time or keep the garlic in oil for up to 4 days in the fridge.
Cooked method
- 1
Smash the garlic lightly with the help of a chef's knife and peel the cloves. Chop the garlic finely or grind them in a mortar & pestle, or a garlic press.
Smash the garlic lightly with the help of a chef's knife and peel the cloves. Chop the garlic finely or grind them in a mortar & pestle, or a garlic press.
- 2
Place the garlic in a saucepan and then add in the olive oil. Turn the heat to medium-low and warm up the oil. Start warming the oil till you see small bubbles around the garlic.
Place the garlic in a saucepan and then add in the olive oil. Turn the heat to medium-low and warm up the oil. Start warming the oil till you see small bubbles around the garlic.
- 3
Then, continue cooking gently for 15-25 minutes or until the raw smell of the garlic is gone and you smell the nice roasted flavor. The garlic would also become lightly golden brown and you can use this for cooking. You may discard the garlic to keep the garlic infused oil for a long time or keep the garlic in oil for up to 4 days in the fridge.
Then, continue cooking gently for 15-25 minutes or until the raw smell of the garlic is gone and you smell the nice roasted flavor. The garlic would also become lightly golden brown and you can use this for cooking. You may discard the garlic to keep the garlic infused oil for a long time or keep the garlic in oil for up to 4 days in the fridge.
Nutrition per serving
151
Calories
1g
Protein
4g
Carbs
15g
Fat
0g
Fiber
0g
Sugar
2mg
Sodium
Did you make this recipe? Tag @cooking.with.anadi on Instagram and hashtag it #cookingwithanadi

Tested & written in Anadi’s kitchen
Recipe history
- April 16, 2026 — Reworked and refreshed for the 2026 relaunch — new photography, restructured and standardized ingredients & instructions.
Filed under
You might also like
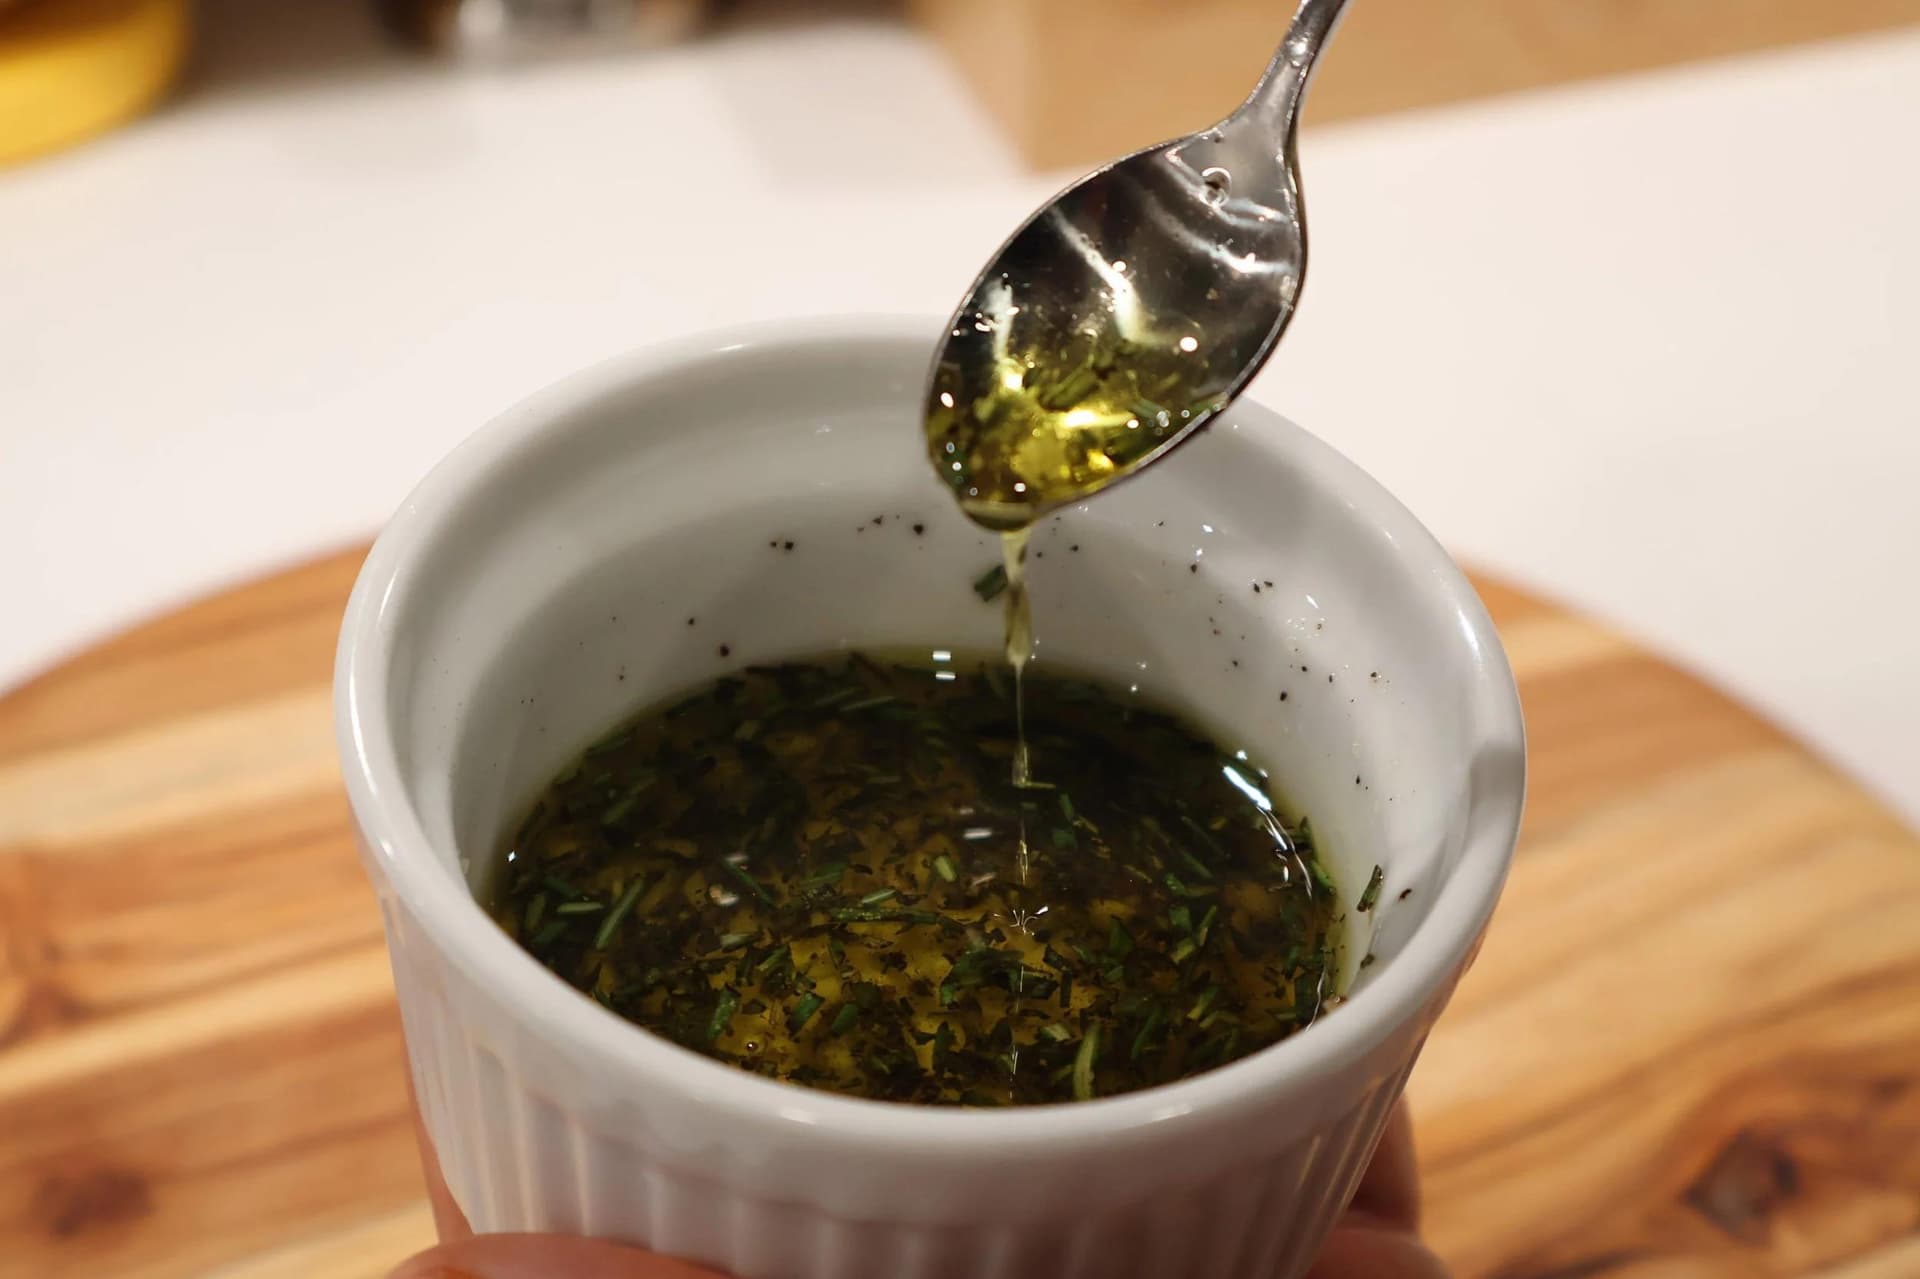
Beginner Friendly Easy No-Cook Garlic-Herb Oil Recipe
Make flavorful garlic-herb oil safely at home with no cooking required. Perfect for pasta, bread, and pizza, this beginner-friendly recipe is quick, easy, and endlessly versatile.
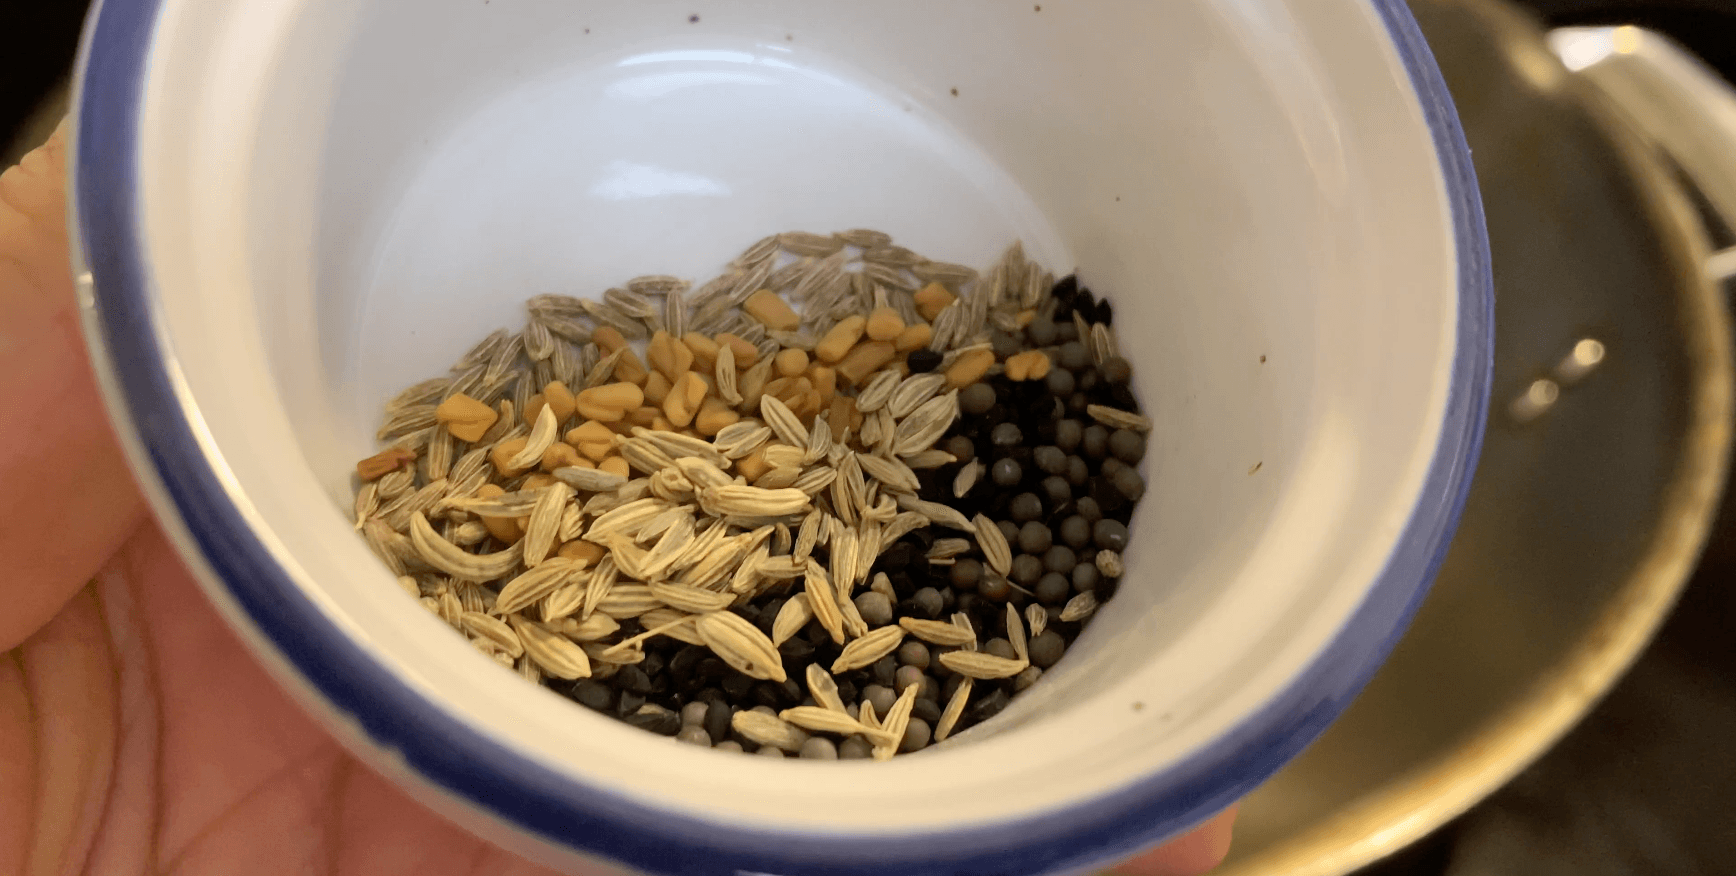
Discover The Aromatic Panch Phoran Recipe
Unlock the secrets of Panch Phoran, the essential Bengali five-spice blend. Quick and easy to make, this aromatic mix transforms everyday dishes with bold, authentic Indian flavor.
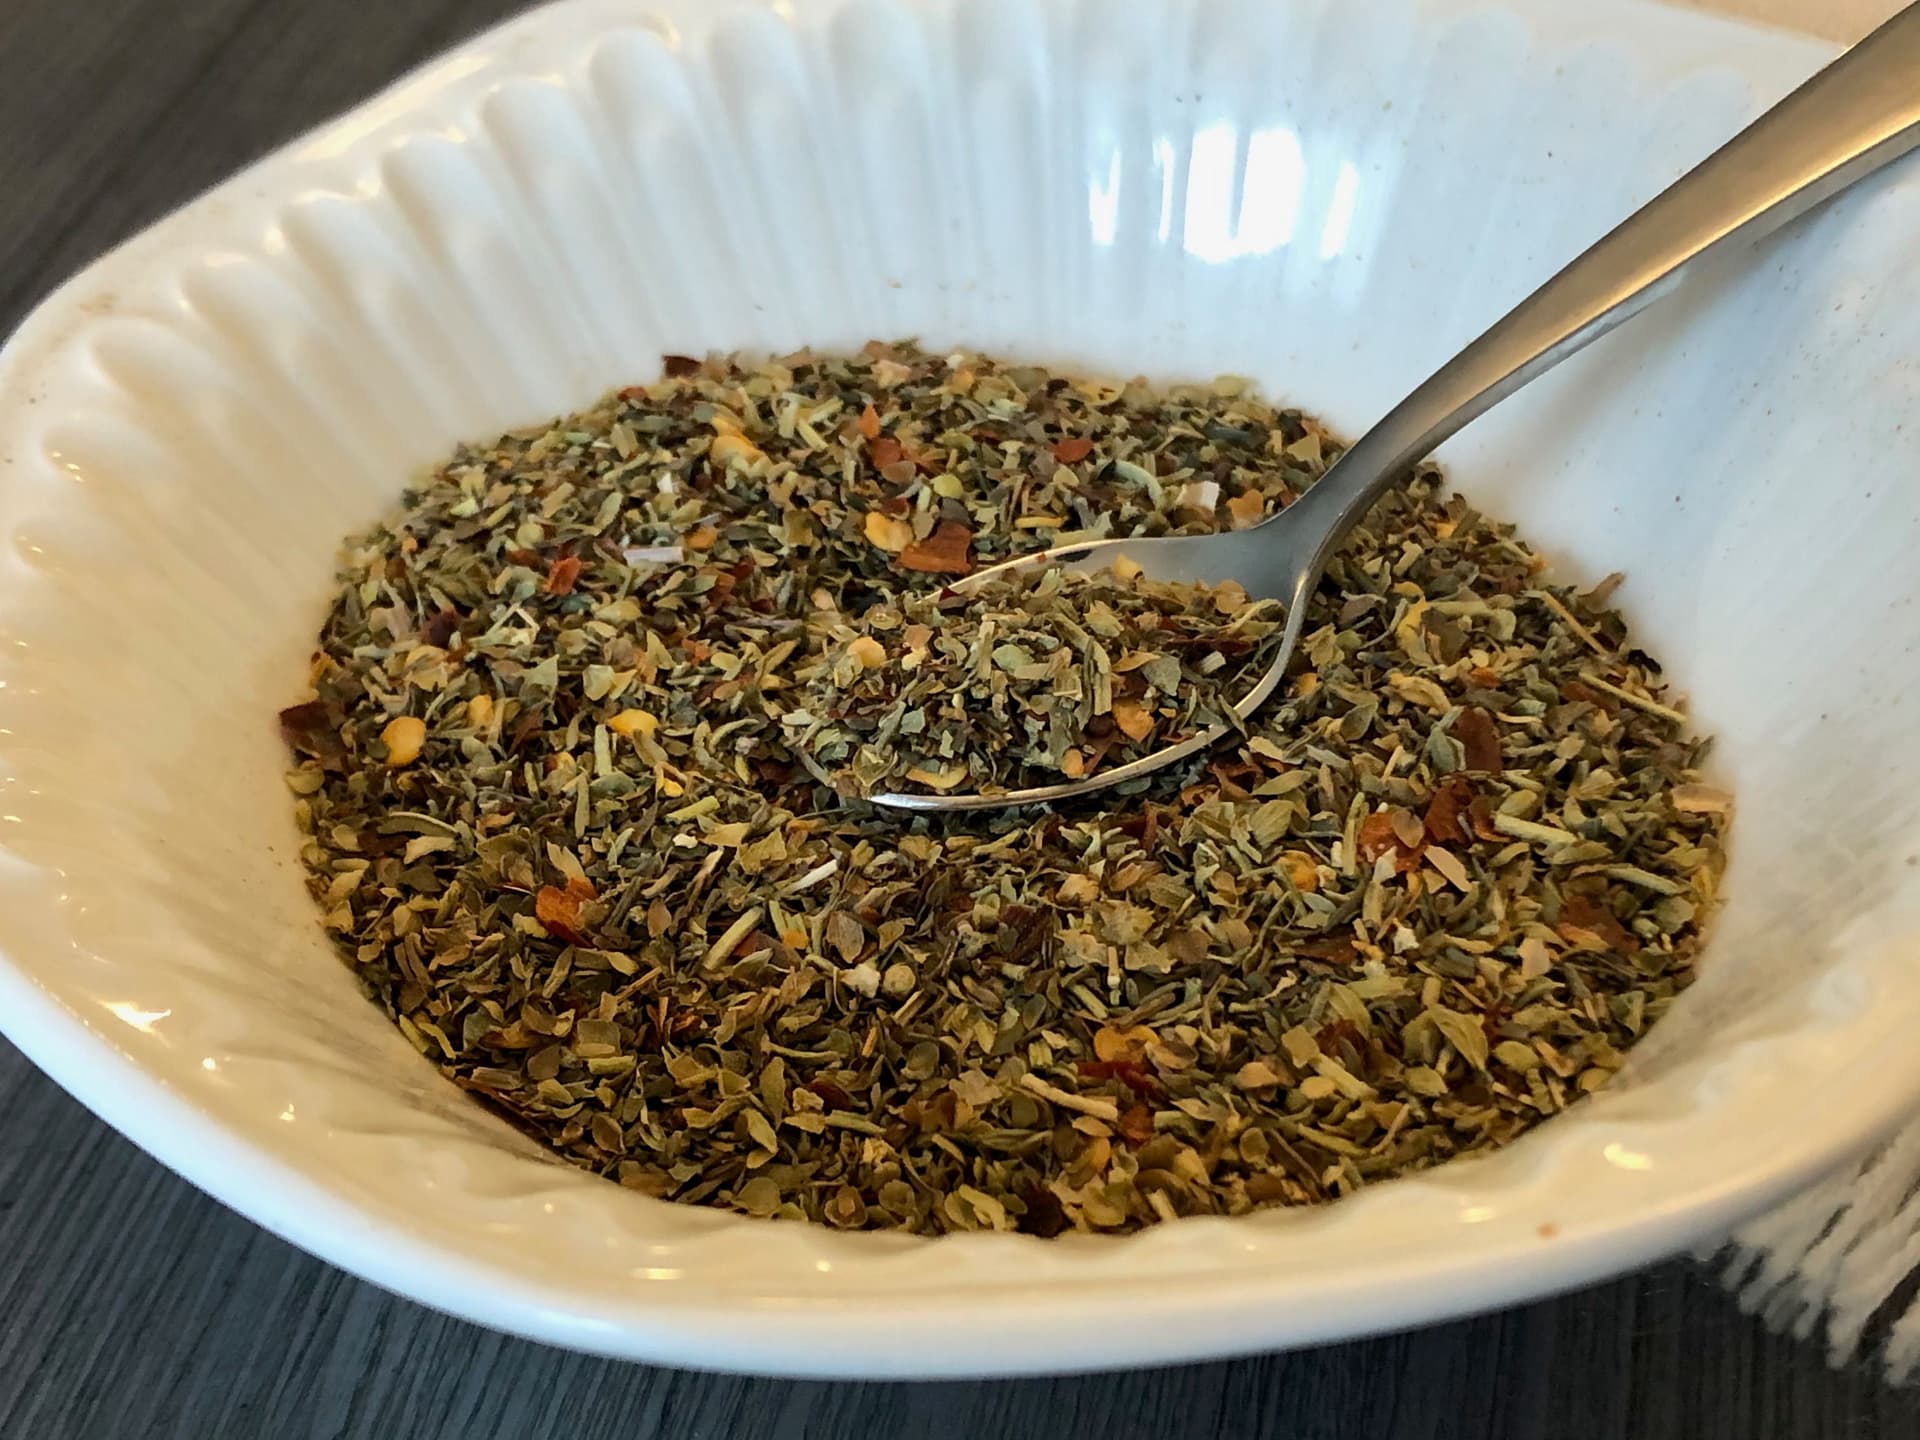
Greatest Homemade Italian Seasoning Recipe
Make the greatest homemade Italian seasoning with simple pantry spices in minutes. This easy recipe beats store-bought every time and keeps fresh for months.

Easiest Blender Ginger-Garlic Paste Recipe
Make flavorful Indian ginger garlic paste in minutes using a blender. This easy, authentic recipe is perfect for prepping ahead and storing for all your favorite Indian dishes.

Spice Up Your Winter with This Simple Apple Pie Spice
Make your own apple pie spice blend in minutes with simple pantry staples. This easy homemade recipe brings warm, cozy flavor to desserts all winter long.
Easy Homemade Pumpkin Pie Spice Blend Recipe
Make your own pumpkin pie spice at home in minutes! This easy homemade blend beats store-bought every time. Perfect for pies, lattes, and fall baking all season long.


Comments
No comments yet — be the first to share your thoughts!
Leave a review
Be the first to share how it went — your note helps other cooks (and earns the recipe its stars).