


This post may contain affiliate links. Read our disclosure policy
Watch the recipe

Cooking With Anadi
12K subscribers · juicy grilled chicken, salt and pepper, grill marks perfect
In my opinion, mastering the art of grilling chicken is such a crucial skill in the kitchen, and you’ll be so happy you’ve achieved it! That’s what I’m here to help you with today! I love grilling chicken at least once a week, including this simple recipe and my favorite marinade in my Italian Herb Chicken recipe.
But that’s what today’s post is about. We’re keeping things super basic so I can walk you through how to truly grill the best chicken. You can experiment with different marinades afterwards, but let’s focus on the technique for now!
I will slice each chicken breast in half and pound it thin, which is great for all you new to cooking and those who are nervous about raw poultry. This allows the chicken to cook faster, and more evenly without overcooking. You may be thinking that simply seasoning your chicken with salt and pepper is boring, but trust me, this will go a long way! I’ll show you how you can pair this basic chicken with pasta, burgers and salads as you read on! Though if you wanted to eat this alone with some veggies and potatoes on the side, you certainly could!
This chicken is perfect for meal prepping. You could grill plenty of chicken at a time, and save the cooked chicken for later to use in sandwiches, pasta or wraps. A great source of delicious protein would be waiting for you in your fridge!
You certainly can’t go wrong with salt and pepper grilled chicken breast! Fast and simple and relatively inexpensive, you’ve got chicken breast that’s bursting with deliciousness, and it will be perfectly tender and tasty every single time once you’ve got the perfect chicken nailed down!
Tools Needed
How to Make Grilled Chicken with Salt and Pepper
Pound Chicken Breast
For whole chicken breast: Place the chicken breasts in a Ziploc bag or between two plastic wraps and pound thin using a meat tenderizer (about 1/4 inch thickness) or a heavy object.
For sandwich portions: If using a large chicken breast (>150 g) cut the chicken into smaller portions by cutting it diagonally in two equal halves. Place the portions in a Ziploc bag or between two plastic wraps and pound thin using a meat tenderizer (about 1/4 inch thickness) or a heavy object.


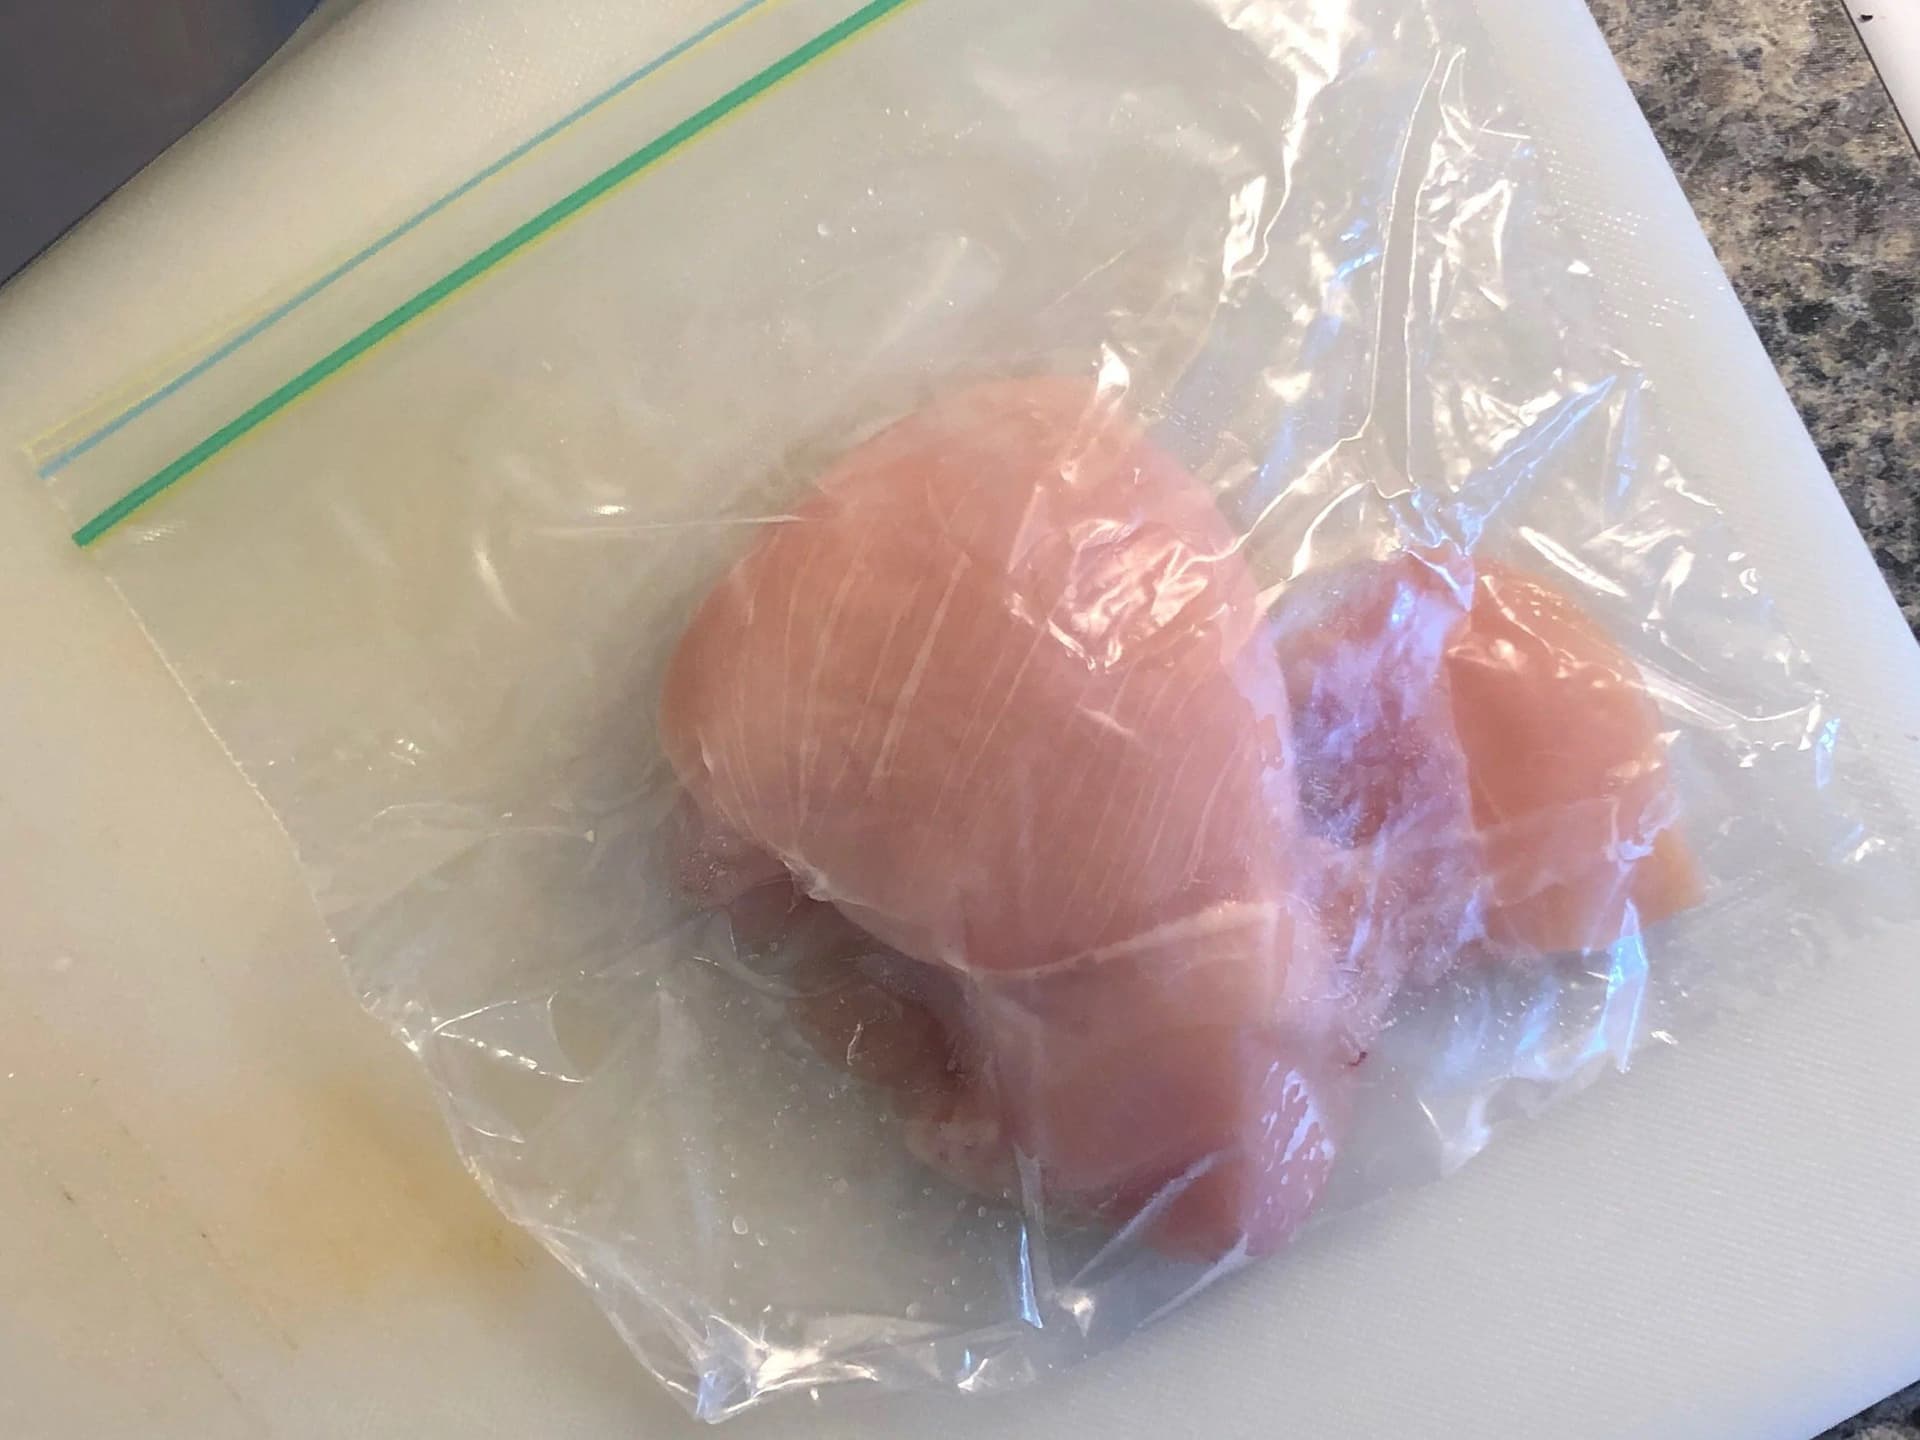

If you don’t have a meat tenderizer, don’t worry because I don’t either. I simply use a rolling pin or a heavy pan to pound the chicken to about 1/4 inch thickness.
Season Chicken Breast
My go-to seasoning is coarse Himalayan Pink Salt and fresh crushed black pepper. To season well, sprinkle the salt and pepper from at least 1 foot from the meat. I bet you have seen chefs season food the same way, it's not just a fancy trick, it's a technique that helps ensure the meat is seasoned evenly. There is nothing worse than biting into a chunk of salt!


How Long To Grill Chicken Breast?▼
The standard time on each side is between 3-4 minutes. I like to follow one concept. Sear on medium on the first side, finish the other side on low to medium-low.
So get a pan or a grill pan and let it become hot, without any oil. A great way to check if the pan is hot is to sprinkle a few drops of water. If the water evaporates immediately, the pan is not hot enough. However, if the water dances around the pan before evaporating, you are ready to rock and roll!
Add a drizzle of oil to the seasoned chicken breast and place the chicken on the hot pan.
How Do You Know the Chicken Has Cooked?▼
Once the chicken is on the pan, don’t touch it, don’t move it, don’t even look at it!.

Fine, look at it but keep the other two points in mind. Let the chicken cook for 2-4 minutes. This will be enough time to give grill marks on the pan, and the chicken is so thin, it will cook really quickly. The chicken will tell you when it is time to flip if you look for the signs.
The chicken will start turning white from pink as it starts to cook and the color will keep rising to the top. As the white starts to creep up the sides, gently lift the chicken with a pair of tongs and look for the sear. The chicken is probably ready to flip and will release from the pan easily, which is a good sign.
Season the other side and flip the chicken, turn the heat down to low and literally cook for a minute. And that’s it!


The final chicken will be juicy, grilled and great for any one of your chicken needs.
Common Mistakes and How to Fix Them!
- Not letting the meat come up to temperature. Searing chicken that ice cold in the center would mean that the outside would have to be overcooked, just to cook the center. Let the chicken out, season and let it sit and marinate in the salt and pepper for 15-20 minutes to get the chill out.
- Use the right pan: Pans that conduct heat well and can withstand high heats are great for grilling or searing chicken. I would use cast iron or stainless steel skillets over non-stick ones.
- Grilling the chicken on a pan that’s not hot enough. If your pan is not hot enough, by the time you wait for the grill marks appear, the chicken would have boiled and turned pale white, like poached chicken. A hot pan is required to get those classic grill marks. Things are a bit different when it comes to a barbecuing, but the concepts remain the same.
- Allow the chicken to rest. This allows the juices of the pan to remain trapped, in that chicken. Rest for at least as long as you cooked the chicken for and you will thank me later.
What to Serve Chicken Breast With
You can do so much with this chicken. It’s pretty much a blank canvas! Here are some recipes I recommend you use this simple chicken in. The salt and pepper is all you’ll need because we’ve got lots of other goodies going on in these recipes!
Variations
I can only list so many ways to grill chicken. Honestly, you can experiment so much! Here are some recommendations that I have in mind right now!
- Simple Italian Garlic and Herb marinade: I make a marinade with oregano, olive oil, vinegar, chili flakes and garlic, as described here. It’s great for pasta and sandwiches.
- Mediterranean Shawarma marinade: Middle Eastern-style marinated chicken with turmeric, salt, pepper, cinnamon, oregano and ground cumin. Great for shawarma wraps and dinners.
Let me know what you think of this recipe in the comments! If you’ve tried this recipe, be sure to post it on social media and tag it with #cookingwithanadi and mention me @cooking.with.anadi. Thank you!
Recipe by Anadi Misra
Master juicy grilled chicken with this easy, gluten-free recipe. Simple techniques deliver perfectly tender, flavorful results every time. Your new go-to poultry dish starts here.
Grilled
Rate this recipe ✦
5 min
Prep
5 min
Cook
10 min
Total
2
chicken breasts
easy
Level
Ingredients
Ingredients
Tap any quantity to scale
Instructions
To prepare the chicken
- 1
For whole chicken breast: Place the chicken breasts in a Ziploc bag or between two plastic wraps and pound thin using a meat tenderizer (about 1/4 inch thickness) or a heavy object.
For whole chicken breast: Place the chicken breasts in a Ziploc bag or between two plastic wraps and pound thin using a meat tenderizer (about 1/4 inch thickness) or a heavy object.
- 2
For sandwich portions: If using a large chicken breast (>5.5 oz) cut the chicken into smaller portions by cutting it diagonally in two equal halves. Place the portions in a Ziploc bag or between two plastic wraps and pound thin using a meat tenderizer (about 1/4 inch thickness) or a heavy object.
For sandwich portions: If using a large chicken breast (>5.5 oz) cut the chicken into smaller portions by cutting it diagonally in two equal halves. Place the portions in a Ziploc bag or between two plastic wraps and pound thin using a meat tenderizer (about 1/4 inch thickness) or a heavy object.
- 3
If you don’t have a meat tenderizer, don’t worry because I don’t either! I simply use a rolling pin or a heavy pan to pound the chicken to about 1/4 inch thickness.
If you don’t have a meat tenderizer, don’t worry because I don’t either! I simply use a rolling pin or a heavy pan to pound the chicken to about 1/4 inch thickness.
To cook the chicken
- 1
Heat a grill pan on medium heat until hot. Check if the pan is hot enough by sprinkling some water on the pan. If the droplets dance around before evaporating, the pan is ready.
Heat a grill pan on medium heat until hot. Check if the pan is hot enough by sprinkling some water on the pan. If the droplets dance around before evaporating, the pan is ready.
- 2
Season the chicken with salt and pepper and drizzle a bit of olive oil on both sides. Place the chicken on the grill pan and cook for 3-4 minutes.
Season the chicken with salt and pepper and drizzle a bit of olive oil on both sides. Place the chicken on the grill pan and cook for 3-4 minutes.
- 3
Then, flip the chicken, turn the heat down to low and cook for 1-2 minutes. Let the chicken rest for 2-4 minutes before slicing or serving.
Then, flip the chicken, turn the heat down to low and cook for 1-2 minutes. Let the chicken rest for 2-4 minutes before slicing or serving.
Did you make this recipe? Tag @cooking.with.anadi on Instagram and hashtag it #cookingwithanadi

Tested & written in Anadi’s kitchen
Recipe history
- April 16, 2026 — Reworked and refreshed for the 2026 relaunch — new photography, restructured and standardized ingredients & instructions.
You might also like

Tandoori Grilled Salmon | Indian Style Tandoori Salmon
Juicy, smoky tandoori grilled salmon marinated in bold Indian spices. A restaurant-quality recipe made at home, served with cool cucumber raita and jeera rice. Your new favorite weeknight dinner.

Grilled Tandoori Shrimp Skewers with Vegetable Pulao
Smoky, spiced tandoori shrimp skewers grilled to perfection, served with fragrant vegetable pulao. A bold and satisfying recipe from Ottawa home chef Anadi Misra that brings restaurant flavor home.
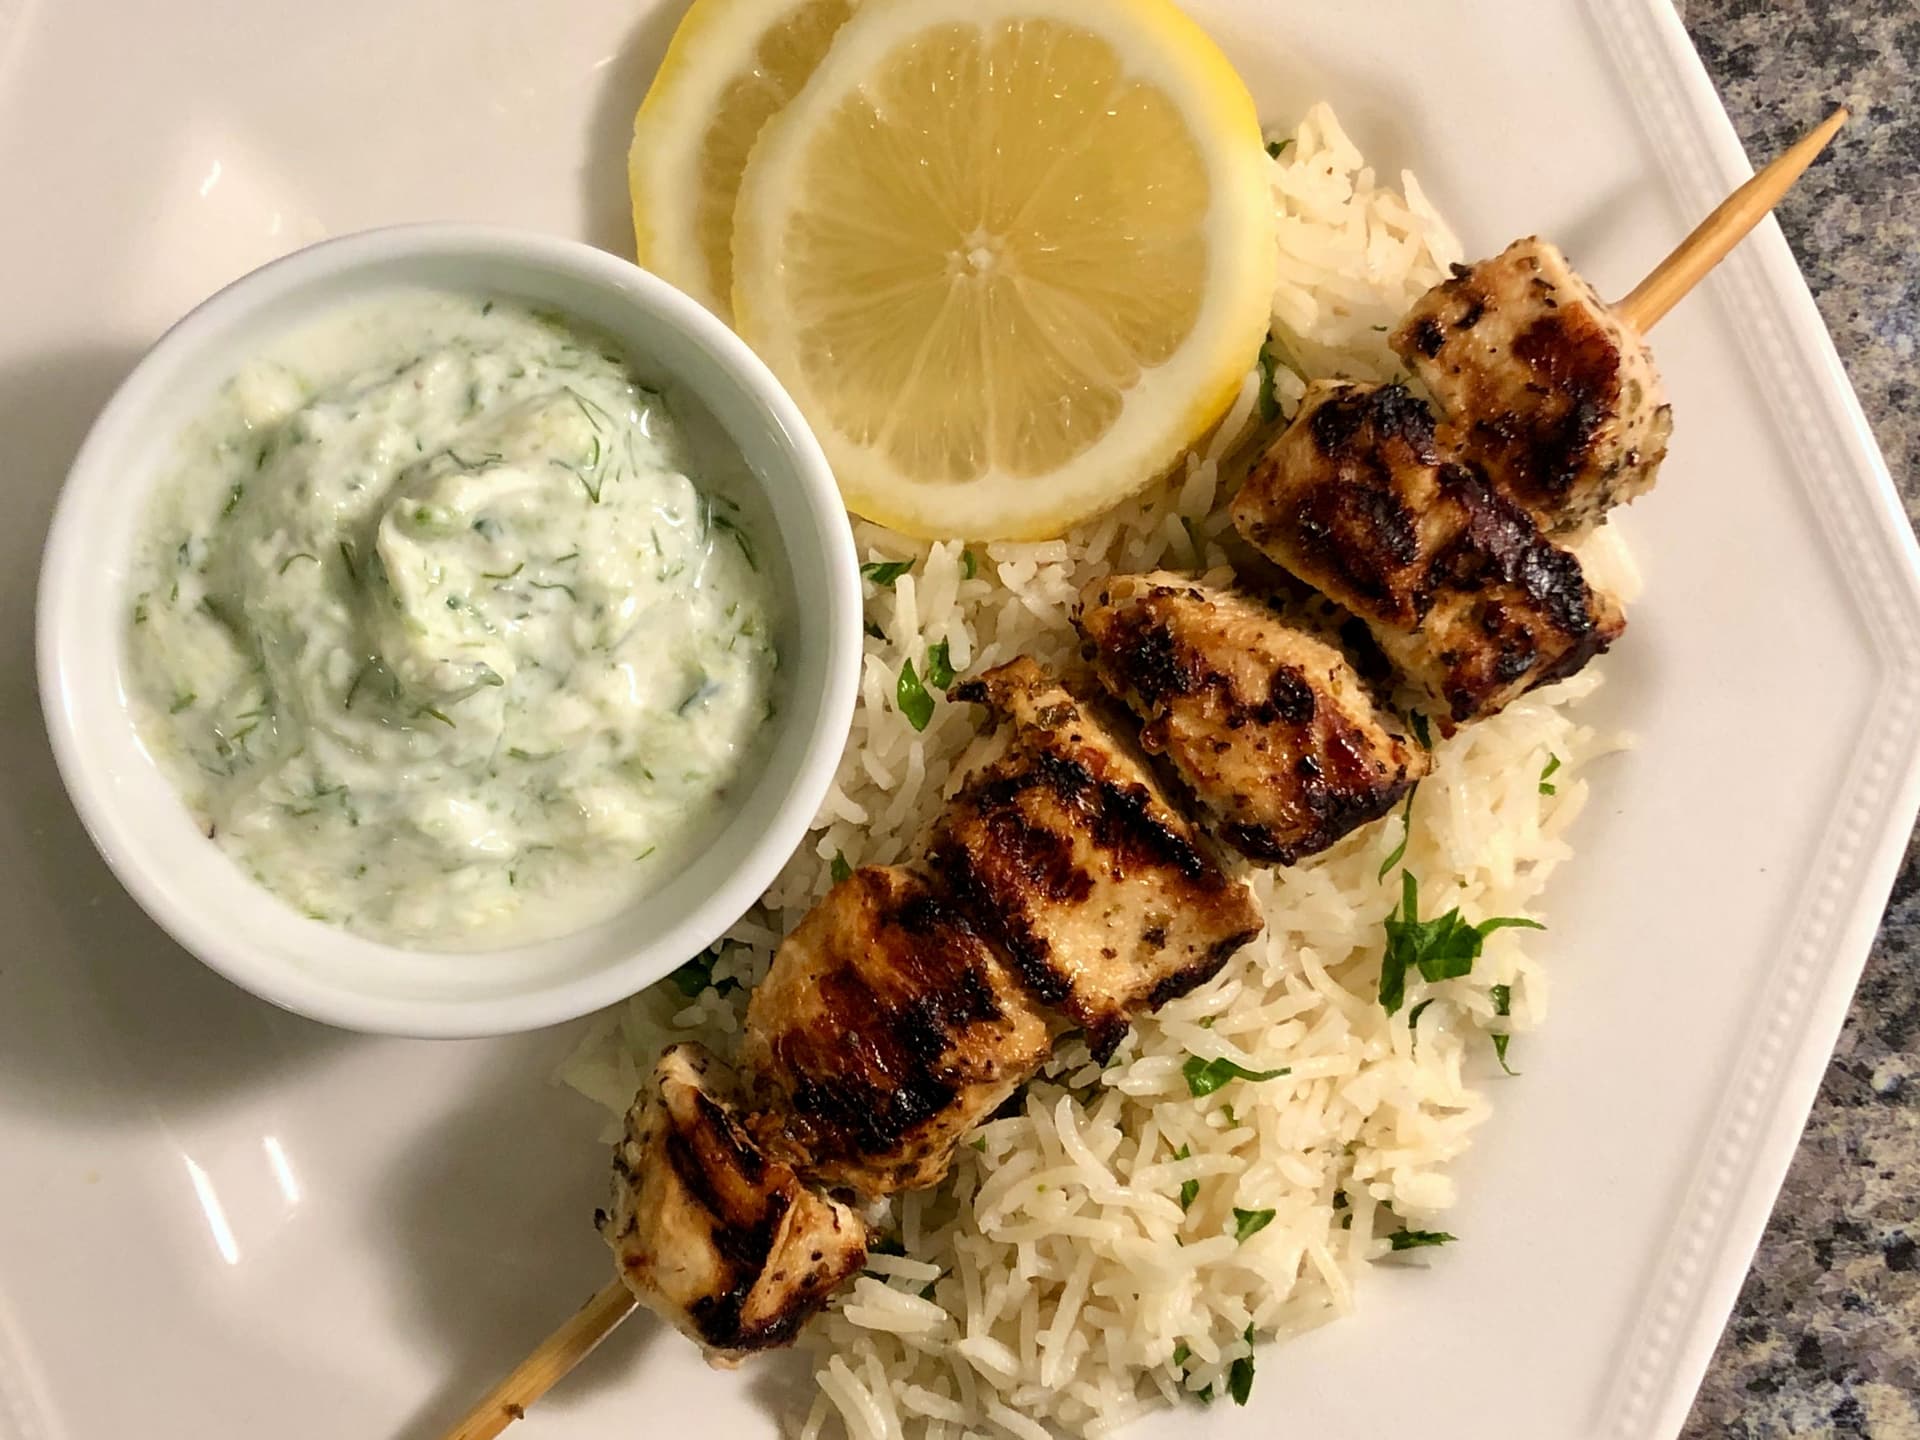
Grilled Greek Souvlaki Chicken Skewers Recipe
Juicy, flavorful Greek Souvlaki Chicken Skewers marinated in Mediterranean herbs and grilled to perfection. A simple, crowd-pleasing dinner recipe the whole family will love.
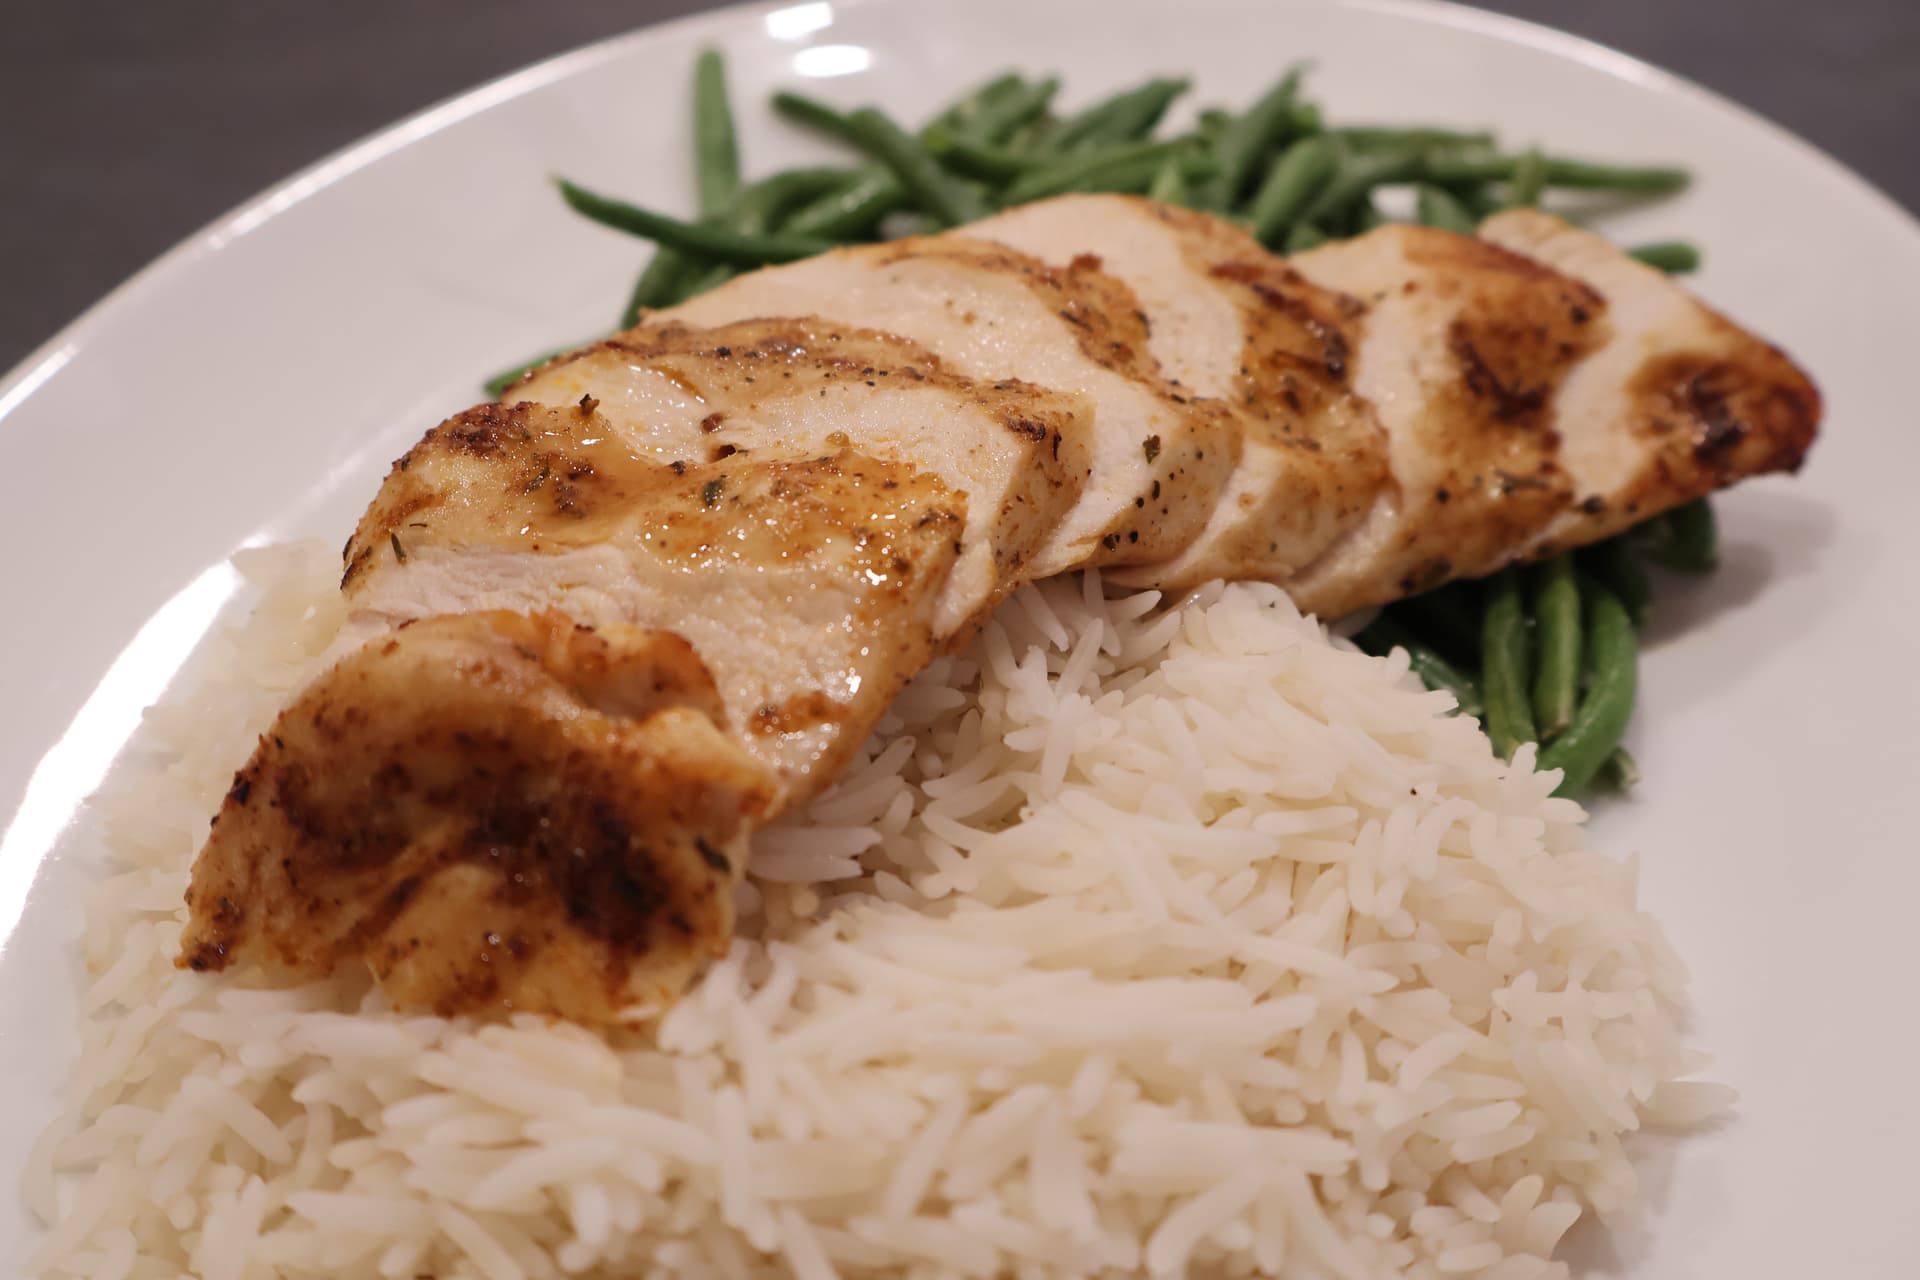
Super Juicy Air Fryer Chicken Breast Recipe
Juicy, tender air fryer chicken breast ready in minutes. A foolproof gluten-free recipe perfect for busy weeknights. Crispy outside, moist inside — guaranteed results every time.

Italian Herb Grilled Chicken Breast (Over the Stove!)
Juicy, flavorful Italian Herb Grilled Chicken Breast made right on the stove. Quick, easy, and packed with bold herbs — the best weeknight chicken you will ever make.
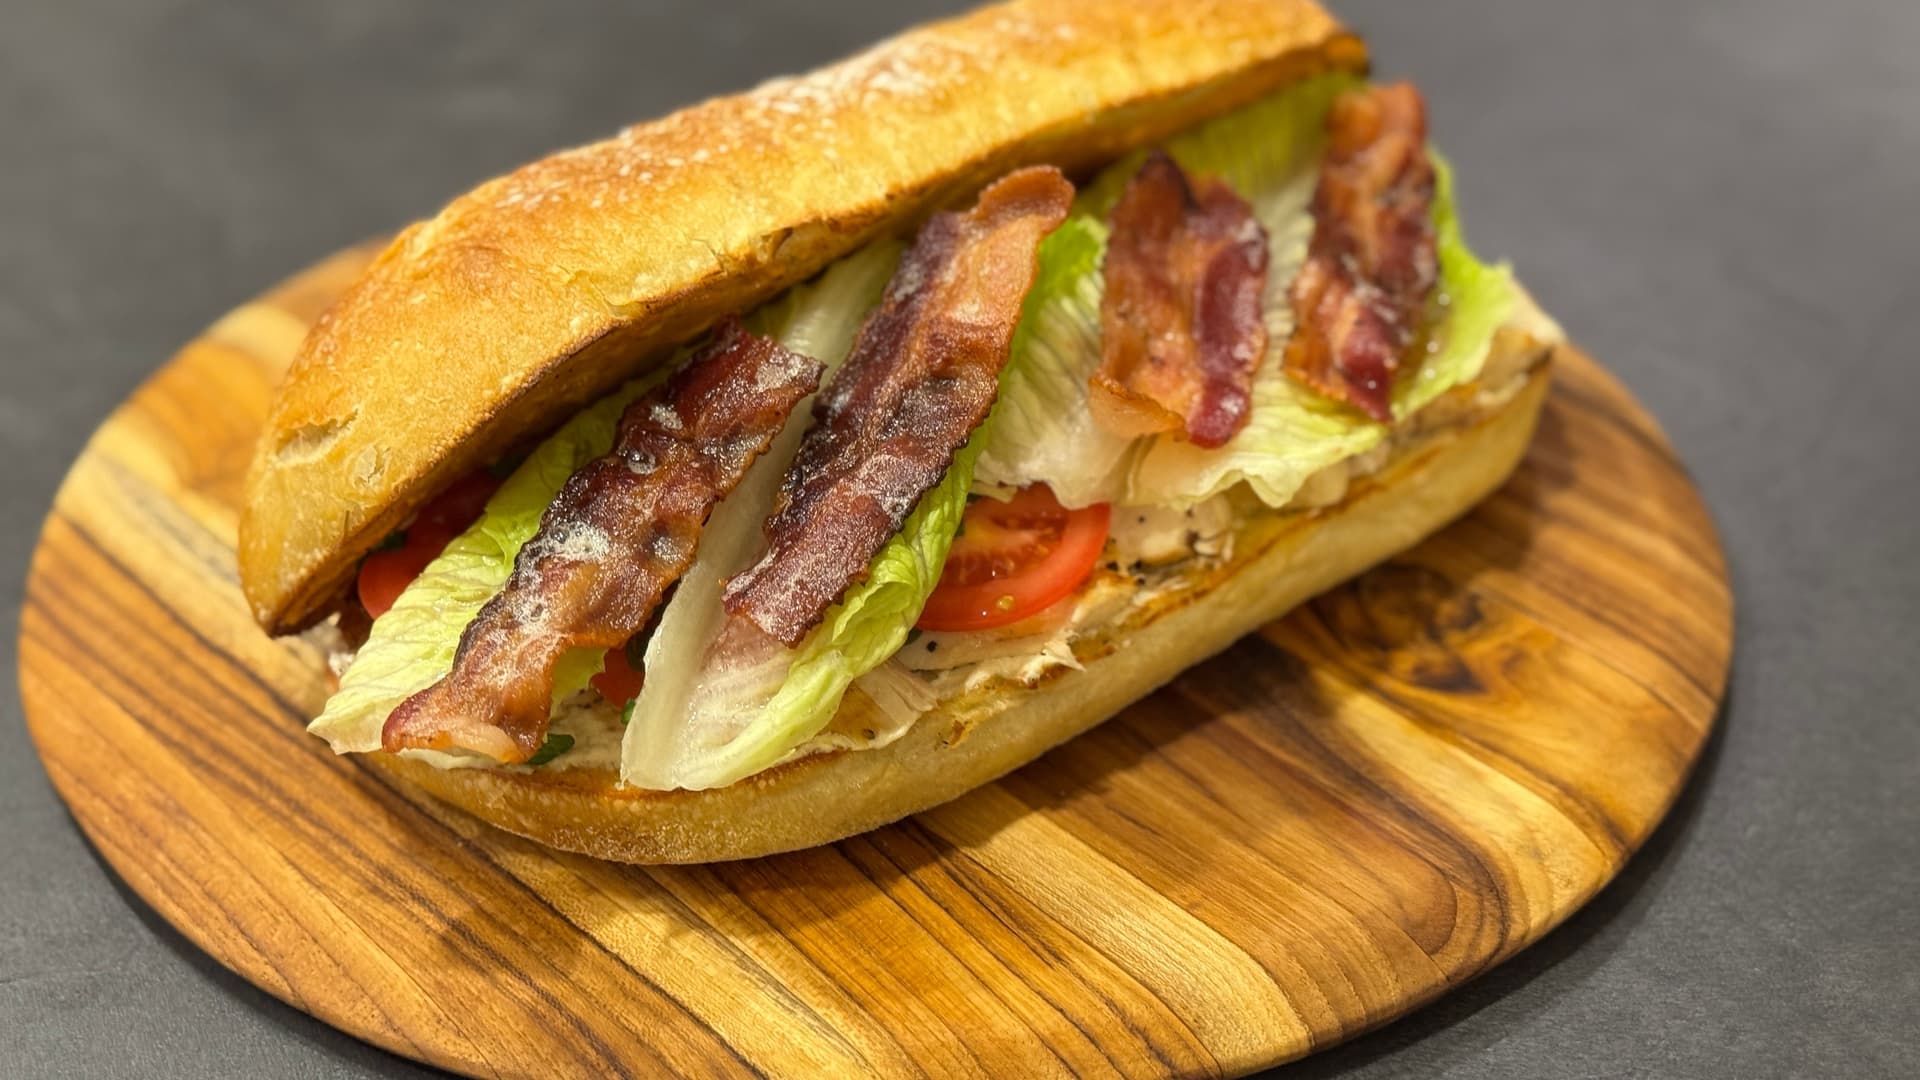
Juicy Grilled Chicken Caesar Salad Sandwich
Juicy grilled chicken meets creamy Caesar dressing in this easy sandwich recipe. Crispy romaine, parmesan, and tender chicken packed between toasted bread make the perfect quick healthy lunch.


Comments
No comments yet — be the first to share your thoughts!
Leave a review
Be the first to share how it went — your note helps other cooks (and earns the recipe its stars).