


This post may contain affiliate links. Read our disclosure policy
Watch the recipe

Easy Chenna Recipe
Do you love ricotta cheese? I know I do! If you love ricotta, then I’m sure you’re going to love chenna! Chenna is so soft and crumbly and it just melts in your mouth! Chenna is truly a delight to have on its own as a snack, particularly chenna toast, where you pair it with some tomato chutney and toast, but it’s also commonly used in dessert recipes such as rasgulla and rasmalai. To be honest, I’ve never made those desserts before, but now I have an idea of what to do!
You may also notice that the chenna is a result of one of the steps to making Fresh Homemade Paneer. The chenna can be eaten on its own, or it becomes solid to form our delicious paneer that’s used for curries!
What is Chena? Chenna vs. Paneer - What’s the Difference?▼
Chenna in English actually has no direct translation, but it does refer to curdled milk solids that are soft and crumbly. After boiling milk, we strain out the excess whey through a cheese cloth or sieve. You can either save these cheese curds, which are the chenna, or press them down to form paneer! Chenna is more moist than paneer. More details in my paneer recipe - and as a side note if you don’t know what paneer is, then I totally recommend you try making your own paneer! I love to describe paneer as the ultimate vegetarian protein!
In my household, we’d enjoy chenna quite frequently. This is because in India, you get fresh milk right from the cow. Because the milk isn’t pasteurized like in the West, we have to boil our own milk to remove all the bacteria so that it’s ready to use. When we’d want to extract the solids, there you go, you have chenna! As mentioned earlier, these solids are used for a variety of dessert recipes, but for breakfast or snack we loved to have this in a bowl with a quick 10 minutes Sweet and Spicy Tomato Chutney and some buttered toast! When preparing my chenna for this combo, I like to simply season it with some salt and freshly ground black pepper.

You could also sweeten your chenna with some sugar if you’re looking for a sweet treat.
Unlike paneer, which you can buy from the grocery store or your local South Asian market, you have to make chenna from scratch if you’re going to use it for desserts.
Chenna is also written as chenna or chhena or chana. They’re all the same thing, so don’t get confused!
Tools Needed
Ingredients for Chenna
This is very simple! Here’s all you need to make your chenna:
- Full fat cow’s milk
- Buttermilk
If you don’t have buttermilk, you can substitute with lemon or lime juice, but buttermilk will give you the acidity that comes from lemon or lime juice with some extra richness! Some recipes even use vinegar for the acidity, but I really find the best option is using the buttermilk.
Can I Make Chenna Ahead of Time?▼
NO! This is a cold hard no! Unlike paneer, which you can store in the fridge or freezer, you gotta use your chenna immediately or else the texture will be lost. So plan accordingly! I had breakfast for dinner when I had this chenna and toast with chutney as you can see below!
After all, it is so quick to make.
Tips for the Best Homemade Chenna
- While warming the milk, make sure to stir the milk from time to time to ensure it doesn’t burn at the bottom.
- If you are using non-homogenized full fat milk, the curdling process will start immediately after adding the buttermilk. In this case, turn off the heat and continue stirring to separate the cheese.
- If using homogenized full fat milk the curdling process would be triggered by continuing to heat the milk. Keep the heat on and continue stirring to separate the cheese.
How to Make Chenna
- In a large pot, add all of the milk. Heat on medium heat until the milk comes to a slow boil
- Reduce heat to low and heat milk until it starts to foam (you may need to cover the pot if this takes too long). Keep stirring from time to time to ensure the milk does not stick to the bottom of the pot.
- As soon as the milk starts to foam, stir in the buttermilk and heat until the milk starts to separate. You will notice milk will curdle.
- Using a spatula, collect the “chenna” or paneer from the sides of the pot towards the center.
What Is Chenna?
Chenna (also spelled chhena or chana) is a soft, fresh cheese made by curdling whole milk with an acid — in this recipe, a splash of buttermilk. As the warm milk separates, the delicate curds are gathered and drained, leaving a moist, ricotta-like cheese with a mild, milky flavor. It comes together with just two ingredients and no special equipment, which is why it's such a satisfying thing to make from scratch at home.
What to Make With Chenna
Fresh chenna is wonderfully versatile. A few of my favorite ways to use it:
- Sweeten it with a little sugar for a quick sweet treat, or use it as the base for classic Bengali sweets like rasgulla, sandesh, and rasmalai.
- Press and drain it further to turn it into firm paneer for curries and grilling — chenna is really just paneer before it's pressed.
- Crumble it into stuffings, parathas, or a scramble anywhere you'd reach for a soft fresh cheese.
- Stir it into warm dishes as a mild, protein-rich stand-in for ricotta.
How to Store Homemade Chenna
Chenna is at its best used fresh, right after draining, but leftovers keep just fine:
- Refrigerate the drained chenna in an airtight container and use it within a day or two.
- To keep it longer, press the chenna under a weight to drain more whey and firm it into paneer, which holds up better in the fridge.
- Save the whey that drains off — it's lovely for kneading soft roti dough or adding to soups and smoothies.
Getting the Curdle Right: Heat, Acid, and Straining
Chenna needs only two things: 1 litre of whole milk and 125 ml of buttermilk. The buttermilk is the food acid here - it is what pulls the milk apart into curds. Lemon juice, lime juice or vinegar will do the same job, though buttermilk brings a little richness with it. Paneer is the one that gets called Indian cottage cheese in English, and chenna is that same cheese before it is pressed, so if cottage cheese is your reference point you are not far off: fresh, unaged, soft-curd, just finer and milkier.
Heat matters more than time. Bring the milk to a slow boil, not a full boil - a full boil scorches the bottom of the pot and pushes the milk past the gentle separation you are after. Use a large pot rather than a shallow pan, because the milk climbs as it foams. Once the buttermilk goes in, keep stirring and watch the mixture split into curds and clear whey.
For straining, a cheesecloth, a clean muslin cloth or a fine sieve all work - you want the whey to run off while the curds stay behind. Do not tip that whey down the sink either; it is good in a soup, in a smoothie, or for kneading soft roti dough.
And if you came here for a sweets recipe rather than a cheese: chenna is the starting point for most Bengali Indian sweets. Rasgulla, rasmalai and sandesh all begin with exactly this - fresh, unpressed chenna - which is why it has to be made from scratch and used the same day.
Let me know what you think of this recipe in the comments! If you’ve tried this recipe, be sure to post it on social media and tag it with #cookingwithanadi and mention me @cooking.with.anadi. Thank you!
Recipe by Anadi Misra
Make fresh, soft chenna at home with just milk and a souring agent. This easy homemade Indian cheese recipe is a pantry essential for sweets and curries. Simple steps, perfect results every time.
Stovetop
Rate this recipe ✦
18 min
Cook
18 min
Total
8
servings
makes 2 cups
easy
Level
Ingredients
Ingredients
Tap any quantity to scale
- (1 l) whole milk
- (125 ml) buttermilk
Instructions
- 1
In a large pot, add all of the milk. Heat on medium heat until the milk comes to a slow boil
In a large pot, add all of the milk. Heat on medium heat until the milk comes to a slow boil
- 2
Reduce heat to low and heat milk until it starts to foam (you may need to cover the pot if this takes too long). Keep stirring from time to time to ensure the milk does not stick at the bottom of the pot.
Reduce heat to low and heat milk until it starts to foam (you may need to cover the pot if this takes too long). Keep stirring from time to time to ensure the milk does not stick at the bottom of the pot.
- 3
As soon as the milk starts to foam, stir in the buttermilk and heat until the milk starts to separate. You will notice milk will curdle.
As soon as the milk starts to foam, stir in the buttermilk and heat until the milk starts to separate. You will notice milk will curdle.
- 4
Using a spatula, collect the “chena” or paneer from the sides of the pot towards the center.
Using a spatula, collect the “chena” or paneer from the sides of the pot towards the center.
Notes
- •If you are using non-homogenized milk, the curdling process will start immediately after adding the buttermilk. In this case, turn off the heat and continue stirring to separate the cheese.
Nutrition per serving
83
Calories
4g
Protein
7g
Carbs
4g
Fat
0g
Fiber
7g
Sugar
70mg
Sodium
Did you make this recipe? Tag @cooking.with.anadi on Instagram and hashtag it #cookingwithanadi

Tested & written in Anadi’s kitchen
Recipe history
- April 16, 2026 — Reworked and refreshed for the 2026 relaunch — new photography, restructured and standardized ingredients & instructions.
Filed under
You might also like
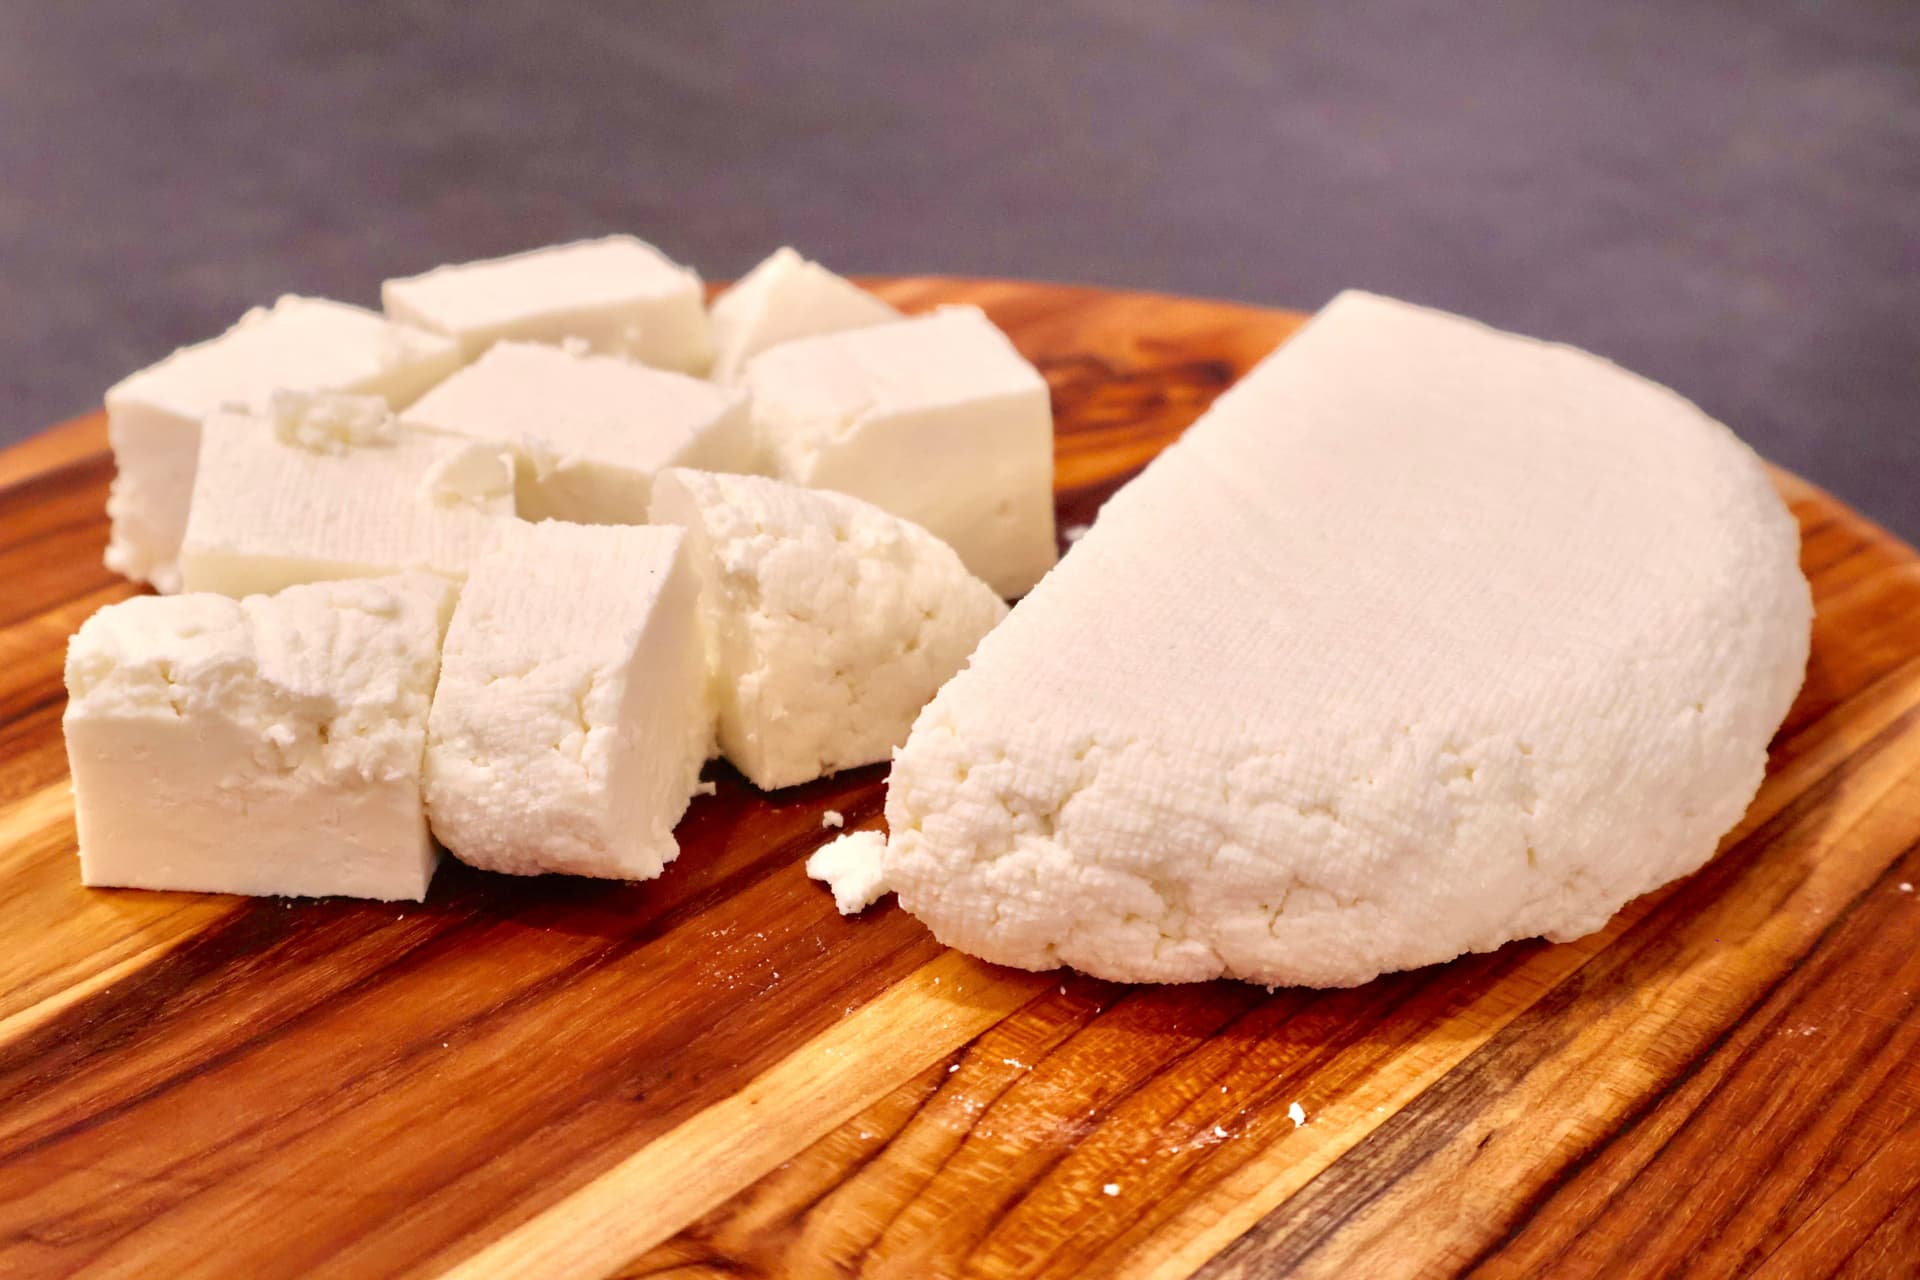
The Ultimate Guide On Making Fresh Homemade Paneer
Make fresh, creamy paneer at home with just 2 ingredients! Our ultimate guide walks you through every step to perfect homemade Indian cottage cheese from scratch.

Easiest Blender Ginger-Garlic Paste Recipe
Make flavorful Indian ginger garlic paste in minutes using a blender. This easy, authentic recipe is perfect for prepping ahead and storing for all your favorite Indian dishes.

Makhani Sauce - The Ultimate Butter Chicken Sauce
Make the creamiest makhani sauce at home with this foolproof recipe. Perfect for butter chicken, paneer makhani, or shahi paneer. Rich, velvety, and packed with authentic Indian flavor.

Easy White Paratha Recipe for Wraps & Rolls
Make soft, chewy white paratha at home with this easy recipe. Perfect for wraps and rolls, these Indian flatbreads come together quickly with simple pantry ingredients.
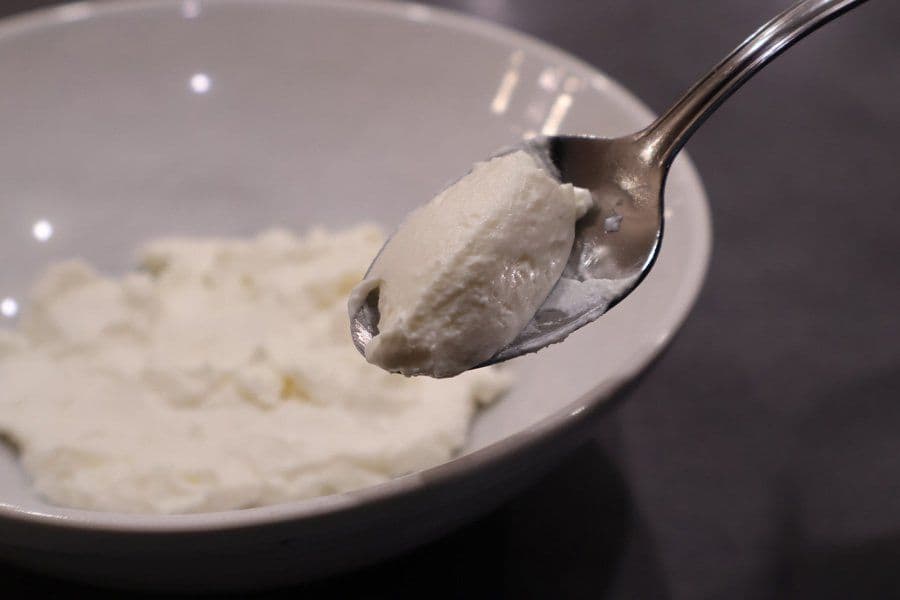
How to Make Hung Curd (With Step by Step Pictures)
See how to make hung curd at home with easy step-by-step pictures that guide you through every stage of the process. This hung yogurt will become an essential part of your favorite Indian marinades!
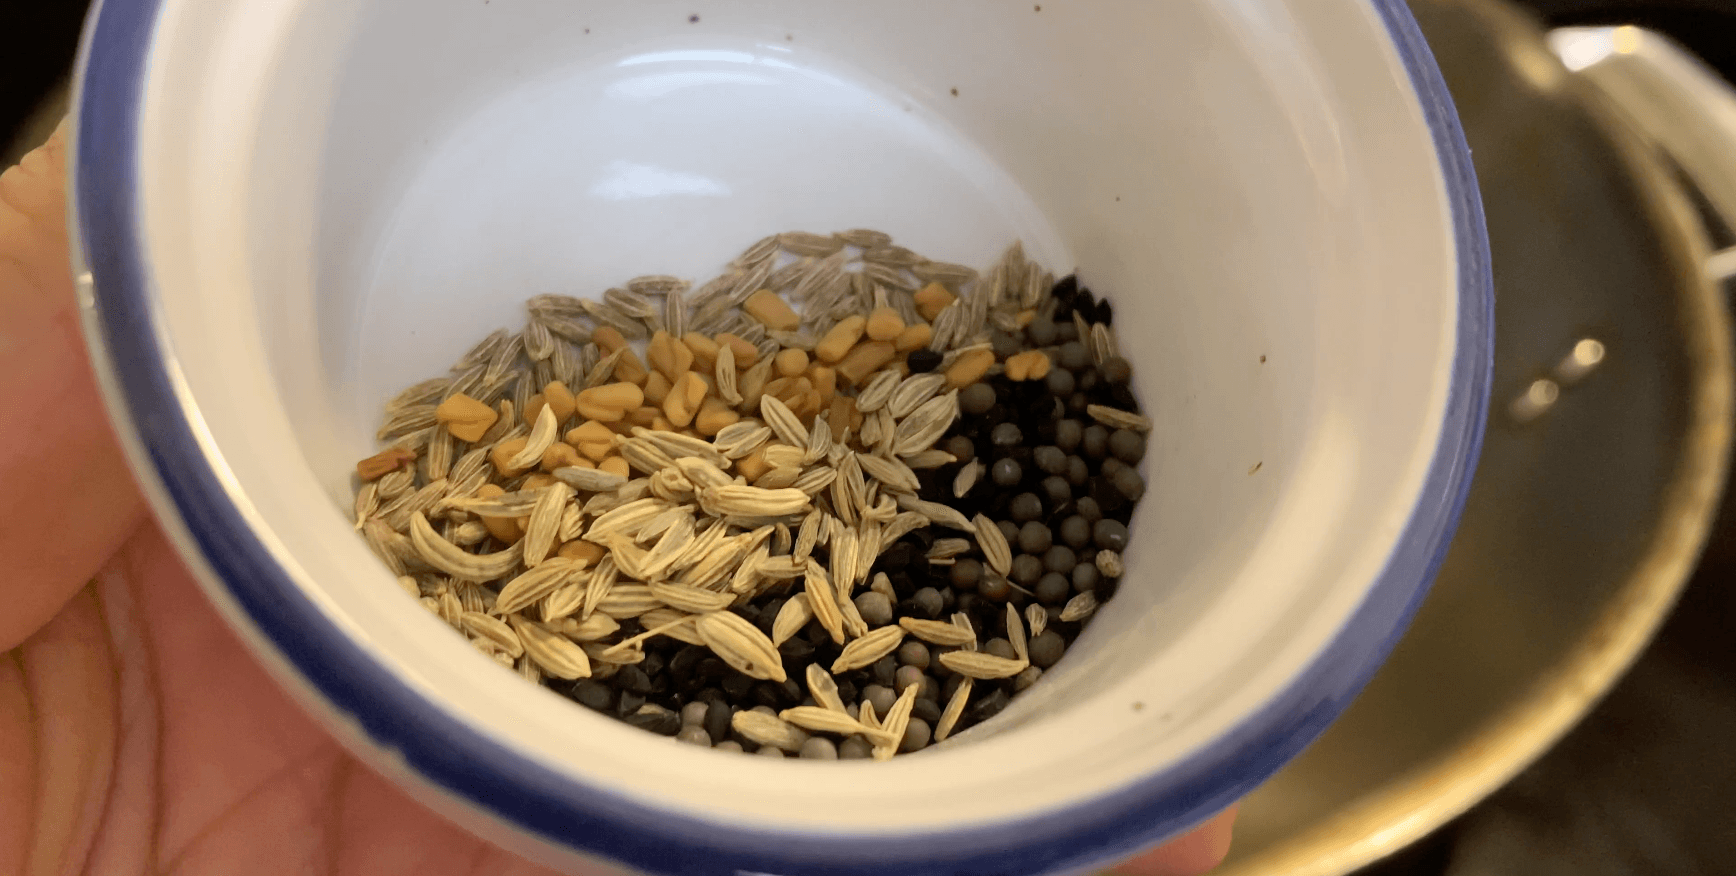
Discover The Aromatic Panch Phoran Recipe
Unlock the secrets of Panch Phoran, the essential Bengali five-spice blend. Quick and easy to make, this aromatic mix transforms everyday dishes with bold, authentic Indian flavor.


Comments
No comments yet — be the first to share your thoughts!
Leave a review
Be the first to share how it went — your note helps other cooks (and earns the recipe its stars).