
This post may contain affiliate links. Read our disclosure policy
This post was originally published in November 2021. It has been updated June 2025 with updated instructions and higher quality images.
Watch the recipe
Paneer is soft, luxurious and is to this date the ultimate treat in my vegetarian household. Be it Palak Paneer — paneer in a creamy spinach sauce, Shahi Paneer – paneer in a tomato-ish sauce rich with nuts and cream or Paneer Tikka — my favorite appetizer, big chunks of tandoor grilled paneer which transports you to a world of euphoria.
I always say that paneer is the best vegetarian protein source. It truly is a blank canvas that you can incorporate in your cooking as you would chicken or tofu. I personally find paneer more delicious than tofu, as it’s softer and it has its own mild taste! It’s perfect for marinades, to grill, to barbecue, to bake, or to add directly into curries! You can do so much with paneer!
If you’ve never had paneer before you’re in for a treat! Even if you’re not a vegetarian, I guarantee that if you try a paneer dish where you may normally have chicken, you won’t miss the meat at all! If you’re looking to switch up your menu and eat less meat, then paneer is going to rock your world!
What is Paneer?▼
Every time I answer this question, I say “Indian cottage cheese.” However, don’t think you can substitute with cottage cheese! I did this when I first came to Canada when I wanted to make Paneer Makhani, and let’s just say while I hate food waste, the dish was inedible and it was a huge disappointment.
Paneer is described this way because it is a soft cheese, however. Paneer is made by curdling milk. Recipes use a combination of whole milk with either vinegar, lemon juice or yogurt. In this recipe, I’ll be using a combination of whole milk and butter milk.
Paneer is the protein source for so many popular Indian curries! Here are some popular ones:

Why Make Homemade Paneer?
Personally, I would never make homemade paneer if I was still living in India. You can walk up to any grocery store in India and grab all kinds of fresh paneer to use in their home cooking. Options are much more limited when you come to North America. As of 2019, I have not found a store where I can buy fresh paneer in my area. There seems to be a monopoly on the brand which is offering paneer and hand on my heart, having had the real thing — it is a bit of a let down. It does not have the soft texture and absorption properties that fresh, real paneer boasts. However, to be totally transparent, I almost always buy it from the store anyway, simply because when you make it at home you do need a lot of milk but it doesn’t yield that much!
Furthermore, the process to make homemade paneer is for the most part easy with one catch. Patience. I would have to admit this is a treat given the time and ingredients used to make this. Every time I do make it myself, however, I have to admit it’s way better than what you get at the store!
Here are reasons why you should make your own paneer!
- You can’t find it packaged anywhere
- Fresh and preservative-free
- You can make it organic if you use organic ingredients
- Tastier and softer than store-bought
- Rewarding! It’s a lot of fun to see how all that milk turned into a delicious soft cheese!

Tools Needed
Ingredients for Fresh Homemade Paneer
Believe it or not, you only need two ingredients to make Homemade Paneer, so you won’t be breaking the bank with this! Remember to scroll to the bottom of this post for the FULL PRINTABLE RECIPE CARD to see the quantities for each ingredient and for all the instructions to save for later! You can easily scale the amounts based on how much paneer you want to make! Here’s what we need:
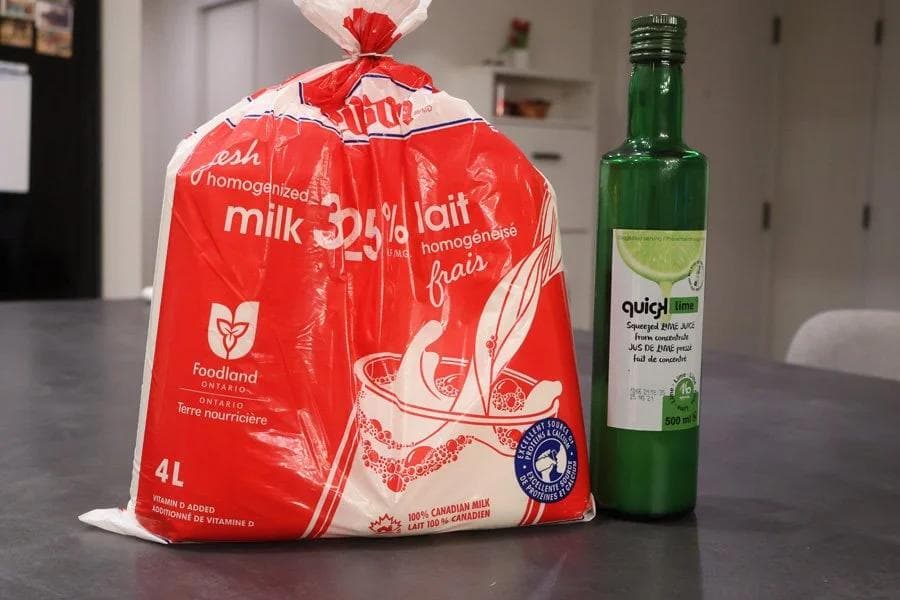
- Milk: You can use 2% milk in place of whole milk but I wouldn’t recommend going below 2%. After all, you are extracting milk solids from the milk to make paneer which includes some fat. Skim milk or 1% would never have enough of fat content to make enough - if any - paneer. For best results, I would recommend whole milk. I’ve used both 2% milk and whole milk and using the whole milk made it much tastier and even softer!
- Curdling agent: Options here are vinegar, lemon or lime juice, yogurt, or buttermilk. I’ve found the best results are with buttermilk. You get extra creaminess in your paneer while still getting that acidity, and it’s not overpowering in taste.
You’ll also want to have a non stick pot to boil your milk, a colander to strain out the liquid, and a cheesecloth to get the milk solids!
How to Make Paneer
To get going, you want to add 2L of whole or 2% milk in a large pot and heat the milk to the slowest boil on medium heat.


As soon as you get to this stage, turn the heat low and heat the milk until it starts to foam. Be sure to stir the milk from time to time so that it won’t burn.

This will impart a strong burnt flavor in the paneer. Here is where the patience part of the recipe comes into place. You can use a thermometer to check when the milk is below the boiling point and ready to be curdled - around 194 F to 203 F.


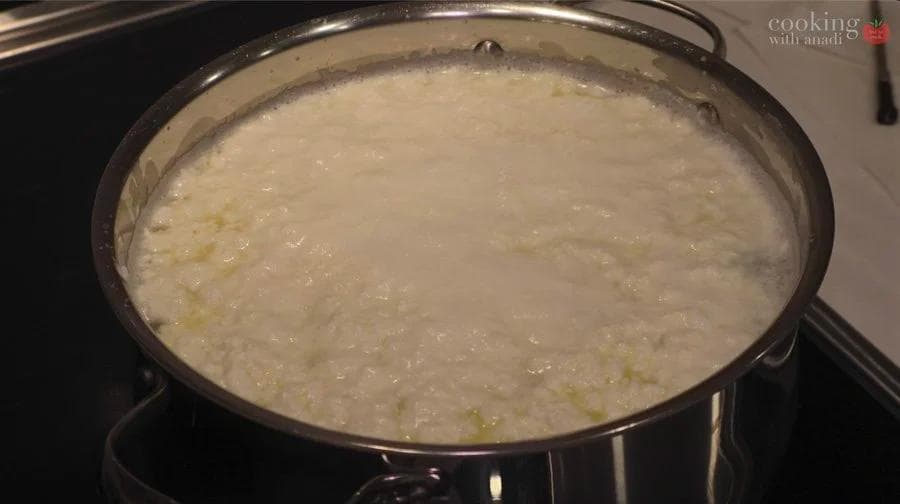
As soon as the milk starts to foam, add 250 mL of buttermilk or 120 mL of lemon juice or lime juice. Give it a quick stir. You will soon notice that the milk will start to curdle.


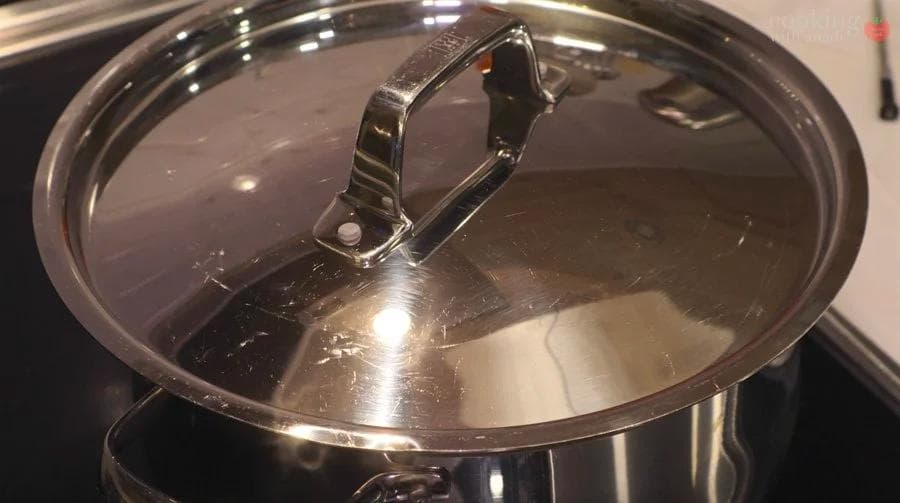
The milk will start to separate. Collect the “paneer” or “chenna” towards the center of the pot. As soon as the liquid that has separated starts to look thin like water, cover the pot and set it aside for 15-20 mins.
As the pot cools down, prepare for the final step. Taking a large piece of cheese cloth, at least 13’ x 13’ in length, lay it out on a colander or strainer and place it on a large bowl to collect the liquid.
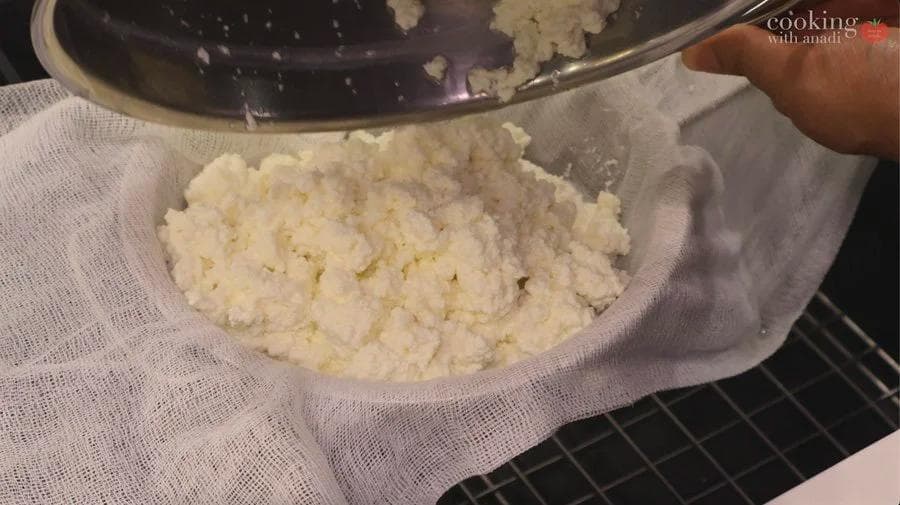
Using a skimmer, gently transfer the chena from the pot and place in the cheese cloth. Be careful as to not break the chena. I call this chena because believe it or not, this used to be a delicious breakfast.
Every other morning, we would have fresh chena, which is basically paneer which is still hydrated on toast with a fresh tomato chutney. Absolutely Delicious!
After you have transferred all the chena to the cheese cloth, tie the ends of the cheese cloth together and squeeze to extract as much water as you can.
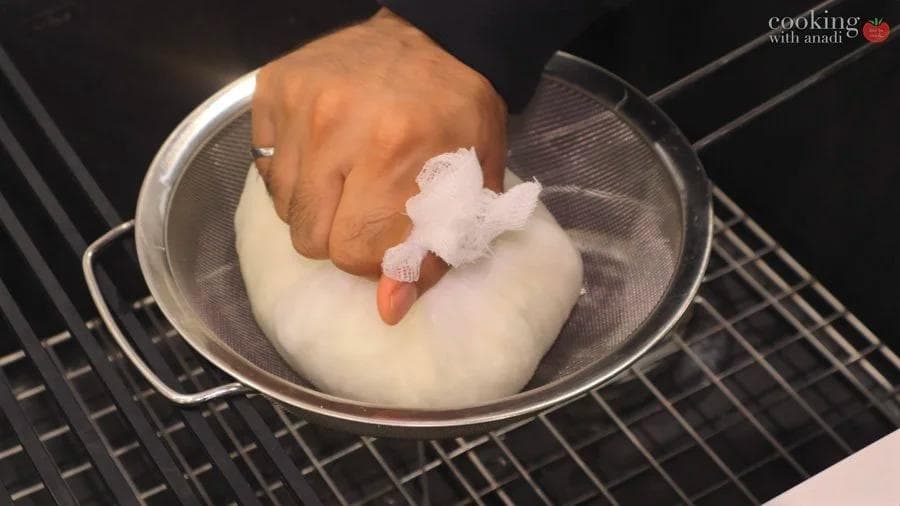
Now you have two options: the slow method or the fast method. If you have extra time on your hand, 24 hours or more, tie the cheese cloth to your kitchen sink and let gravity give you a helping hand. After 24 hours, all the excess water would have dripped out and you would have a handsome hunk of fresh paneer.
To speed things up a bit, which is what I did, transfer your paneer from the cheese cloth to a plate and place something heavy like a stainless steel pan or cutting board on the paneer, yes on it and balance heavy items such as unopened cans of beans, tomatoes to apply pressure. Within 2-3 hours, all the excess water would have dripped out.


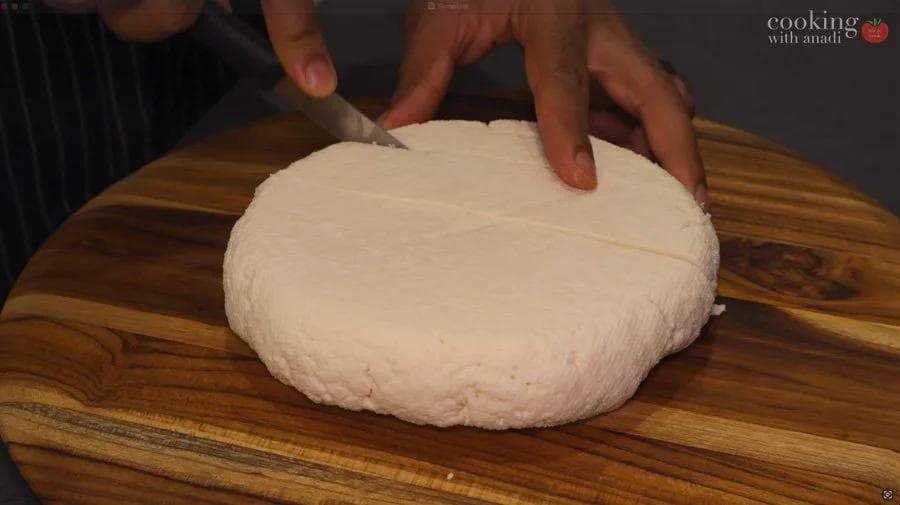
At this point you may use the paneer in your dish. This would make about 250 to 300 grams of paneer. I generally like to use this over a period of time given all the time I just spent to make it!

Answering Your Questions About Homemade Paneer!
How Long Does it Take for the Milk to come to a Simmer?▼
Depends on the amount of milk you are using. To bring about 3.5 liter of milk to a simmer, it took me about 20-25 minutes on medium heat. Also, you don’t want to rush it because having the heat to high would risk burning the milk.
Keep stirring often while you wait for the milk to come up to a simmer.
Why Won’t the Milk Curdle?▼
You may see some recipes for paneer where you turn the heat off the moment you add the acid. This could be buttermilk or vinegar or lemon juice. But this only works if you have un-pasteurized milk, directly from the cow/buffalo.
If you bought your milk at the supermarket or grocery store, you’re most likely purchasing homogenized milk. In this case you would need to keep the heat on while stirring until the milk has finished separating.

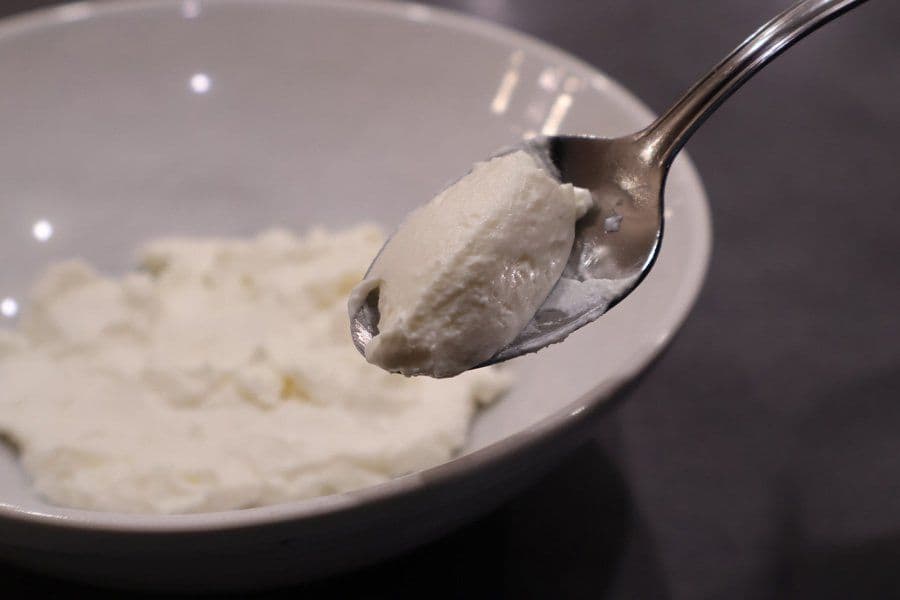
What is the Difference between Chenna and Paneer?▼
If you’re following the blog, you may have seen a few days ago I shared my Chenna recipe! Chenna is actually the intermediary step to making paneer. Chenna is the excess from the curdled milk that has not been pressed on. Chenna is more moist than paneer. Chenna is used for Indian sweets, or you can serve it savory with Tomato Chutney and buttered toast!
Is Paneer Farmer’s Cheese?▼
When I shared my chenna recipe, a viewer pointed out that Farmer’s Cheese is made in a very similar method. I got curious so I decided to further investigate what exactly Farmer’s Cheese is, and if it’s actually the same as either paneer or chenna. Turns out that Farmer’s Cheese is neither chenna nor paneer, but a step in between the two. For chenna, you don’t need a cheesecloth to make it. However, you use a cheesecloth to make Farmer’s Cheese. However, you don’t need to press weight down to make farmer’s cheese, it’s instantly ready!


1 comment
Great recipe and video. The paneer I made required about 300 mL of buttermilk, but the process and appearance of the milk was exactly as described. The resulting paneer was white firm and subtly flavored. Will make shahi paneer tomorrow according to your recipe.
Leave a review
Join 1 cook who've shared a note here.