


This post may contain affiliate links. Read our disclosure policy
Watch the recipe

Lachha paratha are soft & flaky multi-layered Indian flatbreads. These parathas are a popular bread served at Indian restaurants, and go well with the most exquisite curries! I love these parathas so much!
Traditionally, this paratha is made in a tandoori oven/Indian clay oven, but this tawa/skillet recipe captures the essence. These parathas are a step more advanced than a regular layered paratha, so if you haven't tried the beautiful triangular paratha yet, check out my recipe for Classic Layered Paratha.

What Makes This Paratha “Better” Than a Regular Paratha?
Better or not, I will leave that up to you! But more extravagant, I will 100% agree. This bread has several, I would say at least 20-30, maybe more layers! I challenge you to count, let me know in the comments down below.
Each layer is brushed with ghee and dusted with flour to ensure all of those layers, you worked so hard to develop, remain intact. And the process will take you back to your childhood. Let me explain.

Tools Needed
Making the Layers
Add the atta flour and all-purpose flour into a large bowl. Add the olive oil and mix either with a spoon or with your hands. The oil is well incorporated into the flour if you see small clumps.


Begin kneading the dough by hand or by using a stand mixer. As you are kneading, gradually add water to the bowl until you have a dough that is soft but not sticky. Once the dough is prepared, transfer it to a bowl and cover it with a damp cloth or paper towel for at least 15 minutes to allow it to rest.


After the dough has rested, divide the dough into 3-4 equal portions. Roll each portion between the palm of your hands to a smooth ball. Working with one portion at a time lightly pat the dough down and dust in flour. Roll out into a disk (5-6 inches in diameter) and brush with melted ghee and dust generously with flour.


Then, start creating pleats, this will look just like the Japanese paper fans from your school days! These layers are then tightly rolled together and then rolled out into thin disk. The flour will help keep those layers separate, and will help the paratha to fluff nicely once cooked.


Repeat the same with the remaining portions and roll out into a thin disk.


Cooking the Paratha
Heat a tawa pan on medium-high heat. Once the pan is hot, lay your paratha on the pan and cook for a few minutes, until bubbles begin to form and you begin to see the creases from the layers. Then, flip the paratha and add a touch of ghee with the help of a spoon along the sides and the top of the paratha.


Flip, and repeat the same on the other side. Cook until each side has light golden brown color. Repeat the same with the remaining dough.


To serve, lightly crush the paratha to release the layers of the paratha.


I usually save these lachha parathas for a special meal. Some of my favorite curries include:
- Dal Makhani - Restaurant Style Recipe
- Murgh Makhani - Restaurant Style Butter Chicken
- Restaurant Style Kadai Paneer
What Is Lachha Paratha?
Lachha paratha — also spelled laccha paratha or lachha parantha — is a flaky, multi-layered flatbread from North India, and a true Punjabi favorite. The name comes from the many rings, or lachha, that spiral through each bread. Unlike a plain roti or chapati, which is a single soft layer of atta and water, this flaky lachha paratha earns its texture from technique rather than a long ingredient list. The base here is simple: mostly atta (whole wheat flour) with just a little all-purpose flour — maida — for extra stretch, plus olive oil, water, and ghee. The magic is all in the folding.
Tips for the Flakiest Lachha Paratha
A few small steps make the difference between a beautifully flaky paratha and a flat one:
- Rest the dough. Knead until it is soft but not sticky, then cover it with a damp cloth for at least 15 minutes — resting relaxes the flour so it rolls out thin without springing back.
- Roll smooth balls. Roll each portion between the palms of your hands into a smooth ball before rolling it out; an even start makes for even layers.
- Ghee is the secret to the layers. Brush each rolled disk with ghee and dust it with flour before you pleat — the fat keeps every fold separate so they bake up crisp instead of fusing back into one bread.
- Pleat, then coil. Gather the disk into accordion pleats like a paper fan, stretch it as thin as you can, then coil it inward like a cinnamon bun before rolling it out again. More pleats mean more layers.
- Cook on a hot tawa. Get your tawa properly hot over medium-high heat, then add a little ghee along the sides and top as each side cooks to a light golden brown.
- Crush to reveal the layers. As soon as the paratha comes off the pan, lightly crush it between your hands to release all those flaky rings.
Storage, Reheating, and Easy Swaps
These parathas taste best hot off the tawa, but they keep well too:
- Storing: Stack cooled parathas with a square of parchment paper between each one, then keep them in an airtight container in the fridge for a couple of days.
- Reheating: Warm them on a hot tawa for the crispest result, or microwave for a few seconds when you are in a hurry — kids love them straight up with a little butter.
- Make it vegan: The dough is already dairy-free since it is made with olive oil, so simply brush and cook with a neutral oil or vegan butter in place of the ghee.
- Season to taste: The dough is intentionally plain, but you can knead in a pinch of salt if you like a little more flavor in the bread itself.
Variations and Other Parathas to Try
Once the layering technique is in your hands, the same dough takes a lot of variations:
- Work a teaspoon of ajwain (carom seeds) or a pinch of crushed kasuri methi into the flour before you add water — both are traditional and both survive the high heat of the tawa.
- Brush the finished paratha with garlic butter instead of plain ghee, then scatter chopped coriander over the top.
- For extra crispy parathas, cook the last minute on slightly higher heat and press the edges down with a folded cloth so every layer touches the tawa.
- Stuffed parathas are a different technique rather than a variation of this one — the filling goes into the dough ball before rolling, not into the pleats. If that is what you are after, aloo paratha, paneer paratha and green chili paratha are all worth a look among my other paratha recipes.
A stack of these is at its best next to something rich enough to mop up: paneer kadai, dal makhani, or any thick North Indian curry with plenty of gravy.
Frequently Asked Questions
What is lachha paratha?▼
Lachha paratha is a flaky, multi-layered North Indian flatbread — the dough is pleated and coiled (like a cinnamon roll) to create its signature lachha, or layers.
How do I get the flaky layers in lachha paratha?▼
Roll the dough thin, pleat or fold it like a fan, then coil it inward like a cinnamon roll before rolling it out again. That folding-and-coiling is what creates all those flaky layers.
Why do I need to rest the dough?▼
Resting the dough under a damp cloth relaxes the gluten so it rolls out thin without springing back — key for thin, flaky layers.
What do you serve with lachha paratha?▼
Lightly crush it to reveal the layers, then serve hot with any rich curry or dal.
Let me know what you think of this recipe in the comments! If you’ve tried this recipe, be sure to post it on social media and tag it with #cookingwithanadi and mention me @cooking.with.anadi. Thank you!
Recipe by Anadi Misra
Crispy, flaky, and buttery Punjabi Lachha Paratha made right at home. Master this beloved Indian bread with simple steps and pantry staples for perfect layers every time.
Stovetop
Rate this recipe ✦
25 min
Prep
8 min
Cook
33 min
Total
3
parathas
medium
Level
Ingredients
Ingredients
Tap any quantity to scale
Instructions
- 1
Add the atta flour and the all purpose flour into a large bowl. Add the olive oil and mix either with a spoon or with your hands. The oil is well incorporated into the flour if you see small clumps.
Add the atta flour and the all purpose flour into a large bowl. Add the olive oil and mix either with a spoon or with your hands. The oil is well incorporated into the flour if you see small clumps.
- 2
Begin kneading the dough by hand or by using a stand mixer. As you are kneading, gradually add water to the bowl until you have a dough that is soft but not sticky.
Begin kneading the dough by hand or by using a stand mixer. As you are kneading, gradually add water to the bowl until you have a dough that is soft but not sticky.
- 3
Once the dough is prepared, transfer it to a bowl and cover it with a damp cloth or paper towel for at least 15 minutes to allow it to rest.
Once the dough is prepared, transfer it to a bowl and cover it with a damp cloth or paper towel for at least 15 minutes to allow it to rest.
- 4
After the dough has rested, divide the dough into three or four equal portions. Roll each portion between the palm of your hands to a smooth ball.
After the dough has rested, divide the dough into three or four equal portions. Roll each portion between the palm of your hands to a smooth ball.
- 5
Then, on one of the portions, pat down the dough and dust in flour. Then roll out the dough into a disk, 5-6 inches in diameter. Brush on some ghee and lightly dust with flour. Start creating pleats on the dough and stretch as much as possible while folding.
Then, on one of the portions, pat down the dough and dust in flour. Then roll out the dough into a disk, 5-6 inches in diameter. Brush on some ghee and lightly dust with flour. Start creating pleats on the dough and stretch as much as possible while folding.
- 6
Once you have made all the folds, lay the dough upright and roll it inwards until it resembles a cinnamon bun. Press down gently, dust with flour and roll it out into a thin disk.
Once you have made all the folds, lay the dough upright and roll it inwards until it resembles a cinnamon bun. Press down gently, dust with flour and roll it out into a thin disk.
- 7
Heat a tawa pan on high heat. Once the pan is hot, lay your paratha on the pan and cook for a few minutes, until bubbles begin to form and you begin to see the creases from the layers.
Heat a tawa pan on high heat. Once the pan is hot, lay your paratha on the pan and cook for a few minutes, until bubbles begin to form and you begin to see the creases from the layers.
- 8
Then, flip the paratha and add a touch of ghee with the help of a spoon along the sides and the top of the paratha. Flip, and repeat the same on the other side. Cook until each side has a light golden brown color.
Then, flip the paratha and add a touch of ghee with the help of a spoon along the sides and the top of the paratha. Flip, and repeat the same on the other side. Cook until each side has a light golden brown color.
- 9
Repeat steps 5 and 7 with the remaining dough and serve immediately. To serve, lightly crush the paratha to release the layers of the paratha.
Repeat steps 5 and 7 with the remaining dough and serve immediately. To serve, lightly crush the paratha to release the layers of the paratha.
Did you make this recipe? Tag @cooking.with.anadi on Instagram and hashtag it #cookingwithanadi

Tested & written in Anadi’s kitchen
Recipe history
- April 16, 2026 — Reworked and refreshed for the 2026 relaunch — new photography, restructured and standardized ingredients & instructions.
You might also like

Classic Layered Paratha | Triangular Paratha Recipe
Make perfectly flaky, layered triangular paratha at home with this easy whole wheat Indian bread recipe. Soft, crispy, and delicious — ideal for any meal of the day.

Gobi Paratha Recipe - Indian Stuffed Cauliflower Flatbread
Gobi Paratha is a crispy, golden Indian flatbread stuffed with spiced cauliflower. Made with whole wheat dough, this easy recipe delivers soft, flavorful parathas perfect for any meal.
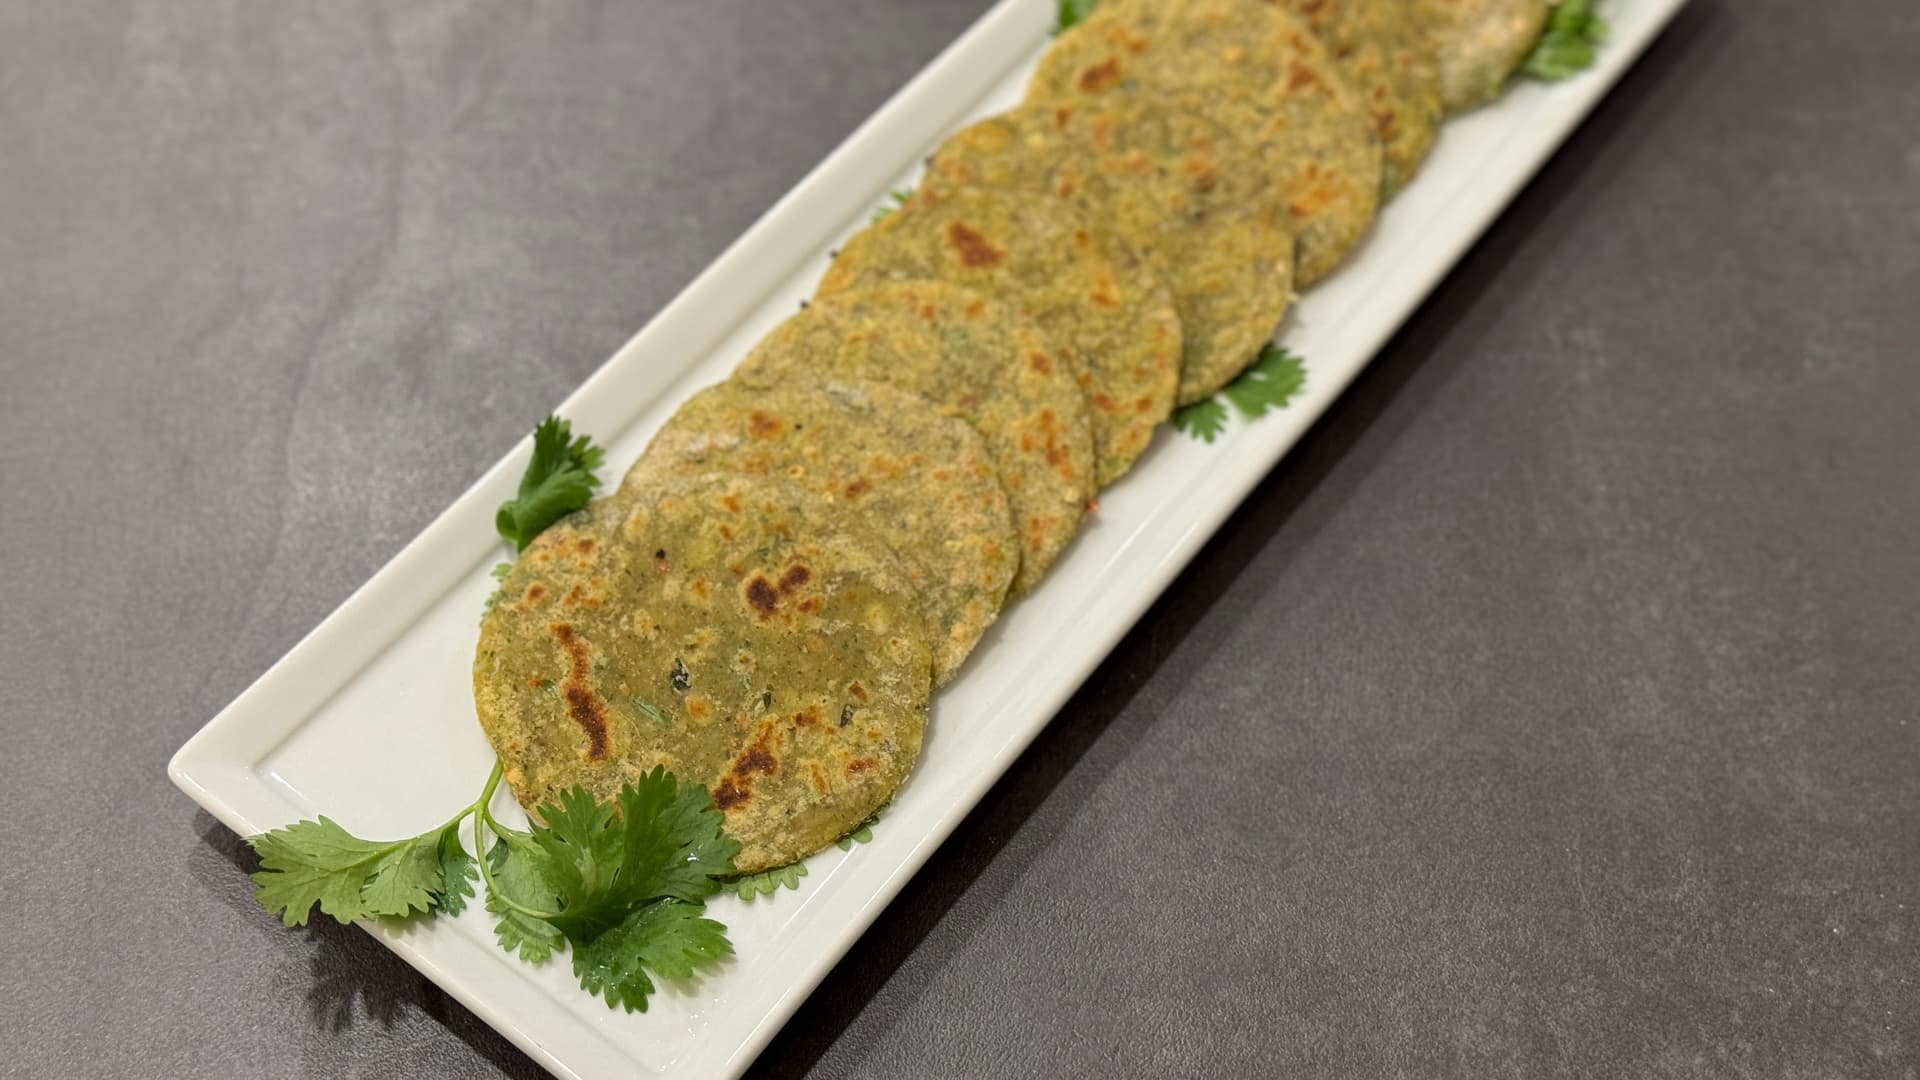
Easy Mini Broccoli Cheese Paratha Recipe
Make soft, flavorful Mini Broccoli Cheese Parathas at home with this easy recipe. Stuffed with creamy cheese and nutritious broccoli, these whole wheat Indian breads are perfect for any meal.

Healthy Palak Paratha Recipe: Easy Spinach Layered Flatbread
Make flaky, layered Palak Paratha at home with this easy spinach flatbread recipe. Soft, nutritious, and packed with flavor — perfect for any meal.

Easy White Paratha Recipe for Wraps & Rolls
Make soft, chewy white paratha at home with this easy recipe. Perfect for wraps and rolls, these Indian flatbreads come together quickly with simple pantry ingredients.

Punjabi Aloo Paratha Recipe - Potato-Stuffed Flatbread
Crispy, golden Punjabi Aloo Paratha stuffed with spiced mashed potatoes. This easy recipe delivers authentic flavor with simple ingredients. Perfect for breakfast or any meal!


Comments
No comments yet — be the first to share your thoughts!
Leave a review
Be the first to share how it went — your note helps other cooks (and earns the recipe its stars).