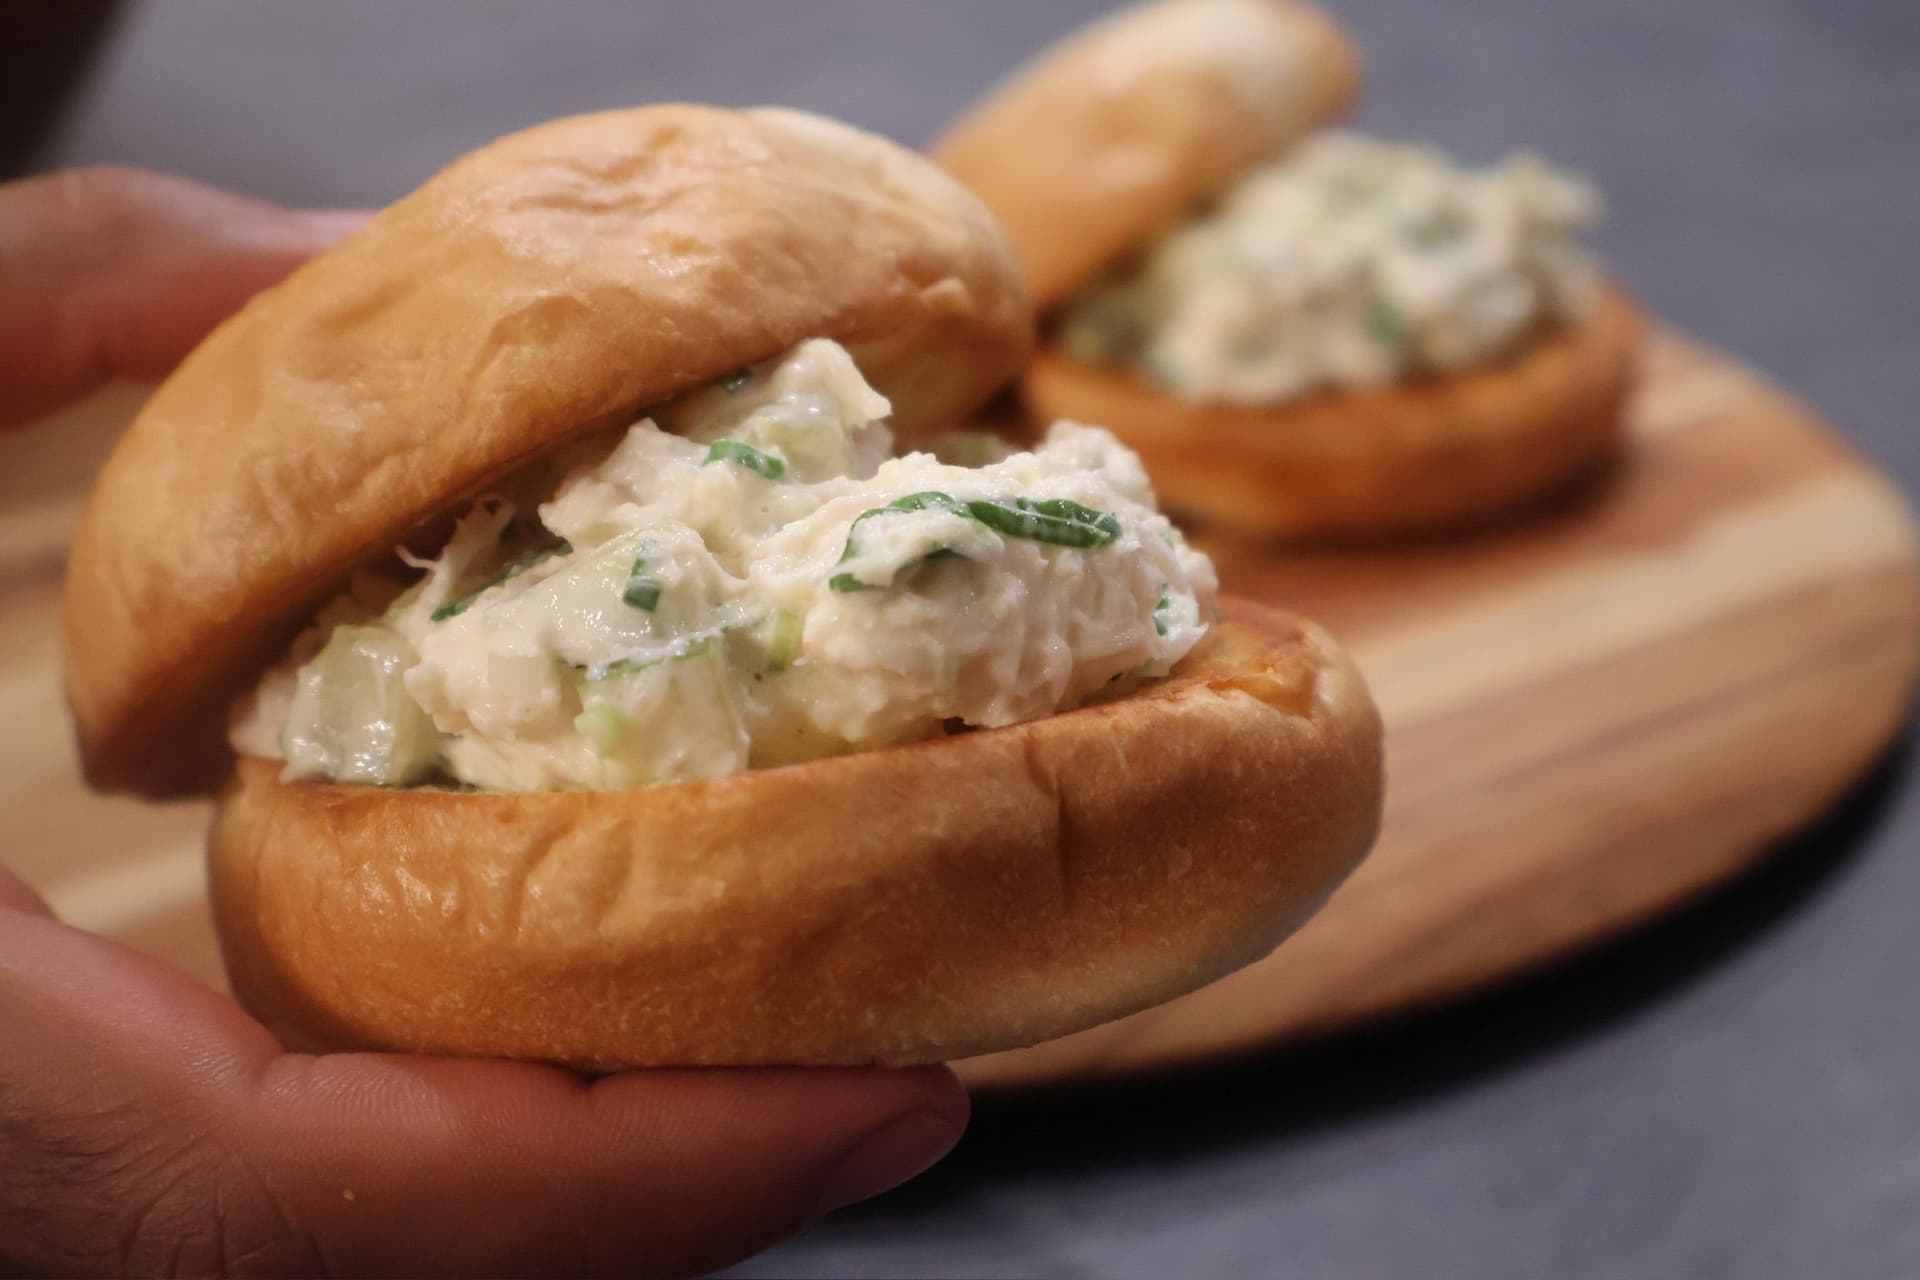
Crispy, melty, and loaded with creamy tuna salad, this incredible tuna melt sandwich is the easiest lunch you will ever make. Ready in minutes and absolutely delicious.
If you’re a busy-body looking for a satisfying meal that is efficient to make, budget-friendly, and doesn’t fall short on flavor at all, then you will become obsessed with Tuna Cheese Melts! Tuna and Cheese Melts are definitely the sandwich that checks all the boxes - cost-effective, fast to make, and super tasty! I just love the creaminess that comes from the tuna salad filling, plus the cheese just adds another layer of deliciousness.
25 min
4 sandwiches
easy
The Most Incredible Tuna Melt Recipe: Easy and Delicious
Now, a fun fact is that this is coming from a guy who never gave tuna a second look about under two months ago! I had been curious about tuna sandwiches for the longest time, but I was so scared about what lies inside those little cans… Turns out it’s not so bad at all! After I’ve checked off making Tuna Salad Sandwiches from my bucket list, I happened to have some cheese with my leftover tuna salad mixture. Therefore, I experimented with this recipe, and it was too good not to share! If you’ve always wanted to make the most delicious and cheesy tuna sandwich, then you’ve found the right recipe! Check off this sandwich from your bucket list as part of your Live to Cook one-month challenge! You can get started on your cooking journey for free today by signing up to my email newsletter, and you’ll receive all of my latest recipes straight to your inbox so you never run out of lunch ideas!
For a visual representation of the complete process from start to finish showing how to make a tuna melt on the stove, be sure to watch the video! I would really appreciate it if you could please subscribe to my YouTube channel if you’re not already, and don’t forget to press the bell button to be notified when all of my latest video recipes are live! Let’s get started!
Why You’ll Love This Tuna Melt Sandwich Recipe!
Easylunch: The process for making these sandwiches is super straightforward, making this recipe accessible to cooks of all levels! All you need to do is make the tuna salad mixture, then assemble and toast the sandwich!
Quick: Need lunch in a matter of minutes? Making this sandwich is a perfect option for you! Some recipes show you how to make the sandwich in the oven, but this recipe will show you how to make a tuna melt sandwich on the stove on a skillet. To be honest, it’s much faster this way, and you get great results!
Good source of protein: If you need a high protein meal, then this recipe will certainly deliver! The canned tuna is an excellent source of protein, plus we’ve got a bonus from the Monterey Jack cheese that will add some extra protein.
Budget-friendly: We all know that tuna is famous for being an affordable item! All the other ingredients here are cost-effective too, so this lunch will definitely save you lots of dollars you would have otherwise spent getting a sandwich at a sandwich shop!
Cheesy goodness: Who can resist some ooey and gooey molten cheese? I can never say no! These melts have all the deliciousness of a creamy tuna salad everyone loves with the addition of melty and pull cheese for a lunch you’ll keep coming back to!
Scroll to the bottom of this post or press the “Jump to Recipe” button for the FULL PRINTABLE recipe card, which has all ingredients and their quantities laid out for you, plus you can save the recipe for later! In addition, you can use the recipe card to scale the recipe based on how many melts you want to make so that you’ve got the correct amount of ingredients to nicely stuff those sandwiches!
Tuna: The tuna I’m using here is canned flaked light tuna. Other tuna choices that’s common for these sandwiches is Albacore solid chunk white tuna. For solid tuna, you’ll need to flake it with a fork after you’ve drained it.
Dijon mustard: Any sort of Dijon mustard will work here! However, the only type of mustard I had on hand was jalapeño dijon mustard, so I took this sandwich as an opportunity to finish that jar of mustard that had been in my fridge for maybe too long.
Dill pickles: Your favourite type of pickle will work here, but my choice here was some simple baby pickles. Some folks also like to use pickle relish, either sweet or dill pickle relish.
Tomatoes: Some sliced tomatoes to add some juiciness to our sandwiches.
Onions: Sliced red onions. You can use whatever type of onions you want, but red onions are my preference.
Japanese mayo: My preference for a tuna salad mix is the Japanese mayo, also known as Kewpie. However, if you don’t have it, feel free to use regular mayonnaise. Keep in mind that you won’t get that same creaminess that the Japanese mayo can provide, but it’ll do the job if you really want to make your tuna sandwich right now!
Celery salt: I actually don’t really like celery very much! For myTuna Salad Sandwichrecipe, I already had celery on hand, so it was an excellent opportunity to use it. However, now that it’s finished, I didn’t want to buy celery just for this recipe. This is the exact advice I give in my free motivational guide to explore your potential in the kitchen, Make Cooking Fun!: If you have a suitable substitute already on hand and you don’t want to be stuck with an ingredient you’ll only use once, then use what is already on hand! Celery salt is a great substitution for actual celery to still give you the flavor without the super strong flavour. Don’t worry about the crunch - we have green onions, red onions and pickles for that!
Dill: Fresh dill adds a really fresh punch to your melt.
Cheese: A truly mandatory ingredient! I’m using spiced Monterey Jack for this recipe.
Salt & pepper: Taste the tuna salad filling to see if it is seasoned according to your taste. You may want some salt and pepper since we’re adding in tomatoes and onions that would require seasoning.
Rye bread: This is a great bread choice for when you want a loaded sandwich. It’s not too dense but it’s the perfect size that will hold your toppings without flopping over, and it tastes so good!
Butter: Required to toast breads of the sandwich.
How to Make the Most Incredible Homestyle Tuna Melts
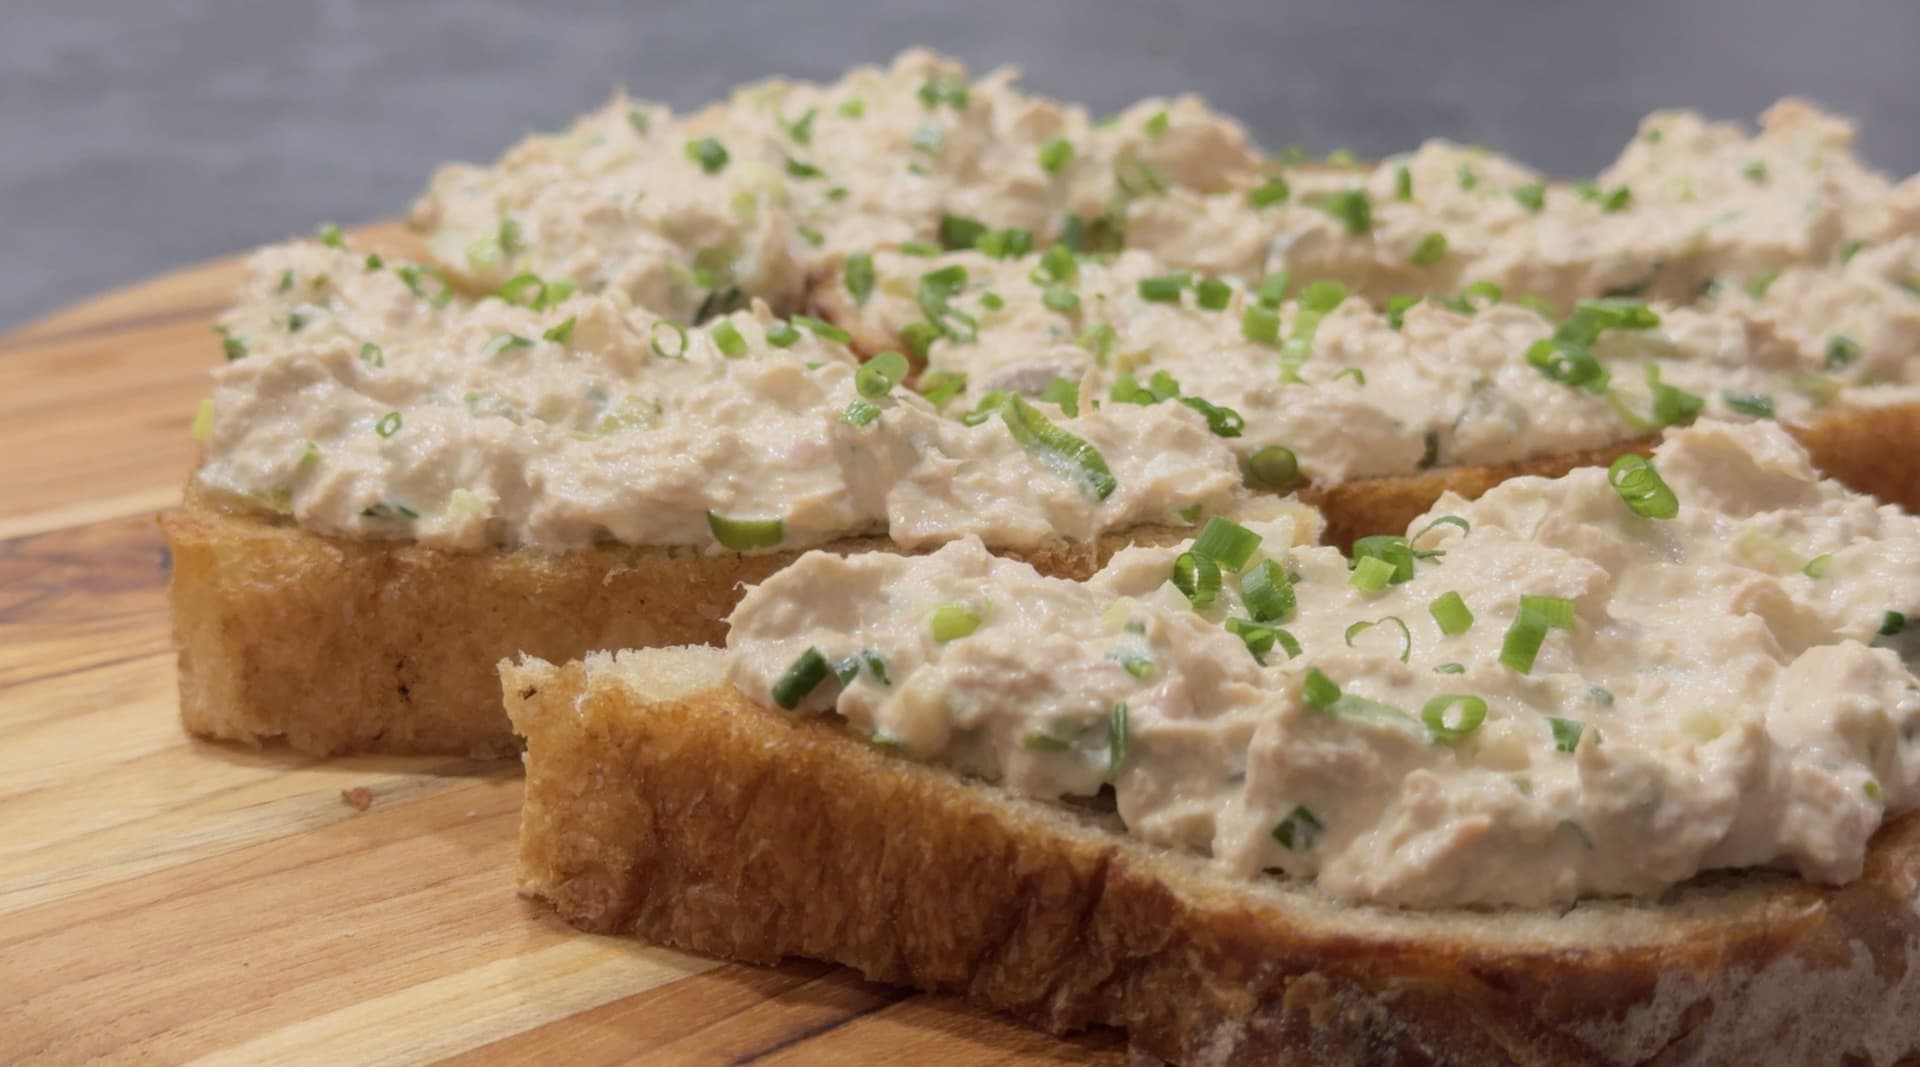
Drain any excess water from the cans of tuna and transfer the tuna to a large bowl.
Add the chopped green onions, chopped dill pickles and some of the pickling juice and dill.
Add mayonnaise, mustard and mix well to combine.
Add celery salt, mix well and taste. Adjust seasonings as needed.
On 1 slice of bread, spread the tuna salad, add tomato slices, sliced onions and then the cheese. Close the sandwich with another slice of bread and lightly press on the sandwich. Repeat the same process to prepare more sandwiches.
Heat a non-stick pan on medium heat and once warm, add 1 tsp butter. Place the sandwich on the pan and toast the first side until golden brown and crispy. Adjust the heat as needed to ensure the bread does not toast too quickly to allow the fillings to warm up sufficiently.
Lift the sandwich, add 1 tsp of butter to the pan and toast the other side of the sandwich until golden brown.
Slice diagonally and enjoy fresh!
Variations
Mayo be gone: Not a fan of mayo? In my opinion, mayo is key for a classic tuna cheese melt, but if you really don’t want to use it, then that’s okay! You can lighten up the sandwich by substituting the mayo for sour cream, cottage cheese, or even Greek yogurt.
Spice: If you want a touch of heat to your sandwich, sriracha sauce to your tuna salad mixture to bump up the heat! You could also sprinkle in some chilli flakes or add some chopped green chillies or jalapeños.
Cheese: If you want to switch it up from Monterey jack cheese, you could also use white old cheddar, Swiss, Colby jack or Havarti. You want a semi-hard cheese that has creaminess and lots of flavour!
Shredded cheese: I’m using sliced cheese to save some time. However, if you have a block of cheese, then grating it and adding it on top of your filling will give you some great results! The texture is slightly different, but see what you prefer!
Herbs: There are plenty of herb options you can use to slightly switch up the flavour of your melts. Tarragon, chives, or parsley are all excellent herbs to incorporate into your tuna salad filling.
Toppings: You can really load up your sandwich to your heart’s desire by adding some lettuce, bacon, or avocado. You could even do Pickled Vegetables, like pickled carrots, cucumber, or beets!
Open-faced: If you want to adorn all of your lovely toppings and cheesy goodness, then don’t add a top piece of bread to close the sandwich. You can toast the pieces of breads with your toppings on the buttered side down and add a lid to allow the cheese to melt.
Breads: Other loaves of bread that will deliver in flavour and give you the right size to hold onto your toppings include sourdough, pumpernickel, Ciabatta, or Belgian bread. Any rustic bread will work, but if you really want to, you could use sandwich bread such as Wonder bread or Texas Toast.
What About Making Tuna and Cheese Melt Sandwiches in the Oven?
The best way to prepare these melts in the oven would technically be an air fryer, which is miniature convection oven. After you assemble the sandwich, apply melted butter on the outer sides of the melts and then place in the basket of an air fryer and cook at 375-390 F for 8-10 minutes. Flip it halfway along the cooking time.
To prepare this in a traditional oven, heat it in convection mode at 425 F and similar to the air fryer method, assemble the sandwich, apply molten butter on the outer sides of the melts. Place the melt sandwich on a baking sheet and bake for 10-12 minutes, flipping it halfway along the cooking time.
While regular mayonnaise will work well to make these sandwiches, to get a creamier and richer texture, use the Japanese (kewpie) mayonnaise instead.
Make sure you have drained most of the moisture from the canned tuna to ensure the sandwich does not become soggy.
The best type of canned tuna for this recipe would be a meaty albacore variety.
A tuna cheese melt needs to be toasted sufficiently to get a crisp texture outside and to warm the fillings within. This can be easily achieve by toasting on moderate heat with some butter, or toasting the melt on the pan before transferring it to the oven to warm the fillings.
Follow this order to prepare the melt: tuna salad, veggies, cheese. This will ensure the top bread slice to stay secured with the molten cheese and will prevent it from getting soggy.
Can I make Tuna Cheese Melts in Advance?▼
No, you can’t make the Tuna Cheese Melts in advance. However, what you can do is make the melt filling in advance and then assemble and cook the sandwiches fresh. Why would you want to reheat your nice and gooey cheesy sandwich when you could just toast it in about 5 minutes? To get even further ahead, you could definitely assemble the sandwich and then cook it when you’re ready to do so. Let’s go over both options so you can decide what you would like to do!
The Tuna Salad Filling
Transfer the prepared tuna salad filling in an airtight container in the fridge. Ensure that you use the tuna salad filling within 3 to 4 days, as the large amount of perishables in this mix make it likely to spoil!
Assembled Sandwiches
If you want to assemble your sandwiches prior to cooking, you can follow all the steps outlined for assembly. Then, tightly wrap them in plastic wrap and place the wrapped sandwiches in an airtight container. When ready to eat, you can heat them gently over a non-stick pan until the cheese is molten.
Let me know what you think of this recipe in the comments! If you’ve tried this recipe, be sure to post it on social media and tag it with #cookingwithanadi and mention me @cooking.with.anadi. Thank you!
Recipe by Anadi Misra
The Most Incredible Tuna Melt Recipe: Easy and Delicious
Crispy, melty, and loaded with creamy tuna salad, this incredible tuna melt sandwich is the easiest lunch you will ever make. Ready in minutes and absolutely delicious.
Be the first to rate ✦
Saved to your collection
··
·
·
15 min
Prep
10 min
Cook
25 min
Total
4
sandwiches
easy
Level
Ingredients
··
·
·
Ingredients
Tap any quantity to scale
tuna(drained)
dill pickles(chopped with a splash of pickling juice)Shop →
Drain any excess water from the cans of tuna and transfer the tuna to a large bowl. Add the chopped green onions, chopped dill pickles and some of the pickling juice, dill, mayonnaise, mustard and mix well to combine. Add celery salt, mix well and taste. Adjust seasonings as needed.
Drain any excess water from the cans of tuna and transfer the tuna to a large bowl. Add the chopped green onions, chopped dill pickles and some of the pickling juice, dill, mayonnaise, mustard and mix well to combine. Add celery salt, mix well and taste. Adjust seasonings as needed.
2
On 1 slice of bread, spread the tuna salad, add tomato slices, sliced onions and then the cheese. Close the sandwich with another slice of bread and lightly press on the sandwich. Repeat the same process to prepare more sandwiches.
On 1 slice of bread, spread the tuna salad, add tomato slices, sliced onions and then the cheese. Close the sandwich with another slice of bread and lightly press on the sandwich. Repeat the same process to prepare more sandwiches.
3
Heat a non-stick pan on medium heat and once warm, add 1 tsp butter. Place the sandwich on the pan and toast the first side until golden brown and crispy. Adjust the heat as needed to ensure the bread does not toast too quickly to allow the fillings to warm up sufficiently. Lift the sandwich, add 1 tsp of butter to the pan and toast the other side of the sandwich until golden brown.
Heat a non-stick pan on medium heat and once warm, add 1 tsp butter. Place the sandwich on the pan and toast the first side until golden brown and crispy. Adjust the heat as needed to ensure the bread does not toast too quickly to allow the fillings to warm up sufficiently. Lift the sandwich, add 1 tsp of butter to the pan and toast the other side of the sandwich until golden brown.
4
Slice diagonally and enjoy fresh!
Slice diagonally and enjoy fresh!
Nutrition per serving
772
Calories
25g
Protein
39g
Carbs
58g
Fat
4g
Fiber
8g
Sugar
1222mg
Sodium
Share This Recipe
Did you make this recipe? Tag @cooking.with.anadi on Instagram and hashtag it #cookingwithanadi
Tested & written in Anadi’s kitchen
Free weekly newsletter
Like this recipe? Get more every week.
New recipes, cooking tips, and behind-the-scenes from Anadi's kitchen.
Make this quick and easy Aloo Chicken Keema Sandwich at home tonight! Packed with bold spices and hearty ground chicken, it is the perfect lunch or dinner the whole family will love.
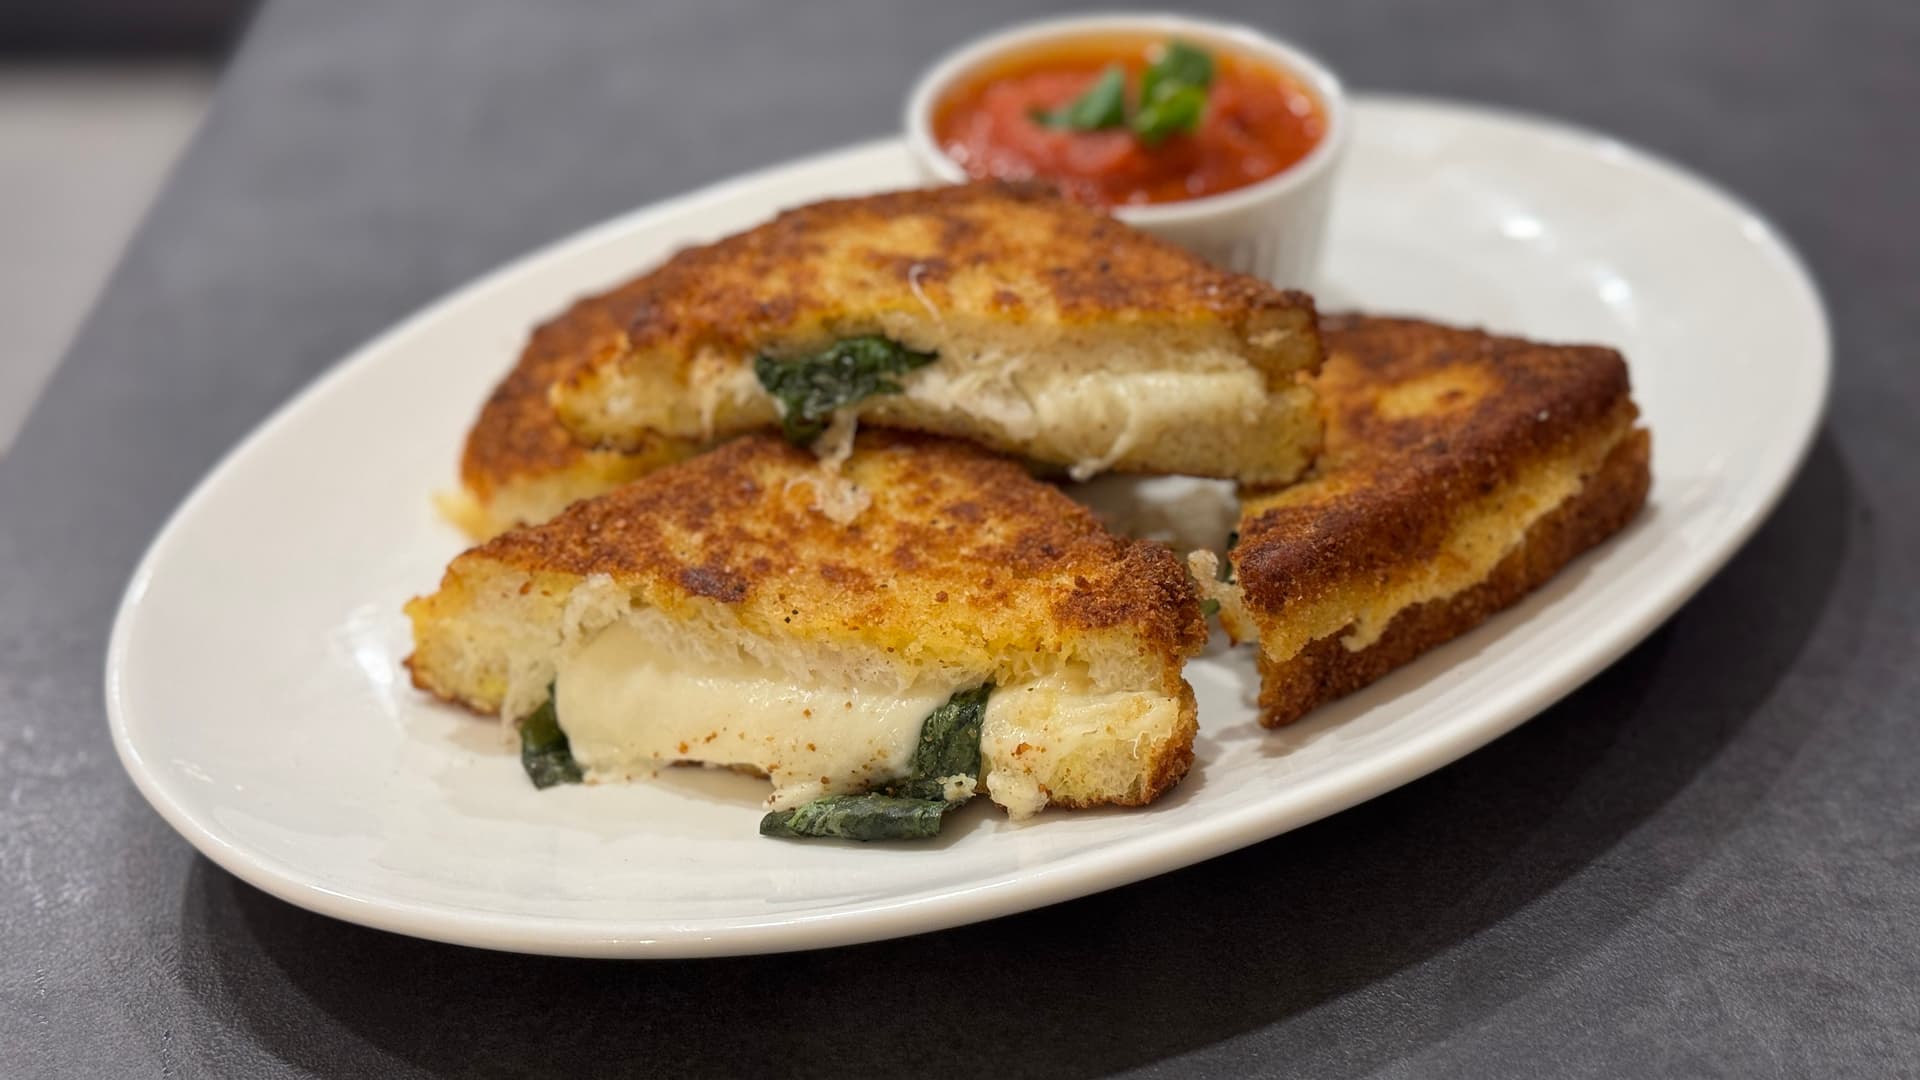
Mozzarella in Carrozza is the ultimate Italian grilled cheese — golden, crispy bread surrounding a gloriously melted, creamy center. Make this classic fried mozzarella sandwich at home tonight.
Make the ultimate Croque Monsieur and Croque Madame at home. Crispy toasted bread, creamy béchamel, and melted cheese make this classic French breakfast totally irresistible.
Creamy, flavorful crab salad sandwiches made easy for your next picnic or lunch. Fresh ingredients come together fast for a satisfying seafood meal the whole family will love.
Whip up a protein-packed tuna salad sandwich in minutes! Creamy, satisfying, and loaded with flavor, this easy lunch recipe is perfect for busy days when you need a quick, healthy meal.
Crispy, cheesy, and loaded with smoky BBQ chicken — this open-faced grilled cheese sandwich is an easy lunch you can throw together in minutes. Simple ingredients, big flavor.
30 minMedium3 sandwiches
Comments
No comments yet — be the first to share your thoughts!


Comments
No comments yet — be the first to share your thoughts!
Leave a comment