


This post may contain affiliate links. Read our disclosure policy
Watch the recipe

Cooking With Anadi
12K subscribers · spiced chicken keema stuffed into flaky, golden paratha
Stuffed Chicken Paratha Recipe
Once upon a time I got into a major paratha kick. If you’re new to the delicious world of stuffed parathas, well, I’m happy to show you the light!
What’s so good about stuffed parathas? Um, everything! Imagine your favorite mixtures stuffed into warm, soft, nutty paratha bread. If you’ve never had a Classic Layered Paratha before then please do so! Your life will change!
While I’m typically a white flour kind of guy - I adore my Tandoori Naan and my Rumali Roti - someone from an Indian household will tell you that the atta flour breads such as paratha and roti are the homestyle breads. You just gotta love them. What’s a bonus? They’re so easy to make!
Now combine your soft delicious bread and all types of mixtures and you’ve got an incredibly satisfying meal! You can make parathas for a weekend brunch or a fabulous lunch or dinner! Parathas can be enjoyed at the TV with your family or you can prepare them for guests.
Here are some delicious other stuffed paratha ideas - Aloo Paratha, Paneer Paratha, cheese paratha, Pyaaz (onion) Paratha, Gobi Paratha (cauliflower paratha), and Hari Mirch (green chili) paratha. You can literally make almost anything in a paratha!
This recipe will show you how to make the most scrumptious paratha with ground chicken ever to really satisfy your belly! Let’s get to it!
Frequently Asked Questions
What Is Chicken Keema?▼
Chicken keema literally translates to “chicken mince”. The chicken mince is spiced with whole and ground Indian spices to make it very aromatic and so juicy and tasty! Our chicken keema here won’t be too spicy, so it’s perfect for all spice tolerances!
“Keema” refers to the minced meat. You can have all sorts of keema, such as turkey, pork, beef, and lamb. I’m using chicken here today, but you could recreate this keema with turkey, beef or lamb (I don’t think pork would go well in this recipe, just my opinion!).
Can I Use Leftover Keema Masala to Make the Paratha?▼
Yes! Suppose you’ve followed my Juicy Chicken Keema Masala recipe for a delicious curry. If you’ve got leftovers, then feel free to use them in the paratha! Actually, that’s exactly what I did! I first made my chicken keema masala and enjoyed it with roti for lunch. Then for dinner I made these parathas. Yes, I had a whole pound of keema in a day to get these recipes out. The things I do for y’all!:)
Can I use leftover dough to make the paratha?▼
If you have leftover paratha dough from another meal then I actually don’t recommend you make keema paratha - or any stuffed paratha - with it! It’s just not going to be the same in shaping the paratha, stuffing it, and the taste. These stuffed parathas are special, so I would recommend you do something else with your leftover dough! Perhaps make some Homestyle Rotis!
Can I Make Keema Paratha Ahead of Time?▼
Now this I’ll say yes to! Cooked parathas will stay good in the fridge! I’ll let you know at the end of this post how to store leftovers and how to reheat them!
Tools Needed
Ingredients for Keema Paratha
This paratha stuffed with chicken keema has two parts: the dough and the stuffing.
For the Dough
- Atta flour: Atta flour is a type of whole wheat flour from India. If you can’t find atta flour, use half parts all purpose flour and half parts whole wheat flour. I really recommend you try to get some atta flour, however! There will be a difference in taste if you do this substitution.
- Water: Mixed in with our flour to make our dough!
For the Stuffing
- Minced chicken: As mentioned before, you can certainly substitute with minced chicken with turkey, beef or lamb. This will slightly change the flavor, but feel free to experiment!
- Ghee: You could use olive oil or any other oil if you’d like, but I love to cook keema in ghee because of the incredible flavor that the ghee will add to the keema. I definitely recommend it!
- Essentials: Onion, green chilies, ginger and garlic. These are the base for the delicious masala and will add plenty of flavor. You can omit the green chilies if you don’t want spice.
- Whole spices: Bay leaf, clove and cumin seeds.
- Ground spices: Red chili powder (deggi mirch), ground coriander, turmeric, and salt to taste.
- Tomato paste: This helps to add richness and sweetness to the mince! Plus, it helps reduce the cooking time.
Tips for an Excellent Paratha with Minced Chicken
- Let the mince completely cool down to room temperature before using, otherwise, the dough will become warm and tear easily.
- Ensure that you let the dough rest before making the paratha for the softest bread.
- Heat tawa pan until lightly smoking to get the classic smoky flavor in the paratha.
- Top with additional ghee or butter for added yumminess.
Knead a Smooth, Soft and Pliable Dough
- Combine the atta flour, ghee and water in a large bowl or a stand mixer and knead until smooth, soft and pliable. If the final dough is hard, the keema/mince mixture will tear through the dough.
- Let dough rest for 20-30 minutes before stuffing. Resting helps to relax the dough so it is easier to stretch and roll out.
Add the Stuffing
There are two ways to stuff the paratha. I tend to lean towards method 1 since it helps ensure the center of the final paratha is stuffed evenly. In my experience, sealing the dough in method 2 creates a thicker center which pushes the stuffing out.
Let me know if you have any tips for me!
How to Make Chicken Stuffed Paratha
Making the Chicken Keema
- Heat a pan on medium heat and add ghee, once hot add whole spices (bay leaf, clove, cumin seeds).
- Once spices are aromatic, add onions and saute until they soften.
- Add the keema/mince, followed by deggi mirch, ground coriander, turmeric and salt. Mix well and break any lumps of keema/mince.
- Add the ginger, garlic and green chilies and cook until the mince is no longer pink, break any big lumps of meat.
- Create a well at the center of the pan and add tomato paste. Saute for 1-2 minutes and then mix the tomatoes with the keema/mince.
- Add garam masala and stir well, season to taste.
Making the Paratha
Method 1
- Divide the dough into 8-10 equal portions. Working with two portions at a time, roll dough out into 4 inch disks.
- Add a spoonful of keema/mince stuffing in the center of one disk and cover with the second disk.
- Press gently to seal the edges and using a rolling pin, roll out into a thin disk, careful not to break the seal.
Method 2
- Divide the dough into 4-6 equal portions. Working with one portion at a time, roll dough out into a 4 inch disk.
- Add a spoonful of keema/mince stuffing to the center of the disk, and seal and fold around the edges of the disk. This will resemble a dumpling.
- Gently press down, lightly dust flour onto the dough, and roll out into a thin disk.
Cook the Keema Paratha
- Heat tawa on medium high heat until just smoking. Add stuffed paratha on tawa and cook until lightly roasted (light brown spots).
- Flip the paratha and apply ghee on top and around the sides of the paratha. Press down gently with a spatula to crisp up the paratha.
- Once the paratha has golden-brown spots and shiny, the paratha is ready to serve. Immediately serve with butter/makhan or ghee and any side condiments (pickle, yogurt).

Serving Suggestions
You’ll love these juicy parathas with chicken so much on their own, they’re just bursting with flavor! But if you’re like me, you need some SAUCE!
Perhaps you may like to have your parathas with a refreshing Cucumber Raita!
Or you may simply want to have some yogurt (dahi) for dipping. A Mint Cilantro Chutney would be fabulous with this!
Lately, I’ve been loving having my parathas with green chili pickle. There are many other types of pickles such as mango pickle and eggplant pickle. Experiment with your favorite!
Now, here’s my new obsession - SOUR CREAM! Does this sound weird? Well, I like it! I find plain yogurt too, well, plain. I love the taste of the sour cream. If you haven’t had sour cream with Indian food yet, then give it a try. You may be converted!
Storing Leftovers
Now I said that you can’t make paratha with leftover dough. HOWEVER if you’ve made too many parathas (I don’t know how you could have a surplus ‘cause there’s never too many parathas in my opinion!) or you’re expecting guests, this paratha recipe will stay fresh in the fridge for one day. To store stuffed parathas in the fridge, wrap tightly with saran wrap. To reheat, you could microwave for 30 seconds to a minute, or reheat on the tawa pan.
Let me know what you think of this recipe in the comments! If you’ve tried this recipe, be sure to post it on social media and tag it with #cookingwithanadi and mention me @cooking.with.anadi. Thank you!
Recipe by Anadi Misra
Juicy spiced chicken keema stuffed inside flaky, golden paratha. A step-by-step Indian bread recipe that is crispy outside, packed with flavor inside, and perfect for any meal.
Stovetop
Rate this recipe ✦
10 min
Prep
30 min
Cook
15 min
Rest
55 min
Total
5
parathas
hard
Level
Ingredients
Ingredients
Tap any quantity to scale
For the dough
- (250 g) atta flourShop →
- water(as needed)
- ghee (as needed) · make your ownShop →
- butter(optional)
Four the chicken keema
- bay leafShop →
- cloveShop →
- (1 g) cumin seedsShop →
- (15 ml) ghee · make your ownShop →
- medium onion(finely chopped)
- (454 g) minced chicken
- (3 g) ginger(finely grated)
- garlic(minced)
- green chiles(chopped)
- (4 g) deggi mirchShop →
- (3 g) ground corianderShop →
- (1 g) turmericShop →
- (25 g) tomato pasteShop →
- (3 g) garam masalaShop →
- salt(to taste)Shop →
- fresh cilantro(for garnish)
Instructions
For the chicken keema
- 1
Heat a pan on medium heat and add ghee, once hot add whole spices (bay leaf, clove, cumin seeds).
Heat a pan on medium heat and add ghee, once hot add whole spices (bay leaf, clove, cumin seeds).
Learn the technique - 2
Once spices are aromatic, add onions and saute until they soften.
Once spices are aromatic, add onions and saute until they soften.
- 3
Add the keema/mince, followed by deggi mirch, ground coriander, turmeric and salt. Mix well and break any lumps of keema/mince.
Add the keema/mince, followed by deggi mirch, ground coriander, turmeric and salt. Mix well and break any lumps of keema/mince.
- 4
Add the ginger, garlic and green chiles and cook until the mince is no longer pink, break any big lumps of meat.
Add the ginger, garlic and green chiles and cook until the mince is no longer pink, break any big lumps of meat.
- 5
Create a well at the center of the pan and add tomato paste. Saute for 1-2 minutes and then mix the tomatoes with the keema/mince.
Create a well at the center of the pan and add tomato paste. Saute for 1-2 minutes and then mix the tomatoes with the keema/mince.
- 6
Add garam masala and stir well, season to taste and finally, garnish with cilantro.
Add garam masala and stir well, season to taste and finally, garnish with cilantro.
For the paratha
- 1
To make the paratha, combine flour and water little by little and knead into a smooth dough. The dough should be smooth but not sticky.
To make the paratha, combine flour and water little by little and knead into a smooth dough. The dough should be smooth but not sticky.
- 2
Divide the dough into 4-6 equal portions. Working with one portion at a time, roll dough out into a 4-inch disk.
Divide the dough into 4-6 equal portions. Working with one portion at a time, roll dough out into a 4-inch disk.
- 3
Add a spoonful of keema/mince stuffing to the center of the disk, and seal and fold around the edges of the disk. This will resemble a dumpling.
Add a spoonful of keema/mince stuffing to the center of the disk, and seal and fold around the edges of the disk. This will resemble a dumpling.
- 4
Gently press down, lightly dust flour onto the dough, and roll out into a thin disk.
Gently press down, lightly dust flour onto the dough, and roll out into a thin disk.
- 5
Heat a pan/tawa on medium high heat and place your paratha. Cook for a minute or two or until you have brown spots on the underside.
Heat a pan/tawa on medium high heat and place your paratha. Cook for a minute or two or until you have brown spots on the underside.
- 6
Flip the paratha and cook other side. While it cooks, spread some ghee on top of the paratha and around its edges.
Flip the paratha and cook other side. While it cooks, spread some ghee on top of the paratha and around its edges.
- 7
Finish with some butter, serve hot, and enjoy:)
Finish with some butter, serve hot, and enjoy:)
Did you make this recipe? Tag @cooking.with.anadi on Instagram and hashtag it #cookingwithanadi

Tested & written in Anadi’s kitchen
Recipe history
- April 16, 2026 — Reworked and refreshed for the 2026 relaunch — new photography, restructured and standardized ingredients & instructions.
Filed under
You might also like
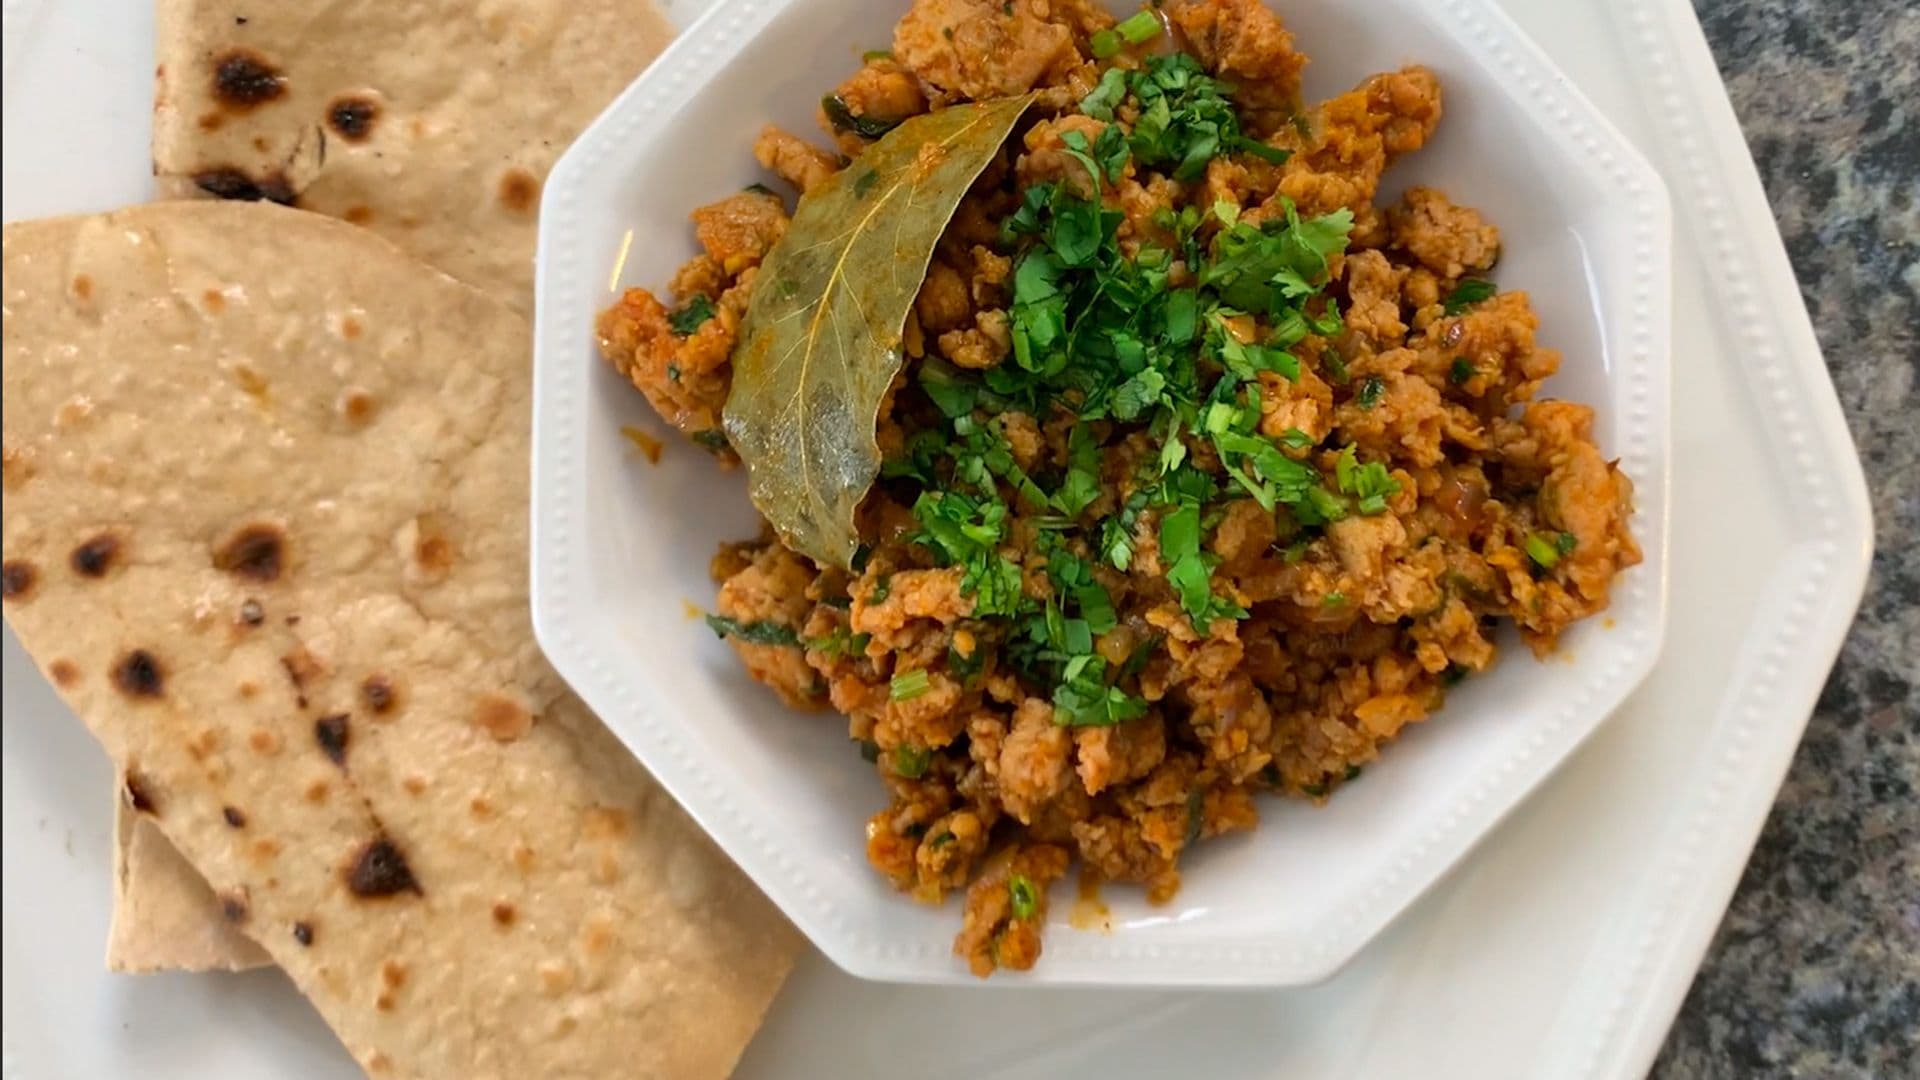
Spice Up Ground Chicken with This Chicken Keema Recipe
Flavor-packed chicken keema made easy at home! This simple, spicy ground chicken recipe comes together fast with bold spices. Perfect for a satisfying lunch or dinner any night of the week.

Indian Chicken Keema Burger with Pickled Veggies
Spiced Indian Chicken Keema Burger topped with tangy pickled veggies. Juicy, bold, and packed with flavor — the ultimate fusion burger for lunch or dinner.
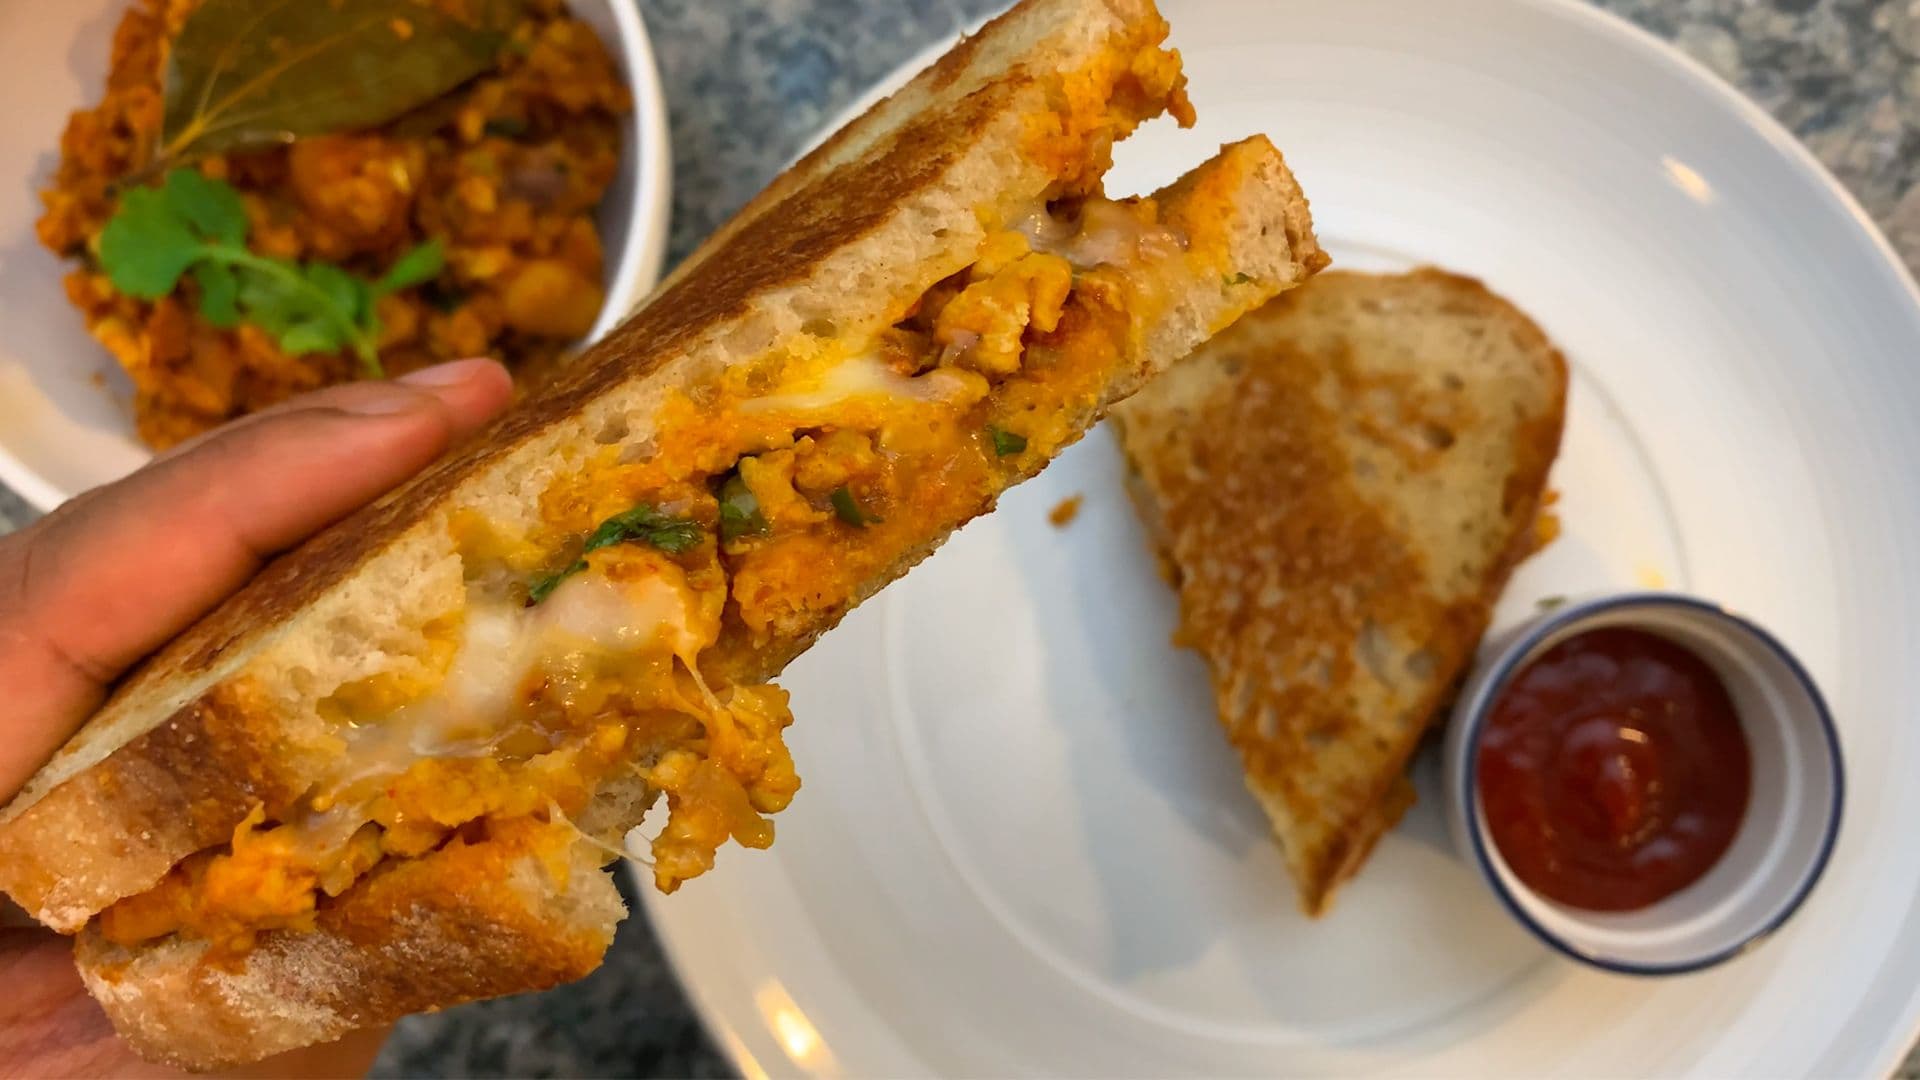
Quick and Easy Aloo Chicken Keema Sandwich
Make this quick and easy Aloo Chicken Keema Sandwich at home tonight! Packed with bold spices and hearty ground chicken, it is the perfect lunch or dinner the whole family will love.
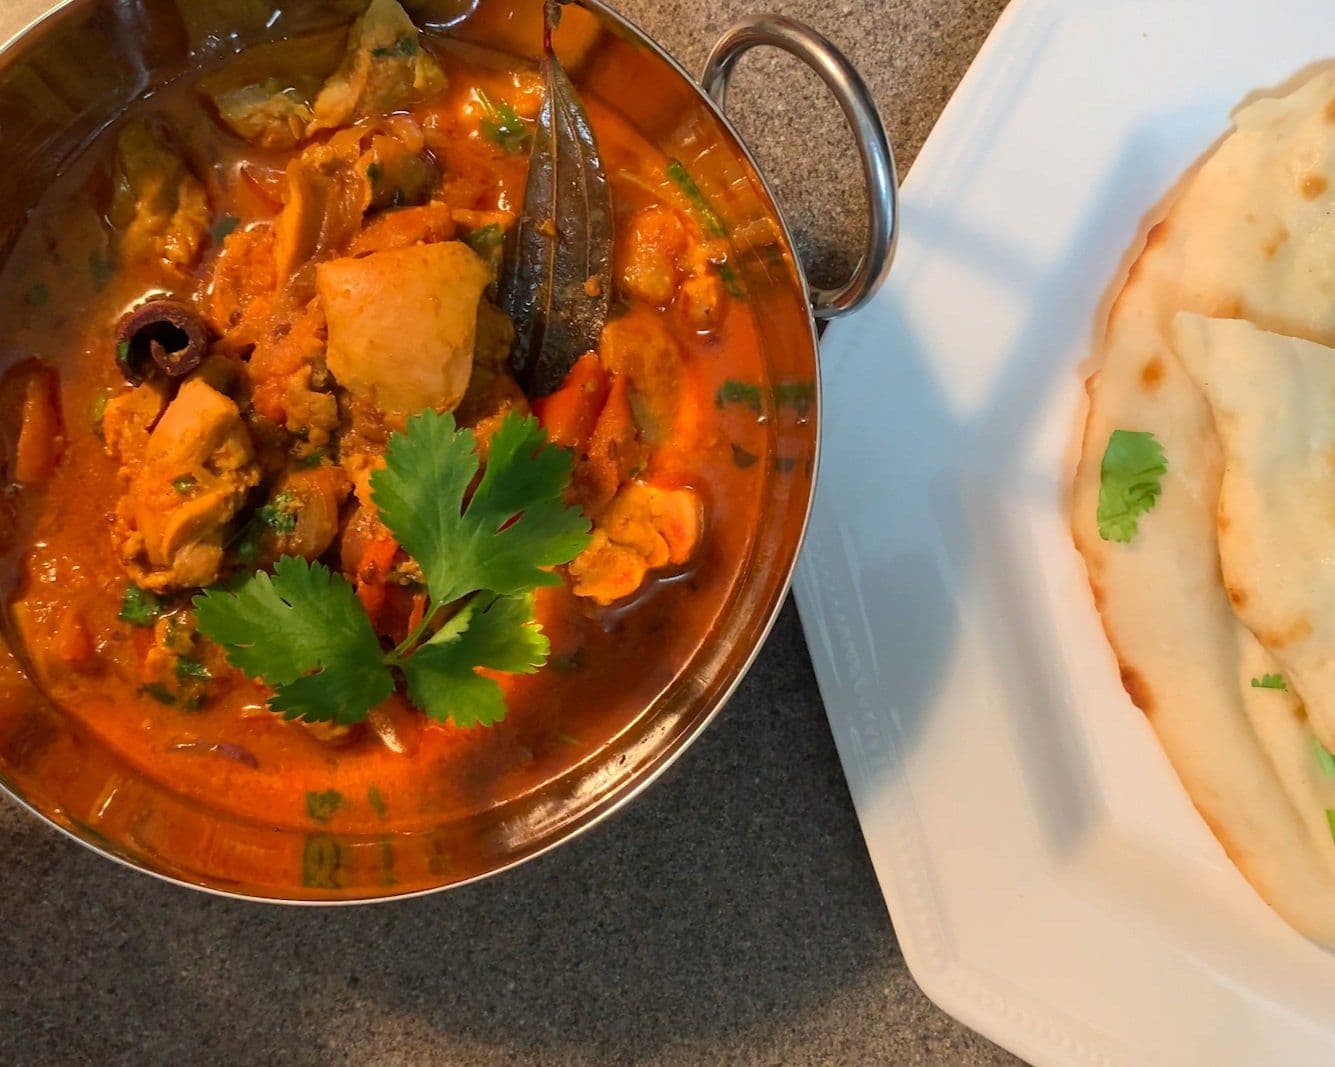
Mouthwatering Homestyle Chicken Curry Recipe
Craving authentic Indian chicken curry? Our homestyle recipe delivers rich, aromatic flavors in every bite. Perfect for lunch or dinner, it brings true North Indian taste to your table.

Hari Mirchi Paratha - Green Chili Paratha
Hari Mirchi Paratha is a bold, spicy Indian flatbread stuffed with green chilies and spices. A crispy, flavor-packed vegetarian breakfast that comes together quickly and pairs perfectly with yogurt or pickle.
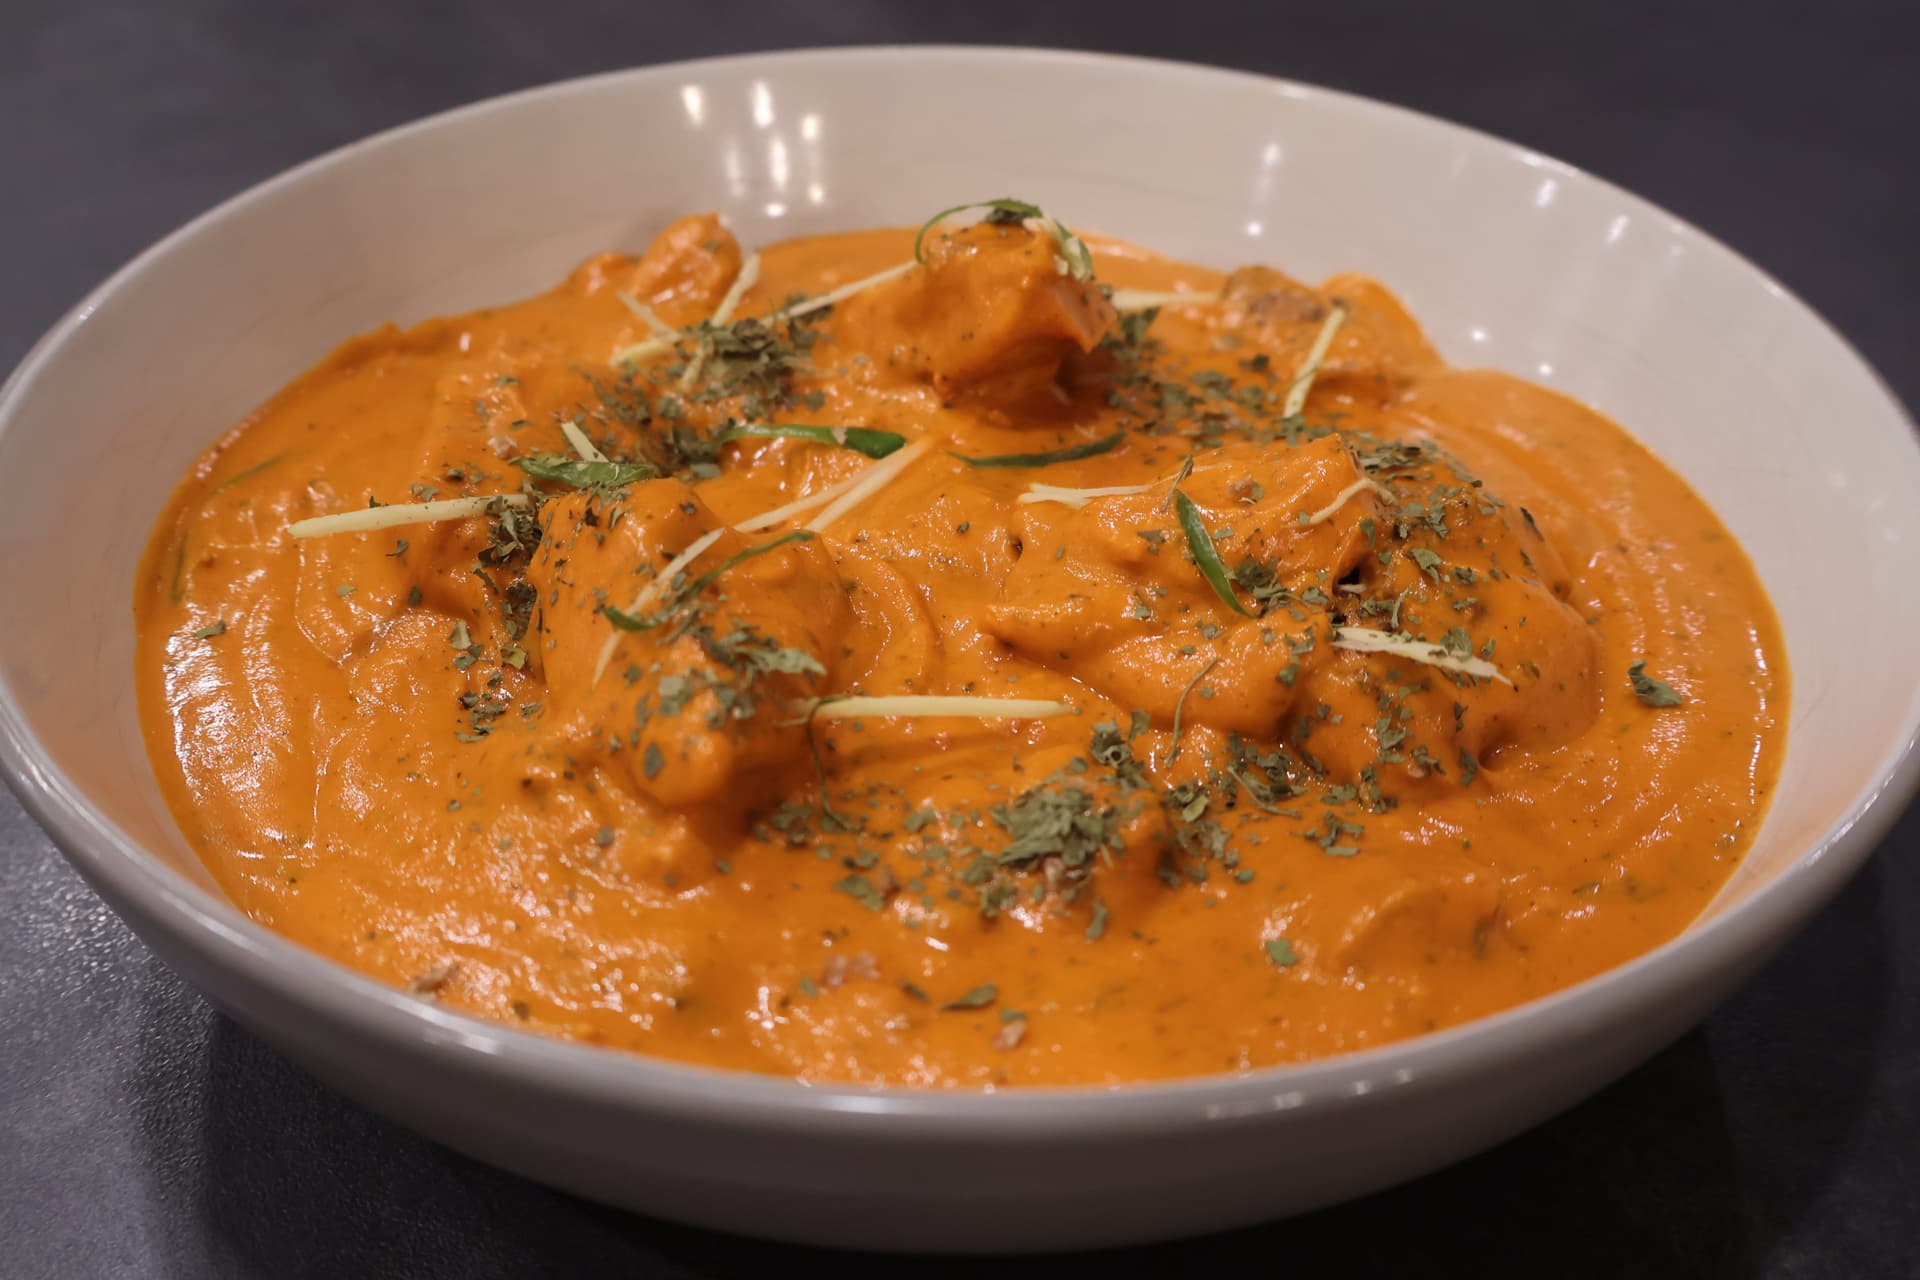
Murgh Makhani - Authentic Butter Chicken Recipe
Make restaurant-style Murgh Makhani at home with this authentic butter chicken recipe. Rich, creamy, and packed with bold Indian flavors — your new favorite dinner awaits.


Comments
No comments yet — be the first to share your thoughts!
Leave a review
Be the first to share how it went — your note helps other cooks (and earns the recipe its stars).