


This post may contain affiliate links. Read our disclosure policy
Watch the recipe

What Is Hung Curd?
Hung curd, or hung yogurt, is yogurt that is literally hung for some time in a cheesecloth. The purpose of doing this is to remove excess moisture so that you’re left with a thick and creamy result as all the liquid (the whey) strains out over time. Now, some people think that you can just substitute with Greek yogurt as the thick curd in your marinades, but I’ve been there and done that and I was very upset with my final product! Greek yogurt is NOT a substitute at all and I really find it has no place in Indian marinades because it’s sour curd. I definitely taste the sourness of Greek yogurt, so take it from me that it’s not meant to be used in marinades.
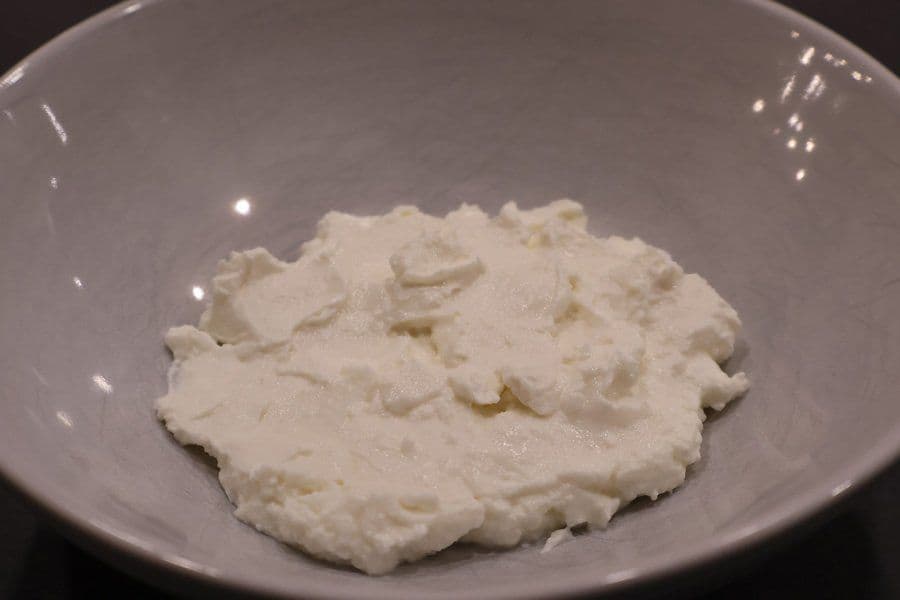
After cooking for most of my life at this point, I’ll make a confession: I never made hung curd because I thought it was just extra work and a huge waste of time. I first made a quick version for the Air Fryer Tandoori Chicken recipe I shared last week, and even that shortcut hung curd made a significant difference in the quality of my chicken! As I share this recipe with you, it’s the first time I’ve ever tried hung curd, and I will be sure to always take this step to make it for my marinades! It can also be used for plenty of other cooking needs, and I’ll outline those later on in this post! As I mention in my free motivational guide to explore your potential in the kitchen, Make Cooking Fun!, using what you have can inspire you to try new creations, and this simple hung curd can open so many doors!
Be sure to watch the video to grasp all the concepts we’ll present in this guide on making hung curd so you can easily follow along! Please don’t forget to subscribe to my YouTube channel if you haven’t already, and press the bell button so you’re notified when all of my video recipes go live along with the written ones! Let’s get started!
How to Convert Regular Curd into Hung Curd
Turning ordinary curd into luscious, creamy hung curd is easier than you think! You only need a few easy steps as we’ll soon see below in the method, but essentially you want to wrap up your yogurt in cheese cloth and then let the excess liquid, which is the whey, drain out. A better marinade is one that has as little moisture as possible. The end product after taking the time to hang your yogurt is a velvety, thick hung curd that’s excellent for dips, spreads, and cooking. I’ll share some ways to use this hung curd later on in this post! If you're new to making hung curd, you're unlikely to skip this step again.
Why This Hung Curd Recipe Works
There are a few variations of how to make hung curd out there, but the method I’ll be showing you is my preferred way and probably the easiest, giving you fantastic results! All you need is one ingredient and four basic kitchen tools to get you perfectly creamy and thick hung curd, ready to use for so many different cooking purposes!
How to Get Hung Curd Quickly?▼
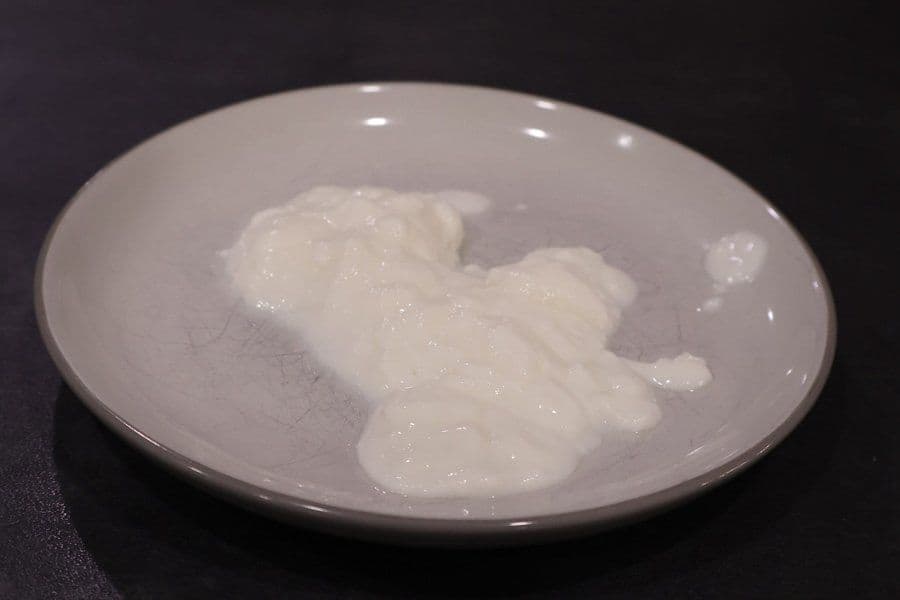
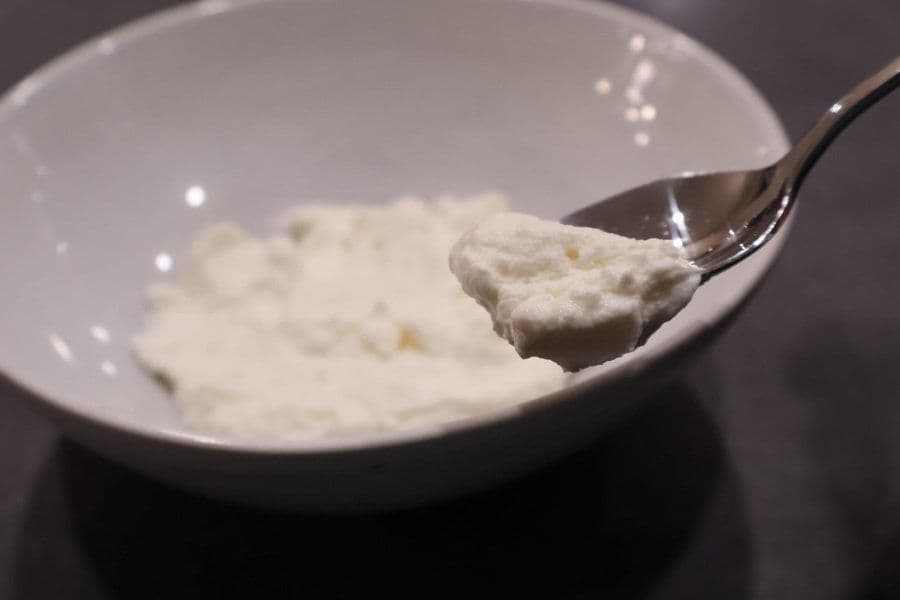
Making true hung curd requires quite a bit of time, so you’ll need to carve out about 4 to 6 hours total. If you want to make a “pseudo hung curd,” you can just put the yogurt in the cheesecloth and squeeze out some moisture. You’ll still get a fairly thick product, but I noticed that when I allowed sufficient time for lots of moisture to come out, the yogurt was thicker than ever! It was so thick it looked more like cream cheese than yogurt!
What is Hung Curd Made Of?▼
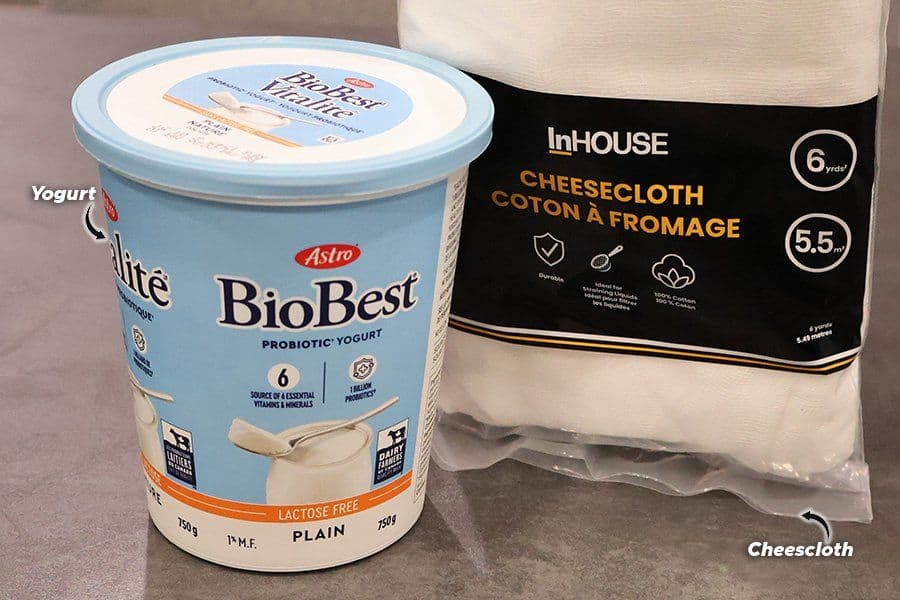
It’s so simple! All you’ll need is yogurt! More specifically, you want to be using regular plain yogurt. For bonus points, you could even made hung curd with homemade yogurt!
Is Curd Good for Cholesterol?▼
Yes, yogurt is great for lowering “bad” cholesterol (LDL cholesterol), and instead raising “good” cholesterol (HDL cholesterol). While there isn’t concrete evidence that yogurt directly lowers cholesterol, it’s believed that the probiotics in the yogurt can assist in lowering bad cholesterol. However, it’s unclear if it’s the probiotics or the yogurt that directly contributed to lower cholesterol. Nonetheless, yogurt is a superfood because it’s high in protein and calcium, and it’s excellent for gut health because of the probiotics it contains! You can read more about yogurt and cholesterol here.
Equipment Required
- Cheese cloth: Also known as a muslin cloth. This will be the main tool to hold the yogurt and hang it.
- Mesh sieve or strainer: Place this over your mixing bowl so the whey can drop in.
- Mixing bowl: A large, deep bowl to collect the excess liquid, which is the whey.
- Heavy object: After the yogurt has hung over the sink, place a heavy object over your cheese cloth, sieve, and mixing bowl to apply weight so it can thicken. You can use another bowl or perhaps a mortar and pestle on top.
How to Make Hung Curd
Step 1: Choosing the Right Curd
You want to pick plain yogurt. It won’t matter if you’re using a lower fat or higher fat yogurt, but the only advantage of using a higher fat yogurt is that you’ll yield more in the final result since there will be less moisture in yogurts with a lower fat content. I’m using 1% plain yogurt here. The yogurt I prefer is balkan yogurt as it’s thicker, but as mentioned it won’t really make much of a difference when you’re going to be following this hanging method.
Step 2: Straining the Curd – Materials and Setup
Cut a large piece of cheesecloth and line a fine mesh sieve with it. Set the sieve over a bowl.

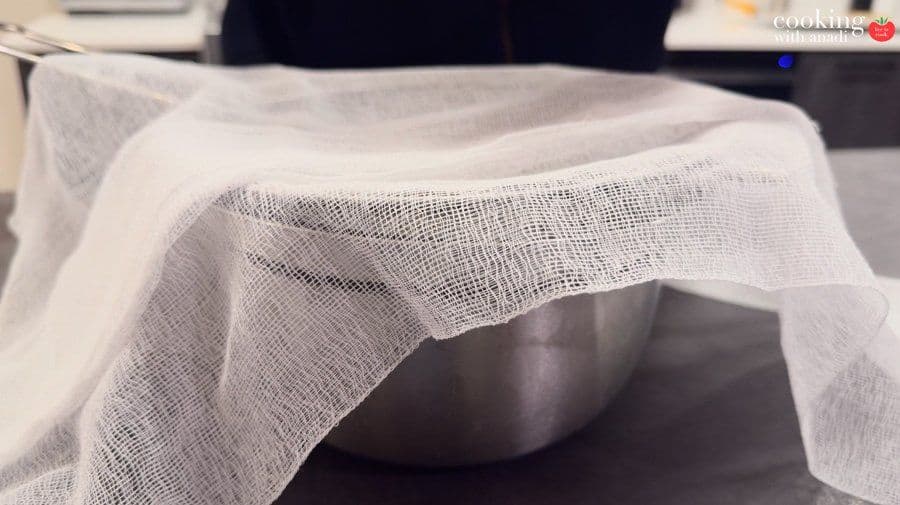
Add the yogurt to the center of the cheesecloth, gather the ends together, and tie into a knot. Gently squeeze to remove excess moisture.


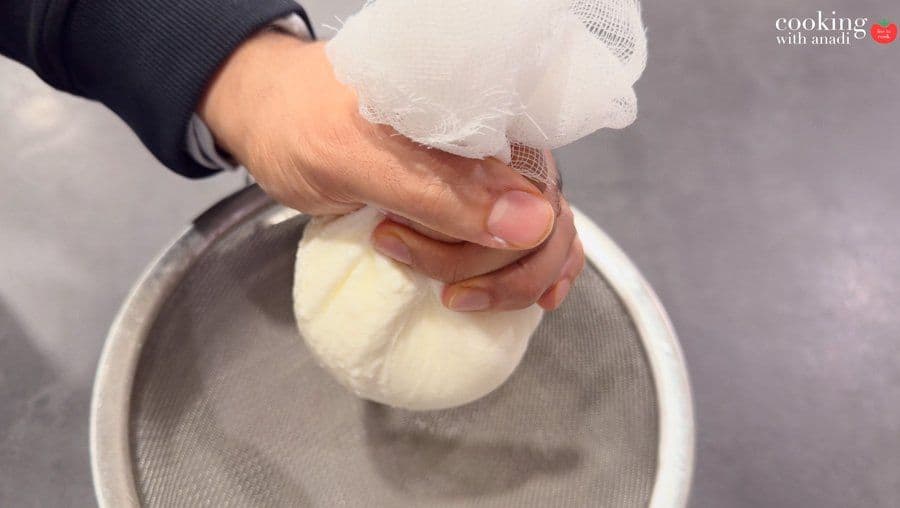
Step 3: Hanging the Curd – Time and Tips
Tie the cheese cloth bundle to your kitchen faucet and let it hang to drain for 30–40 minutes.

Then place the bundle back into the sieve set over the bowl. Put a heavy object on top and let any remaining moisture drain for 4–6 hours or overnight.
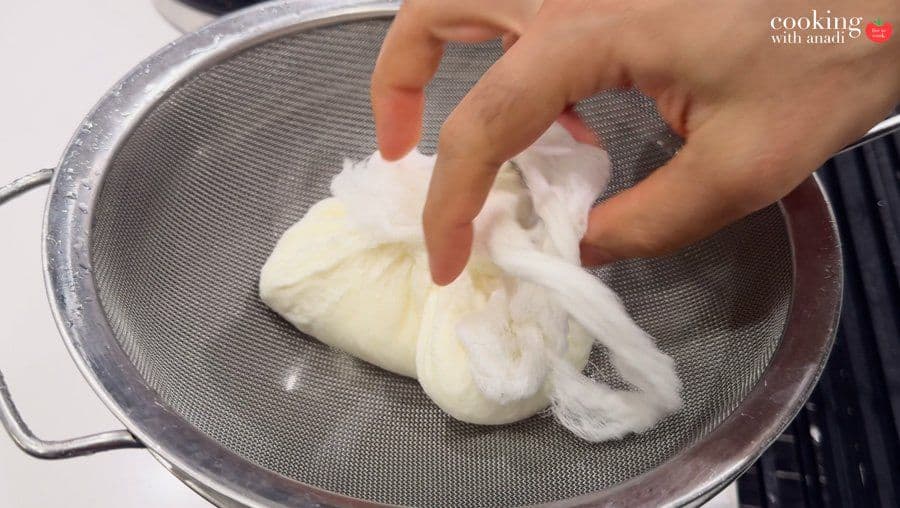
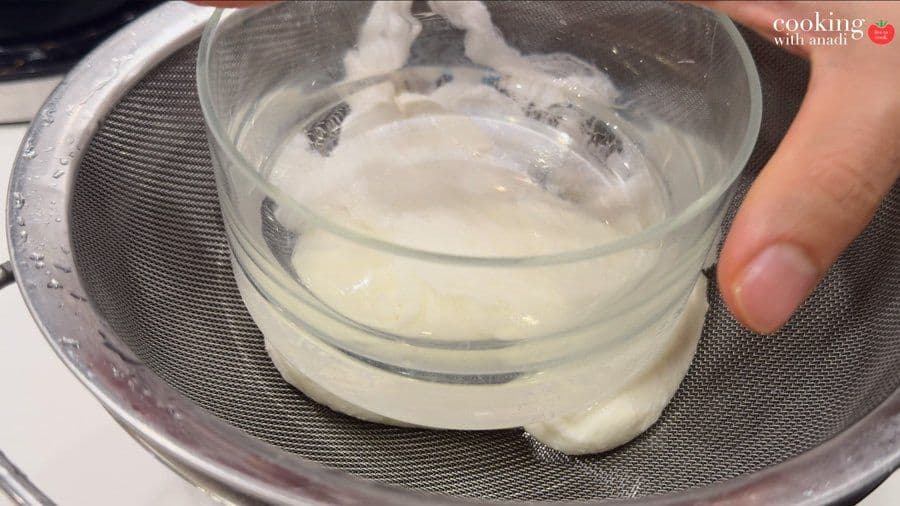

The drained whey can be used for cooking or discarded. Remove the thickened curd from the cheesecloth and use as needed.

Step 4: Checking the Consistency
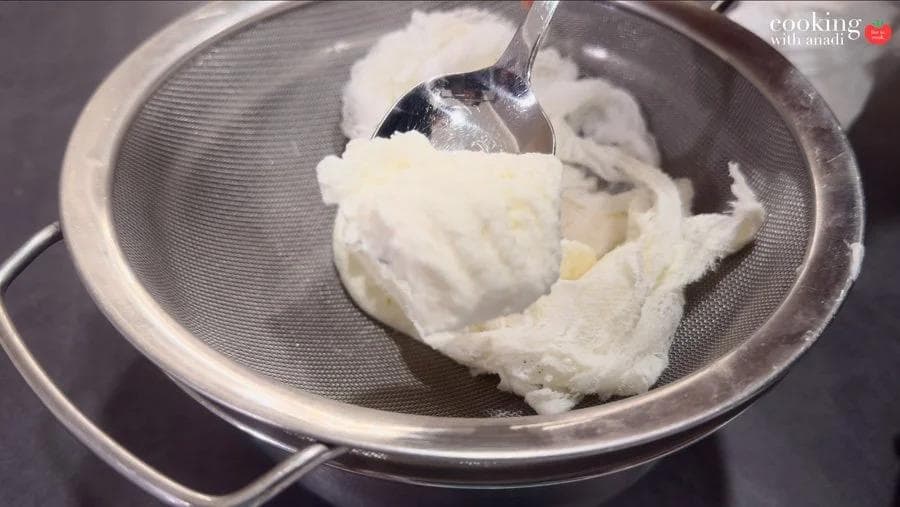
You want your hung curd to be extremely thick - you really wouldn’t recognize it as it came out of the container! The texture is comparable to cream cheese with very little moisture, and it’s much denser compared to the initial liquid texture.

Step 5: Storing Hung Curd
You can store your yogurt in an airtight container in the refrigerator. It’ll last as long as the best before date of the yogurt you purchased, so fresher yogurt will last longer.
Tips for Best Results
- Be sure to have a cheesecloth: You MUST use this to strain the yogurt! Please don’t use a regular kitchen towel. You won’t be able to get the excess moisture out, which means that the yogurt won’t thicken up. As a result you’ll be left with some soggy and wet curd, not what you’re looking for!
- Save the whey: Admittedly I never do this, but it would be a good idea to keep the whey that you’ve strained! The whey is rich in protein and nutrients and has plenty of uses. For example, it can be used for baking, such as breads and pancakes, added to smoothies, used to cook rice or oatmeal, or even to ferment vegetables!

What is Hung Curd Good For?▼
For marination: I’ve been making tikkas - particularly paneer tikka and chicken tikka - for about a decade now and didn’t start adding hung curd to my marinades until about two weeks ago when I prepared my tandoori chicken in the air fryer!
Sauces and spreads: Have you ever added yogurt to a sauce or dip and it split? It’s because the yogurt had too much moisture! By removing all the moisture from the yogurt, you’ll prevent splitting from happening.
For dahi kebab: This is a popular vegetarian appetizer in Indian restaurants. To be honest, it’s not one of my favorites, but it is delicious nonetheless!
For sandwiches: There is something called “curd sandwiches” which involves a spiced and tangy yogurt filling. This sandwich includes fresh veggies, such as cucumber, carrots and corn. We’ve also got a little hint of black pepper and other spices in the filling, and that’s all stuffed between two slices of bread.
For desserts: In particular, hung curd is a key component of Shrikhand, which is a popular yogurt-based dessert in India. You actually have to strain the yogurt first in order to make this dessert, and then you sweeten it with powdered sugar and spice it with other Indian aromatics, such as cardamom, saffron and nuts. You can also customize this dessert with fruit purees, such as mango, strawberry, or even with rose syrup. You can also use hung curd for other desserts such as parfaits, healthy mousses, or cheesecakes!
Other Indian Essentials Recipes!
Other Essentials Recipes on the Blog for Your Daily Cooking
Let me know what you think of this recipe in the comments! If you’ve tried this recipe, be sure to post it on social media and tag it with #cookingwithanadi and mention me @cooking.with.anadi. Thank you!
Recipe by Anadi Misra
See how to make hung curd at home with easy step-by-step pictures that guide you through every stage of the process. This hung yogurt will become an essential part of your favorite Indian marinades!
No-cook
5.0 · 3 ratings
5 min
Prep
4 hr
Rest
4 hr 5 min
Total
2
servings
makes 3–4 oz
easy
Level
Ingredients
Ingredients
Tap any quantity to scale
- (130 g) plain yogurt
Instructions
- 1
Cut a large piece of cheesecloth and line a fine mesh sieve with it. Set the sieve over a bowl.
Cut a large piece of cheesecloth and line a fine mesh sieve with it. Set the sieve over a bowl.
- 2
Add the yogurt to the center of the cheesecloth, gather the ends together, and tie into a knot. Gently squeeze to remove excess moisture.
Add the yogurt to the center of the cheesecloth, gather the ends together, and tie into a knot. Gently squeeze to remove excess moisture.
- 3
Tie the cheesecloth bundle to your kitchen faucet and let it hang to drain for 30–40 minutes.
Tie the cheesecloth bundle to your kitchen faucet and let it hang to drain for 30–40 minutes.
- 4
Then place the bundle back into the sieve set over the bowl. Put a heavy object on top and let any remaining moisture drain for 4–6 hours or overnight.
Then place the bundle back into the sieve set over the bowl. Put a heavy object on top and let any remaining moisture drain for 4–6 hours or overnight.
- 5
The drained whey can be used for cooking or discarded. Remove the thickened curd from the cheesecloth and use as needed.
The drained whey can be used for cooking or discarded. Remove the thickened curd from the cheesecloth and use as needed.
Nutrition per serving
52
Calories
4g
Protein
2g
Carbs
3g
Fat
0g
Fiber
2g
Sugar
18mg
Sodium
Did you make this recipe? Tag @cooking.with.anadi on Instagram and hashtag it #cookingwithanadi

Tested & written in Anadi’s kitchen
Recipe history
- April 19, 2026 — Reworked and refreshed for the 2026 relaunch — new photography, restructured and standardized ingredients & instructions.
You might also like

Easiest Blender Ginger-Garlic Paste Recipe
Make flavorful Indian ginger garlic paste in minutes using a blender. This easy, authentic recipe is perfect for prepping ahead and storing for all your favorite Indian dishes.
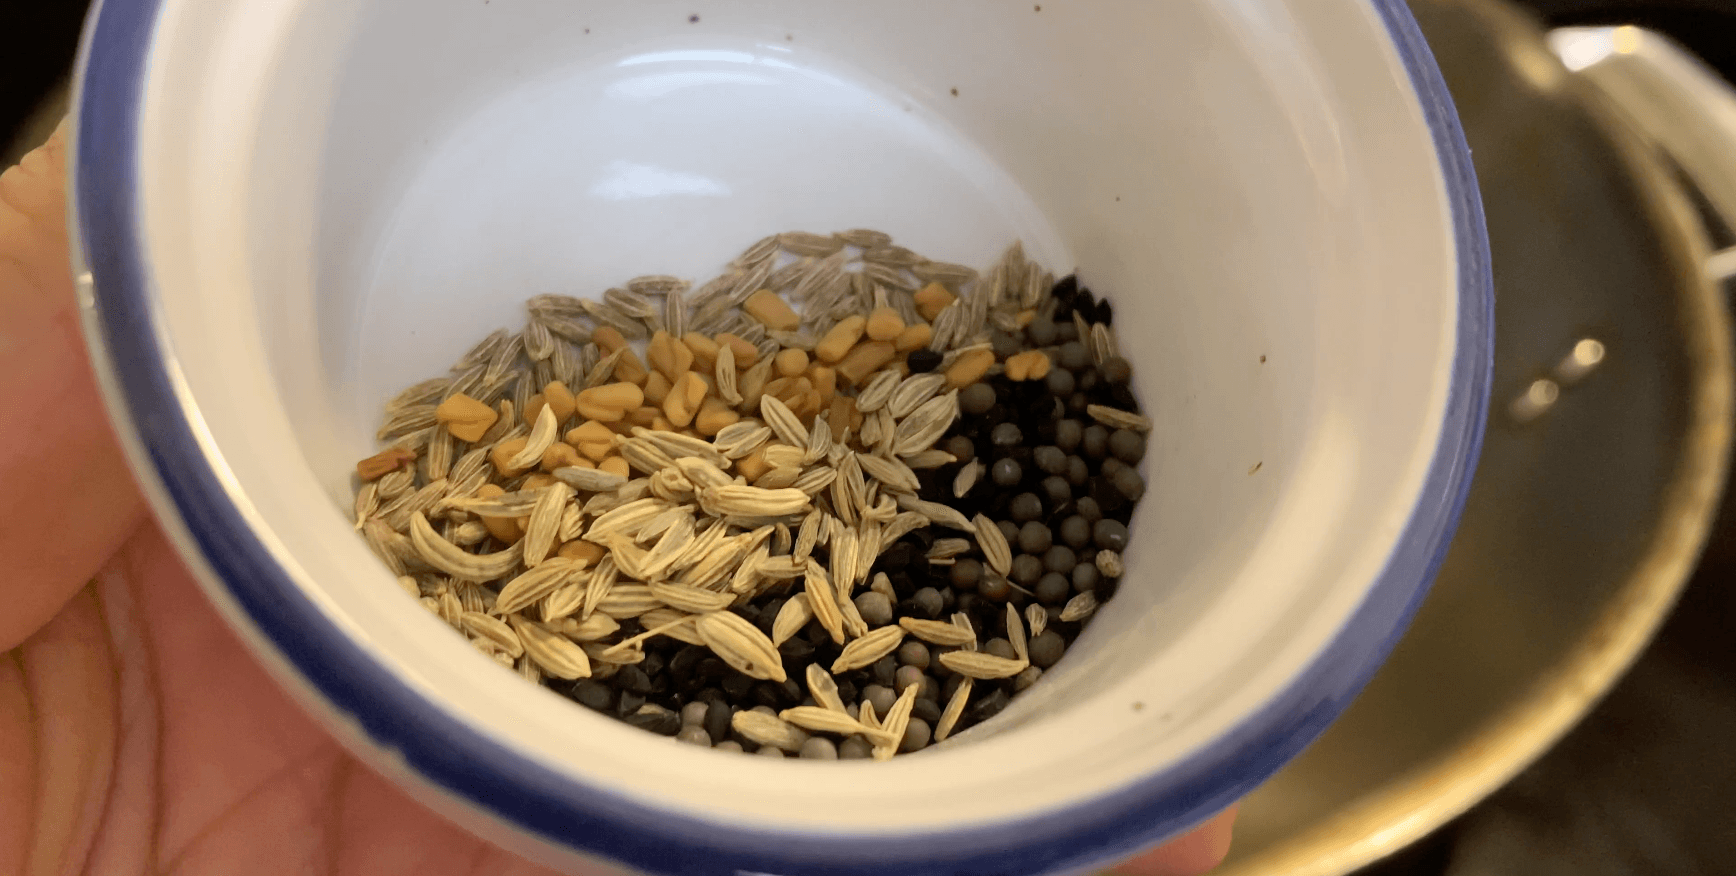
Discover The Aromatic Panch Phoran Recipe
Unlock the secrets of Panch Phoran, the essential Bengali five-spice blend. Quick and easy to make, this aromatic mix transforms everyday dishes with bold, authentic Indian flavor.
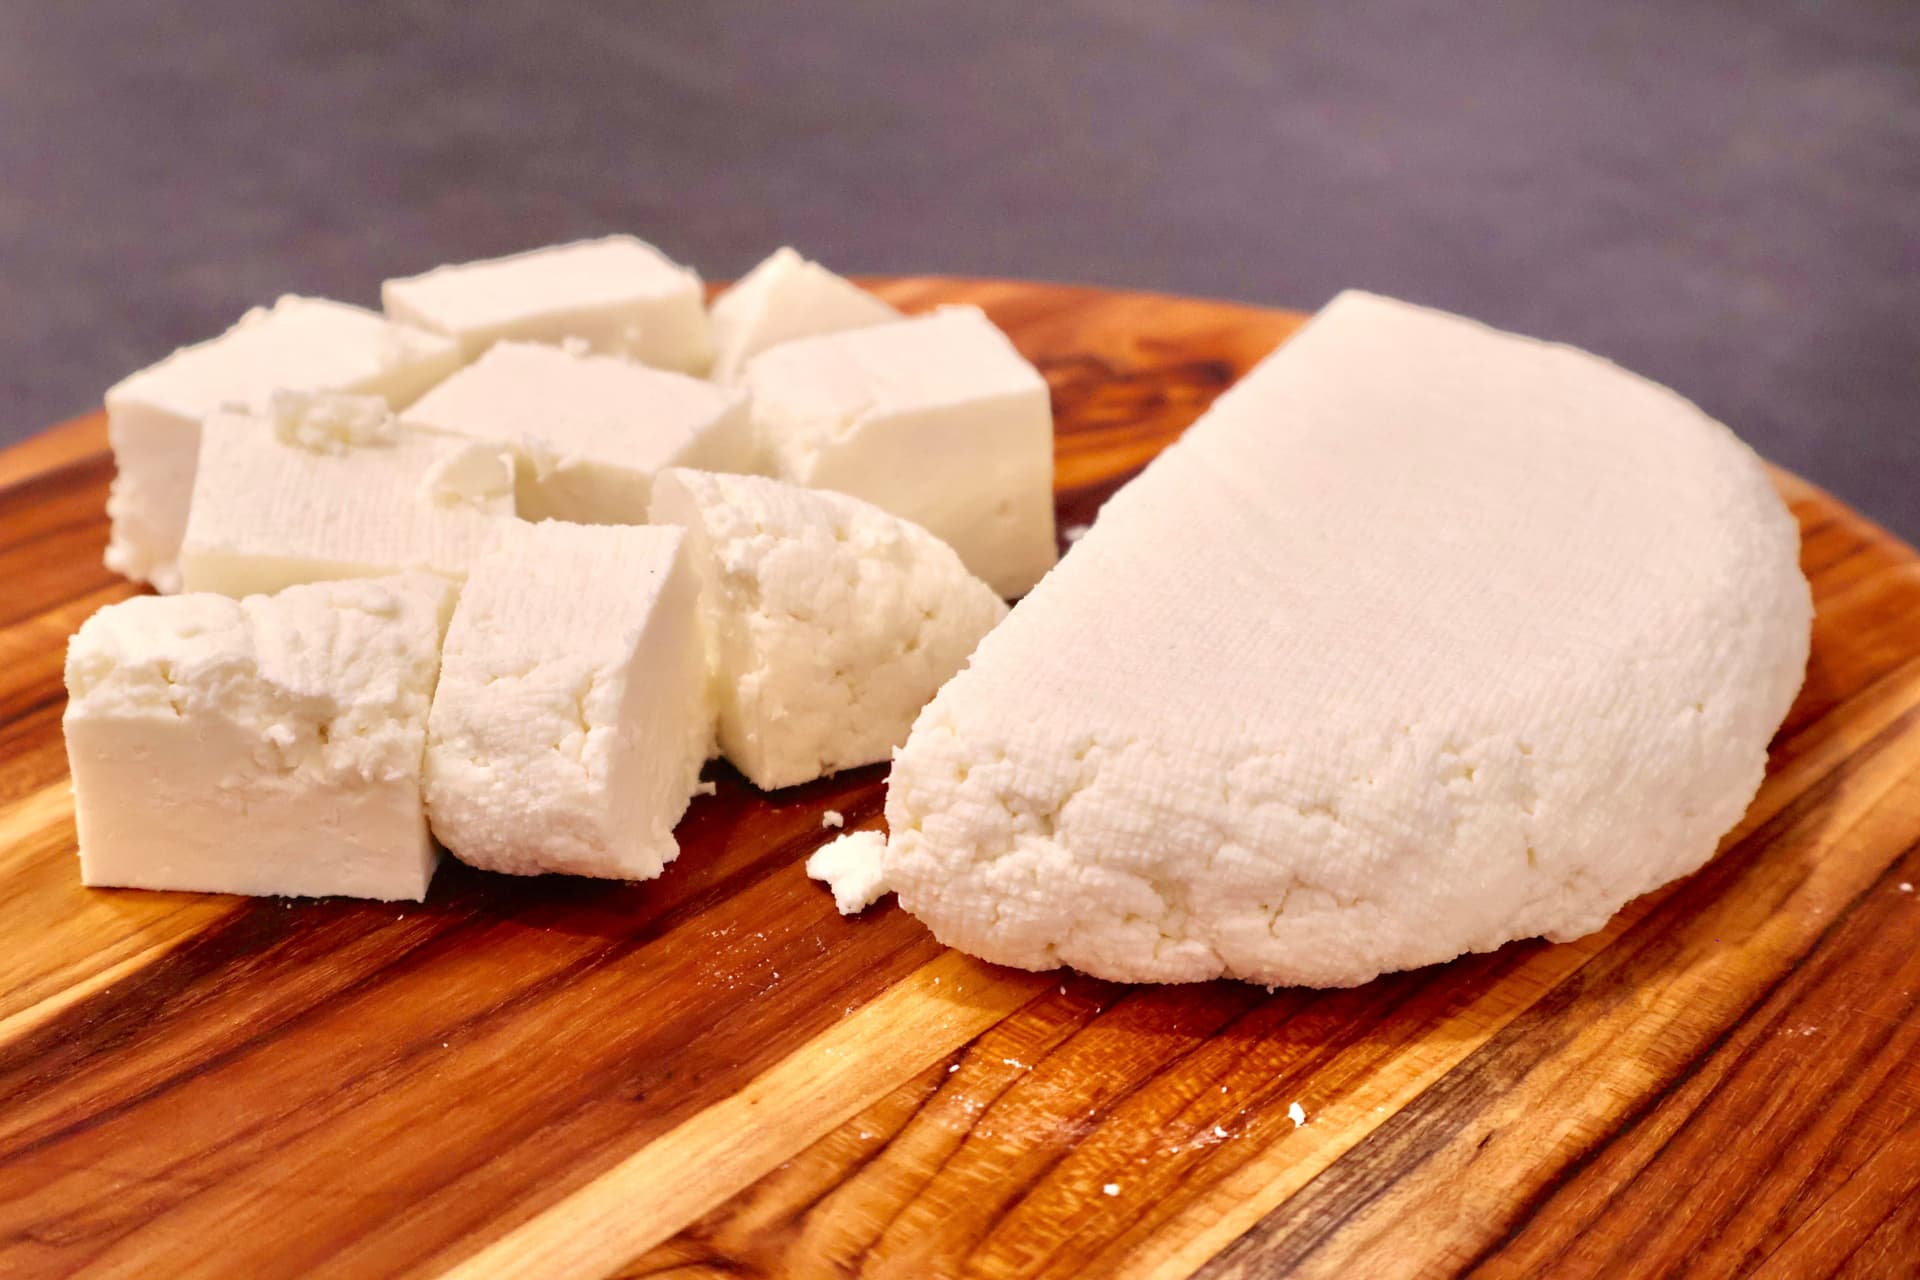
The Ultimate Guide On Making Fresh Homemade Paneer
Make fresh, creamy paneer at home with just 2 ingredients! Our ultimate guide walks you through every step to perfect homemade Indian cottage cheese from scratch.

Transform Your Dishes with Indian Brown Onion Paste
Master Indian Brown Onion Paste at home with this simple, flavor-packed recipe. Build rich, deep flavor into your curries and sauces with just a few pantry staples.

Easy Chenna Recipe - How to Make Chenna at Home
Make fresh, soft chenna at home with just milk and a souring agent. This easy homemade Indian cheese recipe is a pantry essential for sweets and curries. Simple steps, perfect results every time.

Experience the Magic of Homemade Ghee at Your Fingertips
Make rich, golden ghee at home with just one ingredient and simple steps. Our foolproof ghee recipe delivers pure, nutty clarified butter perfect for Indian cooking and beyond.


Comments
No comments yet — be the first to share your thoughts!
Leave a review
Be the first to share how it went — your note helps other cooks (and earns the recipe its stars).