


This post may contain affiliate links. Read our disclosure policy
Watch the recipe

Cooking With Anadi
12K subscribers · light, fluffy cream sweetened with vanilla, ready in minutes
Best Whipped Cream at Home
All right. You get a can of whipped cream or a frozen tub of whipped topping to use as the finishing touch on your favorite pancakes or cupcakes. We’re not totally sure how these are made, but not only that, but…
You notice that they either melt right away, they don’t stay nice and fluffy, and the taste isn’t that great.
Bleh.
I’ve actually spent years getting both the tub of whipped topping and using the aerosol cans. I don’t know why I kept re-purchasing if I wasn’t happy! Trust me, this isn’t the only example. I’ve gotten plain Greek yogurt (purchasing to make tzatziki sauce is a different story, but I’m referring to eating it on its own, despite the fact I hate the taste of unflavored plain!), whole wheat pasta, ready-made curry powder, red curry paste… I’m sure there’s even more that I can’t think of on the top of my head right now but yeah! Why do I repeatedly purchase things I’m not happy with? I don’t know! I’ve felt that those ingredients were necessary and I was scared to break out of “the norm!”
But that’s what this platform is about. Let’s get uncomfortable in the kitchen and explore our potential! So if you’re ambitious and want to make your own whipped cream, then go get 3 ingredients you probably have, a bowl and a whisk, and get mixing!

Why Make Homemade Whipped Cream
Yeah, I wish I had someone convince me years ago. I really refuse to buy whipped cream again! When you see how easy it is to make, I’m sure you’ll feel the same!
- Fast: It’s honestly so fast to make! It’s only about 5 minutes.
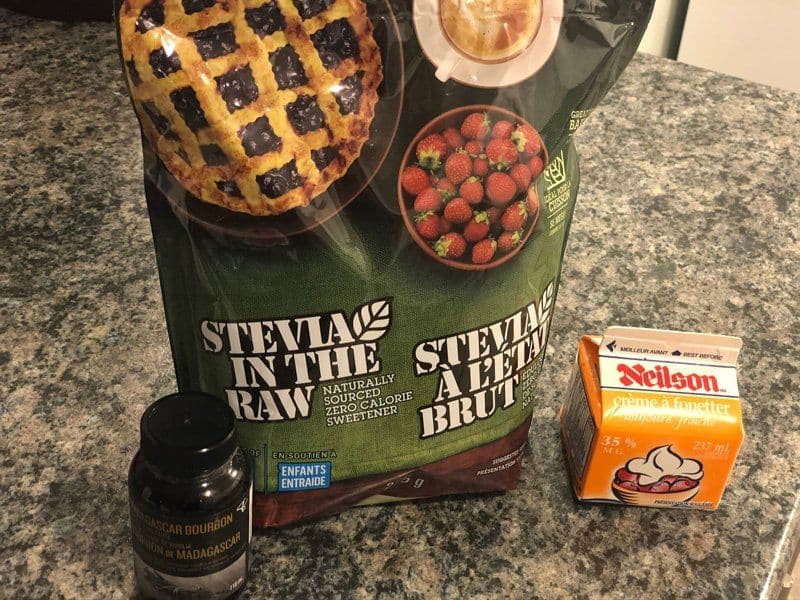
- 3 ingredients: You only need whipping cream, powdered sugar, and Madagascar bourbon vanilla bean paste to make this whipped cream.
- TASTY: Oh goodness, there is an actual taste in homemade whipped cream! By using the vanilla bean paste, you see and taste the vanilla, so it’s like having French vanilla ice cream in the form of whipped cream. Yum!
- Long-lasting: I’ve kept it in the fridge for 3 days and the taste stayed perfect, and the whipped cream itself maintained its form and fluffiness. Win! And if it is not fluffy after 3 days, you can easily whip it again to refresh it.
- Pipe-able: This whipped cream can also be pipe-able if you want to transfer it to an icing bag to make a lovely garnish for cakes and cupcakes!
Tools Needed
Ingredients for the Best Homemade Whipped Cream
You only need three ingredients to make the perfect whipped cream at home!
- Whipping cream: I didn’t realize until doing some research that there actually is a difference between heavy cream and whipping cream. In Canada (or at least where I am), you only get “fresh whipping cream,” that’s also referred to as “heavy cream,” and it’s made of 35% milk fat. On the other hand, it seems elsewhere “whipping cream” contains 30% to 35% milk fat, and “heavy whipping cream” contains 36% or more milk fat. As a result, you can use both interchangeably, but if you have the option, heavy cream will whip better and hold its shape longer than if you make your whipped cream using whipping cream. It is recommended to use heavy cream especially if you want to use it for piping, pastry fillings, and toppings. Read more about the difference between heavy cream and whipping cream here.
- Powdered sugar: Any powdered sugar will work. For the sake of demonstration, I actually used Stevia because it is powdery and it worked well! You could also use granulated sugar if you like, but I believe if you were to make a larger batch you would taste the sugar granules.
- Madagascar bourbon vanilla bean paste: This is the ultimate addition to our whipped cream! You’ll really taste that vanilla bean in your whipped cream, and it’ll feel like you’ve got some French vanilla ice cream on all your favorite desserts. I absolutely love this flavor! If you don’t have the vanilla bean paste, simply double the amount of vanilla extract. Of course you won’t have the exact same flavor, but you’ll still have the hint of vanilla that we all love!
How to Make Homemade Whipped Cream - 3 Ways!
In the video and in the pictures, I made the whipped cream by hand because I’m not making that big of a batch. However, if you think your arms are going to get fatigued or you’re making a huge batch, then I would definitely recommend you use a stand mixer or a hand mixer with the whisk attachment! As of 2023, I now make my whipped cream using a whipped cream dispenser. This gives the most professional results and it’s just so easy - no arm workout needed! I’ll provide instructions for the three methods.
Whisking by Hand
Begin by adding your whipping cream in a large mixing bowl.


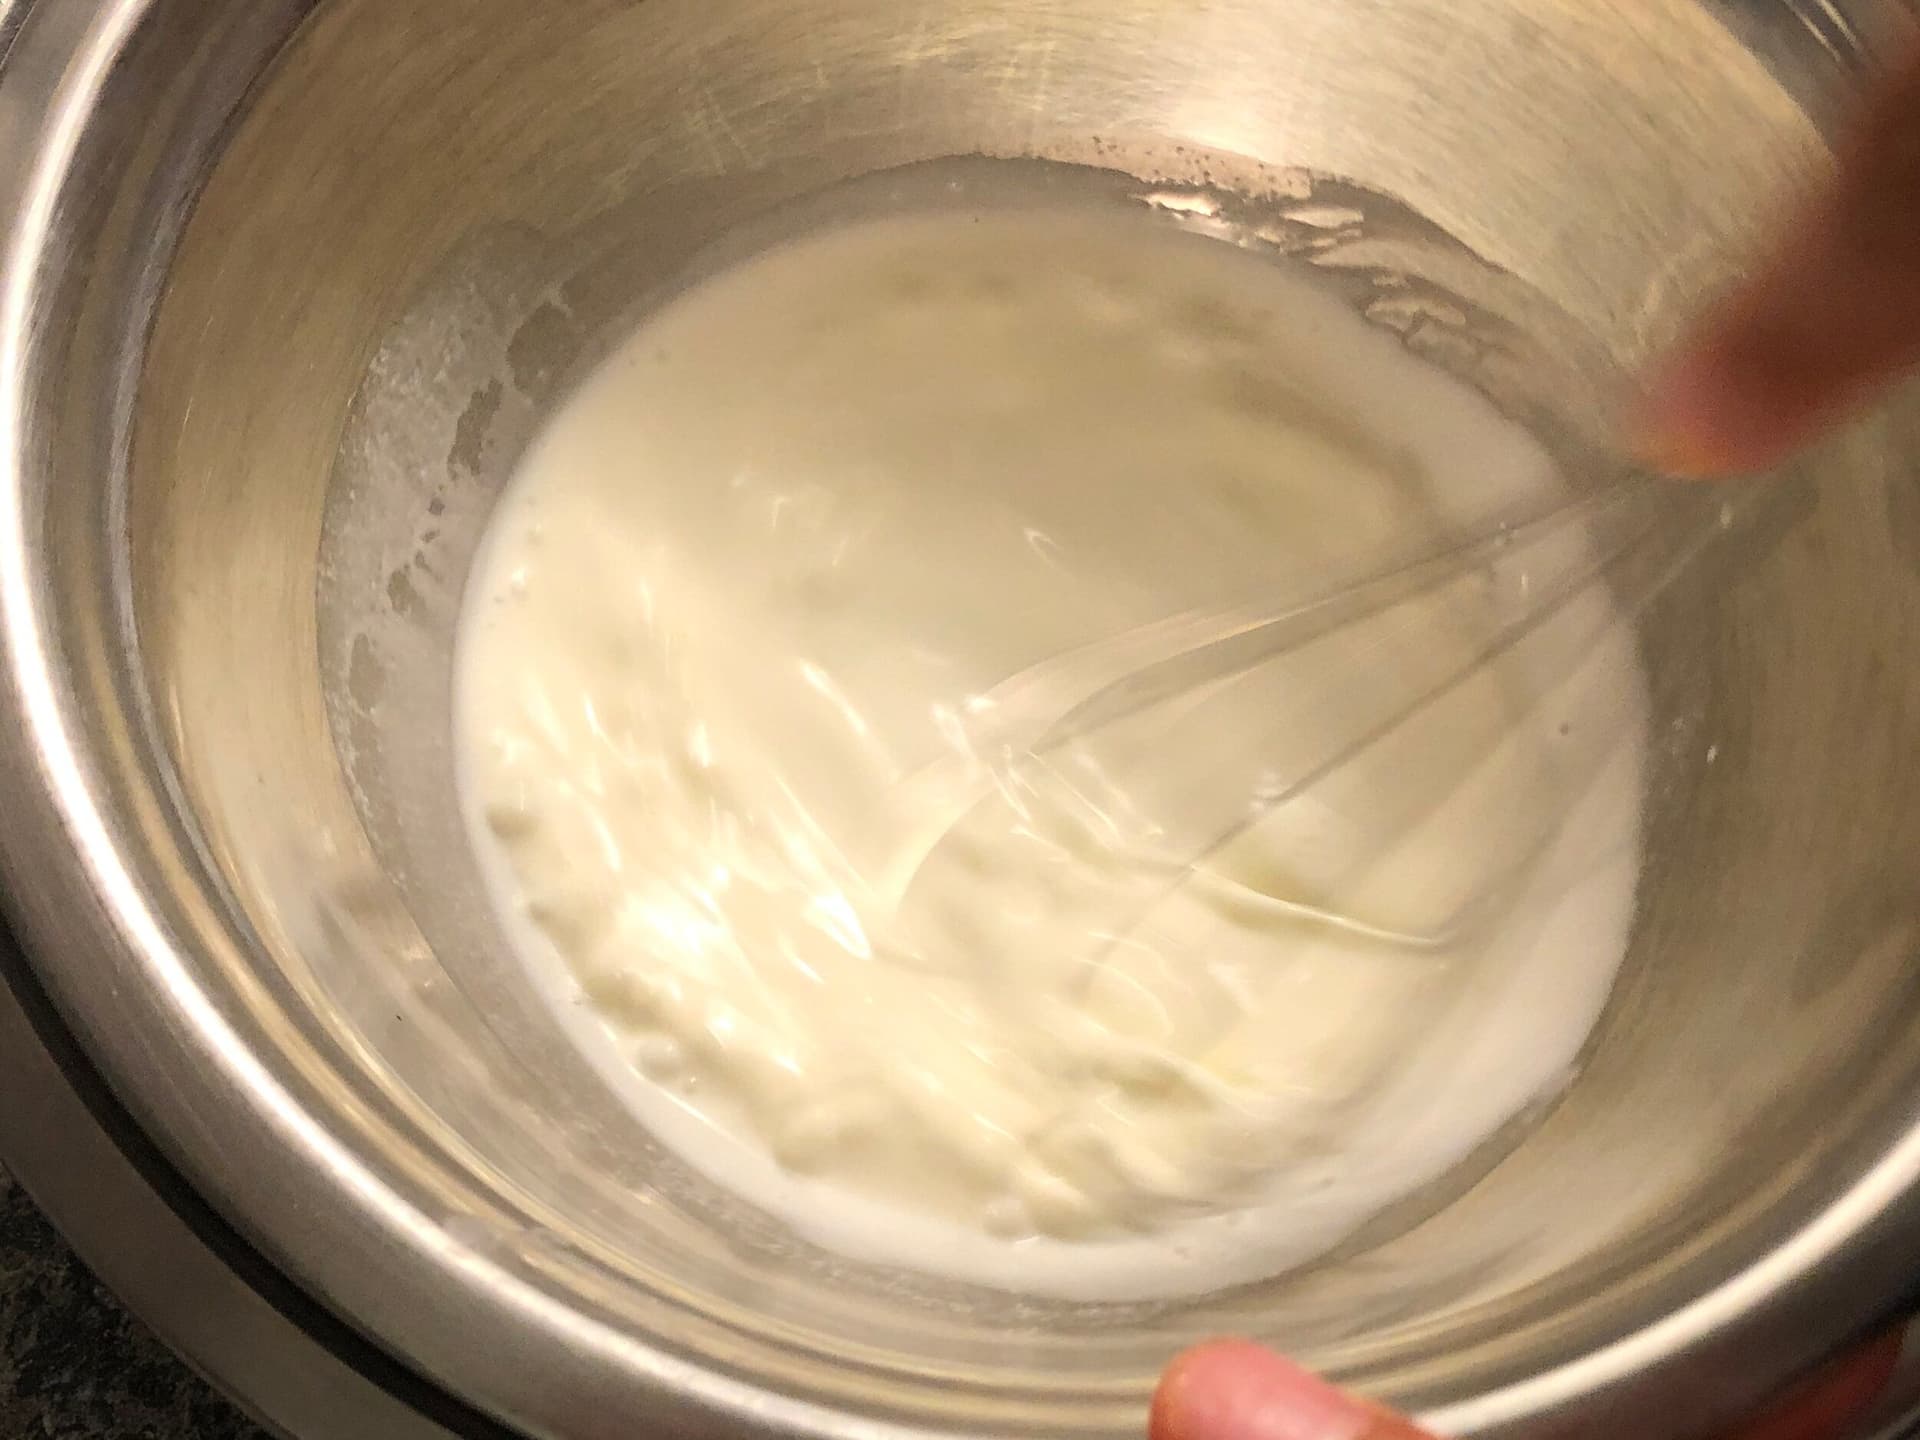

Keep whisking and continue until the cream starts to thicken. Your arms may try to tire at this point.
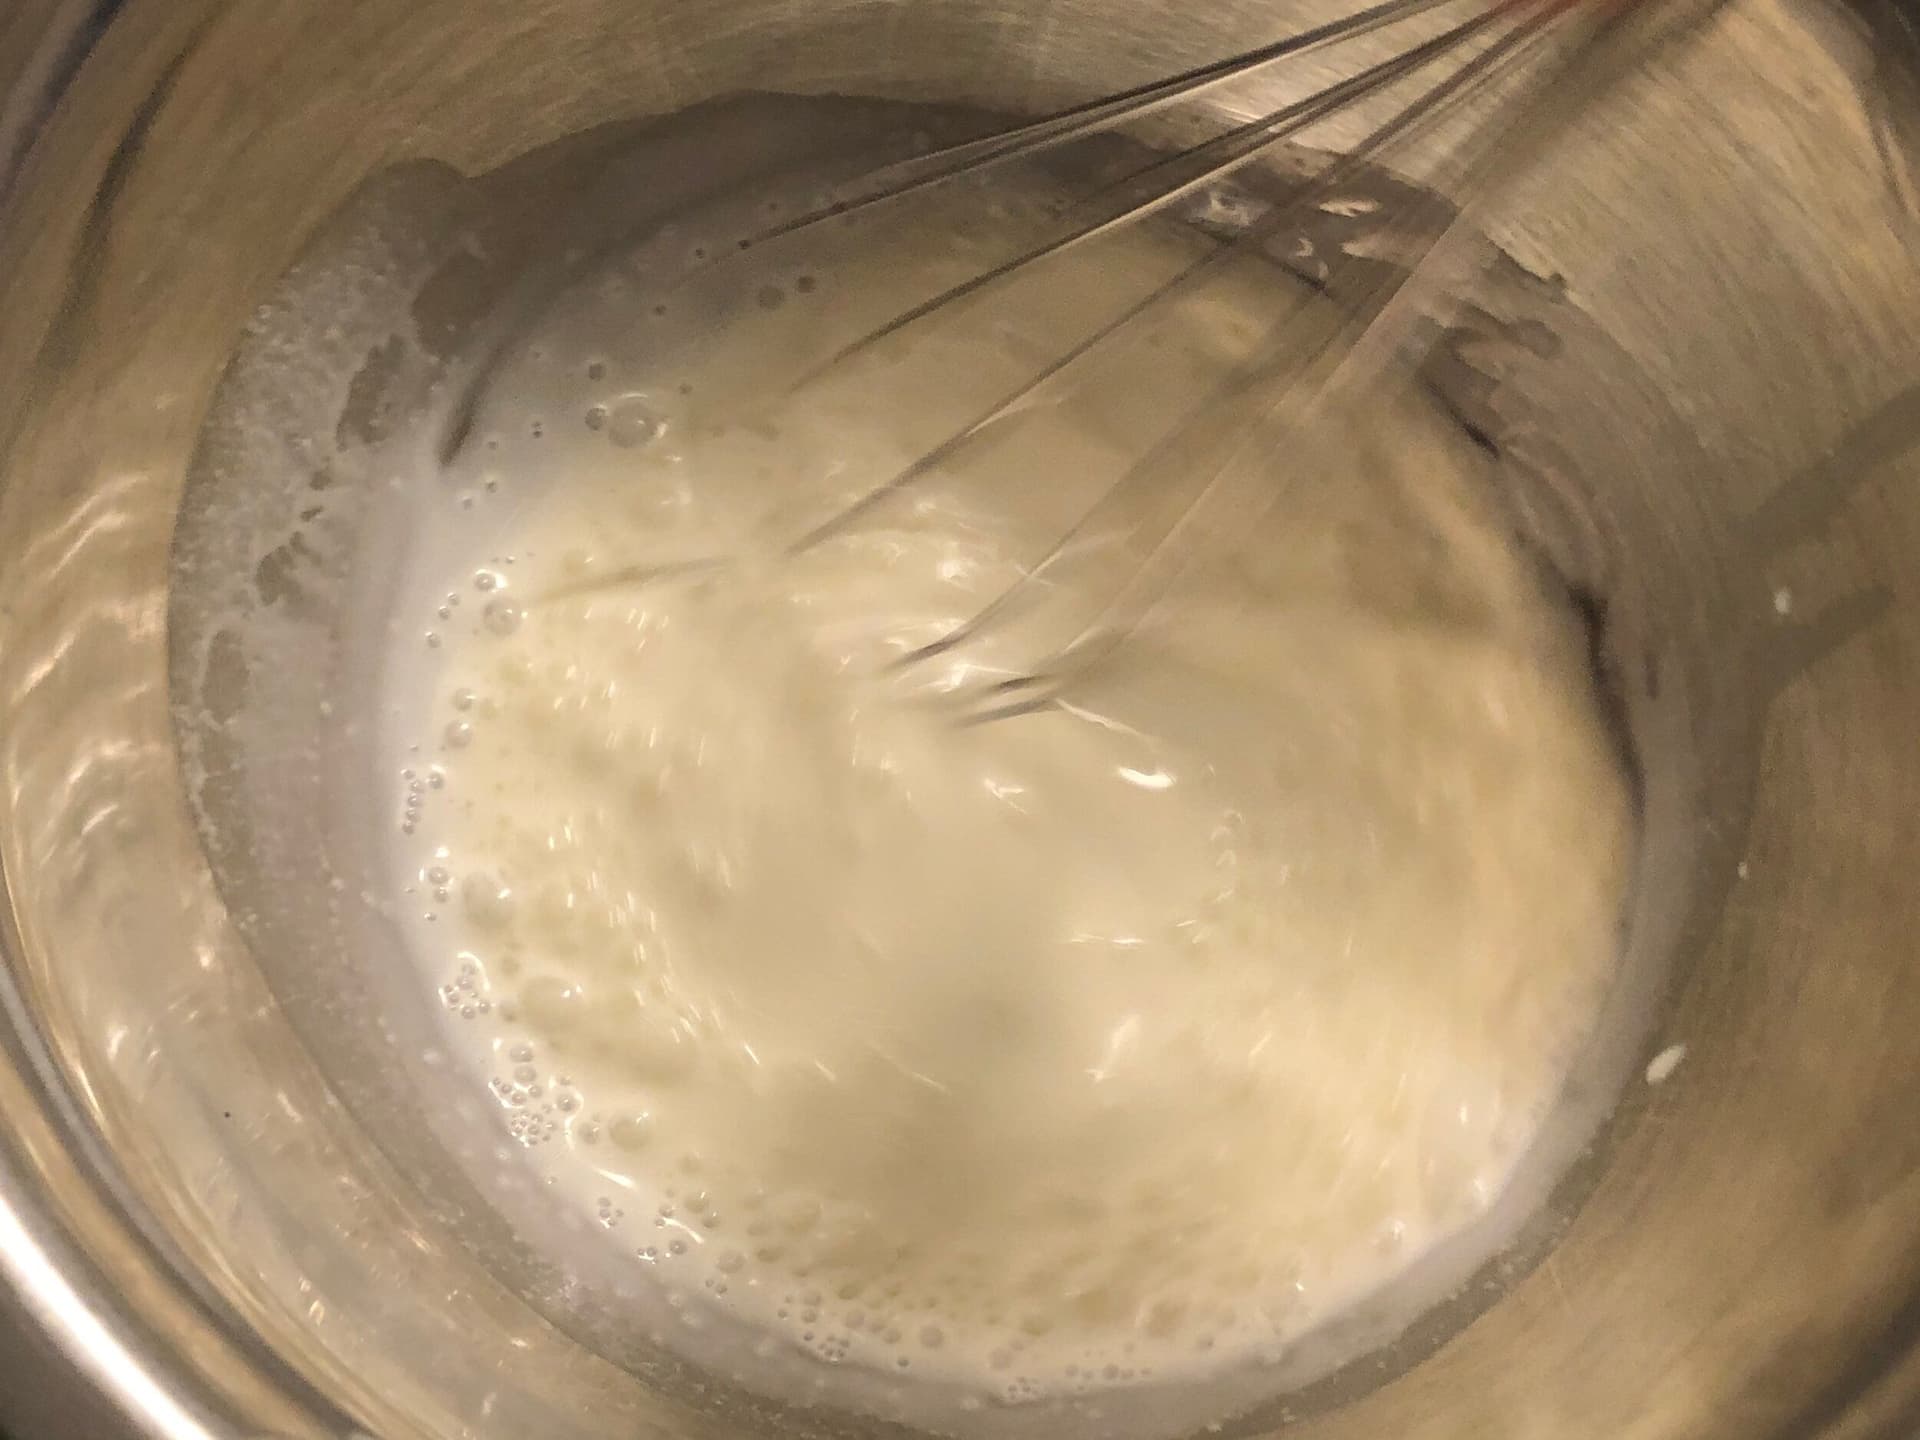

Add sweetener of choice and vanilla and continue whisking until you observe soft peaks. Lifting the whipped cream with the whisk should result in peaks that eventually points down.


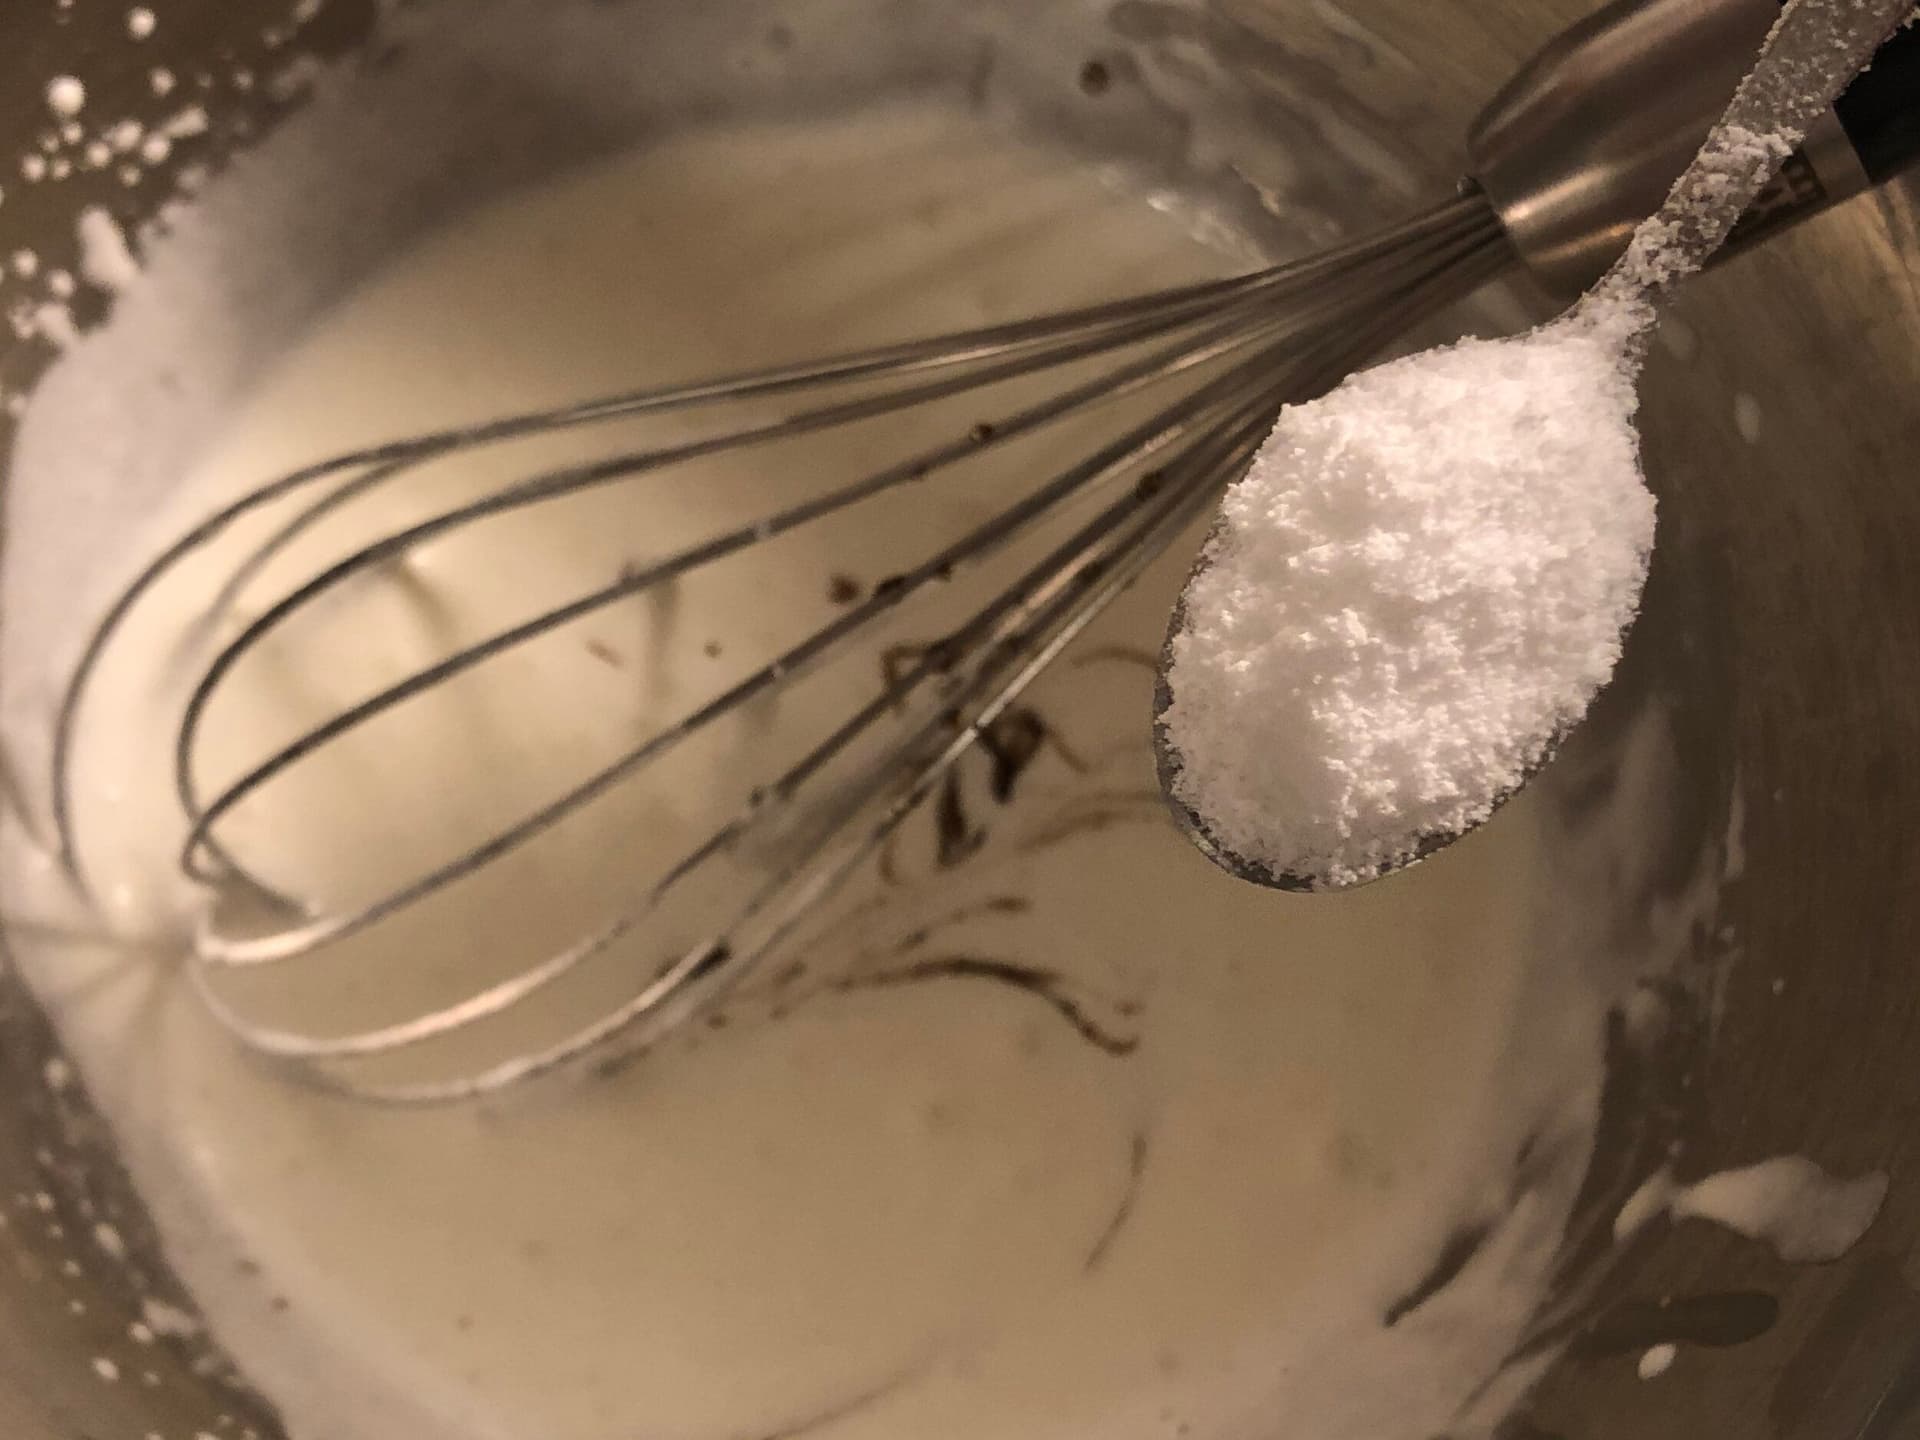

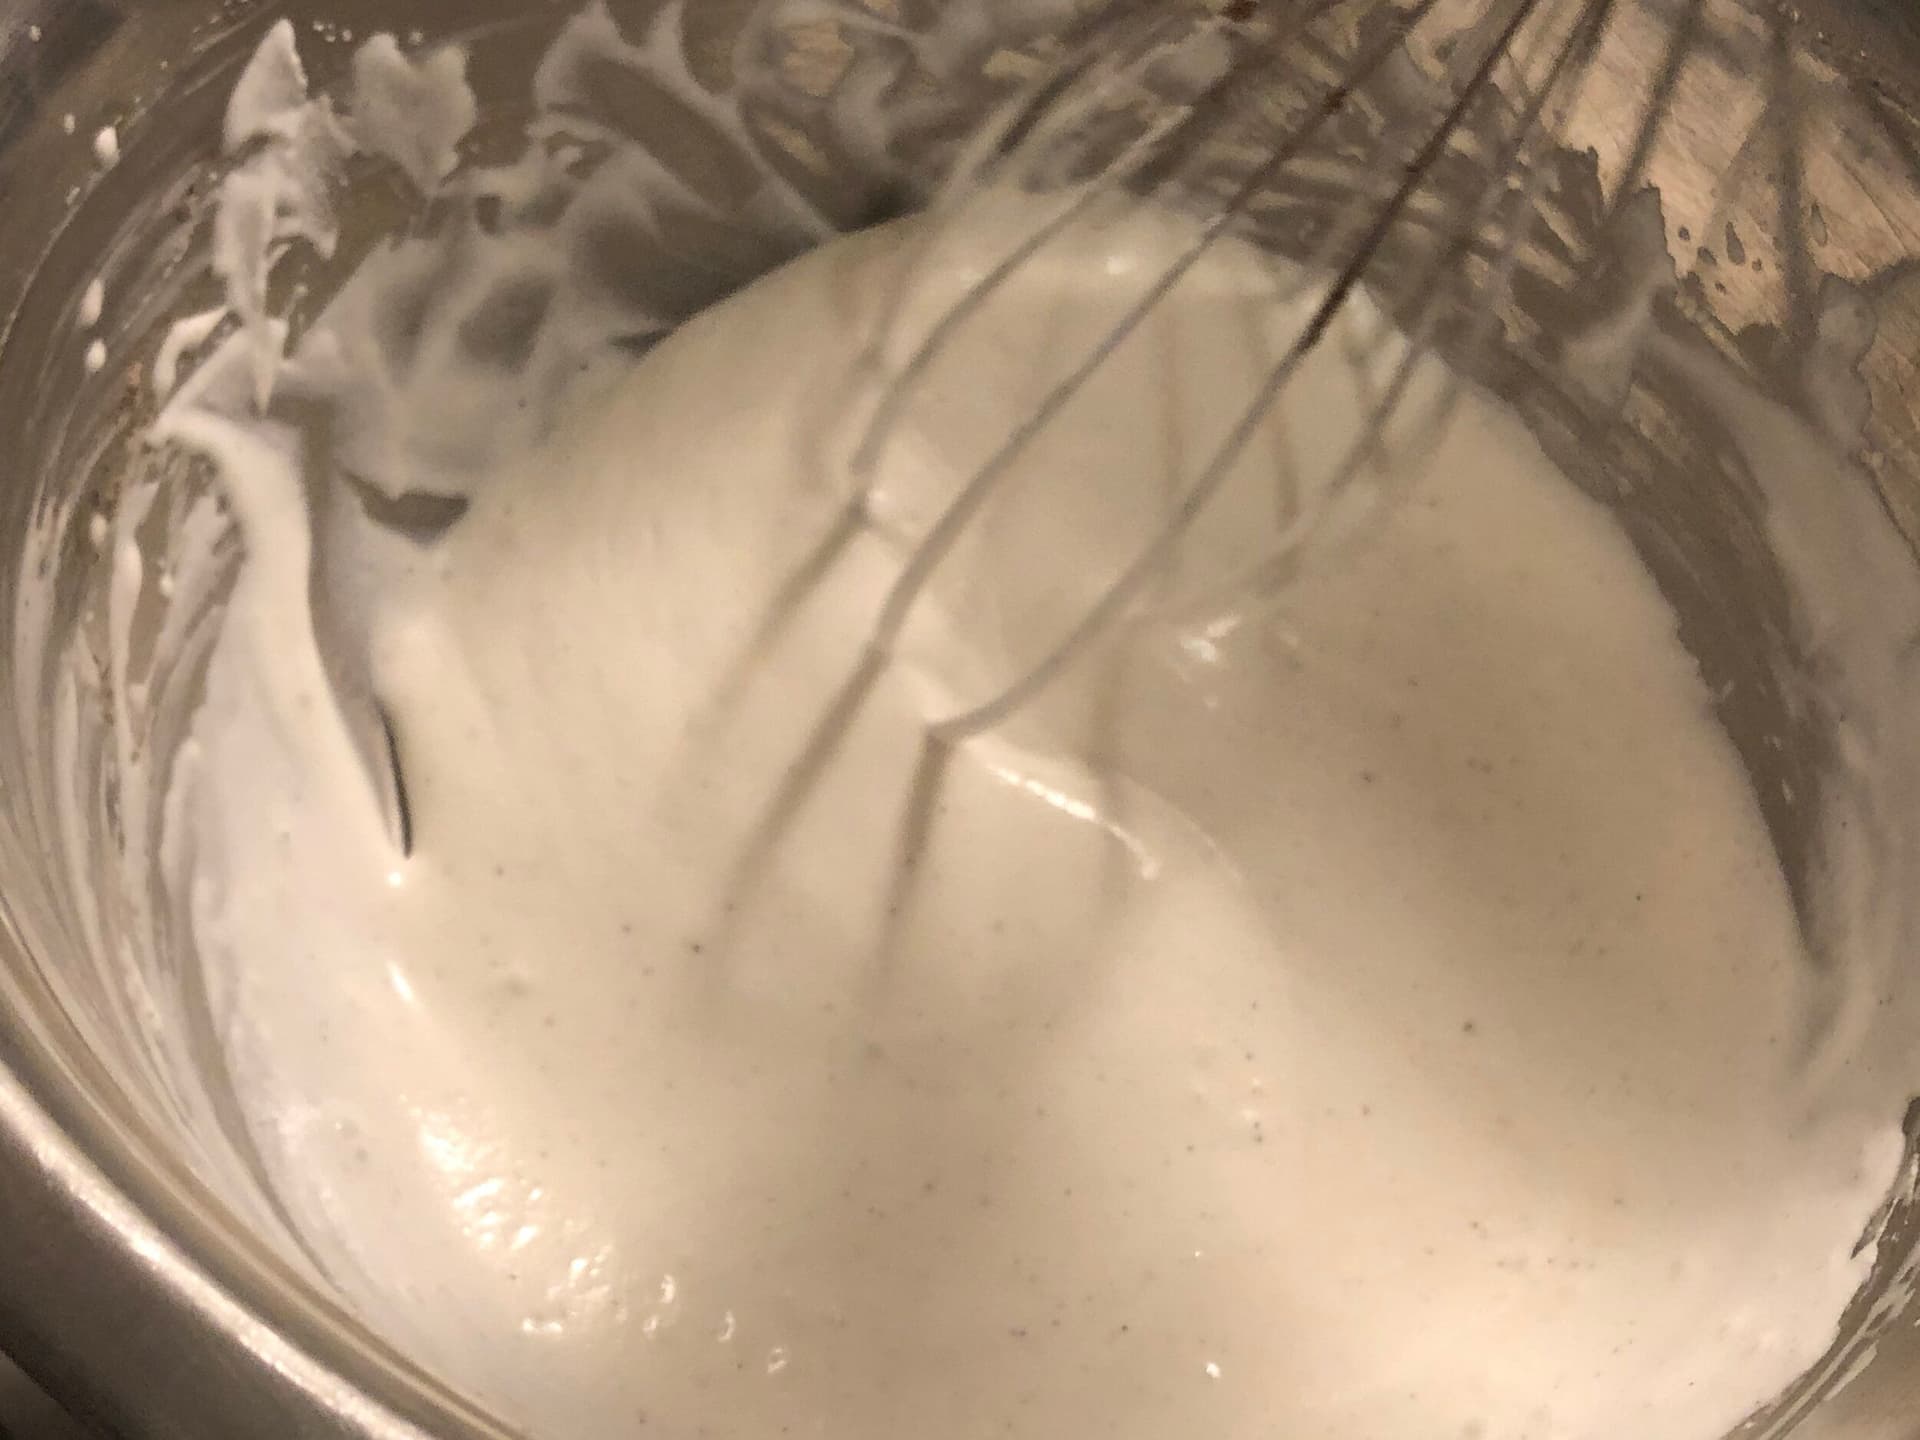

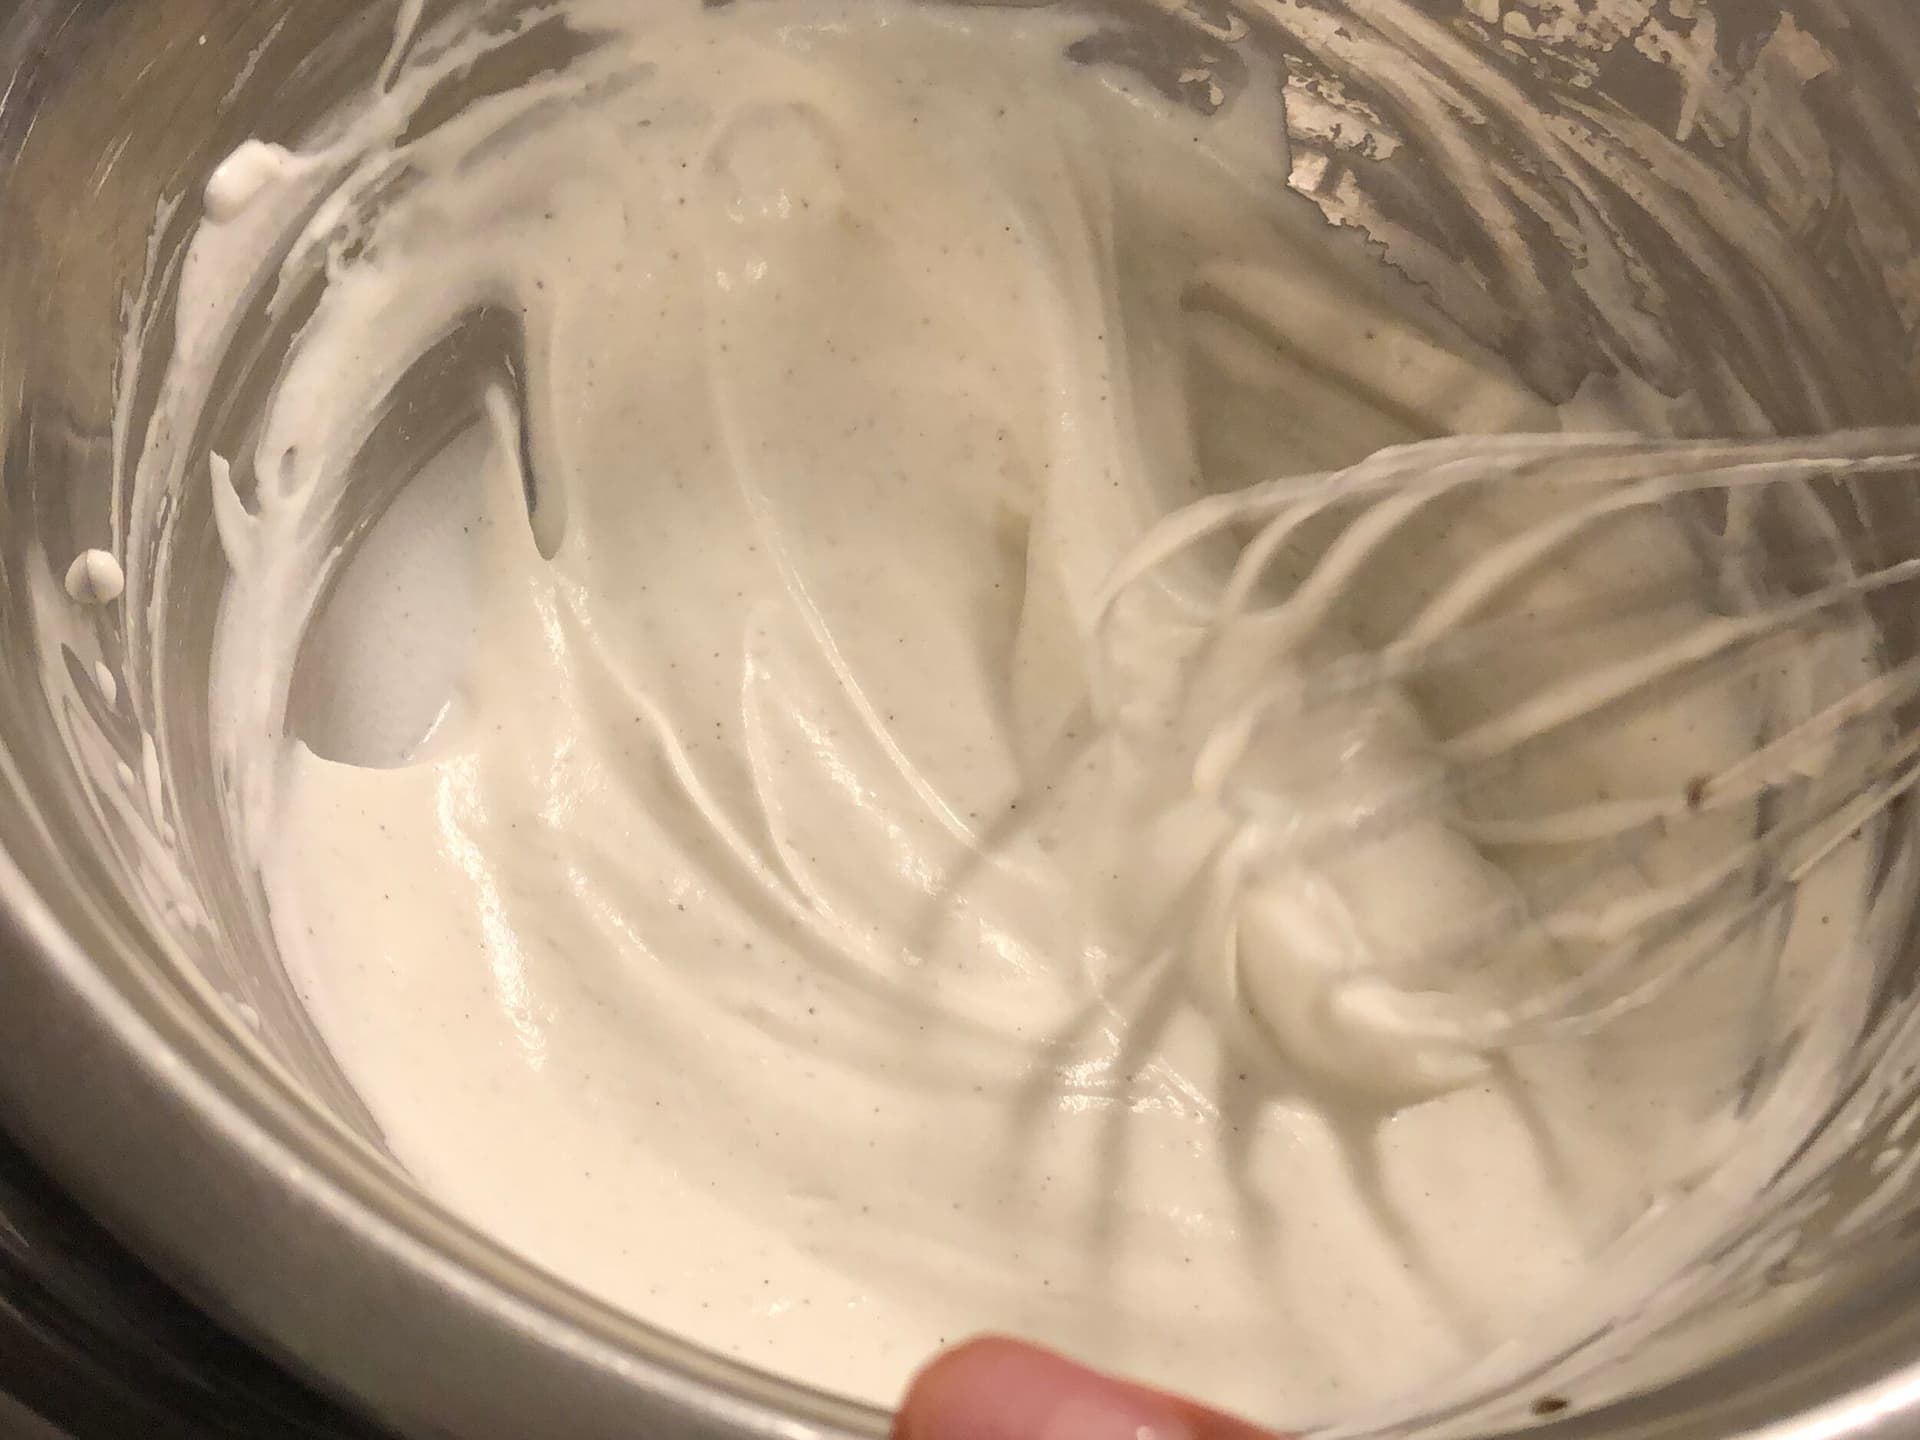
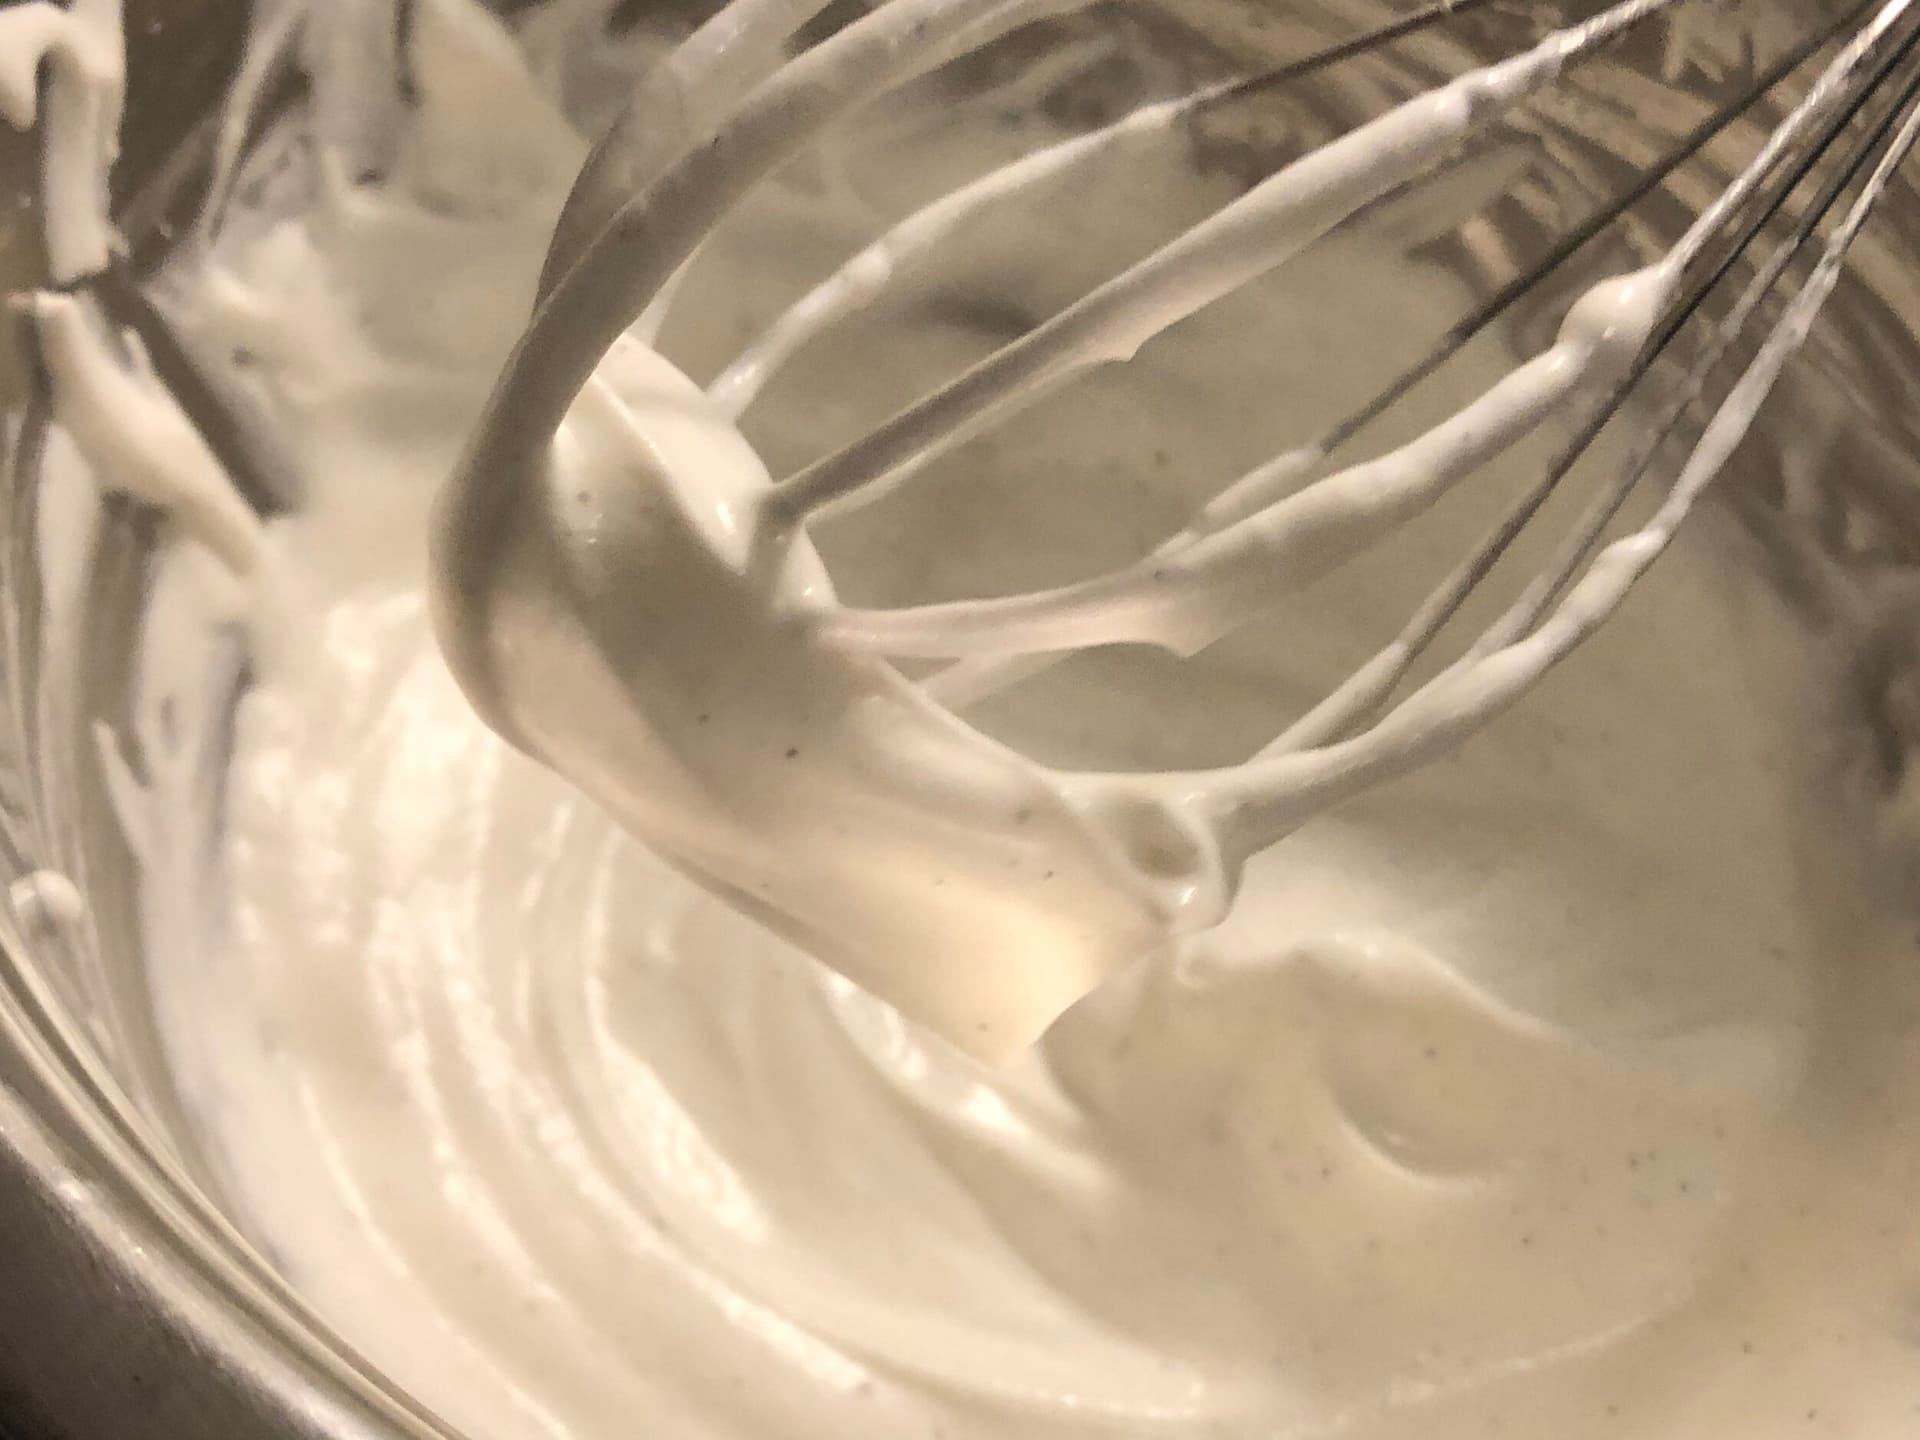
CHALLENGE FOR YOU: Can you make whipped cream by hand without ever stopping to rest your arms? Let me know if you did in the comments down below and found out how I did!
Using a Stand Mixer
Pour the mixture to the bowl of a stand mixer and start whisking with the whisk attachment at medium speed. Gradually increase the speed of the whisk until the cream starts to thicken.
Add sweetener of choice and vanilla and continue whisking until you observe soft peaks. Lifting the whipped cream with the whisk should result in peaks that eventually points down.
Using a Whipped Cream Dispenser
Add the cream, sweetener, and vanilla extract (or other vanilla) in the bottle for your whipped cream dispenser. Stir well with a spoon and taste for sweetness.
Ensure the head gasket is inserted in the head of the dispenser and prior to closing the bottle, screw in the tip on the head. Secure the head on the bottle and insert the Nitrous Oxide (N2O) charger to the charger holder.
Screw in the charger holder until tight, you will hear and quick discharge of gas as the charge gets secured to the head of the dispenser. Refrigerate until ready to use.
To make whipped cream, shake the bottle well, turn the bottle so that the tip is facing the dish/glassware you are topping with cream. Press the trigger and enjoy the whipped cream.
For more information on how to use a whipped cream dispenser, check out all the information here.
Storing Homemade Whipped Cream
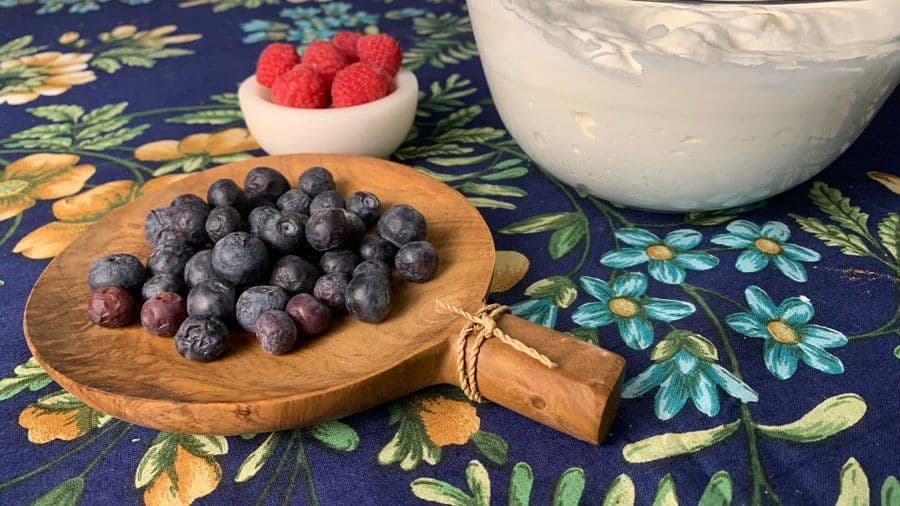
Store your homemade whipped cream in an airtight container. It will stay good in the fridge for up to 3 days. If it has been longer than 3 days and the whipped cream has become loose, whisk it again for a few seconds to refresh it.
How Can I Prevent Over-Whipping?▼
As soon as the whipped cream starts to leave streaks during whisking, proceed carefully since the transformation to soft peaks is only a few seconds out. Keep lifting the cream with the whisk every 20-30 seconds. As soon as you see peaks that droop over, stop.
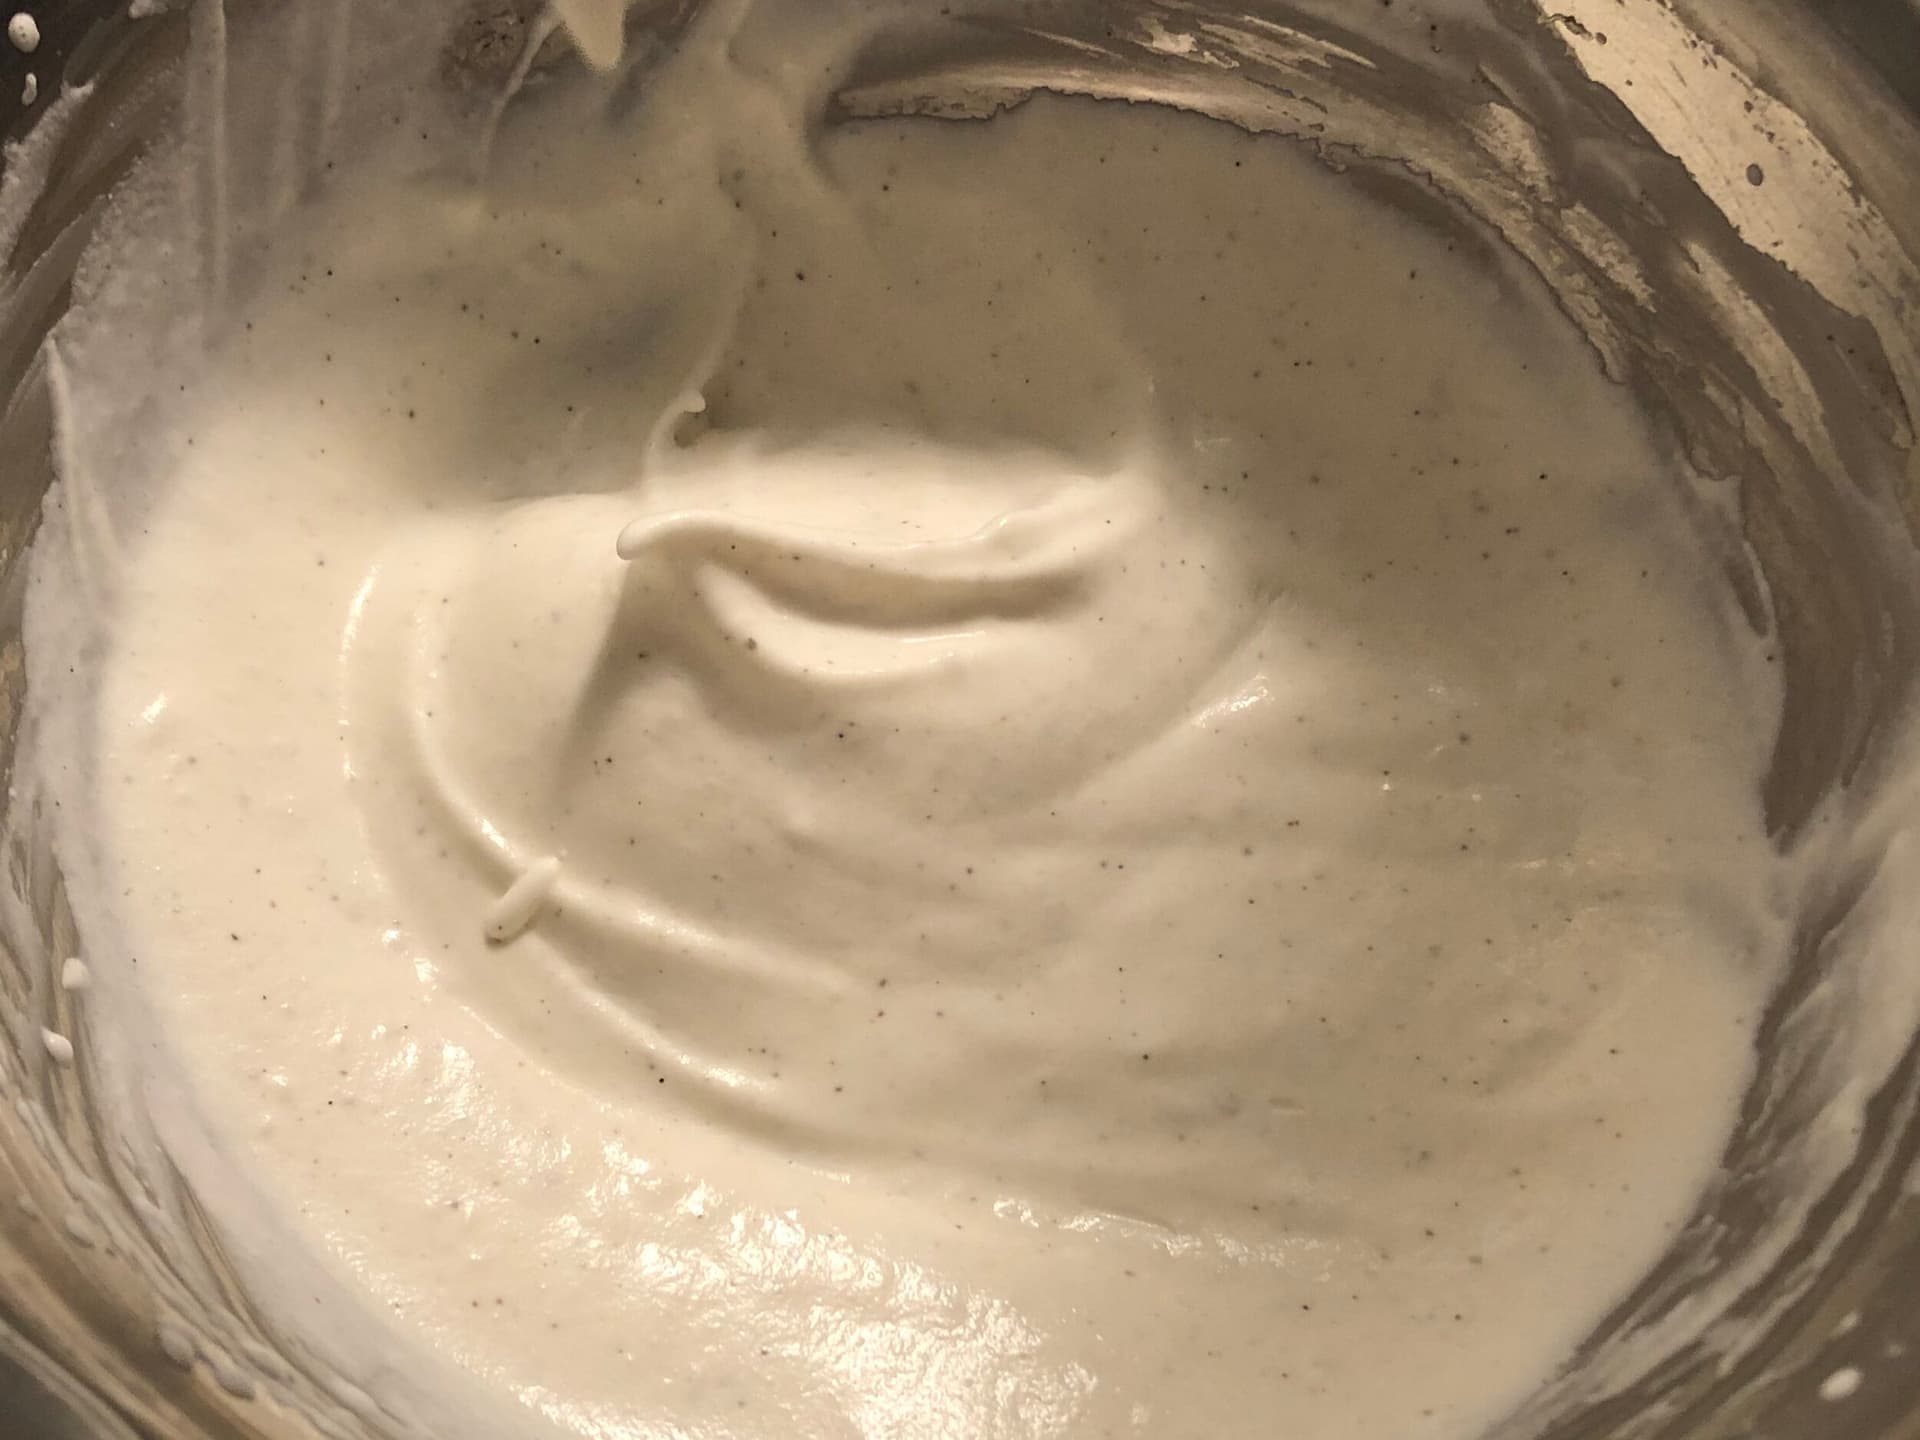
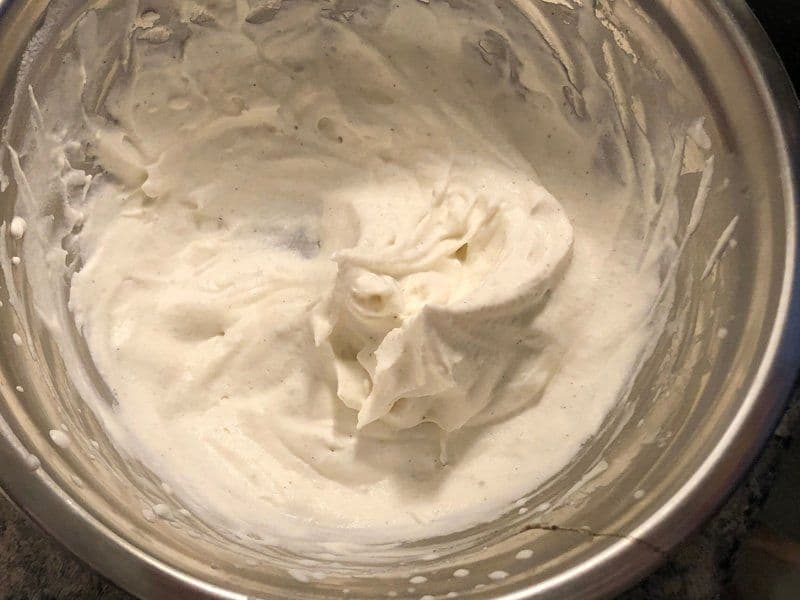
I will show you at what point you should stop whisking, and how over-whipped cream looks.
Whipped cream is ready at this stage.

This is over whipped - as you can see there are peaks, but they are not drooping down. Instead, they are pointing upward. Also, the texture has become grainy, almost like ricotta.
What if I Over-Whipped?▼
Unfortunately you will need to start over. The flavor will not differ too much from properly whipped cream, however, the texture does not stay the same. If you don’t want to waste it, I would store it as described earlier, and you could save it to serve in coffee or in hot chocolate, where the smooth fluffy texture is not as important as in a dessert.
Did You Say Chocolate Whipped Cream?
If you’ve checked out my pancake or dessert recipes - heck, even my oatmeal recipes! - you know that I’m a chocoholic! What can I say, I don’t have much of a sweet tooth but if you say “Chocolate” I’ll jump over! I love chocolate! While I love cream and whipped cream, I’ll always choose a chocolate whipped cream over the classic whipped cream! Chocolate whipped cream reminds me of the chocolate frosting used in cakes and cupcakes - well, actually, that is what’s used! So, what if you want to make your own chocolate whipped cream?
It’s very simple! After some trial and error, I’ve figured it out! Last night, I actually got on the hot cocoa bombs trend. Yes, yes, I’m like two months late! Better late than never right? Part of the reason for that is that it took forever for my molds to deliver from Amazon! Though let me tell you it was well worth the wait! If you want to see me preparing the bombs, be sure to check out my Sunday Funday Cook-along Episode 16 on Instagram! If you’re not already following me on Instagram, then I really recommend that you do for recipe sneak peaks, kitchen experiments, and the cook along videos of my special Saturday night meals - they usually consist of dishes I’ve never made before!
Anyway, so after the bombs successfully exploded, I decided to top my cup with some chocolate whipped cream. Here’s how it looked

What I did here was add some of the molten chocolate used to make my bombs into my already whipped cream! However, what I did wrong was that I whisked in the molten chocolate with the whipped cream, and that caused it to overwhip. You see the difference between the texture of the chocolate whipped cream and the regular whipped cream?
When recording the video above, I tried again. Again, I used molten chocolate and added it into the whipped cream. However, I folded it into the whipped cream instead of whisking. While it didn’t overwhip, it looks a little grainy, kind of like Black Forest cake, as you can see below.


With that being said, what I recommend you do to make chocolate homemade whipped cream is to add cocoa powder! That will give you the best results! I made chocolate whipped cream for my birthday last year and when I followed Gordon Ramsay’s Hazelnut Meringue Tower recipe, and that’s what I did. So there you go!
Cold Cream, a Chilled Bowl, and Knowing When to Stop
Temperature does more of the work here than technique does. Start with cold heavy cream straight from the refrigerator, and if your kitchen is warm, put the bowl and the whisk in the freezer for ten minutes first; a chilled bowl keeps the fat firm enough to trap air. With an electric mixer, begin at medium speed and only work up to medium-high once the cream has started to thicken, because going straight to full speed is the quickest way to shoot past the window you actually want. Add the 1 tbsp of powdered sweetener, and confectioners sugar is what I reach for, along with the 1 1/2 tsp of vanilla, once it has begun to thicken rather than right at the start. Then watch it closely. I stop at soft peaks, where you lift the whisk and the peak flops over. Medium peaks, where the tip only just curls, are what you want if you are folding the cream into something else. Keep going past that and it turns grainy, and a few seconds after that you have butter. By hand the whole thing takes about 6 minutes, and rather less with a mixer.
Where This Vanilla Bean Whipped Cream Goes
Three simple ingredients, and it goes on almost anything. A dollop on pancakes or waffles at breakfast; spooned over pies and trifles; piped onto cupcakes; or, the way most of mine gets used, over fresh fruit and fresh berries. It is the perfect topping for hot chocolate and for coffee. If you want to shift the flavor slightly, a pinch of cinnamon whisked in at the same time as the vanilla works nicely, and pure vanilla extract stands in for the Madagascar bourbon vanilla bean paste in the same amount; you lose the bean flecks but very little else. Set against the store-bought tub, the difference is that this actually tastes of vanilla and carries no stabilizers, which is also why it will not hold for as long.
If you liked this recipe please let me know in the comments. Tag your post on social media using #cookingwithanadi and mention me @cooking.with.anadi. Thank you!
Recipe by Anadi Misra
Make the best homemade whipped cream from scratch in minutes. Light, fluffy, and perfectly sweet, this easy recipe delivers flawless results every time. Your desserts will never be the same.
No-cook
5.0 · 1 rating
6 min
Prep
6 min
Total
24
servings
makes 3 cups
easy
Level
Ingredients
Ingredients
Tap any quantity to scale
Instructions
Hand whisked method
- 1
Begin by adding your whipping cream in a large mixing bowl and start whisking with a large whisk.
Begin by adding your whipping cream in a large mixing bowl and start whisking with a large whisk.
- 2
Keep whisking and continue until the cream starts to thicken. Your arms may try to tire at this point
Keep whisking and continue until the cream starts to thicken. Your arms may try to tire at this point
- 3
Add sweetener of choice and vanilla and continue whisking until you observe soft peaks. Lifting the whipped cream with the whisk should result in peaks that eventually point down.
Add sweetener of choice and vanilla and continue whisking until you observe soft peaks. Lifting the whipped cream with the whisk should result in peaks that eventually point down.
Hand mixer/Stand mixer method
- 1
Pour the mixture into the bowl of a stand mixer and start whisking with the whisk attachment at medium speed. Gradually increase the speed of the whisk until the cream starts to thicken.
Pour the mixture into the bowl of a stand mixer and start whisking with the whisk attachment at medium speed. Gradually increase the speed of the whisk until the cream starts to thicken.
- 2
Add sweetener of choice and vanilla and continue whisking until you observe soft peaks. Lifting the whipped cream with the whisk should result in peaks that eventually point down.
Add sweetener of choice and vanilla and continue whisking until you observe soft peaks. Lifting the whipped cream with the whisk should result in peaks that eventually point down.
Whipped Cream Dispenser
- 1
Add the cream, sweetener, and vanilla extract (or other vanilla) in the bottle for your whipped cream dispenser. Stir well with a spoon and taste for sweetness.
Add the cream, sweetener, and vanilla extract (or other vanilla) in the bottle for your whipped cream dispenser. Stir well with a spoon and taste for sweetness.
- 2
Ensure the head gasket is inserted in the head of the dispenser and prior to closing the bottle, screw in the tip on the head. Secure the head on the bottle and insert the Nitrous Oxide (N₂O) charger to the charger holder.
Ensure the head gasket is inserted in the head of the dispenser and prior to closing the bottle, screw in the tip on the head. Secure the head on the bottle and insert the Nitrous Oxide (N₂O) charger to the charger holder.
- 3
Screw in the charger holder until tight, you will hear a quick discharge of gas as the charge gets secured to the head of the dispenser. Refrigerate until ready to use.
Screw in the charger holder until tight, you will hear a quick discharge of gas as the charge gets secured to the head of the dispenser. Refrigerate until ready to use.
- 4
To make whipped cream, shake the bottle well, turn the bottle so that the tip is facing the dish/glassware you are topping with cream. Press the trigger and enjoy the whipped cream.
To make whipped cream, shake the bottle well, turn the bottle so that the tip is facing the dish/glassware you are topping with cream. Press the trigger and enjoy the whipped cream.
- 5
For more information on how to use a whipped cream dispenser, check out all the information here.
For more information on how to use a whipped cream dispenser, check out all the information here.
Nutrition per serving
36
Calories
0g
Protein
1g
Carbs
4g
Fat
0g
Fiber
1g
Sugar
3mg
Sodium
Did you make this recipe? Tag @cooking.with.anadi on Instagram and hashtag it #cookingwithanadi

Tested & written in Anadi’s kitchen
Recipe history
- April 16, 2026 — Reworked and refreshed for the 2026 relaunch — new photography, restructured and standardized ingredients & instructions.
Filed under
You might also like
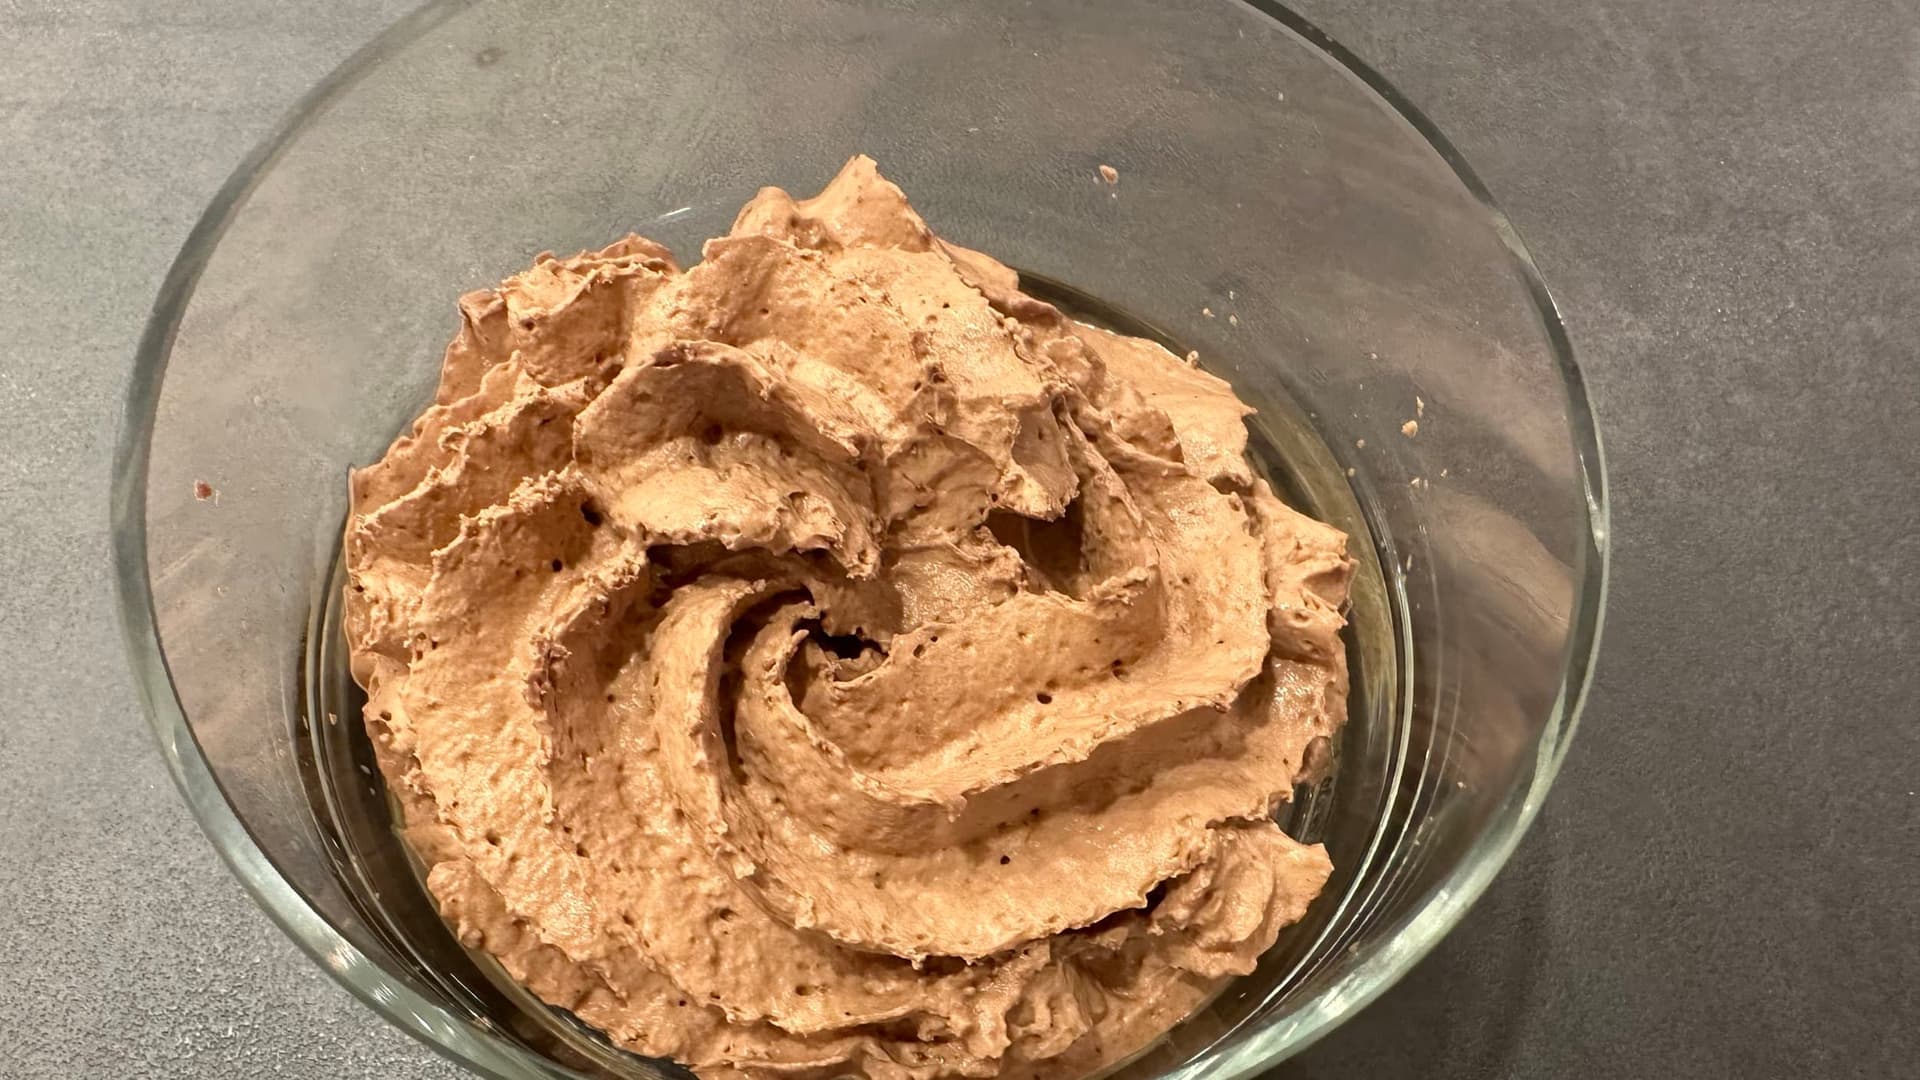
Easy Homemade Chocolate Whipped Cream Recipe
Make perfect chocolate whipped cream at home in minutes! Rich, fluffy, and incredibly easy, this recipe is the best way to elevate any dessert from scratch.
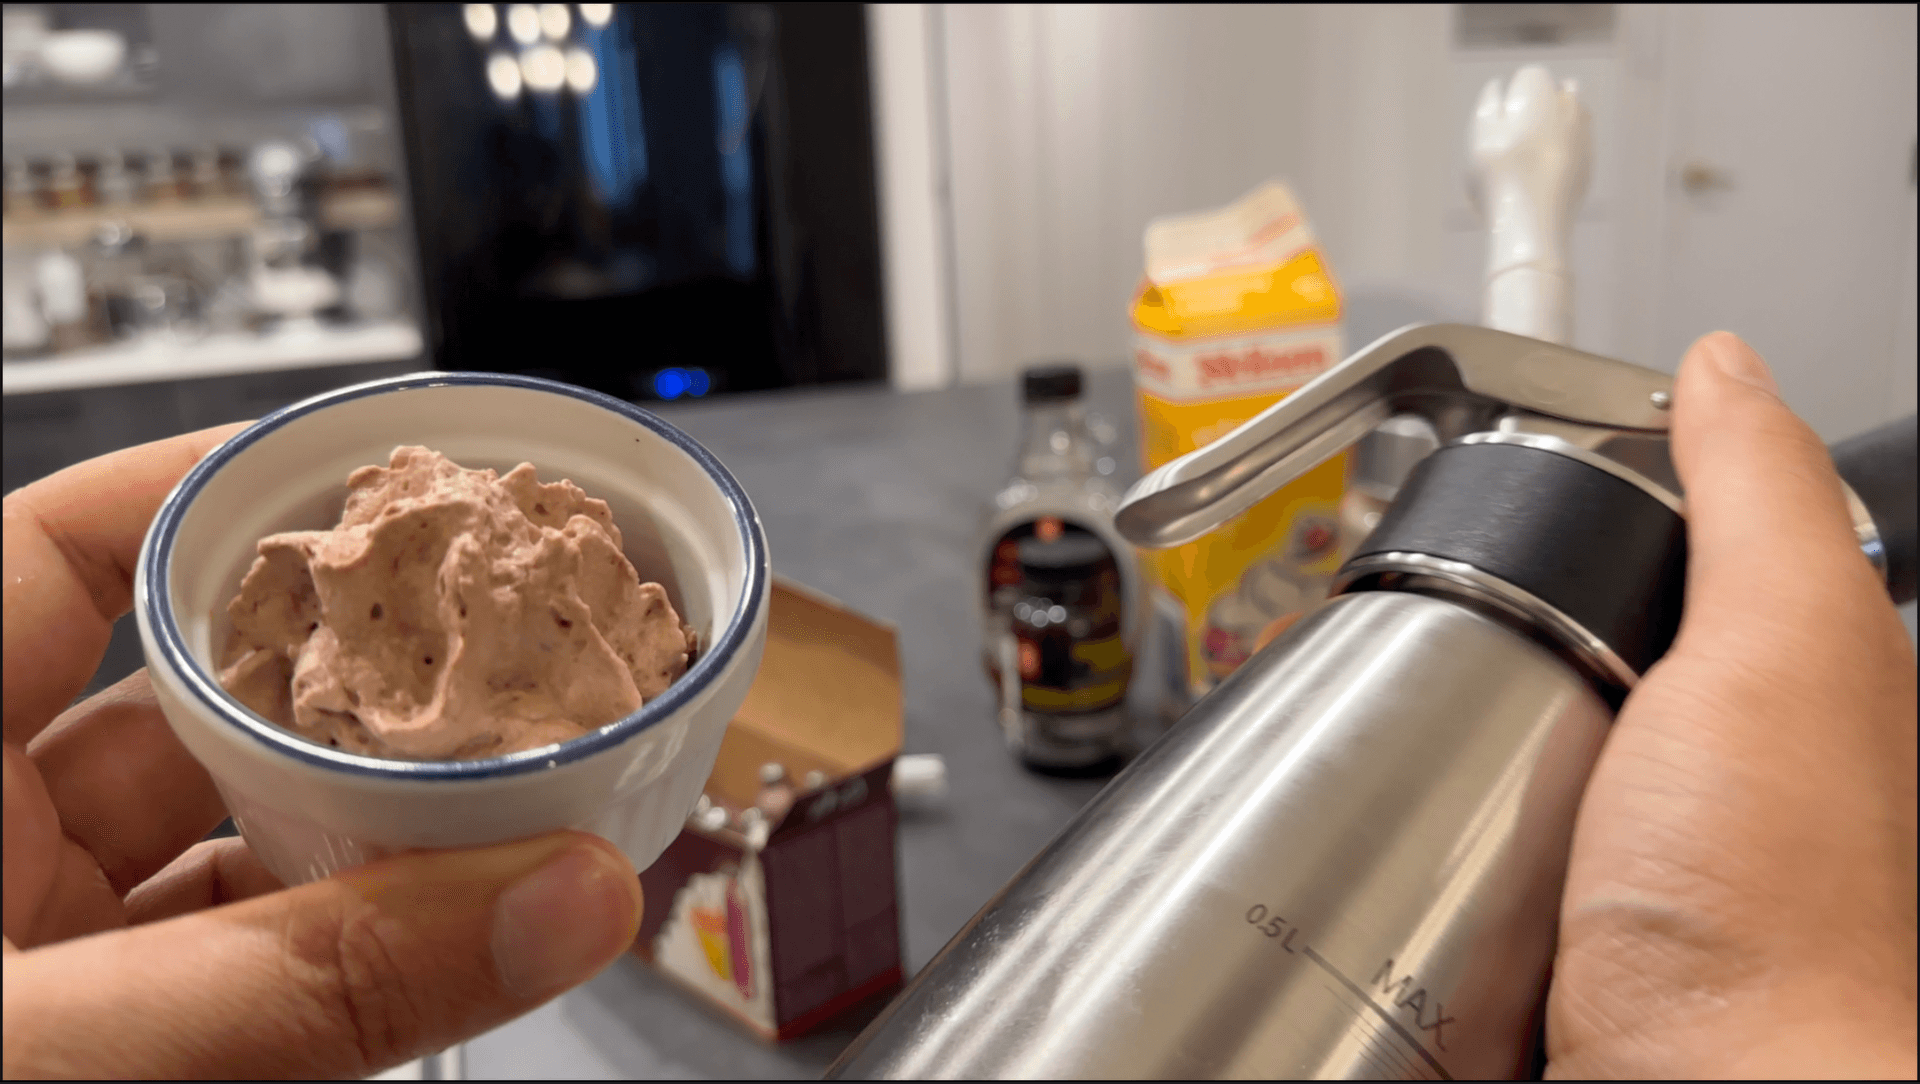
Mastering How to Use a Whipped Cream Dispenser
Master the whipped cream dispenser with our easy, foolproof guide. Make light, fluffy homemade whipped cream from scratch in minutes with perfect results every time.
Easy & Quick Versatile Classic Cream Cheese Glaze Recipe
Make this easy cream cheese glaze in minutes with just a few simple ingredients. Thick, creamy, and versatile enough for pancakes, cakes, and more. Your new favorite topping awaits.

Indulge in the Best Caramel Sauce Recipe
Make rich, creamy caramel sauce at home with just white sugar and whipping cream. Perfect for ice cream, cakes, and apples. Easy, quick, and absolutely indulgent.

Irresistible Simple Caramel Sauce Recipe
Make silky homemade caramel sauce with just sugar, water, and whipping cream. Quick, easy, and perfect for drizzling over ice cream or bread pudding. Your new favorite dessert topping.

Easy 5-Ingredient Chocolate Sauce Recipe
Make a rich, creamy chocolate sauce with just 5 ingredients in minutes. Perfect for drizzling over ice cream, cakes, and more. Your new go-to easy dessert topping awaits.


Comments
No comments yet — be the first to share your thoughts!
Leave a review
Be the first to share how it went — your note helps other cooks (and earns the recipe its stars).