In my opinion, one of the key dishes that stands out to me in Japanese cuisine is tempura. Surprised? Well, you may know how much I love deep frying, so perhaps not!
30 min
1 large platter
medium
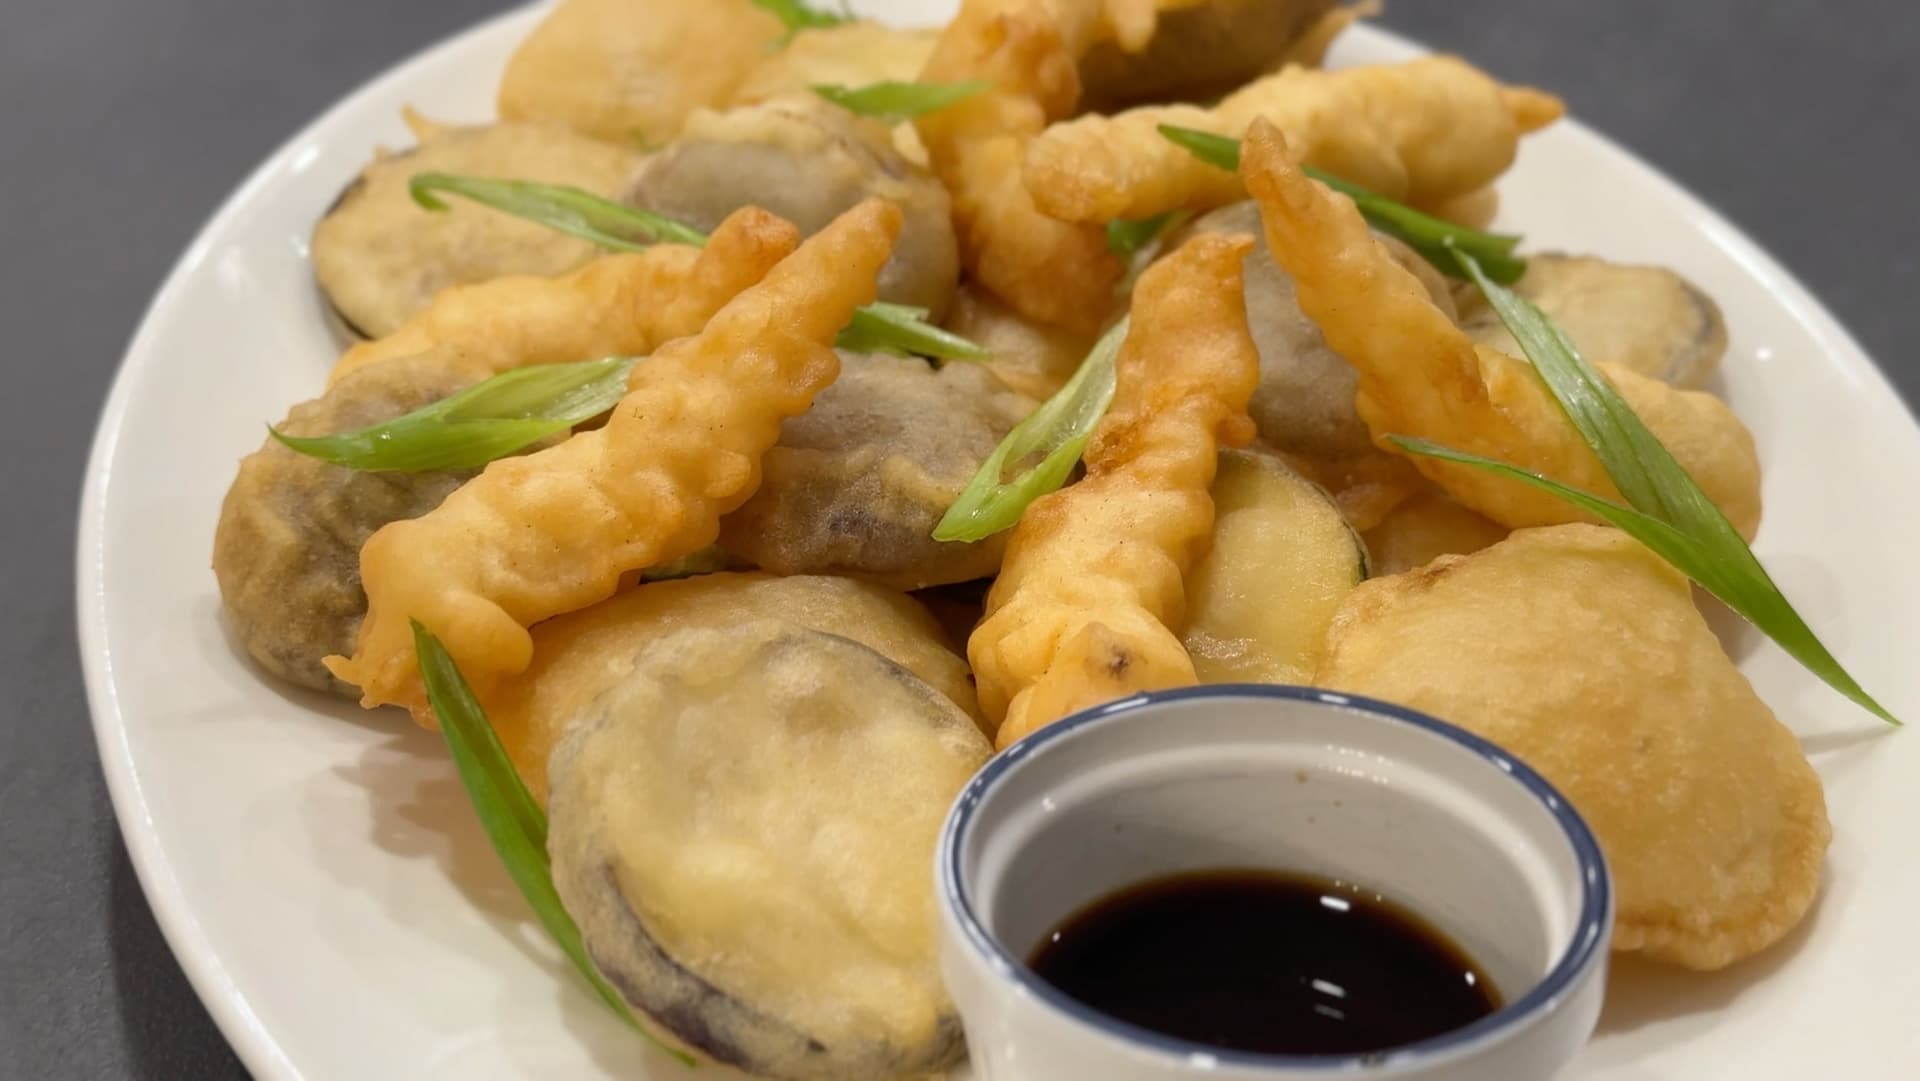
How to Make Restaurant-Style Tempura Shrimp and Vegetables
If you’re new here and don’t know my background, I’ve worked as a professional sushi cook for about 4 years. In that time, I certainly learned a lot! One of my favourite parts of the job definitely was to make the tempura. I really absorbed the secret to making the best tempura batter you’ve ever tasted, and I’m excited to share all of my tips and tricks with you today so you’re well on your way to creating your own Japanese feast!
As I describe in my free guide to explore your potential in the kitchen, Make Cooking Fun!, while going out to eat can certainly inspire you to step out of your comfort zone and try new dishes, for me making these so often at work inspired me to go ahead and make my own at home - plus there is much less stress cooking at home, believe me! If you and your loved ones are tempura lovers, then this is your chance to put your heart on a plate by following my Restaurant-Style Tempura Shrimp and Veggies recipe as part of your Live to Cook one-month challenge! Get started on your cooking journey for free by signing up to my email newsletter, plus you’ll get all of my latest recipes sent straight to your inbox!
To see all the breading and frying for our shrimp and vegetables in action, be sure to watch the video! Don’t forget to please subscribe to my YouTube channel if you haven’t already, and be sure to hit the bell button to be notified when all of my video recipes are live! Let’s get frying!
What Is Tempura?▼
If you don’t know what tempura is, then you’re missing out! Tempura shrimp is an Asianseafoodappetizer, and then the vegetables are the vegetarian and vegan alternatives. Any kind of tempura - be it shrimp or vegetable - has the base that is coated with a light and fluffy batter, and then the tempura are deep fried in oil. Everyone just loves the crunchiness of some tempura, but what’s also iconic about it is the fluffy batter. This tempura batter recipe will show you how to achieve light and airy tempura with a satisfying crunch!
This tempura shrimp and tempura vegetable recipe will show you the difference between the traditional method of preparing tempura batter and an alternative - or “baker’s” method. One of these is the better way! Traditionally, you would mix the dry ingredients with the wet ingredients. What this helps to achieve is a batter that is not aerated, not over-mixed, and has lumps. All of these factors contribute to a fried, flaky, tempura texture that is very light.
While not impossible, this texture for tempura batter is much harder to achieve by mixing wet ingredients with the dry ingredients. This just comes down to how the ingredients interact with each other and the amount of effort needed to combine them between these two methods. What I found after preparing shrimp tempura using both these methods was the tempura shrimp fried in batter prepared in the traditional way was crispier, was lighter, and had a much more satisfying crunch. The tempura shrimp made with the alternative method, but the differences were certainly obvious in taste, but visually they only differed slightly. The tempura shrimp prepared traditionally was slightly more golden brown than the tempura prepared using the alternative method.
You can experiment and see which method you prefer! Check out the images below and let me know in the comments if you can spot the difference!
[caption id="" align="alignnone" width="2500"]
What Is the Secret to Perfect Tempura Shrimp And/or Veggies?
The recommended method to preparing tempura batter is just a couple minutes before being ready to fry and mixing dry ingredients with the rest. While mixing ensure these key points:
Mix very gently to prevent aerating the batter
Lumps are good, so don’t over-mix
Keep batter chilled if not using right away
What TYpe of Shrimp Should I use For Shrimp Tempura?▼
Technically you can use whatever kind of shrimp you want for shrimp tempura. If you want really small bite-sized pieces, then you can use small shrimp. However, for a more authentic experience, my recommendation would be medium or large.
If you’re new to purchasing shrimp, then the way that the sizes are determined is through the number of shrimp used to make a pound, which is the number you’ll see on the pack when you buy it. In Canada, you’ll see that “large” shrimp are 31-40, which means you have 31-40 shrimp per pound. This is what I chose and I got some really satisfying crunchy large shrimp! I don’t think you would need to go larger than these shrimp, which veer into the “gigantico” (16-20 shrimp per pound) or the colossal (8-12 per pound) varieties, unless you really want to! Keep in mind that if you were to use different sizes of shrimp that the frying time will be different.
While ideally you would get fresh shrimp from the sea, that’s not really realistic. Shrimp from the freezer section is totally fine! Furthermore, it does not matter if you choose peeled shrimp or shrimp with the shell on, but choosing peeled shrimp certainly saves you some time and mess!
How to Prepare the Shrimp for Tempura
Your first step to preparing shrimp for tempura will be to thaw it, if you’ve purchased frozen shrimp. All you need to do is place your entire bag or the portion of shrimp you are using in a bowl of cold, running water. Once the shrimp are thawed, then proceed with the peeling, if you’ve purchased shrimp with the shell on and tail.
The method that I use is to lightly loosen the outer shell before pinching the tail and pulling the shell clean. When pinching the tail, ensure to exercise caution: it is critical that you do not press too hard, otherwise you’ll rip apart the tail meat of the shrimp.
While grocery stores may advertise that their shrimp has been de-veined, a major piece of advice I have for you is to actually check every single shrimp if the vein has actually been removed! From my experience, it is most likely there are a couple of shrimps in the pack that have the disgusting digestive track! Get rid of it! Ensure to rinse that shrimp well and then enjoy - no eating guts here!
How to Break the Shrimp For Tempura?▼
The shrimp need to be defrosted if frozen and then deshelled.Working over a cutting board, or clean work surface, apply mild downward pressure on the fattest part of the shrimp and even lighter pressure on the middle, then finally the slightest amount of downward on the tail end.
This will help break the back of the spin and straighten out the shrimp
Now, grab a sharp paring knife, and turn the shrimp belly side up, and slice and pluck away the vein, which is black in colour running down the body of the shrimp.
What Other Vegetables Can I Use for Tempura?▼
We’re going to use shiitake mushrooms, eggplant, Japanese yam, and zucchini in this recipe. However, there are plenty of choices! Here are some other suggestions:
Bell peppers
King oyster mushrooms
Asparagus
Broccoli
Cauliflower
Green beans
While not a vegetable, if you’re vegetarian and want to have a protein source for tempura, then tofu would be excellent!
Do I Have to Pre-Cook the Vegetables for Tempura?▼
No, you do not, even for the harder vegetables like the Japanese yam or sweet potatoes. The vegetables will cook along with the batter getting crispy in the oil, so no need to worry about that!
How Do I Know that the Oil Is Ready to Fry?▼
The oil temperature should be between 170 to 180 degrees Celsius or 340 to 360 degrees Fahrenheit. Frying a tester is always a good idea before preparing a complete batch.
How DO I prevent the Batter from Getting too Thick or Too Thin?▼
To prevent the batter from getting too thick, ensure to use ice cold ingredients. After the batter is ready, you can even keep it over a bowl of ice while you get ready to fry. Also, avoid over mixing the batter as this will work out the lumps and change the texture. If still too thick, add a tablespoon of cold water at a time and mix gradually until thinner.
To prevent the batter from getting too thin, make sure to measure and add the ingredients accurately. If the batter is too thin, add more dry ingredients that have themselves been mixed well to the wet ingredients and mix very gently until thick and lumpy. If still thin, try chilling the batter for a few minutes to help thicken the batter.
Why Is My Tempura Greasy?▼
Keep a close eye on the oil temperature between fry ups, the oil temperature will fluctuate as you start frying so play with the heat setting to maintain the oil temperature. When the oil is not hot enough, the batter will tend not to crisp and absorb excess grease instead.
Tools Needed to Make Incredible Tempura Shrimp and Vegetables
Tips for the Most Incredible Tempura Shrimp and Vegetables
Ensure that your oil temperature is between 170°C to 180°C (340°F to 360°F). Fry a tester to ensure you are ready for the first batch.
Get all of the prep ready ahead of time before making the tempura batter. You can measure out the wet and dry ingredients in a bowl of their own, just don’t combine them until the last minute.
The traditional way to prepare the tempura batter is to mix the dry ingredients very gradually with the wet and to prevent over mixing. Keep the lumps, they will help give the fried tempura a light, flaky texture.
Once you have added the shrimp to the oil, adjust the heat as necessary to maintain a temperature. The temperature may also need to be adjusted between batches.
If not using tempura batter right away, use a bowl of ice and place the prepared batter on top to keep it chilled until ready to use.
Ingredients for Restaurant-Style Tempura Shrimp and Vegetables
For all ingredients and their quantities and to save the recipe for later, check out the FULL PRINTABLE RECIPE CARD by scrolling to the bottom of this post or by pressing the “Jump to Recipe” button. From there, you will know exactly how much batter you’ll have to make depending on how large your spread is - everything will automatically adjust whether you want more or less shrimp and/or veggies!
Shrimp: I used large shrimp, which were already peeled to save some time. No worries if your shrimp isn’t peeled, but you’ll have to account for that extra prep time first.
Rice flour:Some recipes call for all-purpose flour, but I swear by rice flour. While you could technically use a combination of all-purpose flour and rice flour, the flour you use ultimately helps with the flakiness and crispiness of the fried tempura. I’ve noticed the most authentic results using rice flour. Furthermore, if you’re gluten-free, then rice flour is the perfect choice for you.
Baking powder: As it does with a cake, baking powder helps the batter get some airiness. You may seem some recipes use club soda to make the carbonation, but baking powder plus water will be enough here.
Egg whites: You will see lots of recipes that use whole egg instead of egg whites. However, the reason why you’ll want to use egg whites instead of whole eggs is the whites will help with getting a lighter and flakier crust.
Vegetables: There are lots of options you can use for vegetables, but I went for shiitake mushrooms, Japanese yam, eggplant, and zucchini.
Water: You need to make sure that the water is ice cold because it helps when the tempura is frying to become even lighter and fluffier. It helps the tempura batter to stay stuck to the vegetable or shrimp since it is thicker.
Salt: Essential seasoning to add some flavor to our batter so that you don’t have bland tempura!
Green onions: Optional garnish to really make this a restaurant-style tempura platter!
How to Make a Spectacular Restaurant-Style Tempura Platter
Add the oil to a large wok for deep frying and start to preheat.
Prepare all the vegetables or seafood beforehand prior to making the tempura batter. Refrigerate until ready to fry.
In a bowl measure the egg whites and ice cold water. Mix well.
In a separate bowl, mix rice flour, baking powder, and salt.
Recommended: Dry-to-Wet Tempura Preparation
Gradually add the dry ingredients to the wet ingredients, stirring gently until just combined. The batter should be slightly lumpy; do not over-mix.
Alternative (Baker’s Method): Wet-to-Dry tempura preparation
Gradually add the wet ingredients to the dry ingredients, stirring gently until just combined. The batter should be slightly lumpy; do not over-mix.
Maintain the oil temperature between 170°C to 180°C (340°F to 360°F) for optimal frying.
Fry in small batches to avoid lowering the oil temperature too much and to ensure even cooking.
For the tempura shrimp, hold the shrimp by the tail and coat each side in the tempura batter.
Then dip the battered shrimp in the oil and swing in the oil slowly to develop the breading. Then drop the shrimp in the oil. Doing this extra step will help create a much better coating of crispy tempura all around.
Fry until crispy and golden brown.
Repeat a similar process for the zucchini, eggplant and yam slices, and the same for mushrooms as well. However, you won’t necessarily have to swirl them around in the oil.
Serve the tempura immediately while it’s hot and crispy.
Garnish with green onions and enjoy!
What Do I Serve with My Tempura Platter?
There is a lot you can do with your Tempura Platter! Typically, tempura is served as an appetizer, so you can enjoy it with some dipping sauces:
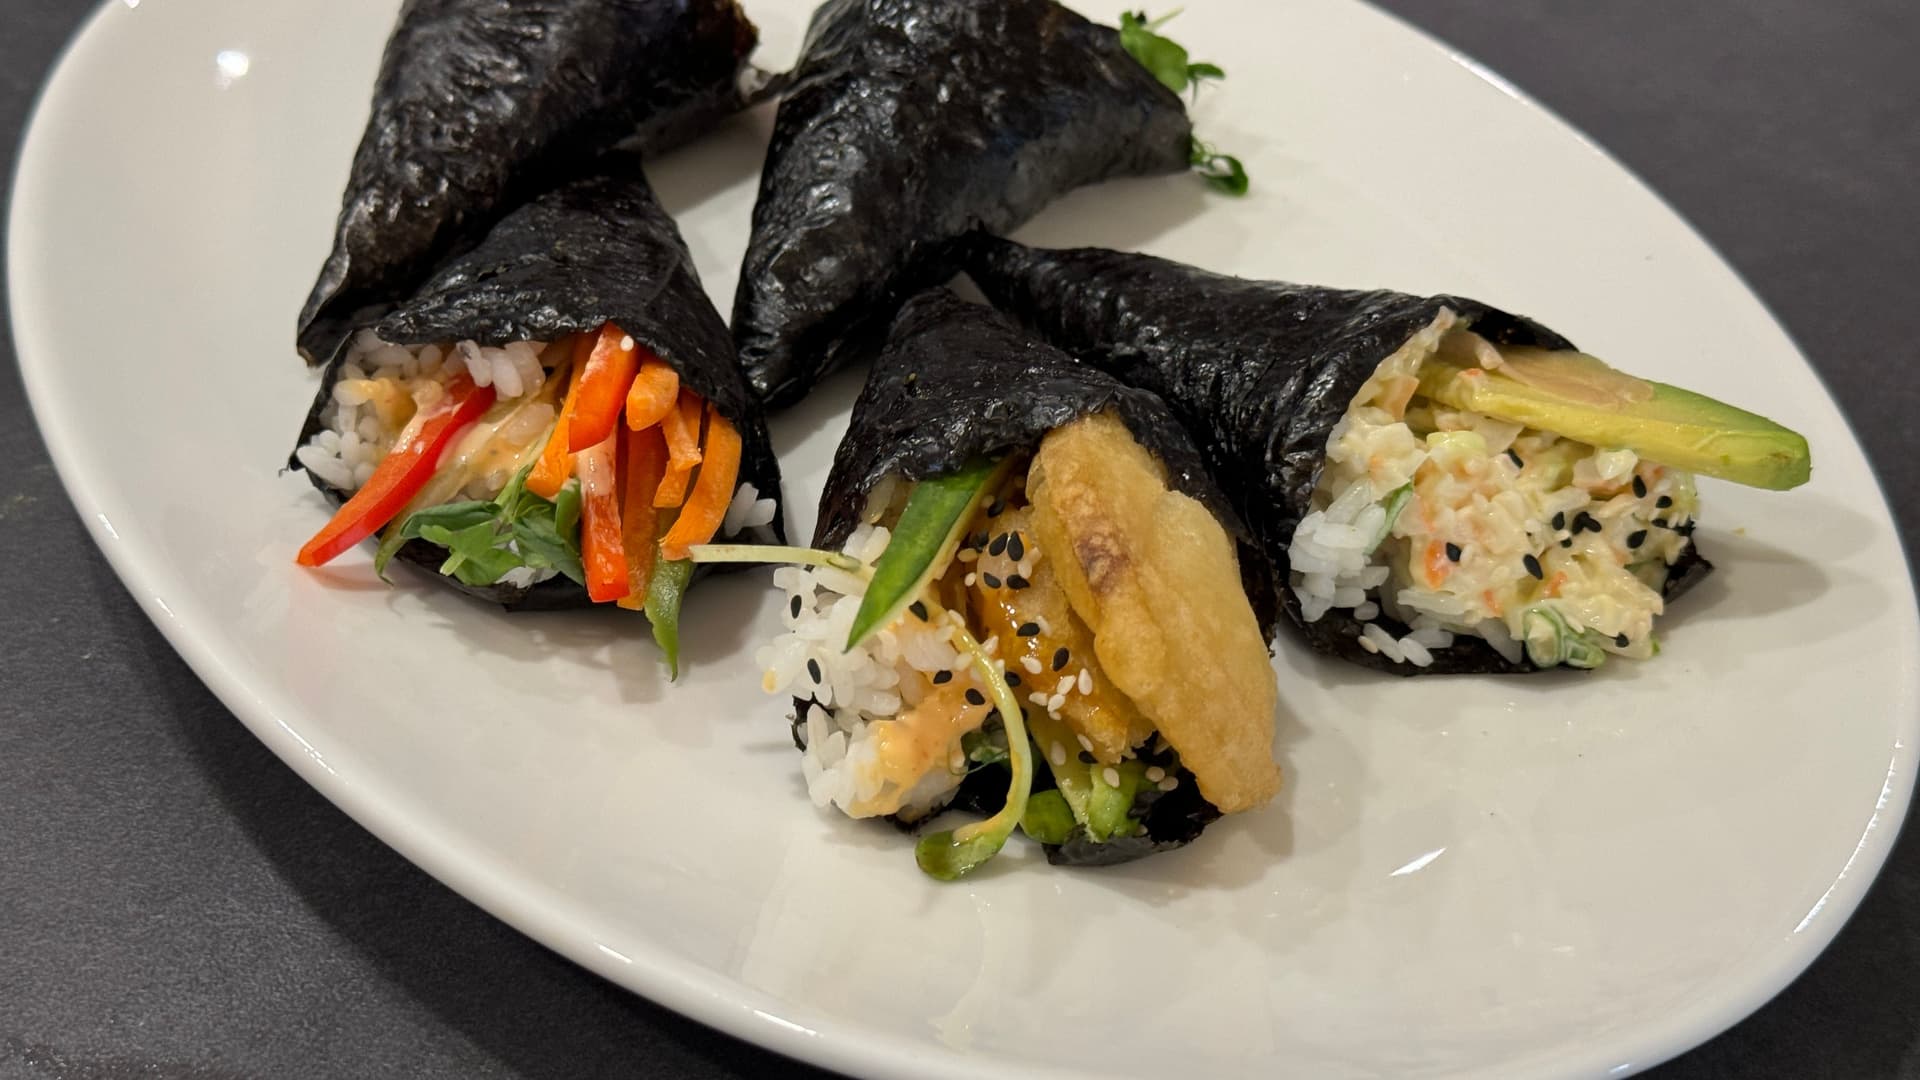
Otherwise, have it before or use these tempura inside some sushi rolls and/or cones!
Can I Make Tempura Shrimp and Vegetables in Advance?▼
I feel I say this with the majority of my recipes, but the honest answer here really is you should not - fresh really is best! Fresh out of the oil where the optimal crunchiness and amazing flavour is! However, if you’ve made too many pieces of tempura, then don’t worry about it! You can store your extra tempuras in an airtight container in the fridge. I would keep them in the fridge for at most 4 days, depending on how fresh the shrimp and vegetables were.
If you do want to save some time and do some preparation, then what you can do is make the batter in advance and cut up your vegetables, if making vegetable tempura. Again, store the batter and prepared vegetables in an airtight container in the fridge, and it should stay good for about a week. When you’re ready to fry, you’ve already got your components ready to go!
To reheat cooked tempura, you can pop them in the oven at 350 F and heat until warm. For a quicker method, you can microwave your tempura for 30 seconds or until warmed through. However, you may lose the crunch in this case. Finally, if you still have oil in your wok, of course you could always refry your tempura, and this may be the best method of reheating!
Let me know what you think of this recipe in the comments! If you’ve tried this recipe, be sure to post it on social media and tag it with #cookingwithanadi and mention me @cooking.with.anadi. Thank you!
Recipe by Anadi Misra
How to Make Restaurant-Style Tempura Shrimp and Vegetables
Make crispy, restaurant-style shrimp and vegetable tempura at home with this easy batter recipe. Light, golden, and perfectly crunchy every time.
Add the oil to a large wok for deep frying and start to preheat.
Add the oil to a large wok for deep frying and start to preheat.
2
Prepare all the vegetables or seafood beforehand prior to making the tempura batter. Refrigerate until ready to fry.
Prepare all the vegetables or seafood beforehand prior to making the tempura batter. Refrigerate until ready to fry.
3
In a bowl measure the egg whites and ice cold water. Mix well. In a separate bowl, mix rice flour, baking powder, and salt.
In a bowl measure the egg whites and ice cold water. Mix well. In a separate bowl, mix rice flour, baking powder, and salt.
4
Gradually add the dry ingredients to the wet mixture, stirring gently until just combined. The batter should be slightly lumpy; do not over-mix. This is the recommended method. Alternatively, it is also possible to mix the wet mixture with the dry ingredients, although this will likely result in a much smoother texture in the batter which is undesirable for tempura.
Gradually add the dry ingredients to the wet mixture, stirring gently until just combined. The batter should be slightly lumpy; do not over-mix. This is the recommended method. Alternatively, it is also possible to mix the wet mixture with the dry ingredients, although this will likely result in a much smoother texture in the batter which is undesirable for tempura.
5
Maintain the oil temperature between 170°C to 180°C (340°F to 360°F) for optimal frying.
Maintain the oil temperature between 170°C to 180°C (340°F to 360°F) for optimal frying.
6
Fry in small batches to avoid lowering the oil temperature too much and to ensure even cooking.
Fry in small batches to avoid lowering the oil temperature too much and to ensure even cooking.
7
Serve the tempura immediately while it’s hot and crispy.
Serve the tempura immediately while it’s hot and crispy.
Nutrition per serving
2438
Calories
235g
Protein
130g
Carbs
111g
Fat
11g
Fiber
12g
Sugar
3678mg
Sodium
Share This Recipe
Did you make this recipe? Tag @cooking.with.anadi on Instagram and hashtag it #cookingwithanadi
Tested & written in Anadi’s kitchen
Free weekly newsletter
Like this recipe? Get more every week.
New recipes, cooking tips, and behind-the-scenes from Anadi's kitchen.
Make restaurant-quality temaki sushi at home with 5 delicious hand roll variations including spicy salmon and crab. Fresh, fun, and surprisingly easy to master.
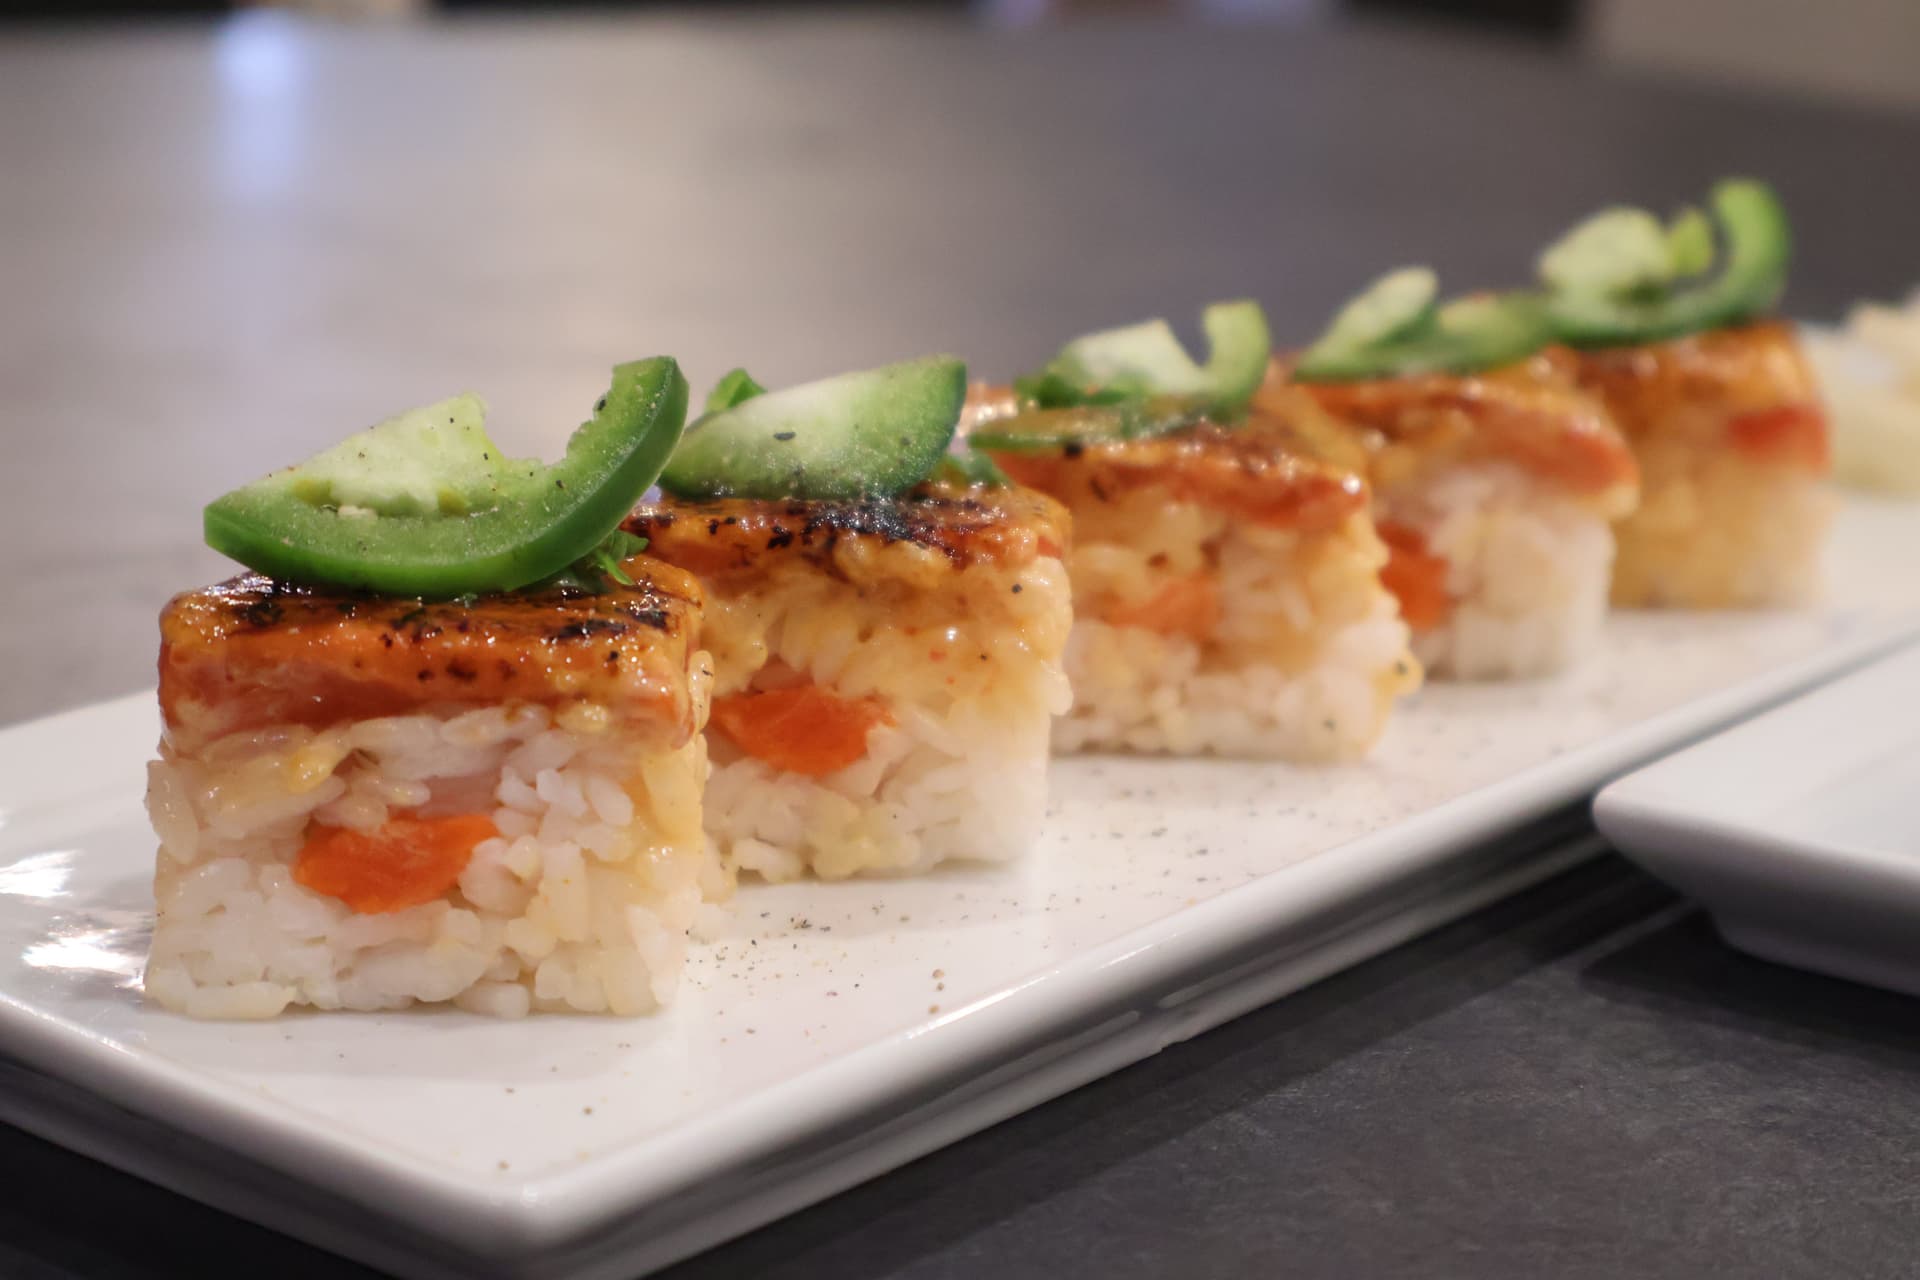
Make authentic Oshizushi at home with this easy Osaka-style pressed sushi recipe. Beautiful layers of seasoned rice and fresh toppings, perfectly shaped every time.
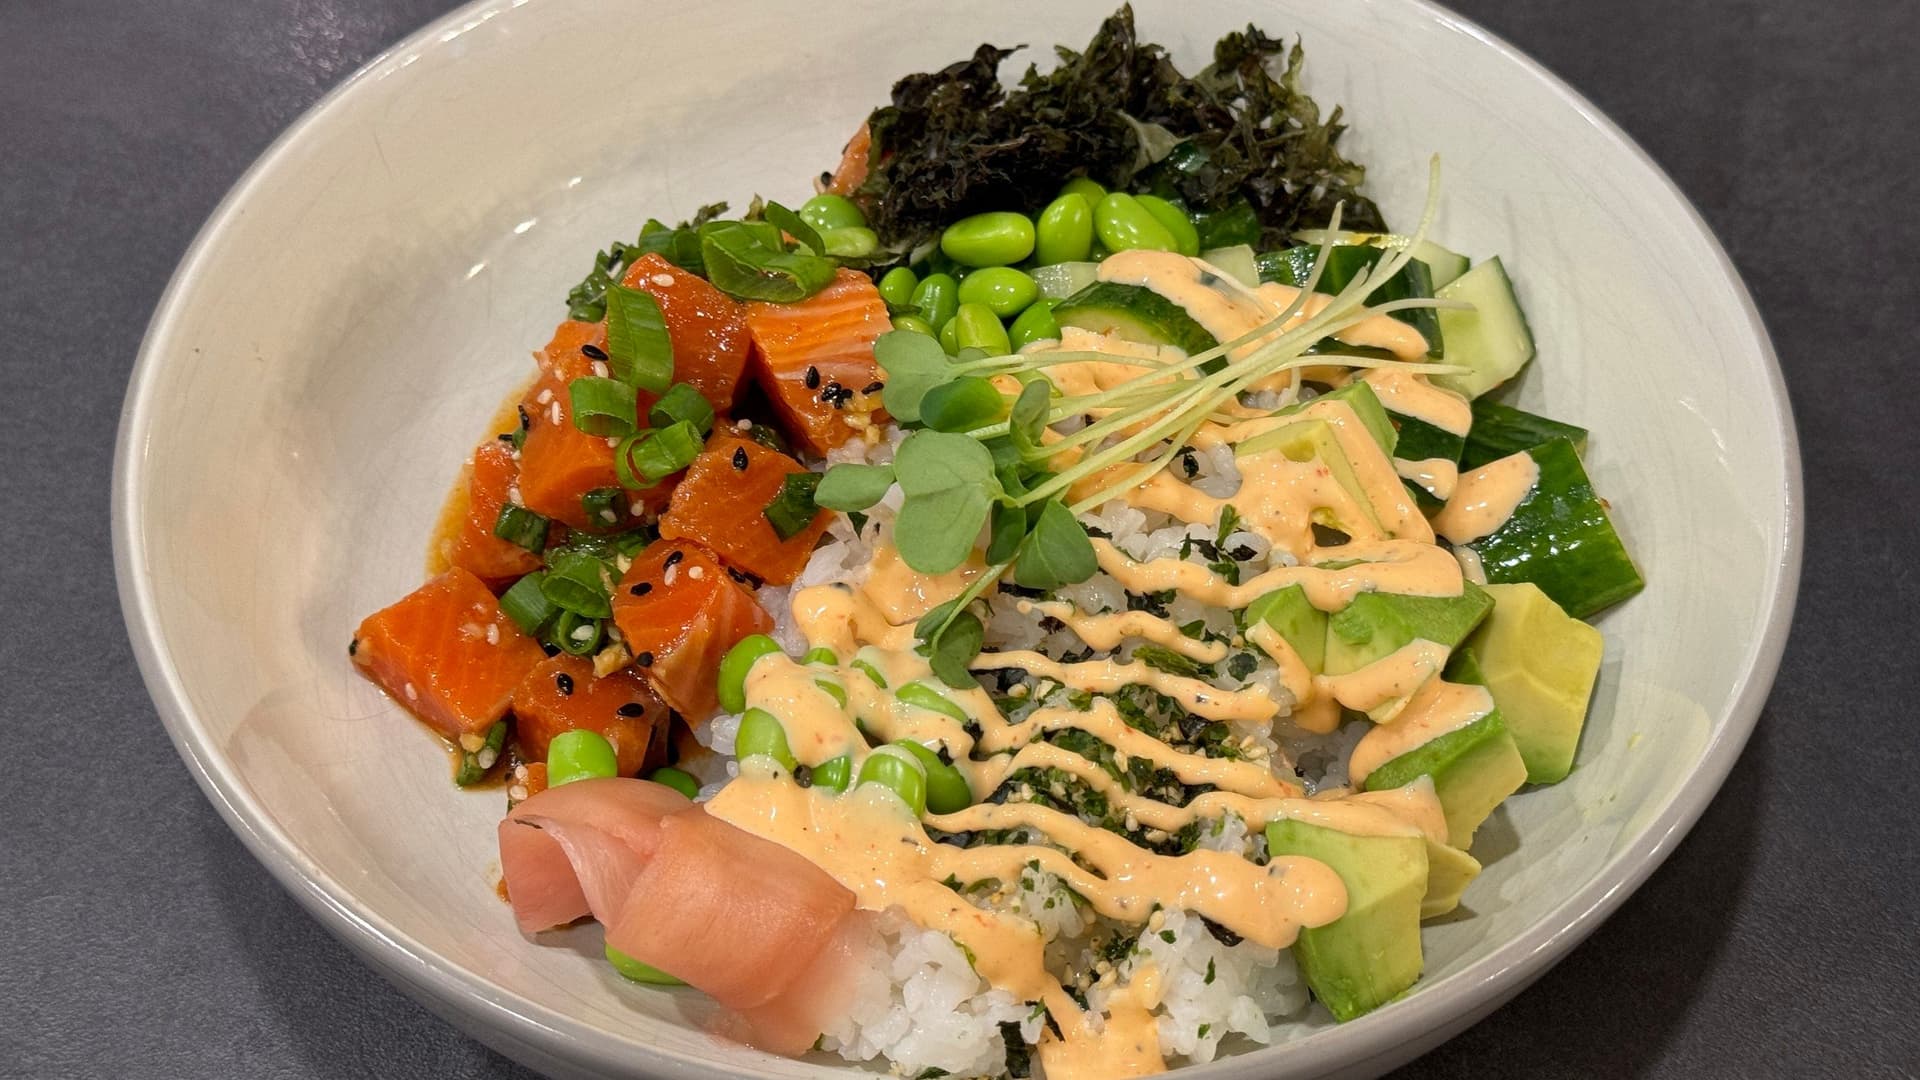
Make a fresh salmon poke bowl at home with ease. Packed with healthy ingredients and bold flavors, this simple recipe is perfect for lunch or dinner any night of the week.
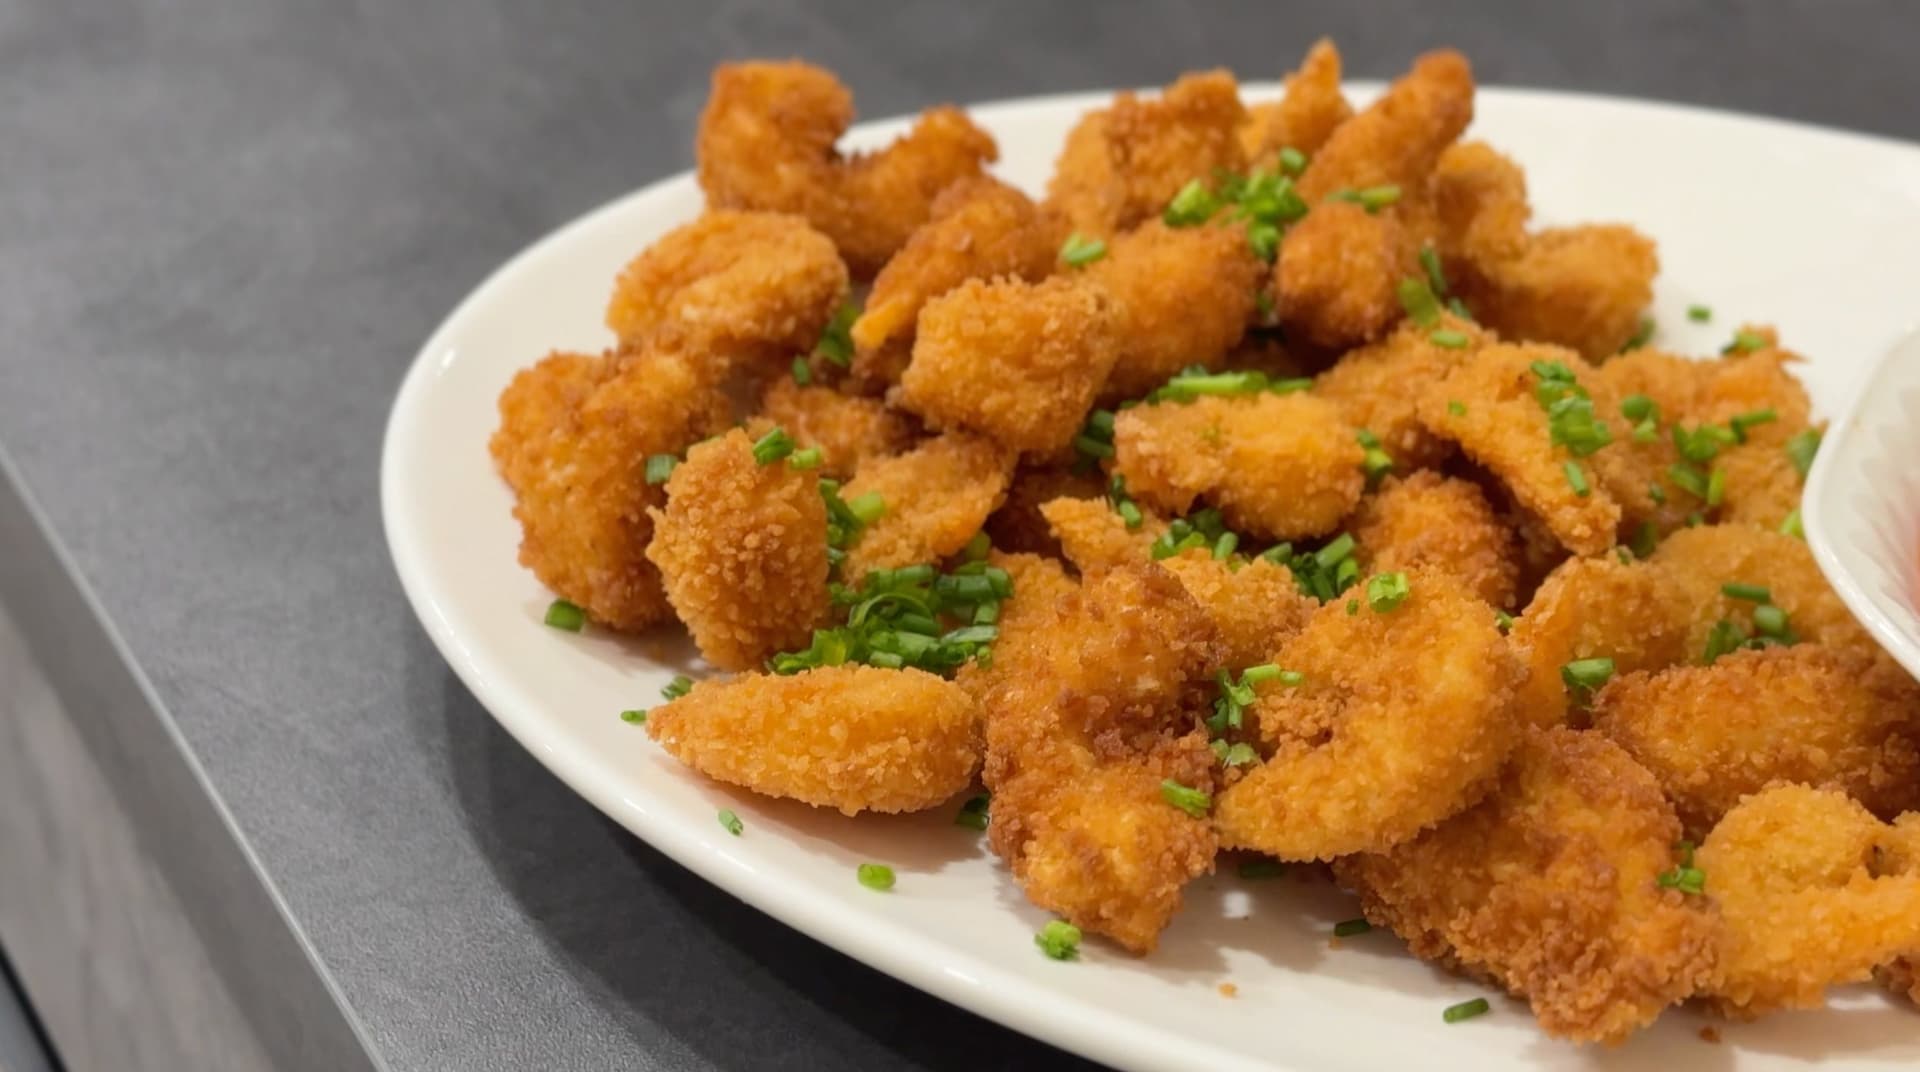
Crispy, golden popcorn shrimp made right at home with simple ingredients. Perfect as a starter or side dish, this easy deep-fried recipe delivers big crunch and bold flavor every time.
Juicy teriyaki shrimp, colorful veggies, and chewy udon noodles come together in this easy beginner stir fry. Bold flavors, one pan, and dinner on the table fast.
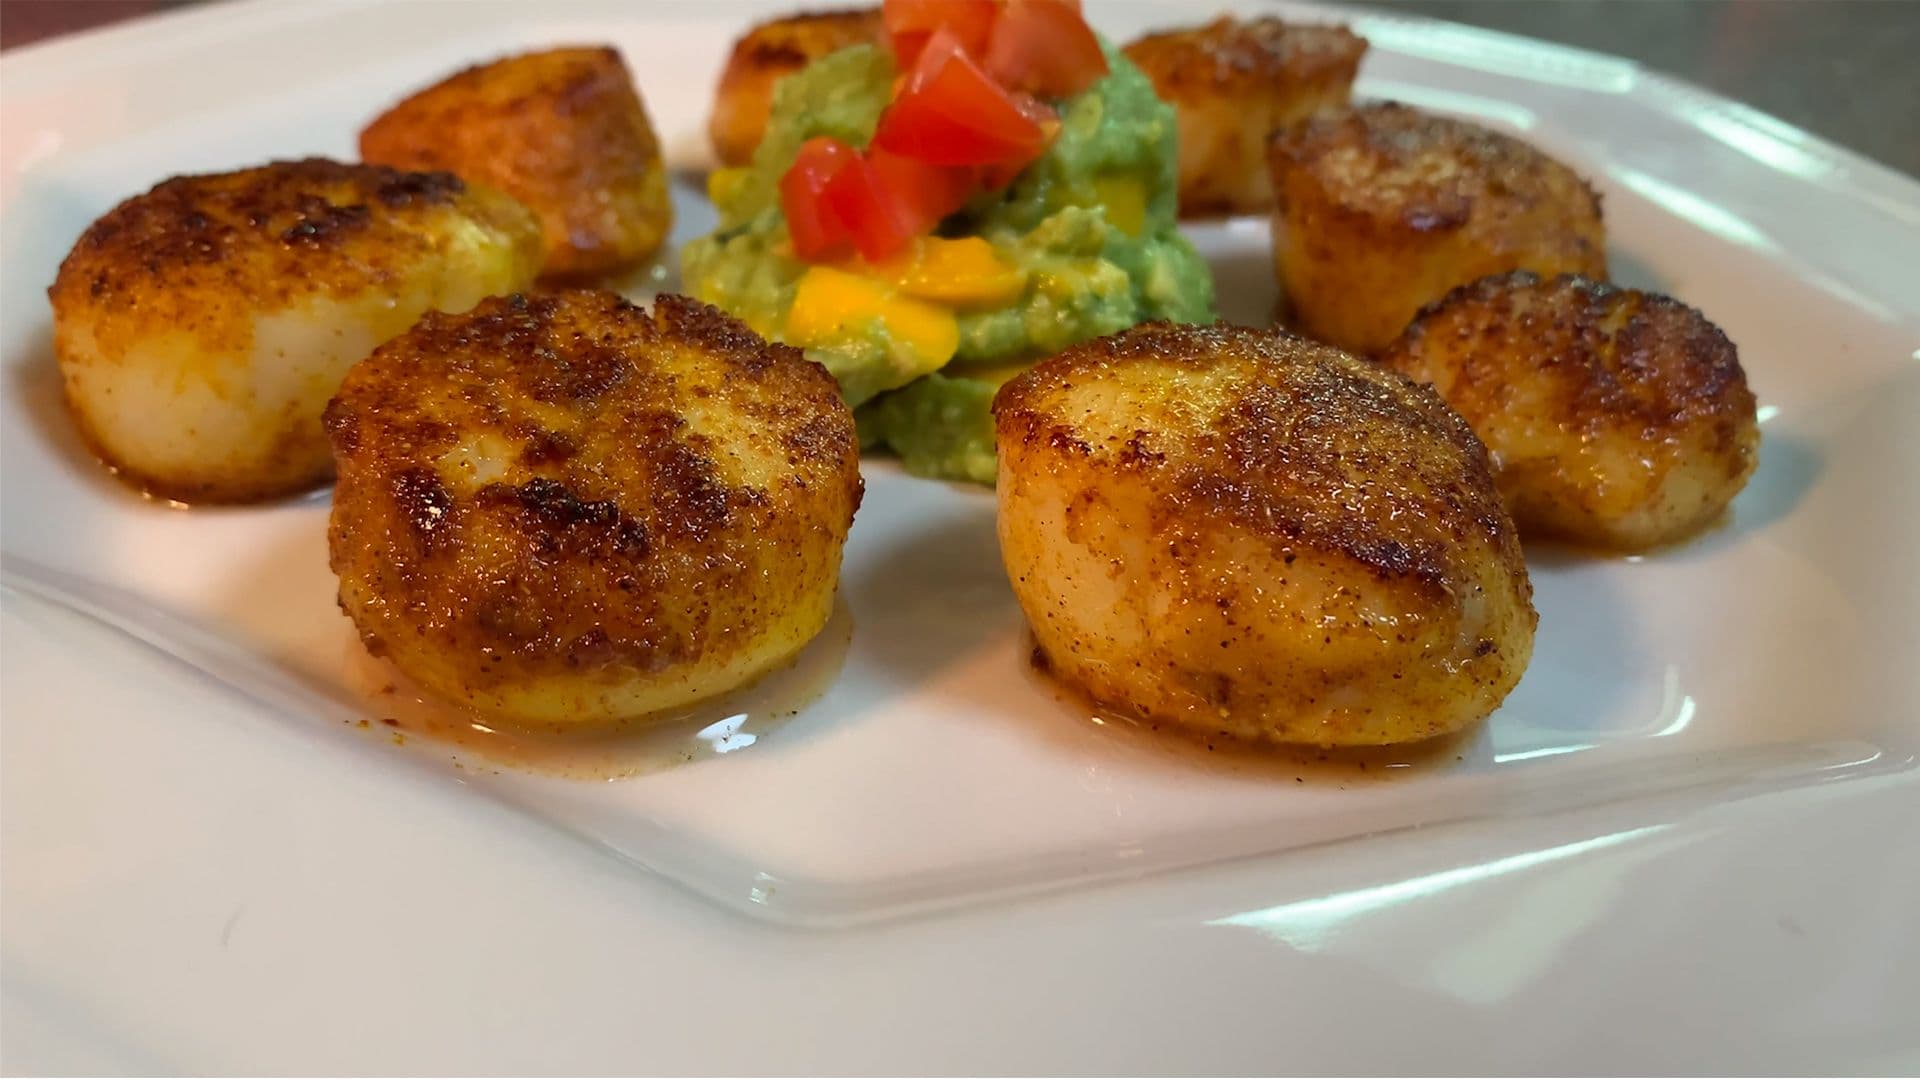
Tender, golden seared scallops with a bold curry crust served over fresh mango avocado salsa. A healthy, impressive dinner ready in minutes that looks and tastes like a restaurant meal.
9 minEasy1 servings
Comments
No comments yet — be the first to share your thoughts!
Leave a review
Be the first to share how it went — your note helps other cooks (and earns the recipe its stars).


Comments
No comments yet — be the first to share your thoughts!
Leave a review
Be the first to share how it went — your note helps other cooks (and earns the recipe its stars).