Juicy, golden pan-fried chicken breast seasoned with garlic and thyme. Ready in minutes on the stovetop, this easy skillet recipe delivers crispy skin and tender results every time.
However, chicken breasts are indeed versatile, but they tend to get a bad rap because it is so easy to end up with dried and bland chicken breasts. Chicken breast no longer have to be a pesky protein for you if you prepare this Garlic and Thyme Pan-Fried Chicken Breast as part of your Live to Cook one-month challenge - I guarantee it will no longer be bland and boring ever again! Get started on your cooking journey for free today by signing up to my email newsletter! You’ll also get access to all of my latest recipes right to your inbox so you’ve always got some new ideas to get out of your comfort zone in the kitchen!
Be sure to watch the video recipe to get a visual representation of the method and the tips and tricks presented here on how to make juicy skillet fried chicken breast! It would mean a lot to me if you could please subscribe to my YouTube channel if you’re not already, and don’t forget to press the bell button to receive notifications for when all of my new video recipes go live! Let’s get cooking!
Why You’ll Love This Pan-Fried Chicken Breast Recipe
Easy and quick: No marination, lot of prep or long cooking time is required for this chicken breast in a frying pan recipe! We get cooking right away and the chicken cooks in a blink of an eye!
Flavorful and tender chicken: No more fear of dried chicken breast! A few ingredients go a long way in this pan-seared chicken breast to deliver plenty of flavor. Additionally, your chicken won’t dry out and it will be full of juicy goodness!
Minimal ingredients: As you’ll soon see, this Pan-Seared Chicken Breast recipe only uses 5 simple ingredients to pack in lots of deliciousness that is restaurant quality! Minimalism will really go a long way, making this chicken breast recipe perfect for weeknight dinners!
Nutritious: When you think of the ultimate pinnacle of a high protein food, then chicken breast tends to come to mind. Chicken breast is definitely high in protein and low in fat, making it a staple for those who are looking to incorporate lean proteins into their diets. The olive oil will give us some heart-healthy fats that are not only good for our bodies, but good for cooking and providing flavor to the chicken breasts! Keep on reading for lots of serving suggestion ideas to create a balanced meal with these pan-seared chicken breasts that are not only healthy but extremely tasty!
How Long to Cook Chicken Breast in a Frying Pan?▼
The best way to pan fry a whole chicken breast is to sear the chicken untouched with some olive oil for about 4 to 6 minutes. Then, once golden brown, flip the chicken over add some butter, lightly crushed garlic, fresh herbs and baste the chicken with the molten butter and oil. Then, you would finish the chicken in a 350 F oven anywhere between 8 to 15 minutes, depending on the thickness of your chicken.
If you are not able to or do not want to use the oven, tenderize the chicken first to flatten it out until it is at most half an inch thick. Then, sear for 4 to 6 minutes on each side with some olive oil and finishing with butter as instructed for this recipe.
How do I Know that the Stovetop Chicken Breasts are Cooked?▼
To be truly at piece of mind that the chicken breasts have finished cooking, using a meat thermometer is key. What you need to do is test the thickest part of the chicken: once it reaches an internal temperature of 165° F, then your chicken has finished cooking and is safe to eat.
The one that I’ve loved using lately was sent to me by Typhur. Admittedly, one of my faults when cooking chicken breast in the oven is that I forget about it and focus on other things, as a result becoming completely distracted! With the Typhur thermometer, you can program the temperature you want hit and insert the probe in your protein. The Typhur device, your smartphone, and smart watch will all beep quite loudly to notify you that the protein has reached the internal temperature you had set, telling you to remove from the oven! This feature is honestly a saving grace for me because it’s one thing to take off my mind as I don’t have to keep checking the chicken to ensure that it’s fully cooked. This is super beneficial because you can prepare the other parts of your meal or just sit back and relax while the chicken is cooking, and there’s no stress or guesswork!
Now, you definitely don’t have to use the Typhur thermometer if you don’t have it and don’t want to get it. However, being in 2025 with everyone having busy lives, it definitely can make a difference in the efficiency in your cooking. Otherwise, if you are using a traditional meat thermometer, you simply need to check if the thickest part hits 165° F.
With all that being said, I definitely recommend you use some type of meat thermometer, whether it is Typhur or a traditional one, to have the confidence that your chicken is completely cooked. Chicken is not beef or fish where you have flex of how it can be cooked! If you absolutely do not have a meat thermometer though, what you can do to check if the chicken is completely cooked is to slice it in half and see if the chicken is pink or not. Alternatively, you can poke the thickest part of the chicken breast, and if it bounces back like touching the tip of your nose with the juices run clear, then your chicken is fully cooked.
How Do I get a Crispy Crust Without Chicken Skin?▼
You may notice that some recipes for pan-seared call for using some flour. This is for when you are looking to create a crispy crust on the outside of the chicken breast when you’re cooking with boneless, skinless chicken breasts. As I mention in my free motivational guide to explore your potential in the kitchen, Make Cooking Fun!!, using the ingredients what you have should take priority over going to the shop to buy something new, especially when it comes to perishables. For the best results, I would actually recommend you use skin-on and bone-in chicken breasts, but if you already have boneless, skinless chicken breasts as I do here, then that is no problem at all, and it shouldn’t stop you from making the best stovetop pan-seared chicken breasts possible!
With that being said, the way you would incorporate the flour with your pan-fried chicken breast is for a really thin, light crispy crust outside the chicken breast. It will work the best if the chicken filet has an even surface which can be done by butterflying the chicken or using a meat tenderizer to flatten it to about 1/2 inch of thickness. The layer of flour coated around the chicken will cook in the oil to create a crust and will help seal the juices in the chicken within this crispy coating resulting in increased moistness in the cooked chicken.
Tools Needed to Make Garlic and Thyme Pan-Fried Chicken Breast
You can scroll to the bottom of this post for the FULL PRINTABLE RECIPE CARD or press the “Jump to Recipe” button to see all ingredient quantities and to save the recipe for later. The recipe card will also allow you to scale the recipe based on how many chicken breasts you’re cooking. By default, this recipe is for 3 medium chicken breasts.
Chicken breast: I’m using boneless, skinless chicken breasts. However, if you want the juiciest and most flavorful chicken breast possible, then my recommendation would actually to use skin-on and bone-in chicken breast. The skin will absorb the flavors even more and protect the chicken from drying out. The bone will also preserve the moistness of the chicken breast. Bone-in and skin-on chicken breast is usually cheaper, so if you can, opt for this for the best results!
Olive oil:This is used to cook the chicken breast and add flavor. The olive oil protects the butter that will be added later on in the cooking process to prevent the butter from burning. The chicken needs time and a high pan temperature to create a good sear which is where olive oil comes to play, due to its higher smoke point. The butter comes in later to enhance the flavour and richness in the dish.
Butter: Lately I’ve been loving to use salted butter as I just find it more flavorful. We’ll be adding cold butter to the pan after the chicken has cooked on one side to add more flavor, add a velvety richness to the chicken breast.
Thyme: Fresh thyme leaves to provide fragrance and aroma.
Garlic: Lightly crushed cloves will really enhance your chicken breasts and provide plenty of flavor!
Tips for the Juiciest Pan-Seared Chicken Breast
You can adapt this recipe if you are using skin-on chicken breasts, this will result in the tastiest version of this recipe since the skin will protect the meat from drying out as you cook it mostly skin side down. And bone-in chicken will ensure the final dish is much juicer and flavorful.
Pat the chicken dry so that the seasonings stick well to the surface and helps create an even golden brown crust. Excess moisture in the chicken can cause it to steam more than sear until the moisture is cooked off, so anything to get the best sear is in your favour.
If you want to only cook the chicken breasts on the pan and not finish them in the oven, then be sure to pound/tenderize the chicken thinly to ensure that the chicken breasts cook quickly and evenly. Alternatively, you can butterfly the chicken instead of pounding it thin.
The oil is ready when you see it glimmering. Make sure to only add the oil once the pan is hot to prevent the oil from burning.
While the chicken is searing on the first side touch or move the chicken as little as possible. You want to leave the chicken untouched in order for it to get the perfect golden brown crust. Once the chicken has achieved the sear, it will be really easy to lift and flip it, that's how you know it’s time to flip.
Lower the heat before adding the cold butter to the pan. While the olive oil helps protect the butter from burning, lowering the heat helps protect the butter further as you start basting the chicken to prepare it for the oven.
The cooking time will vary based on the thickness of the chicken breast, so be mindful of this if cooking chicken breasts of different sizes.
How to Make Amazing Pan-Fried Chicken Breast
Preheat the oven to 350 F.
Pat the chicken breasts dry on each side using paper towels and season the presentation side with salt and pepper.
If using the Typhur Smart Thermometer or using a similar device to monitor the chicken breasts as they cook, insert the probe at this stage.
Place a stainless steel pan on medium heat until hot. Test readiness by sprinkling water on the pan; if droplets dance and evaporate, then the pan is ready.
Add olive oil to the pan and once the oil has a glimmer, add the chicken to the pan (presentation side down).
Season the other side with salt and pepper. Cook the presentation side for 4-5 minutes, or until the chicken is golden brown on this first side.
Once the first side of the chicken breast has cooked, flip on the other side.
Then, lower the heat and add butter, thyme sprigs, and garlic cloves.
Using a tablespoon, baste the chicken with the molten oil and molten butter mixture. Pour this over the garlic and thyme as well and using tongs, distribute the thyme sprigs on the chicken breasts.
Once the chicken has cooked on the other side for 2 minutes, transfer the pan to the oven and cook for another 12-15 minutes or until the chicken reaches an internal temperature of 165°F (74°C) at its thickest point.
Remove the pan from the oven and allow the chicken to rest over a wire rack.
Before serving, rub the chicken with the garlic and thyme leftover on the pan. Slice and serve as desired.
How Else Can I Season Pan-Fried Chicken Breast?▼
I think there are probably hundreds of ways to season your pan-fried chicken breast! I have plenty of chicken recipes here on the blog, but if you want to keep the idea of cooking this chicken breast over the stove with simple but powerful flavours, then I recommend you switch up the thyme for other fresh herbs. Here are some other fresh herbs that you could experiment with that will be perfect with this juicy stovetop pan-seared chicken breast recipe:
Marjoram
Rosemary
Oregano
Sage
Flat Leaf Parsley
I would not use fresh basil because it is too delicate of an herb to use here - it will wilt away as you are searing the chicken and become bitter. If you want to use basil, just top it off at the end and use just salt and pepper to season the chicken and add lightly crushed garlic cloves to the pan during the basting process.
Furthermore, you may be wondering if you can use dried herbs for this recipe, as you have probably seen many other recipes use dried herbs and dried spices. Because we’re cooking the chicken at high temperatures to get a nice sear, the dried herbs may end up burning, and the final result will leave a bitter taste. Fresh herbs just worked better for this approach since they are much more subtle compared to the concentrated flavor in dried herbs. It is worth noting that if you are comfortable with toggling the heat actively based on how the chicken is looking, it is possible to get a good dish with dried herbs as well.
How to Serve Pan-fried Chicken Breast
I would serve this Pan-Fried Chicken Breast as a main dish as you are putting in the time and effort to make some incredibly flavorful chicken breast! While you could technically add it to pasta or sandwiches if you really wanted to, I honestly believe that following this process is over-kill if you’re going to toss it into something else. I would recommend you allow this amazing juicy and tender stovetop chicken breast to be the centrepiece of your meal, and accompany it with a starter or side! Here are just a handful of ideas to mix and match to create a balanced and satisfying dinner!
What Sauces Can I Serve with Pan-Seared Chicken Breast?▼
This pan-seared chicken breast is super juicy already, so you may not need sauce! However, if you’re like me and you’re a sauce fanatic where you need to have sauce with pretty much everything you eat, then you can definitely have dipping sauces on the side to accompany your chicken breast! Here are my recommendations:
Your favourite hot sauce: I use Dawson’s in everything!
For bonus points, you would actually make a gravy out of the fond that will be left behind in the pan after the chicken is done cooking. This comes when meat is cooked at a high enough heat and the proteins and sugars from it react and caramelize to leave behind complex, savoury browned bits on the pan. Don’t you get rid of these browned bits, instead place the pan on a stovetop, turn up the heat and deglaze with some wine, or broth, and add enough of broth to create a thin sauce. Leave the garlic and thyme in the pan as you reduce this liquid. Turn this aromatic concoction into a gravy with a corn starch slurry and serve over the chicken breast.
Can I Make Garlic and Thyme Pan-Fried Chicken Breast in advance?▼
While you’ll have the most delicious and juiciest results by enjoying the chicken freshly prepared, you certainly can make this Pan-Seared Chicken Breast in advance, making it an excellent option for meal prepping!
Storing Pan-Fried Chicken Breast in the Fridge
After the Pan-Seared Chicken Breasts have completely cooled down, transfer them into an airtight container. You can keep cooked chicken breasts in the fridge for up to 3 to 4 days. Don’t worry if you can’t finish the chicken in this timeframe - you can definitely freeze the pan-seared chicken breasts!
Storing Garlic and Thyme Pan-Fried Chicken Breast in the Freezer
You can store the Garlic and Thyme Pan-Fried Chicken Breasts in the freezer for up to 4 months to prevent freezer burn.
Reheating Pan-Seared Chicken Breast
The oven is the optimal way to reheat the chicken to preserve the most juiciness. Simply preheat the oven to 350F and place the chicken in an oven-safe dish with some chicken broth or water. Adding an extra splash of liquid helps to keep the chicken moist. Cover and heat the chicken for 15-20 minutes. You could also follow a similar process on a pan over the stove. Cover the pan with a lid and add a splash of water or broth, gently cooking the chicken until warmed through.
Of course, the quickest way to reheat your Pan-Seared Chicken Breast would be in the microwave. In a microwave-safe dish, heat the chicken breasts for about 30 seconds to a minute, depending on the thickness of the chicken breasts and how many you are reheating at once. However, I would exercise caution using the microwave to reheat your chicken because rubbery chicken will result in overheating in the microwave, which would be a shame after all the effort you put in to make these amazing chicken breasts initially!
Let me know what you think of this recipe in the comments! If you’ve tried this recipe, be sure to post it on social media and tag it with #cookingwithanadi and mention me @cooking.with.anadi. Thank you!
Recipe by Anadi Misra
Garlic and Thyme Pan-Fried Chicken Breast
Juicy, golden pan-fried chicken breast seasoned with garlic and thyme. Ready in minutes on the stovetop, this easy skillet recipe delivers crispy skin and tender results every time.
Pat the chicken breasts dry on each side using paper towels and season the presentation side with salt and pepper.
Pat the chicken breasts dry on each side using paper towels and season the presentation side with salt and pepper.
3
If using the Typhur Smart Thermometer or using a similar device to monitor the chicken breasts as they cook, insert the probe at this stage.
If using the Typhur Smart Thermometer or using a similar device to monitor the chicken breasts as they cook, insert the probe at this stage.
4
Place a stainless steel pan on medium heat until hot. Test readiness by sprinkling water on the pan; if droplets dance and evaporate, then the pan is ready.
Place a stainless steel pan on medium heat until hot. Test readiness by sprinkling water on the pan; if droplets dance and evaporate, then the pan is ready.
5
Add olive oil to the pan and once the oil has a glimmer, add the chicken to the pan (presentation side down). Season the other side for with salt and pepper.
Add olive oil to the pan and once the oil has a glimmer, add the chicken to the pan (presentation side down). Season the other side for with salt and pepper.
6
Cook the presentation side for 4-5 minutes, or until the chicken is golden brown on this first side.
Cook the presentation side for 4-5 minutes, or until the chicken is golden brown on this first side.
7
Once the first side of the chicken breast has cooked, flip on the other side.
Once the first side of the chicken breast has cooked, flip on the other side.
8
Then, lower the heat and add add butter, thyme sprigs, and garlic cloves.
Then, lower the heat and add add butter, thyme sprigs, and garlic cloves.
9
Using a tablespoon, baste the chicken with the molten oil and molten butter mixture. Pour this over the garlic and thyme as well and using tongs, distribute the thyme sprigs on the chicken breasts.
Using a tablespoon, baste the chicken with the molten oil and molten butter mixture. Pour this over the garlic and thyme as well and using tongs, distribute the thyme sprigs on the chicken breasts.
10
Once the chicken has cooked on the other side for 2 minutes, transfer the pan to the oven and cook for another 12-15 minutes or until the chicken reaches an internal temperature of 165°F (74°C) at its thickest point.
Once the chicken has cooked on the other side for 2 minutes, transfer the pan to the oven and cook for another 12-15 minutes or until the chicken reaches an internal temperature of 165°F (74°C) (74°C) at its thickest point.
11
Remove the pan from the oven and allow the chicken to rest over a wire rack. Before serving, rub the chicken with the garlic and thyme leftover on the pan. Slice and serve as desired.
Remove the pan from the oven and allow the chicken to rest over a wire rack. Before serving, rub the chicken with the garlic and thyme leftover on the pan. Slice and serve as desired.
Notes
•If you don’t have a meat tenderizer, don’t worry because I don’t either! I simply use a rolling pin or a heavy pan to pound the chicken to about 1/4 inch thickness.
Nutrition per serving
261
Calories
25g
Protein
1g
Carbs
17g
Fat
0g
Fiber
0g
Sugar
862mg
Sodium
Share This Recipe
Did you make this recipe? Tag @cooking.with.anadi on Instagram and hashtag it #cookingwithanadi
Tested & written in Anadi’s kitchen
Free weekly newsletter
Like this recipe? Get more every week.
New recipes, cooking tips, and behind-the-scenes from Anadi's kitchen.
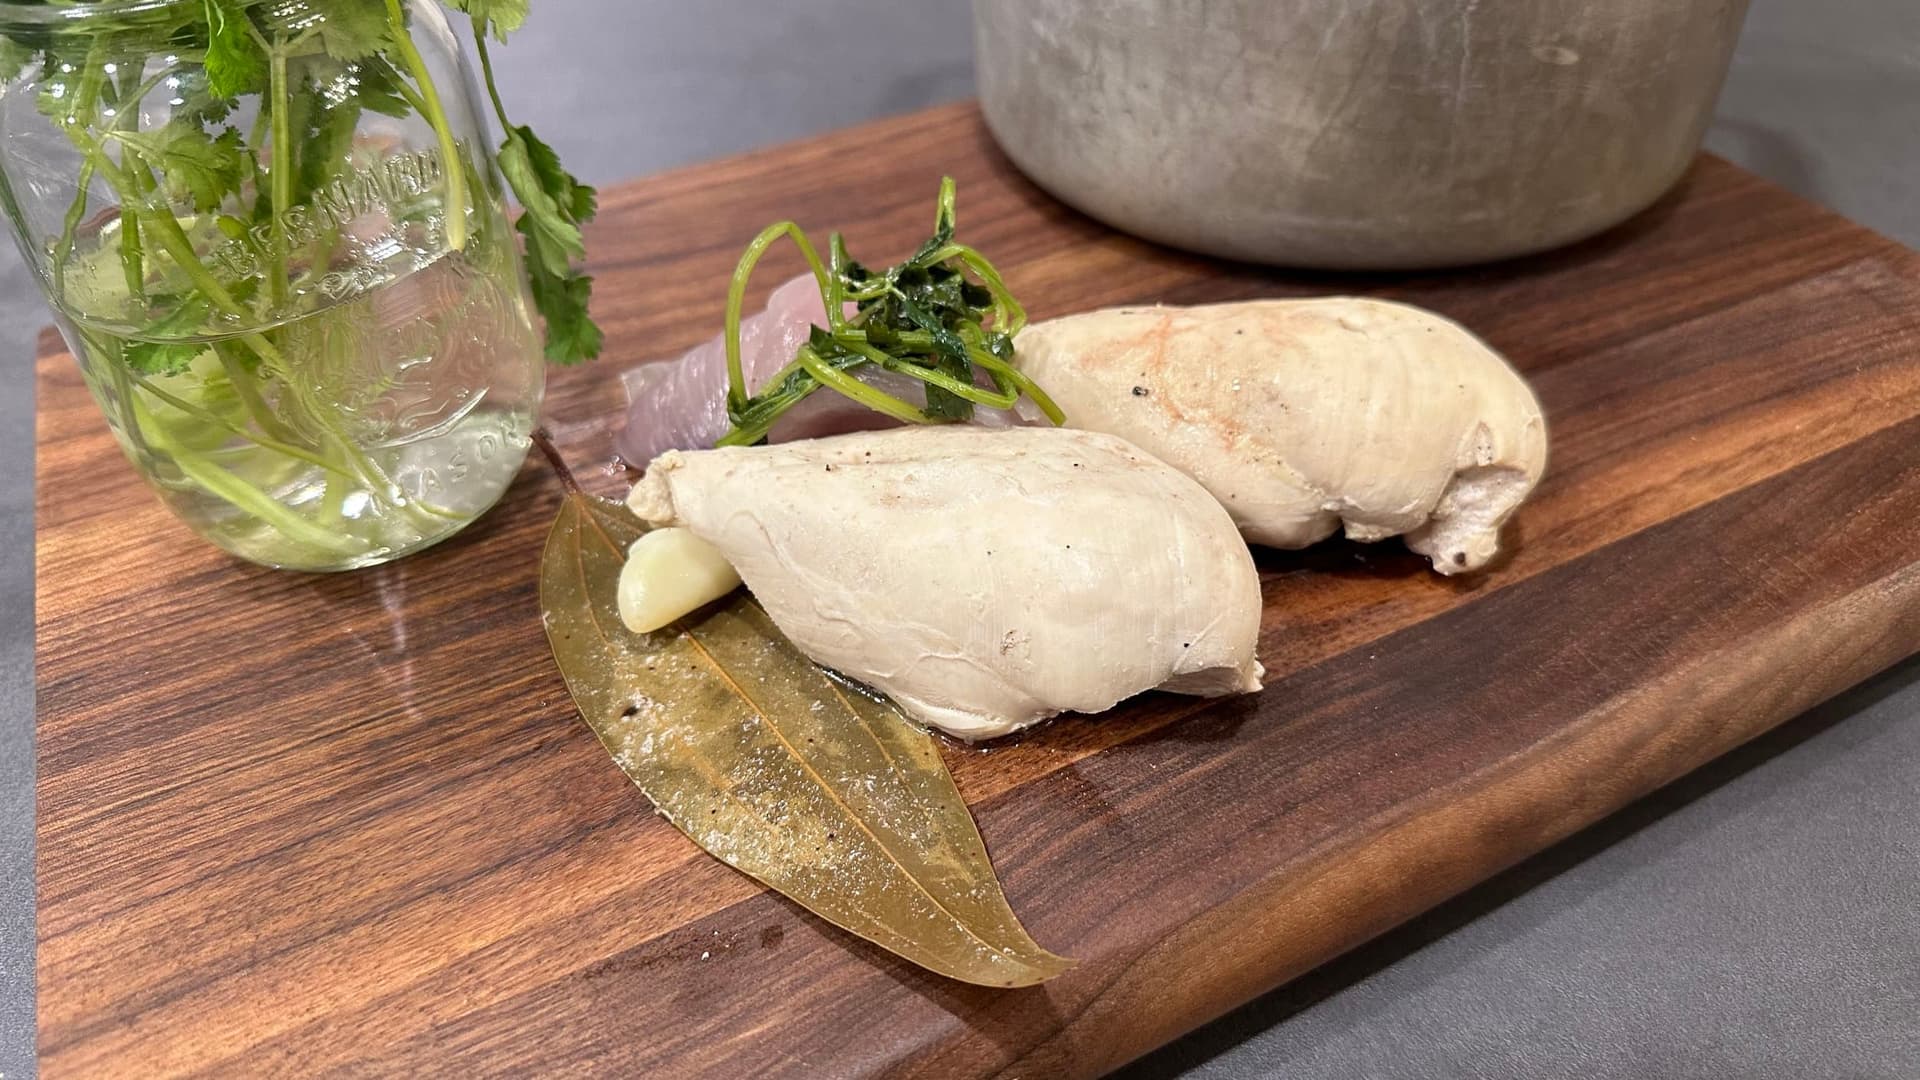
Juicy poached chicken breast made quick and easy — perfect for shredding, salads, or meal prep. Master this simple poached chicken method for tender, flavorful results every time.
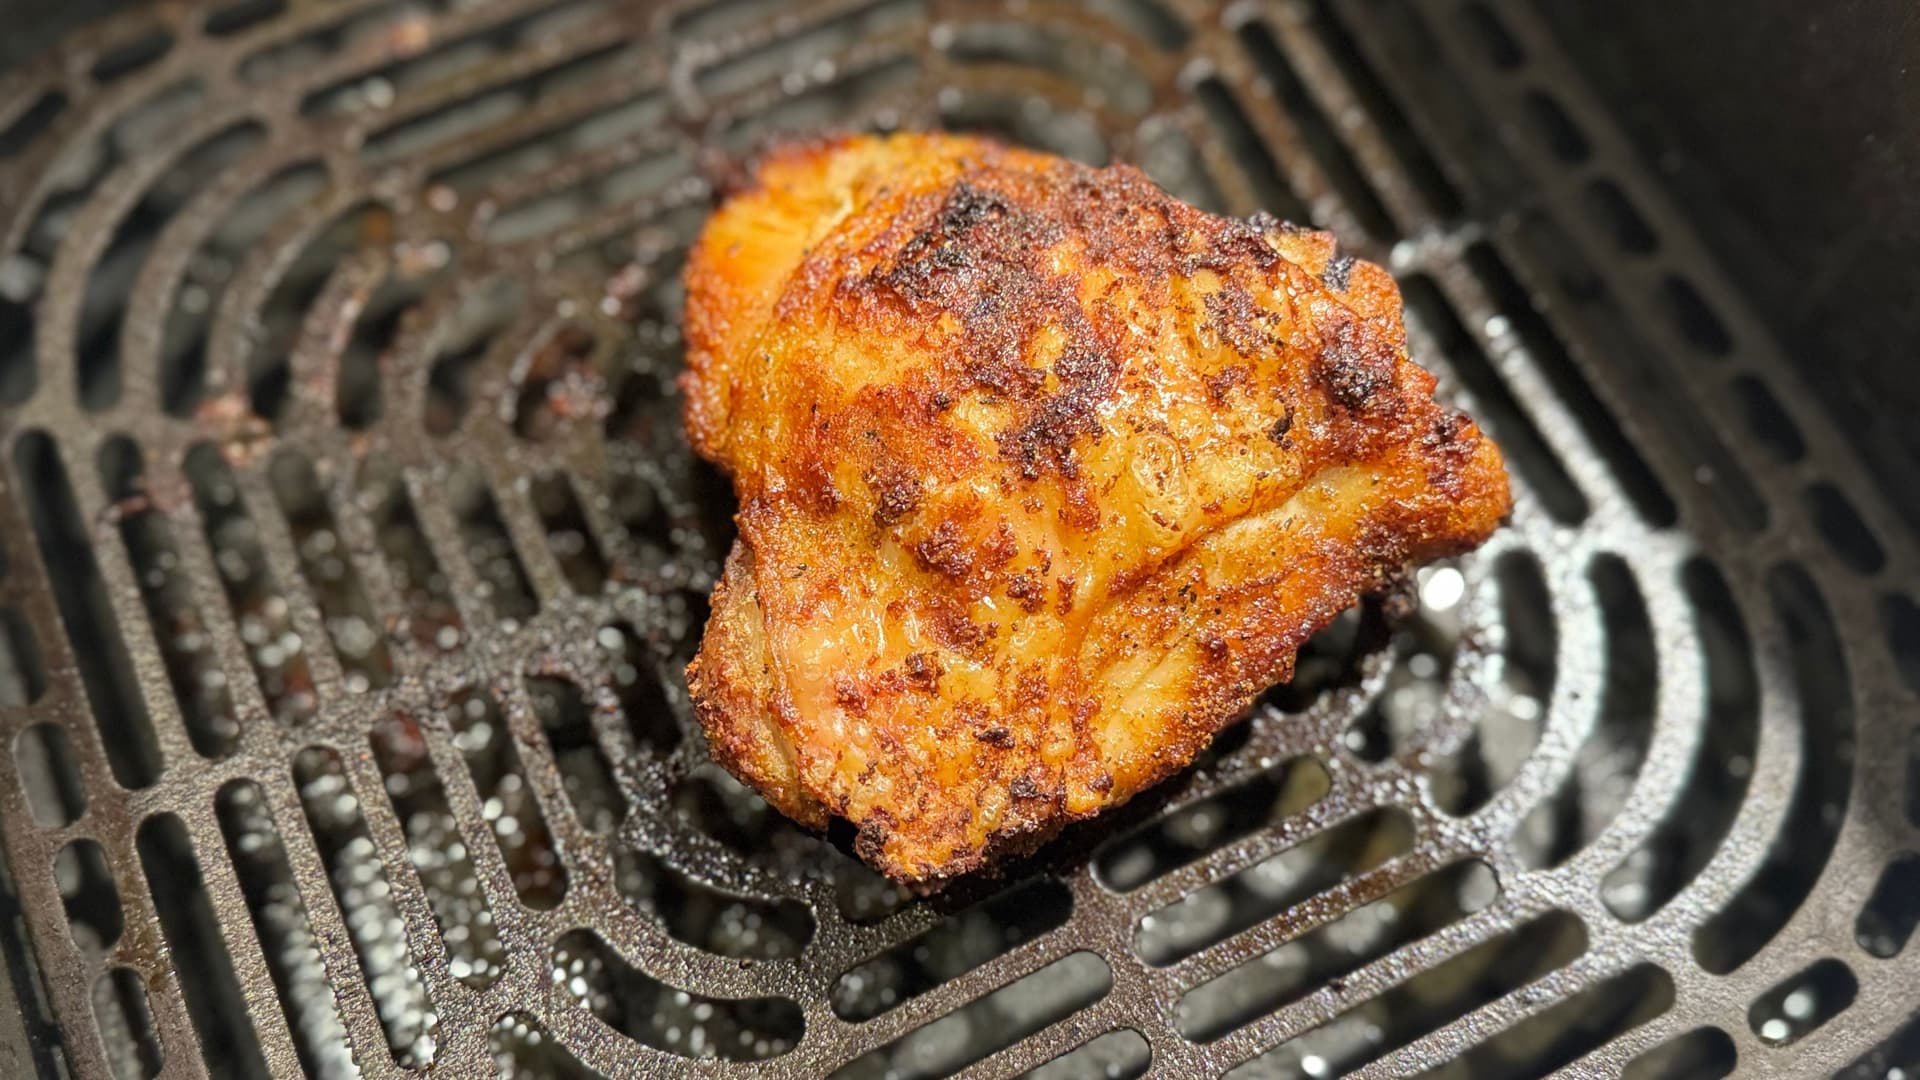
Super crispy air fryer chicken thighs with juicy, tender meat inside. Quick, easy, and gluten-free, this foolproof recipe delivers perfect results every single time.
Juicy, tender air fryer chicken breast ready in minutes. A foolproof gluten-free recipe perfect for busy weeknights. Crispy outside, moist inside — guaranteed results every time.
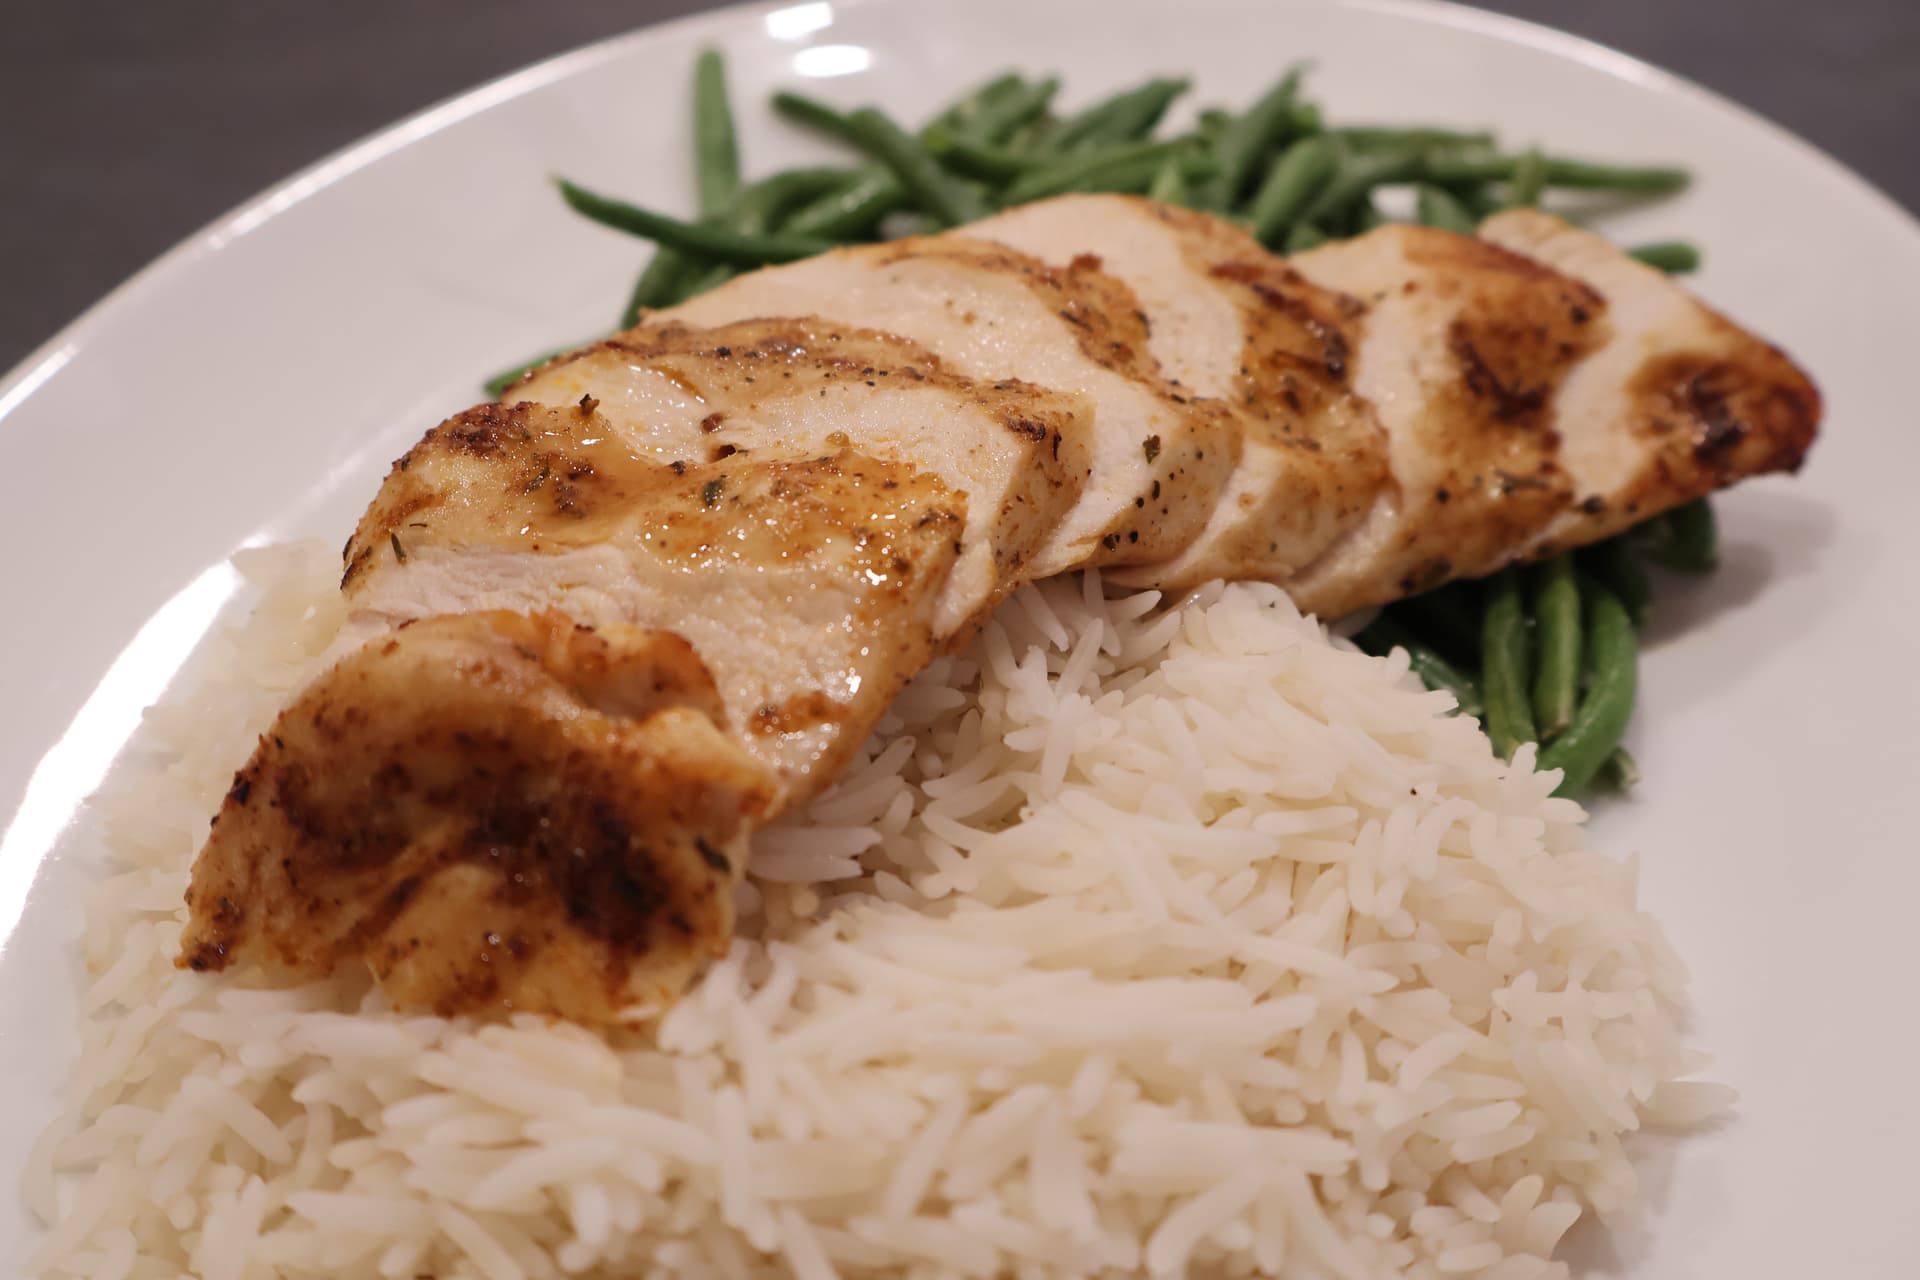
Master juicy grilled chicken with this easy, gluten-free recipe. Simple techniques deliver perfectly tender, flavorful results every time. Your new go-to poultry dish starts here.
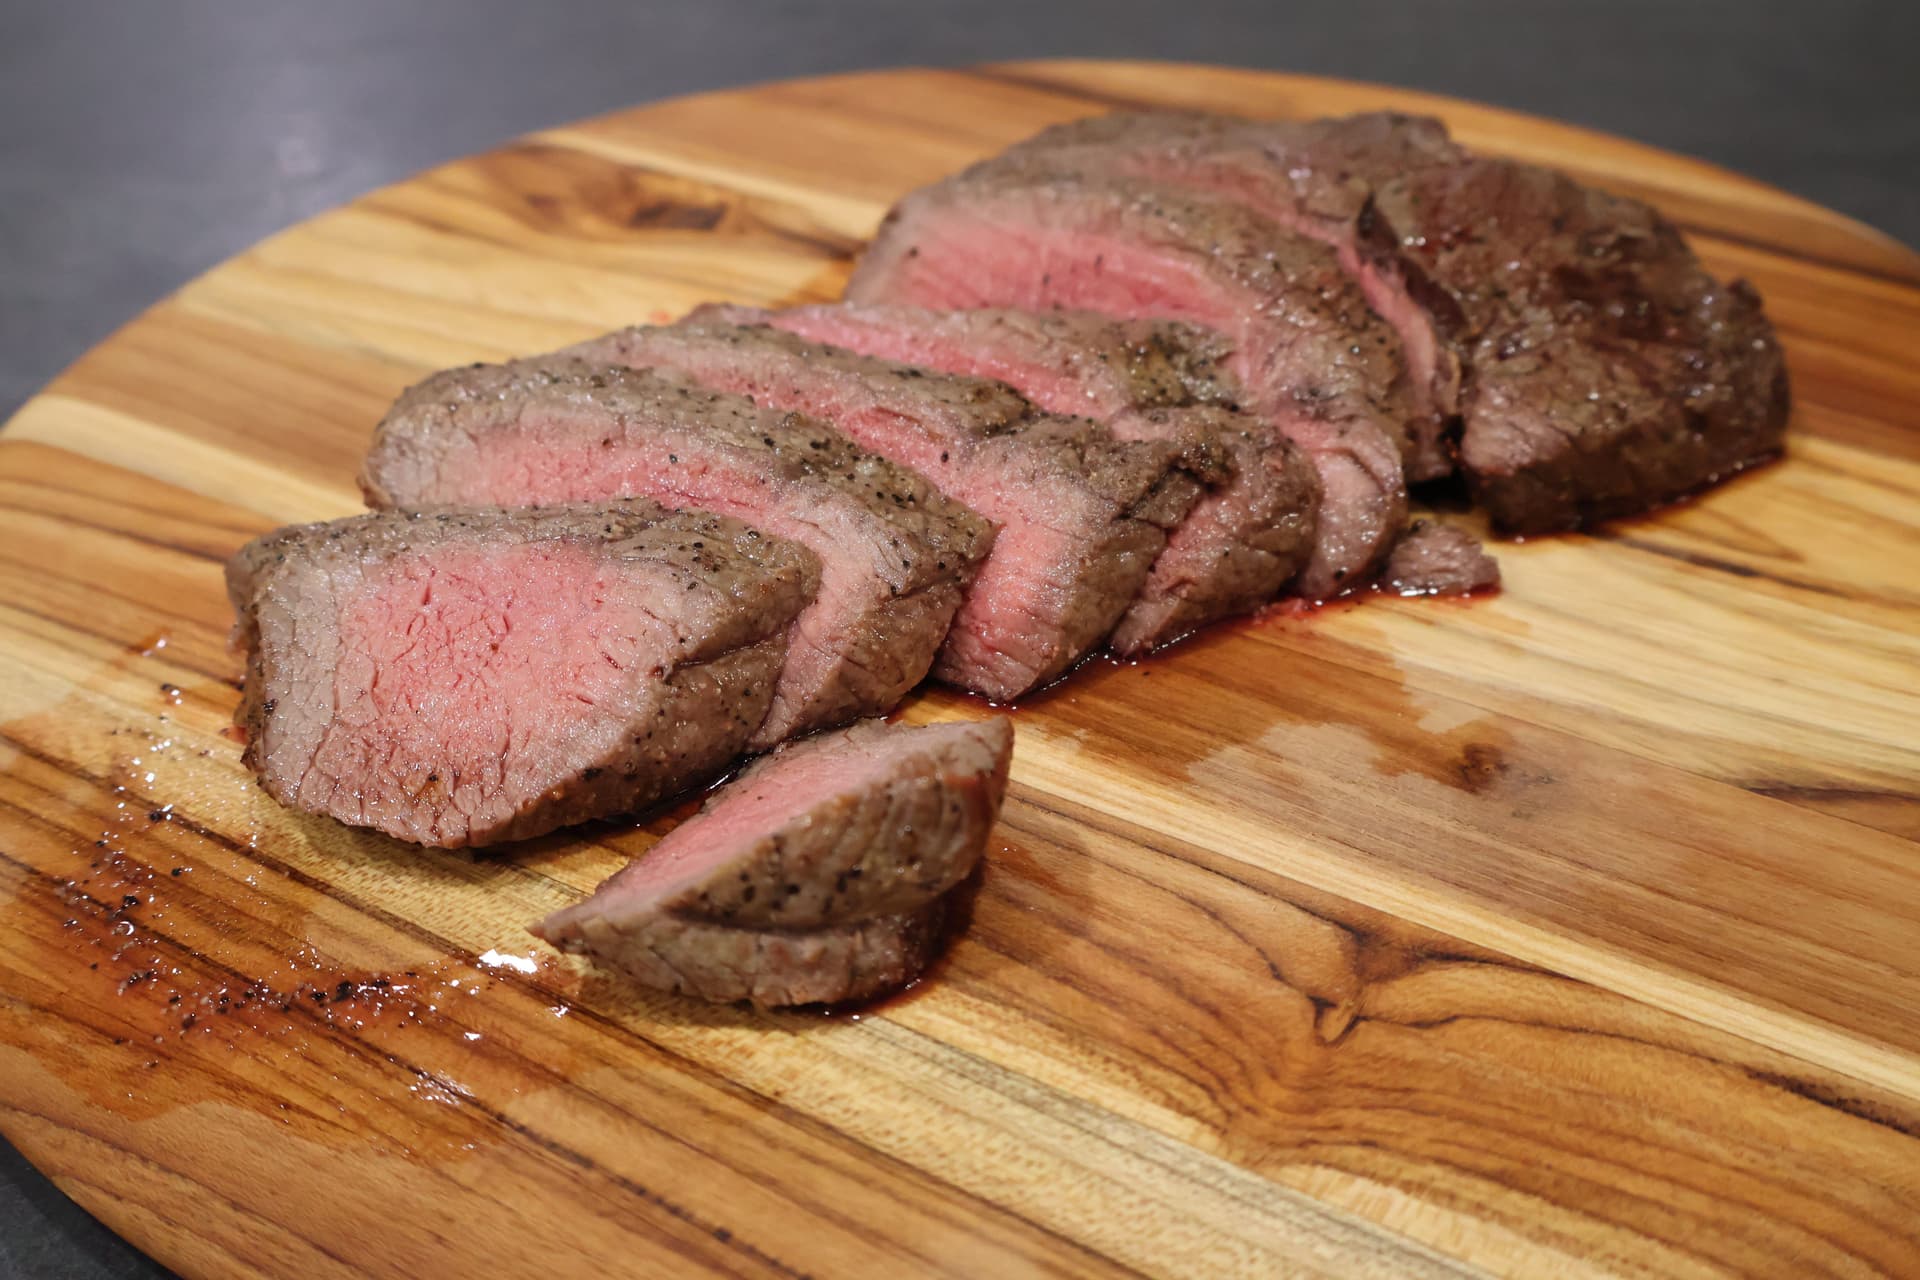
Juicy, tender sirloin steak made effortlessly in the air fryer. Get a perfect sear every time with this quick, gluten-free recipe that delivers steakhouse results right at home.
Perfect air fryer salmon in minutes! Flaky, flavorful, and foolproof, this quick and easy gluten-free recipe delivers restaurant-quality results right from your kitchen.
12 minEasy1 fillets
Comments
No comments yet — be the first to share your thoughts!


Comments
No comments yet — be the first to share your thoughts!
Leave a comment