


This post may contain affiliate links. Read our disclosure policy
Watch the recipe

What Is Coconut Chutney?
Coconut chutney is a new favorite of mine! It’s a popular South Indian condiment that’s prepared by blending fresh grated coconut, ginger, and salt. On its own it’s a little bland, so we add a temper (tadka) with cumin seeds, mustard seeds, curry leaves, and dried red chili. I don’t make this chutney often, but as I’ve started cooking more South Indian lately, coconut chutney is most definitely the perfect way to have a complete meal! Plus, there are so many variations to the base recipe, which I’ll be sharing here!
This recipe will show how to make the following coconut chutney recipes:
- Nariyal Chutney: Coconut Chutney, the simple base recipe
- Pudina Nariyal Chutney: Mint Coconut Chutney, the green coconut chutney
- Imli Nariyal Chutney: Tamarind Coconut Chutney
Of course, you can mix and match the base coconut chutney recipe with many more variations, such as peanuts and tomatoes, but here are three types of coconut chutney to start out now! If you want to explore South Indian cooking more, then these chutneys will really give you a complete meal! You can prepare these chutneys and mains as part of your Live to Cook one-month challenge! Sign up to my email newsletter to get this free resource and get started on your cooking journey today!
To get all the details on how to prepare these awesome three coconut chutneys, then watch the video! I’d love it if you’d subscribe to my YouTube channel if you’re not already and be sure to hit the bell button so you’re notified when all of my video recipes go live! Let’s get cooking!

Why Make Different Coconut Chutney Recipes?
- Super easy to prepare: Each recipe only requires blending and tempering and you’ve got your chutney!
- Fast to make: The three variations each take only about 10 minutes to prepare.
- Prevent food waste: I hate it when I get some mint for a recipe and then it spoils. I mention in my Make Cooking Fun! motivational free guide to promote your creativity in the kitchen that if you’re stumped on what to make, you should be inspired based on ingredients that are on the verge of going bad! If you have mint that you urgently need to use up, then this is the best way to do it!
- Minimal ingredients: All three recipes use ingredients that are pantry staples among Indian households. If you’re in North America, you should still have most of the ingredients, otherwise you can easily find what’s missing at your local South Asian grocer, or click my links to purchase the ingredients on Amazon!
- Pretty: We eat with our eyes, right! I find all three variations of Coconut Chutney are so inviting, especially the vibrant green color of the mint variation!
- Versatile: I’ll give serving suggestions for how to serve your coconut chutneys later on in this post. Of course, they’re all so good that it may be hard for you to resist eating them with just a spoon! I know I do it!

Dietary Information for These Coconut Chutney
These three variations of coconut chutney are…
- Vegan: If you prefer to cook with ghee, you can, but classic South Indian cooking uses coconut oil, as I did here.
- Gluten-free: Some recipes use hing/asafoetida for the tadka. I’m omitting it here, but if you want to add it, go ahead! With regards to a substitute, there is none, so simply don’t add anything like I’m doing.

Tips for the Perfect Coconut Chutneys
- Start blending the ingredients dry first and then add water to get a better texture.
- If storing the chutney for the next couple of days, you may notice the texture becoming thicker. Add a touch of water and mix, and adjust to get the desired consistency.
- You can easily replace the dried coconut with fresh coconut and get amazing results


Tools Needed
- Nonstick pan
- Food processor
- Mixing bowl
- Strainer
- Wooden spoon
- Mortar and pestle
- Spoon
- Blender
- Measuring spoons
- Measuring cups
- Ramekins
- Spatula
Ingredients for Nariyal Chutney
It’s time to lay out what we’ll need for the three variations of our Coconut Chutney. For full ingredient quantities, scroll to the bottom of this post for the FULL PRINTABLE recipe card. You can also scale the recipe based on how many portions of chutney you wish to make - you can make a big batch and freeze for later!
For the Simple Coconut Chutney Recipe

- Coconut flakes: I’m using unsweetened shredded coconut flakes for this recipe since that’s most accessible to me. However, if you have the luxury of going for freshly grated coconut, then by all means go for it! You could also use frozen coconut.
- Ginger: A little bit of chopped ginger.
- Black cumin seeds: For some aroma. You can use regular cumin seeds if you’d like, but to be honest with you I ran out! Either type of cumin seed works fine.
- Green chilies: I love to add some chopped Thai green chilies for a touch of heat. You can add more or less depending on your spice tolerance.
- Roasted chana dal/split yellow split peas: Optional. You can roast them as you will do for the tadka and add them into the blender. If you don’t want the chana dal blended in, then you can omit them as I am here.
- Water: As needed to ensure you get a smooth chutney.
- Salt: Always needed to bring out the flavors!
For the Mint Coconut Chutney

- Coconut flakes
- Fresh mint leaves: You can add them whole.
- Ginger
- Roasted chana dal/split yellow split peas: Optional, I’ve not added them here.
- Green chilies
- Salt
For the Tamarind Coconut Chutney

- Coconut flakes
- Tamarind: Use about a 3 inch by 3 inch piece of dried tamarind. I recommend you soak it in water for 5 hours to 24 hours. If you’re unable to find tamarind, you can substitute with tamarind paste or tamarind concentrate.
- Ginger
- Garlic: Two garlic cloves that can be added into the blender whole.
- Onion: I’m using red onions, but you can use your favorite kind of onion. They’ll be sliced.
- Roasted chana dal/split yellow split peas: Here I’ve shown how they’re added into this chutney. In this variation, I recommend you do follow this step for best results!
- Dried Kashmiri red chilies: Soaked in water.
- Green chilies
- Salt
For the Tadka (Tempering)
- Coconut oil:The best options in terms of health is virgin coconut oil. I’d avoid the refined stuff.
- Chana dal/split yellow split peas
- Dried Kashmiri red chilies:These are added dry unlike in the Tamarind Coconut Chutney.
- Curry leaves:Ideally you would use fresh curry leaves, but I can’t find those here, so I have to use frozen dried curry leaves.
- Mustard seeds: Don’t confuse these with regular mustard seeds! These are black mustard seeds.
How to Make Coconut Chutney
For the Tadka (Do This After Preparing the Chutney)
To finish and temper either of the above chutneys, heat the coconut oil for the tadka in a pan and add the mustard seeds, curry leaves, 1-2 dried Kashmiri red chilies and chana dal. Once the ingredients are sizzling and are fragrant, remove from the heat and pour the tadka over the chutney.
In case you already roasted the chana dal while preparing the chutneys earlier, add the pre-roasted chana dal after the other ingredients are already sizzling to prevent the chana dal from over-cooking.
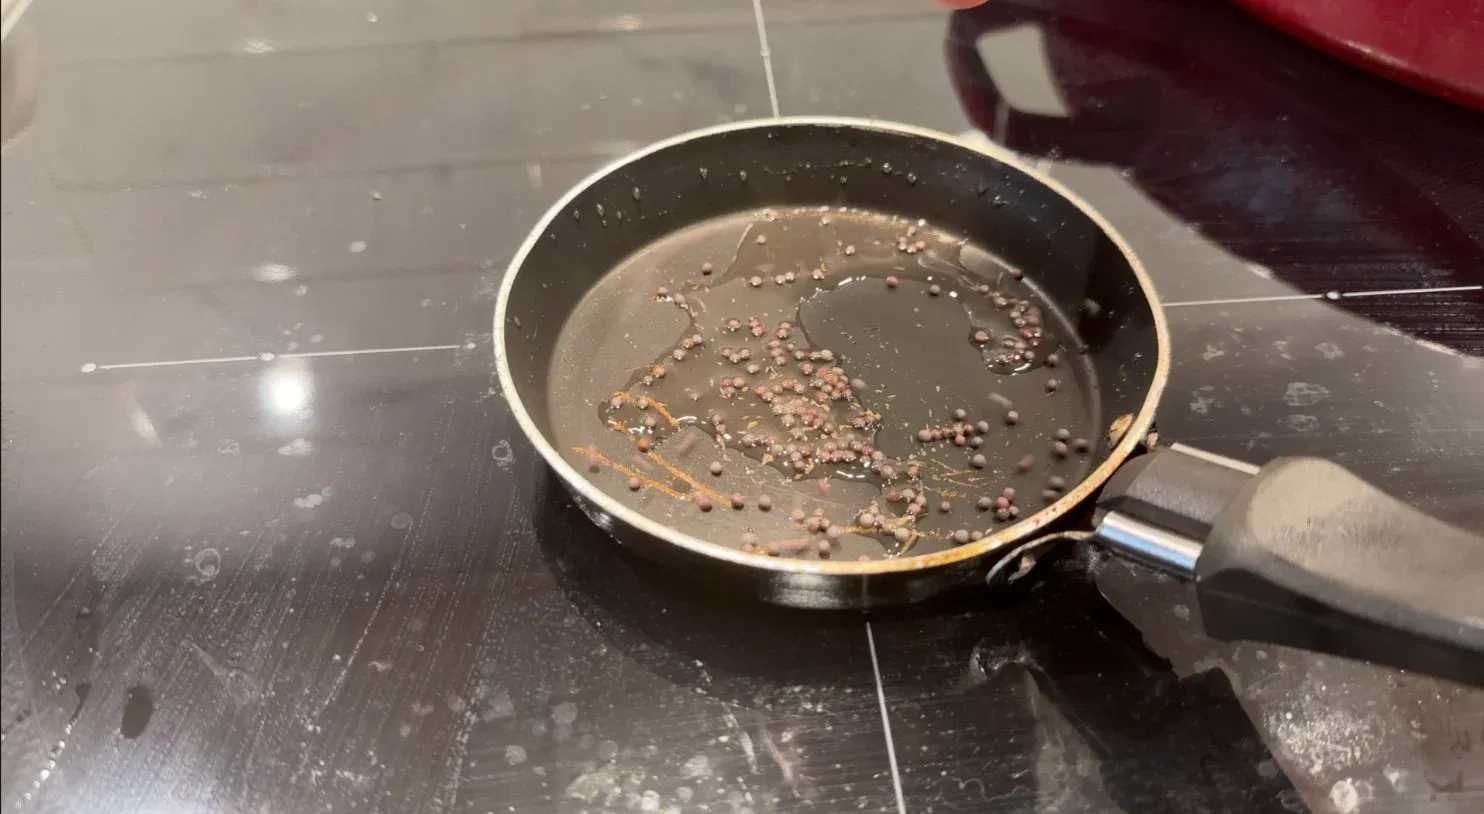


To Prepare the Roasted Chana Dal (for Tempering & Chutney)
To roast the chana dal, add 1-2 tsp of coconut oil to a pan and add the chana dal. Saute until the dal becomes lightly browned.


For the Simple White Coconut Chutney
Add the coconut flakes, cumin seeds, roasted chana dal, ginger, chilies and salt to taste. Grind the dry ingredients until well combined and then drizzle in water and blend until you get a smooth, thick and pourable consistency.


Finish with the tadka and taste, adjust for seasoning..
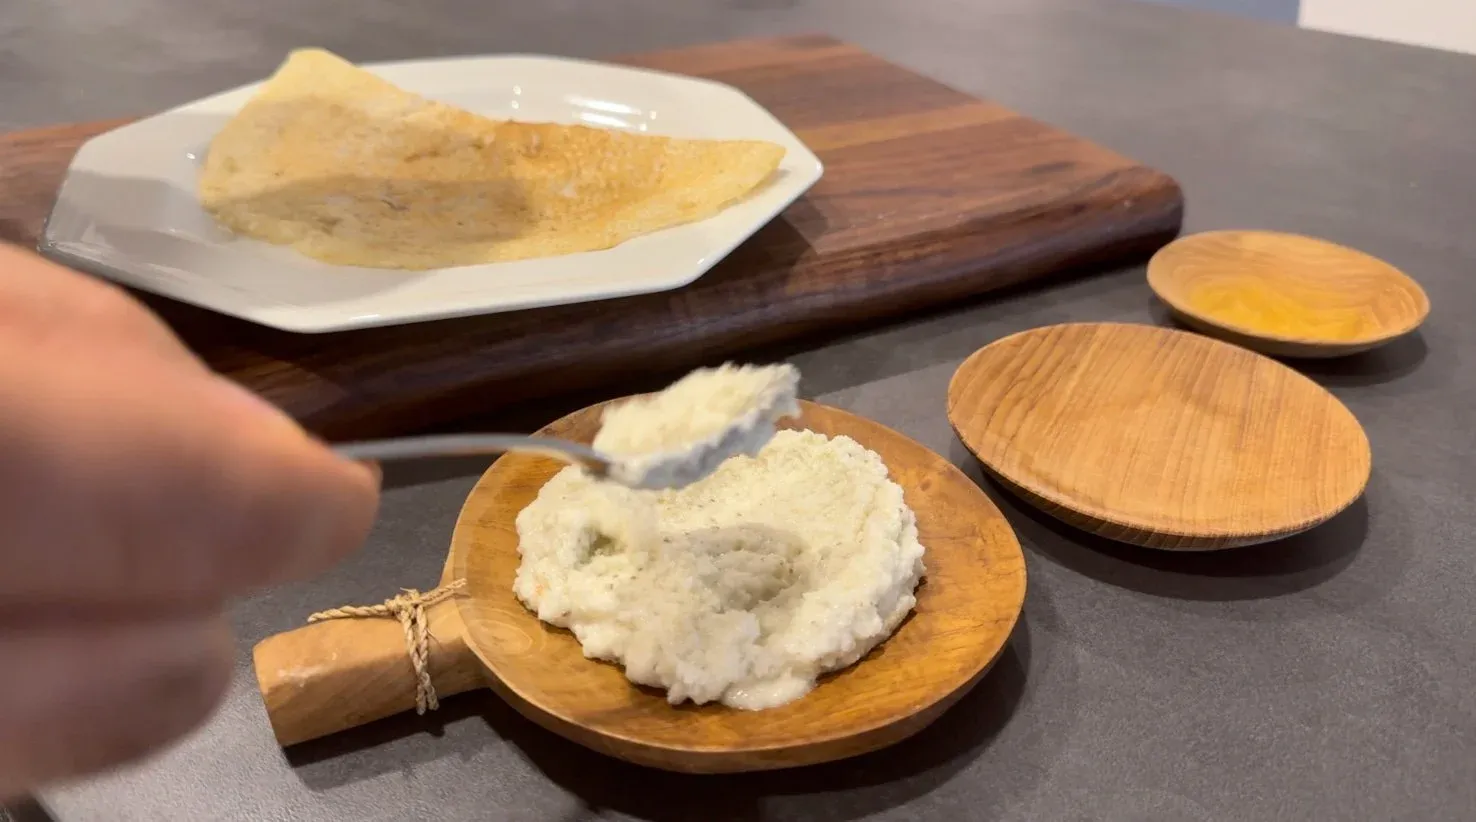


For the Mint Coconut Chutney
Add the coconut flakes, cumin seeds, roasted chana dal, ginger, chilies, mint, cilantro and salt to taste. Grind the dry ingredients until well combined and then drizzle in water and blend until you get a smooth, thick and pourable consistency.


Finish with the tadka and taste, adjust for seasoning


For the Tamarind Coconut Chutney
Drain the water from the soaked Kashmiri red chilies.
Squeeze the pulp of the tamarind in the bowl in which it was soaking in. Strain the mixture to obtain a smooth paste. Transfer it onto a strainer and using the back of a spoon, extract the pulp into another bowl.
Add the coconut flakes, the soaked red chilies, sliced onions, cumin seeds, tamarind, roasted chana dal and salt to taste. Grind the dry ingredients until well combined and then drizzle in water and blend until you get a smooth, thick and pourable consistency.


Finish with the tadka and taste, adjust for seasoning.


How to Store Coconut Chutney▼
You can transfer your prepared coconut chutneys in a mason jar or in an airtight container. In the fridge, the coconut chutneys will last about 3 days. To keep the chutneys for longer than this time, freeze them by transferring 2 to 3 tablespoons at a time in ice cube trays. When you want to use your coconut chutneys, thaw the ice cubes in the fridge or at room temperature. Make sure to use previously frozen chutney in 1 or 2 days.
How to Serve Nariyal Chutney
- South Indian breakfast items: Including dosa, Semolina Upma, and idli.
- Dip for bread, including Classic Layered Paratha or even stuffed parathas like Paneer Paratha.
- Basmati Rice and dal, such as Masaledar Chana Dal or Dal Tadka (mixed lentils)
- A dip for snacks, such as Keema Samosas, Aloo Cutlets, Paneer Pakoras, Crispy Chicken Pakoras!

No Urad Dal and No Curd: What These Three Chutneys Leave Out
Walk into most kitchens cooking South Indian cuisine and the coconut chutney on the counter will have urad dal in it, usually roasted alongside the chana dal. There is no urad dal in any of these three. The only lentil is 1 tbsp of chana dal, lightly pan-roasted, and in the white and the mint versions it is even marked optional. The card's swap for it is split yellow peas, toasted the same way. What the chana dal is doing is body, not flavor: it thickens the grind so the chutney sits on a dosa instead of running off it.
There is no curd either. Plenty of chutney recipes across India loosen the grind with curd or yogurt, which makes it creamier but also turns it sour within a day. These three use water only, drizzled in as needed until the grind is smooth, thick and pourable. There is no measured cup water anywhere, because how much you need depends entirely on how dry your coconut is on the day.
And there is no capsicum and no carrots, which get added to a lot of restaurant-style coconut chutneys to stretch the coconut further. Three-quarters of a cup of coconut flakes per batch is the whole base here, and that is the point of it.
Read the Measurements Twice, Because Most of Them Are Halves
This is one of those recipes where the quantities come in smaller than you expect. The cumin is half a teaspoon of black cumin seeds, not a teaspoon cumin seeds, and black rather than the regular kind. Nigella seeds are the closest listed swap; regular cumin seeds are the milder one. The tempering takes half a teaspoon mustard seeds, not the full teaspoon most tadka recipes ask for, alongside 1 tsp coconut oil, 1 tsp chana dal, a couple of curry leaves and one dried Kashmiri red chili.
There is no teaspoon salt printed anywhere either. Salt goes in to taste in all three chutneys, and then gets checked again after the tadka is poured over, which is the right order for something you are going to eat cold.
The herbs only appear in the second chutney: one-quarter cup fresh mint leaves and ½ cup cilantro, roughly chopped. Cilantro and fresh coriander leaves are the same leaf, so if a recipe you are reading alongside this one asks for fresh coriander leaves, that is the ½ cup. Basil or extra cilantro are the listed swaps for the mint; flat-leaf parsley is the swap for the cilantro, though it loses the citrusy bite.
The chilies change with each batch: one green chili in the white chutney, two in the mint one, and eight soaked dried Kashmiri reds in the third. Indian recipe writing usually spells these green chilli and chillies, so do not second-guess yourself if you see it both ways. The Kashmiri chilies soak in plain water for 30 minutes, not hot water, which would start cooking them and dull the deep red color you are soaking them for in the first place.
Roasting the Dal and Pouring the Tadka, With No Temperature to Follow
Neither the chana dal roast nor the tadka names a heat setting on the card, so here is how I do both. Use a small pan over medium heat for the dal: 1 to 2 tsp of coconut oil, the chana dal in, and stir until it is lightly browned. Run it hotter and the outside colors before the inside has dried out, which is exactly what makes a roasted dal taste raw in the middle.
The tadka is the same small pan on medium heat. Coconut oil first, then the mustard seeds, curry leaves, one or two dried Kashmiri red chilies and the chana dal. Once it is all sizzling and fragrant, take it off the heat and pour it straight over the chutney. The one ordering detail that matters: if you already roasted chana dal for the grind, add that pre-roasted dal only once the other ingredients are sizzling, or it will overcook.
A note on the coconut itself. The swap listed on the card is shredded coconut, same amount, finer texture. It is not desiccated coconut and it is not coconut powder. Both of those are dried much harder, and they drink the water and go pasty instead of grinding smooth.
All three are at their best the day they are ground. In the refrigerator they will hold a couple of days before the coconut starts tasting flat, and if you are serving on day two the tadka is worth making fresh rather than reheating. The white and the red ones want dosa, idli or vada next to them; the mint and cilantro one is the one I end up spreading in sandwiches and wraps.
Let me know what you think of this recipe in the comments! If you’ve tried this recipe, be sure to post it on social media and tag it with #cookingwithanadi and mention me @cooking.with.anadi. Thank you!
Recipe by Anadi Misra
Discover three creamy, flavorful coconut chutney recipes perfect for dosa, samosa, and more. Quick, easy, and authentically Indian, these versatile dips belong in every kitchen.
Stovetop
Rate this recipe ✦
5 min
Prep
10 min
Cook
15 min
Total
8
servings
makes 1 cup
easy
Level
Ingredients
Ingredients
Tap any quantity to scale
For the simple white coconut chutney
For the mint coconut chutney
For the tamarind coconut chutney
Instructions
For the coconut chutney
- 1
To roast the chana dal, add 1–2 tsp of coconut oil to a pan and add the chana dal. Saute until the dal becomes lightly browned.
To roast the chana dal, add 1–2 tsp of coconut oil to a pan and add the chana dal. Saute until the dal becomes lightly browned.
- 2
Add the coconut flakes, cumin seeds, roasted chana dal, ginger, chilies and salt to taste. Grind the dry ingredients until well combined and then drizzle in water and blend until you get a smooth, thick and pourable consistency.
Add the coconut flakes, cumin seeds, roasted chana dal, ginger, chilies and salt to taste. Grind the dry ingredients until well combined and then drizzle in water and blend until you get a smooth, thick and pourable consistency.
- 3
Finish with the tadka and taste, adjust for seasoning.
Finish with the tadka and taste, adjust for seasoning.
For the mint-coconut chutney
- 1
To roast the chana dal, add 1–2 tsp of coconut oil to a pan and add the chana dal. Saute until the dal becomes lightly browned.
To roast the chana dal, add 1–2 tsp of coconut oil to a pan and add the chana dal. Saute until the dal becomes lightly browned.
- 2
Add the coconut flakes, cumin seeds, roasted chana dal, ginger, chilies, mint, cilantro and salt to taste. Grind the dry ingredients until well combined and then drizzle in water and blend until you get a smooth, thick and pourable consistency.
Add the coconut flakes, cumin seeds, roasted chana dal, ginger, chilies, mint, cilantro and salt to taste. Grind the dry ingredients until well combined and then drizzle in water and blend until you get a smooth, thick and pourable consistency.
- 3
Finish with the tadka and taste, adjust for seasoning.
Finish with the tadka and taste, adjust for seasoning.
For the tamarind coconut chutney
- 1
Drain the water from the soaked Kashmiri red chilies.
Drain the water from the soaked Kashmiri red chilies.
- 2
Squeeze the pulp of the tamarind in the bowl in which it was soaking. Strain the mixture to obtain a smooth paste. Transfer it onto a strainer and using the back of a spoon, extract the pulp into another bowl.
Squeeze the pulp of the tamarind in the bowl in which it was soaking. Strain the mixture to obtain a smooth paste. Transfer it onto a strainer and using the back of a spoon, extract the pulp into another bowl.
- 3
To roast the chana dal, add 1–2 tsp of coconut oil to a pan and add the chana dal. Saute until the dal becomes lightly browned.
To roast the chana dal, add 1–2 tsp of coconut oil to a pan and add the chana dal. Saute until the dal becomes lightly browned.
- 4
Add the coconut flakes, the soaked red chilies, sliced onions, cumin seeds, tamarind, roasted chana dal and salt to taste. Grind the dry ingredients until well combined and then drizzle in water and blend until you get a smooth, thick and pourable consistency.
Add the coconut flakes, the soaked red chilies, sliced onions, cumin seeds, tamarind, roasted chana dal and salt to taste. Grind the dry ingredients until well combined and then drizzle in water and blend until you get a smooth, thick and pourable consistency.
- 5
Finish with the tadka and taste, adjust for seasoning.
Finish with the tadka and taste, adjust for seasoning.
For the tadka/tempering
- 1
To finish and temper either of the above chutneys, heat the coconut oil for the tadka in a pan and add the mustard seeds, curry leaves, 1-2 dried Kashmiri red chilies and chana dal. Once the ingredients are sizzling and are fragrant, remove from the heat and pour the tadka over the chutney.
To finish and temper either of the above chutneys, heat the coconut oil for the tadka in a pan and add the mustard seeds, curry leaves, 1-2 dried Kashmiri red chilies and chana dal. Once the ingredients are sizzling and are fragrant, remove from the heat and pour the tadka over the chutney.
Learn the technique - 2
In case you already roasted the chana dal while preparing the chutneys earlier, add the pre-roasted chana dal after the other ingredients are already sizzling to prevent the chana dal from over-cooking.
In case you already roasted the chana dal while preparing the chutneys earlier, add the pre-roasted chana dal after the other ingredients are already sizzling to prevent the chana dal from over-cooking.
Nutrition per serving
Did you make this recipe? Tag @cooking.with.anadi on Instagram and hashtag it #cookingwithanadi

Tested & written in Anadi’s kitchen
Recipe history
- April 16, 2026 — Reworked and refreshed for the 2026 relaunch — new photography, restructured and standardized ingredients & instructions.
Filed under
You might also like
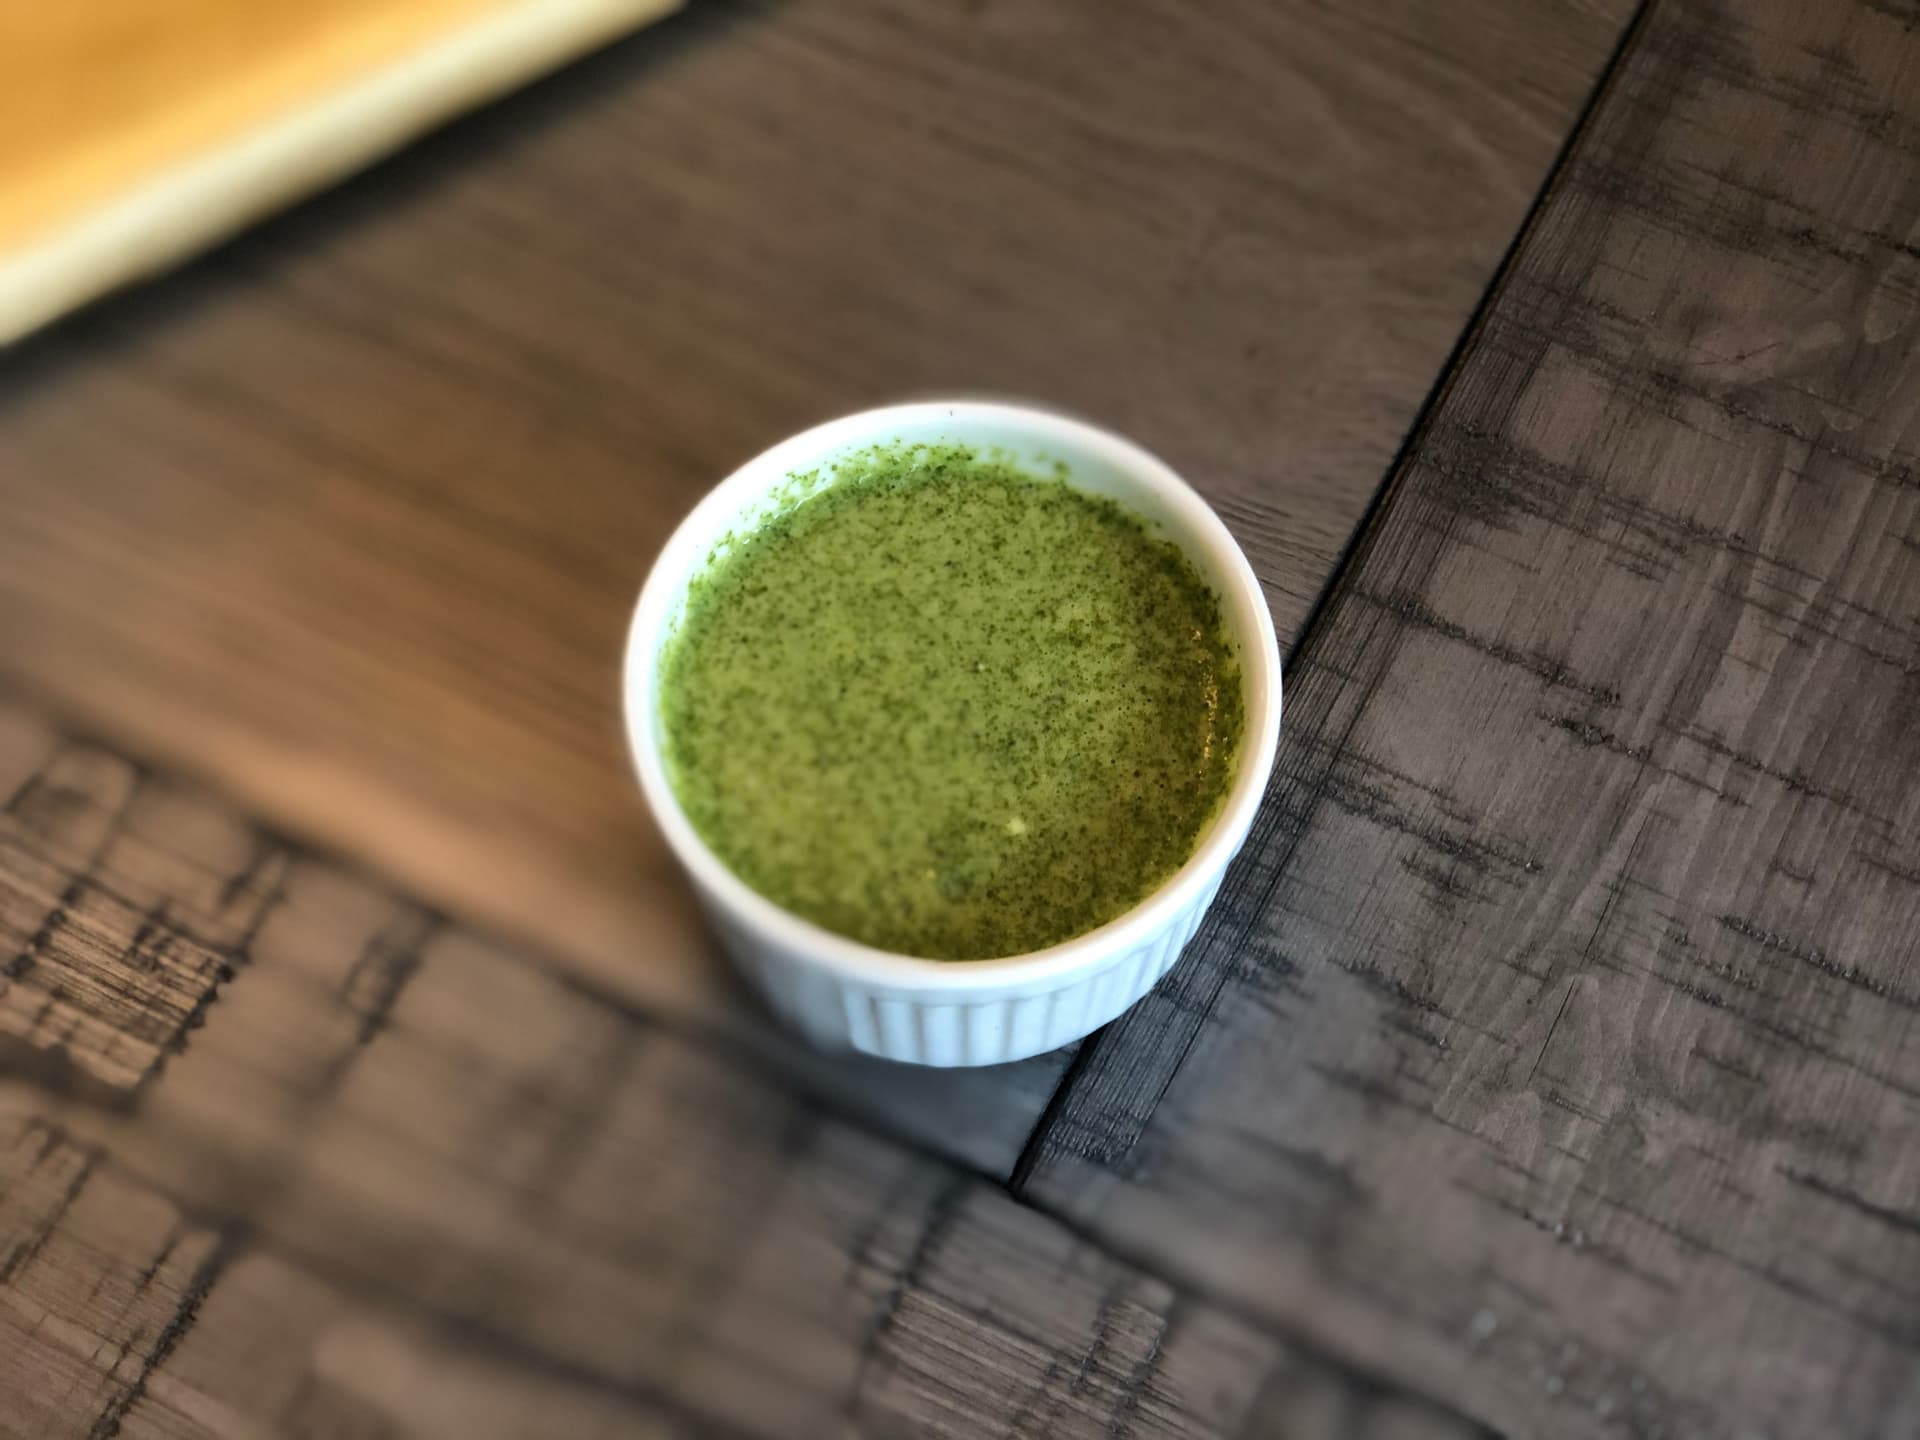
Easy Homemade Mint Chutney Recipes in Minutes
Make fresh, vibrant mint chutney at home in minutes! This easy Indian mint chutney recipe is packed with bold flavor and pairs perfectly with snacks, grills, and more.
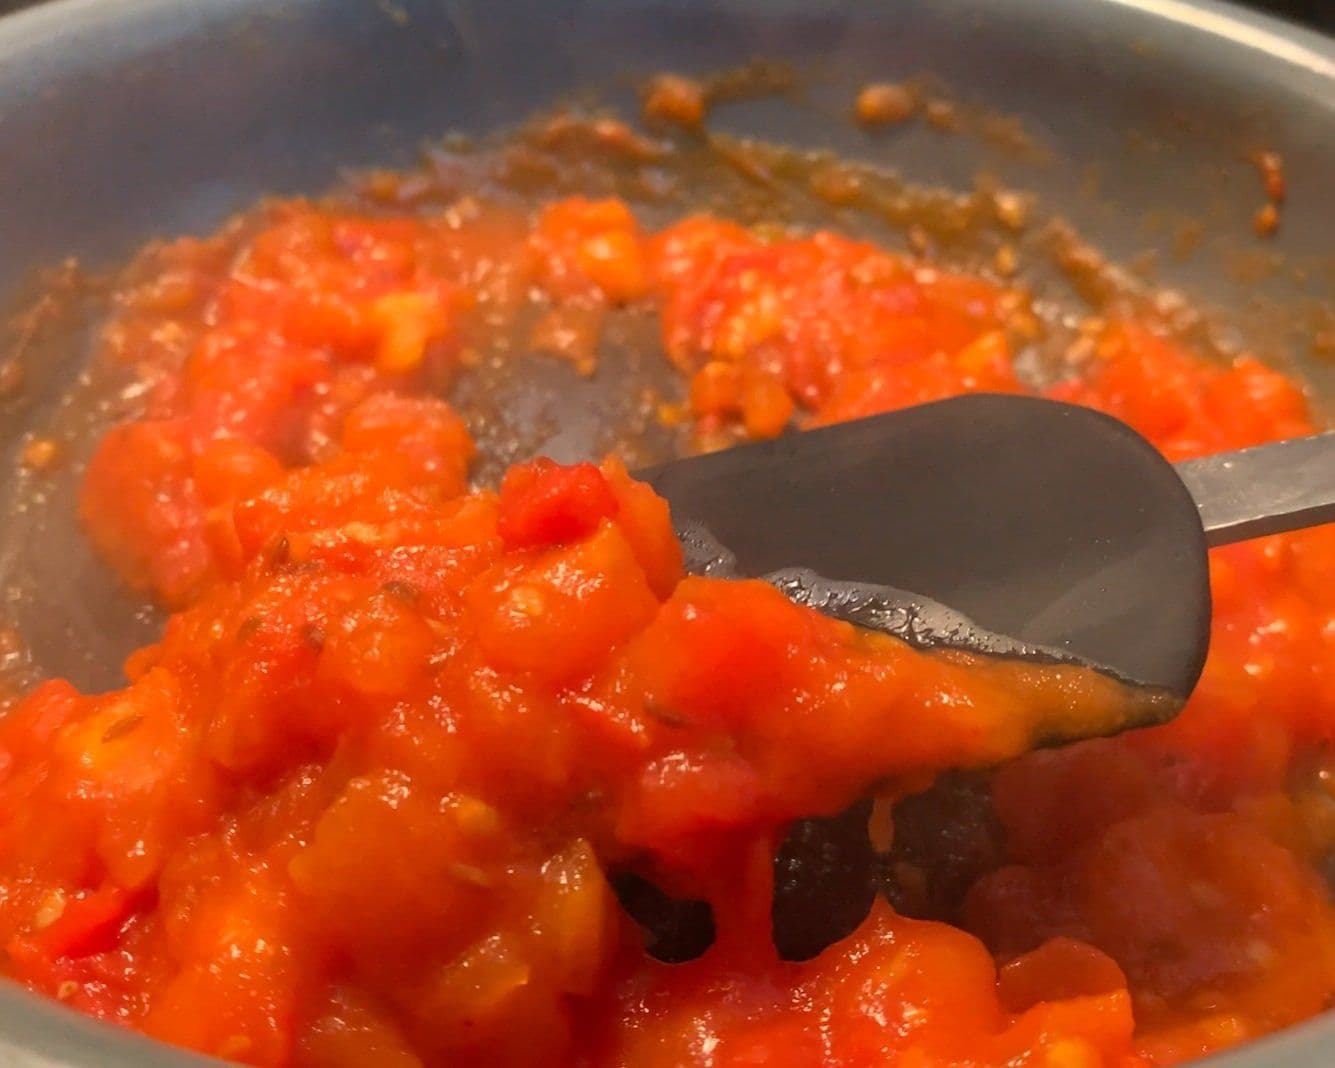
Delicious Sweet & Spicy Tomato Chutney Recipe
Make this bold, sweet and spicy Indian tomato chutney at home in minutes. Perfect with dosa, rice, or roti, it is a simple vegetarian recipe bursting with flavor.
Delicious Sweet & Spicy Tomato Chutney Recipe
Make this bold, sweet and spicy Indian tomato chutney at home in minutes. Perfect with dosa, rice, or roti, it is a simple vegetarian recipe bursting with flavor.

Tangy Amla Chutney Recipe (Indian Gooseberry)
Tangy, bold, and packed with flavor, this Amla Chutney recipe is quick to make and perfect as a dip or spread alongside dosa, snacks, and more. A must-try Indian classic.
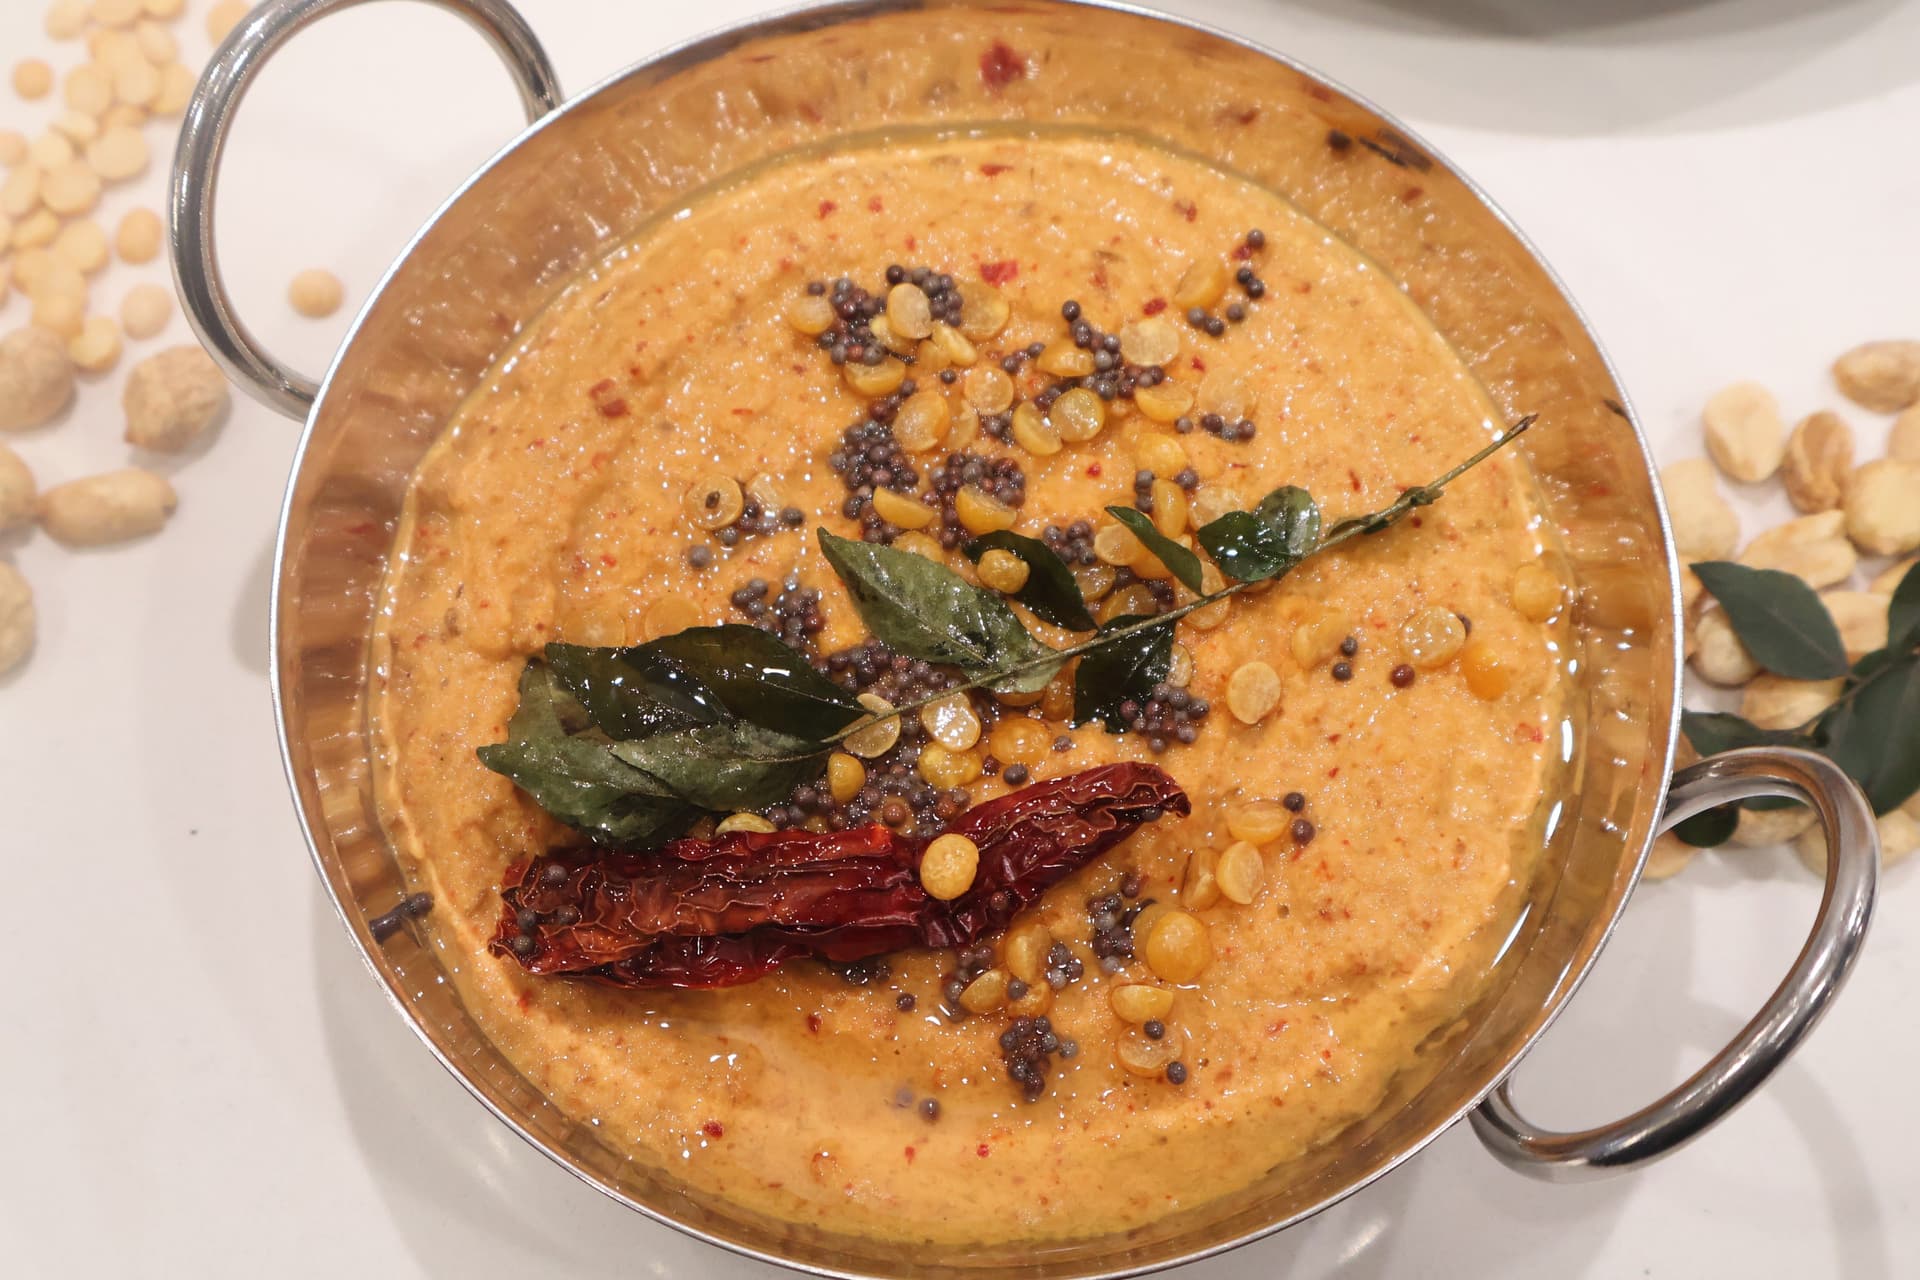
Delicious South Indian Roasted Peanut Chutney Recipe
Creamy, smoky, and ready in minutes, this South Indian roasted peanut chutney is the perfect dip for dosas and idlis. A simple vegetarian essential you will want to make again and again.

Quick And Easy Spicy Momos Chutney Recipe
Make the perfect spicy momos chutney at home in minutes! This quick and easy Indian dip is bold, fiery, and packed with flavor — ideal for dipping momos or any snack.


Comments
No comments yet — be the first to share your thoughts!
Leave a review
Be the first to share how it went — your note helps other cooks (and earns the recipe its stars).