


This post may contain affiliate links. Read our disclosure policy
Watch the recipe

Samosas are the snack I just can’t say no to, and they’re the snack I can’t get enough of! If you don’t know what a samosa is - which if you don’t I’d be quite surprised, but it’s okay! - then let’s start with that. To be honest with you, for all of my life I thought samosas originated in India. Turns out they don’t! Samosas were originally known as sambusaks, and were brought over by the Mughals in the 16th century. In fact, while the most widely known Indian samosa is the potato samosa, samosas were originally stuffed with minced meat and nuts. Well, minced meat is what we’ll be using in this air-fried samosas recipe! For more information about the history of samosas, be sure to check out this article by The Economic Times!
So what is a samosa though? A samosa is an Indian deep fried snack that’s made with a flour dough and with a stuffing. You can stuff meat, potatoes & peas (my favorite samosa), paneer (I love a paneer jalfrezi stuffing!), cheese and/or veggies. The possibilities are quite numerous!
That being said, while deep frying is the traditional method of making samosas, and while I love to deep fry, let’s be honest and that we probably shouldn’t every day! Not only would that amount of refined oil be unhealthy, but it’s a lot of clean-up! You’ve got the wok, the slotted spoon, the paper towel to absorb the grease…
I find air frying the most convenient alternative to the oven because all you need to clean up is the air fryer! Also, at least with my air fryer, you save some time because my air fryer doesn’t need to preheat. If you’re wondering, I have the Ninja Foodi 6-in-1 2 basket air fryer! I’ve used it pretty much every day since I got it back in December, and I totally recommend it! If you want more details about this air fryer, then be sure to check out my full first impressions review on YouTube!
Why Make These Air Fryer Keema Samosas?
You have to try this Air Fryer Chicken Keema Samosa recipe! If you want one of the best Indian snacks made fresh in your kitchen, then this is what you have to make! Let’s go over why these Air Fryer Keema Samosas are going to rock your world!
- A juicy minced chicken filling
- An addictive snack
- Perfectly crispy outside
- Adored by guests for any occasion
- Stores well in the fridge, making it excellent to prepare for grab and go snacks!
- Healthier than traditional fried samosas
Is your mouth watering? Mine sure is thinking about these amazing samosas and I’m wishing I could munch on one right now! Let’s get to the recipe!
Tips & Tricks for Perfect Air Fryer Keema Samosas
- Let the dough rest for as long as you can be patient. This is usually the hardest part for me, after all, I want to eat and who wants to wait to eat these treats. Trust me, wait at the least 15 minutes and you will be glad. This will allow the dough to rest and be easy to shape into samosas.
- Roll the dough thin and even. The thinner the dough, the quicker it will cook, however be careful not to roll it too thin - or you will run a risk of it tearing during the stuffing step.
- Let the stuffing completely cool down to room temperature. If it’s any warmer, you will risk tearing the dough while stuffing.
- Use water to seal the seams. Steam may want to escape during cooking and if any open gaps are present in the seam, you risk the samosa coming apart.
- Fill the samosa cone as much as possible. You want to fill the cones as much as you can so that there’s no extra air. Make sure there’s about 1/2 inch gap at the top so that you can seal your samosa really well so that it doesn’t fall apart when baking.
- When adding the samosas in the air fryer, leave as much space as possible. Make sure they don’t sit on top of each other or side by side. The more gap there is, the more room there is for the air fryer air to cook the samosas.
Tools Needed
- Mixing bowl
- Nonstick pan
- Wooden spoon
- Measuring cups
- Measuring spoons
- Knife
- Cutting board
- Air fryer
- Parchment paper
Ingredients for Keema Samosas
We’ll go over the ingredients needed to make the samosa dough and our chicken keema filling. Remember, the complete recipe with all ingredient quantities can be found in the FULL PRINTABLE RECIPE CARD at the bottom of this post! You can easily scale the amounts based on how many Chicken Keema Samosas you’d like to make!
For the Dough
- Flour/Maida: I’m using all-purpose flour for these samosas. For best results, this is what I recommend, as you will get different flavors by using whole wheat or any other kind of flour.
- Ajwain: They add a subtle flavor and this helps with digestion.
- Water: As needed.
- Salt: Just a pinch.
- Ghee: Helps make a smooth and soft dough. The ghee will also allow for the samosa dough to get crispy as the samosas are air frying. You could also use olive oil.
For the Chicken Filling
- Ghee
- Hing
- Cumin seeds
- Carrots
- Garlic
- Ginger
- Onions
- Minced chicken
- Kashmiri red chili powder
- Ground coriander
- Garam masala
- Turmeric
- Peas
- Green onions
- Salt
How to Make Juicy Air Fryer Chicken Keema Samosas
For the Chicken Filling
- Heat pan on medium heat and add ghee. When the ghee is hot, add cumin seeds and hing sauté until reddish brown.
- Add ginger, garlic, chopped carrots and onions and let that saute until the vegetables start to turn brown. Keep mixing so they don’t get burnt.
- Add the minced chicken and break down the large pieces.
- Add spices. Add red chili powder, ground coriander, garam masala and turmeric. Mix well and keep breaking down large chunks of chicken.
- When the chicken is no longer pink, add peas and chopped green onions. Mix well and add salt. Add a splash of water if you notice the mixture is dry.
- Let the mixture cool down in a bowl and prepare the dough.
For the Dough
- Measure flour in a bowl and add ajwain and ghee. Mix the dough well until the texture feels crumbly.
- Then add water as required to knead a dough that is smooth but not too soft. Cover with a damp cloth and let rest at room temperature for at least 30-40 minutes.
To Make the Samosas
- Divide dough into 3-4 equal parts, rolling out each dough into a thin disk
- Using a knife, cut from the center of the dough until the edge, and wet the edges with some water. Pick up one edge and place it 1/4 of the way up the other edge, making a cone. Press to ensure the edges stick.
- Scoop out roughly 2-3 Tbsp of chicken mixture and add to the cone, Fold the edges of the samosa, making sure to overlap the fold down the center such that once sealed, the samosa can stand. Repeat the same process for the remaining dough and samosa.
- Brush ghee over the samosas.
- In the basket of the air fryer, place your samosas. Leave as much gap as you can and ensure the samosas don’t touch.
- Set the air fryer to Air Fryer mode and set the temperature to 350 F. Cook for 20 minutes.
- After 10-12 minutes, brush some more ghee if you would like.
- Cook until golden brown and crispy. Serve hot with tamarind chutney/mint chutney or ketchup and enjoy:)
Are these air fryer samosas healthy?▼
I would say they are! We’re only going to brush a tiny bit of olive oil over the samosas before air frying them. The amount of olive oil is nearly negligible, we just want a bit so that our samosas are perfectly crispy and have a lovely golden brown color. Plus, olive oil is a nutritious oil, containing monounsaturated fats! On the other hand, when we deep fry, we typically use refined oils such as vegetable oil, canola oil, or grapeseed oils, and we use them in large quantities! There’s no nutritional benefit of using these oils, and they just add extra calories.
Admittedly, deep frying sure is delicious, but I would reserve deep frying for a special occasion! By air frying, we can still have the delicious
Serving Suggestions for Air Fryer Chicken Samosas
You can serve these Air Fryer Chicken Keema Samosas in so many ways! I suggest Cilantro-Mint Chutney or Tamarind Chutney. I personally love to have my samosas with some ketchup too! To cool off, you my want to sip on a cold Mango Lassi! Samosas are a perfect snack or appetizer before any main dish, or you could even have them for breakfast! I don’t think there’s ever a bad time to enjoy samosas, and you can eat them with any kind of dip of your choice!
Can I make chicken samosas ahead of time?▼
Of course! You can air fry the samosas and reheat later, or have your dough and stuffing ready, and then assemble and air fry the samosas fresh when you’re ready to eat. The ability to make Chicken Samosas ahead of time makes it perfect to snack prep - that is if you have the discipline to keep them in the fridge and don’t snack on them all in one sitting!
Storing Leftover Samosas
I’m not sure how there could be leftover samosas since these are sure to be some of the best samosas you’ve ever had, and if you’re preparing these for guests, I’m sure they won’t be able to stop eating them once they’ve started! That being said, if you’ve made a large batch ahead of time to serve guests later, or you’re snack prepping, then you can store leftovers in the fridge for 3 to 5 days. You could either leave them on a plate and cover with plastic wrap, or store in an airtight container. If you have leftover samosas that have gone a little soft, you can use them for samosa chaat!
How to Reheat chicken Samosas▼
To reheat your samosas, you could reheat in the microwave for about 30 seconds to a minute, depending on how strong your microwave is. Simply reheat until the outside and inside are warm.
To keep the outside of the samosa nice and crispy, the best methods would be to air fry or reheat in the oven! To reheat in the air fryer, heat for about 2-3 minutes at 350 F. To reheat in the oven, also set your oven to 350 F and heat for about 5 to 10 minutes. If you’re reading this recipe, I assume you have an air fryer, and I believe that the air fryer is the best method! As the pros for air frying versus oven baking, it will be a lot quicker to do, and I find it maintains the crispy outside much better than the oven does, while maintaining the heat outside and in.
I Have Leftover Filling! What Can I Do!
There are so many options you could do with leftover keema filling! You could use it in sandwiches & wraps, puff pastry, such as in my Chicken Puff Patties, Chicken Keema Paratha, or just enjoy it on its own with a side of Indian bread, such as roti or paratha, or with rice, such as Simple Basmati Rice, Jeera Rice, Turmeric Rice, or Mint-Cilantro Rice. The choices are really endless, so fear not if there’s extra filling! I’m sure it’ll be gone in no time!
I don’t have an air fryer! Can I Bake the Samosa Instead?▼
Of course! To bake the samosa, preheat the oven to 425 F. Line a baking sheet with parchment paper and apply a thin layer of spray oil. Line up the samosas on the baking sheet and bake in the oven for 30-40 minutes, or until golden brown and crispy. For more details about baking your samosas in the oven, check out my Paneer Jalfrezi Samosa recipe, and perhaps save that one for later for an exciting filling idea to try!
Can I Fry the Chicken Samosas?▼
I don’t see why not! This recipe is all about air frying, but if you want to use this filling and instead deep fry - perhaps for a special occasion! - then check out the Aloo Samosa recipe I have where the samosas are deep fried!
Other Chicken Keema Recipes!
- Aloo Keema Sandwich
- Spiced Chicken Burger with Pickled Veggies
- Indian-Fusion Aloo Keema Poutine
- Juicy Chicken Seekh Kebab Rolls
- Crispy Chicken Pakora
- Chicken Keema Paratha
No Wok, No Hot Oil, No Paper Towels: What the Air Fryer Changes
These samosas never meet a pan of hot oil. There is no wok, no slotted spoon and no paper towels to drain them on — the whole reason I make them this way is that the only thing to clean afterwards is the air fryer basket. The only fat in the entire chicken samosa recipe is ghee, and there is very little of it: 2 tbsp ghee rubbed into the dough and 1 tbsp ghee in the pan for the filling.
The filling pan stays on medium heat the whole time, never medium high heat, because the cumin seeds and hing go into the hot ghee first and need to color to a reddish brown without catching. After that the ginger, garlic, carrots and onions go in, and you stir often so nothing burns while the vegetables start to brown.
In the air fryer the samosas go in at 350°F for 20 minutes, then get turned and given another 10 to 12 minutes, until the exterior is golden brown and crisp — a little over half an hour in total. Arrange them in a single layer with as much space between them as you can manage — never stacked and ideally not touching, because the hot air has to reach every side to crisp the pastry.
Ground Chicken, Peas and What Goes Into the Chicken Samosa Filling
The filling is 8 oz of minced chicken — ground chicken, the same thing under a different name — with ½ cup of carrots diced about a third of an inch thick, ½ cup of chopped onions, 2 cloves of minced garlic, an inch of grated ginger, ½ cup of frozen peas and chopped green onions. That is it for the bulk. There is no potato, no tomato, no paneer, no coconut and none of the nuts that the original sambusak was stuffed with.
The spicing is small and precise: 1 tsp cumin seeds, a pinch of hing, ½ tsp Kashmiri red chili powder, 1 tsp ground coriander, ½ tsp garam masala and ¼ tsp turmeric. Kashmiri chili powder is there mostly for color, so this chicken samosa filling is warm rather than fiery, and there is no fresh green chili in it at all. Salt is the one thing with no measurement — there is no fixed tsp salt in the list, because you season to taste once the chicken is no longer pink and the peas have gone in. If the mixture looks dry at that point, a little water brings it back together.
Then it has to cool. Spread the filling in a bowl and leave it until it is properly at room temperature before it goes anywhere near the pastry — warm filling tears the dough while you are stuffing it, and a torn samosa leaks in the basket.
The Dough, the Cone and the Timings for a Good Chicken Samosa
The pastry is 1 cup of maida, which is all-purpose flour, a pinch of ajwain, 2 tbsp ghee and water as needed. That means these do contain gluten and are not a gluten-free snack. Rub the ghee through the flour in a large bowl until the texture feels crumbly, then add the water a little at a time and knead a dough that is smooth but not soft. Cover it with a damp cloth and let it rest at room temperature for 30 to 40 minutes — this is the step people skip, and it is the one that makes the dough easy to shape.
Divide the rested dough into 4 equal portions and roll each one into a thin 5-inch disk on a lightly floured surface with a rolling pin. Cut from the center of the disk out to the edge, wet the cut edges with water, then lift one edge and lay it about a quarter of the way over the other to form a cone, pressing firmly so it seals. Spoon in roughly 2 to 3 tbsp of the keema, packing it in so there is no trapped air and leaving about half an inch clear at the top, then fold the opening shut with the seam overlapping down the center so the finished samosa can stand up on its own. Four samosas will not use up all the filling, and that is on purpose — there is a whole section further up this post on what to do with what is left over.
Prep time is 15 minutes of actual work; the total time on the card is 90 minutes, and most of that is the dough resting and the air fryer running. A good chicken samosa comes down to three things you control in that hour: a thin but unbroken pastry, a filling that has gone completely cold, and seams sealed properly with water. Get those right and the rest is just waiting. Worth remembering, too, that the samosa is not originally Indian at all — it traveled in from the Middle East and Central Asia as the sambusak, stuffed with minced meat, long before the potato version became the one everybody knows.
Let me know what you think of this recipe in the comments! If you’ve tried this recipe, be sure to post it on social media and tag it with #cookingwithanadi and mention me @cooking.with.anadi. Thank you!
Recipe by Anadi Misra
Crispy, golden Air Fryer Keema Samosas packed with spiced minced meat filling. Make these authentic homemade samosas from scratch with less oil and all the flavor you love.
Air fryer
5.0 · 1 rating
15 min
Prep
32 min
Cook
40 min
Rest
1 hr 27 min
Total
4
samosas
hard
Level
Ingredients
Ingredients
Tap any quantity to scale
For the samosa dough
- (125 g) maida / all-purpose flourShop →
- ajwainShop →
- water(as needed)
- (30 ml) ghee · make your ownShop →
For the chicken keema filling
- (15 ml) ghee · make your ownShop →
- hingShop →
- (3 g) cumin seedsShop →
- (65 g) carrots(diced 1/3 inch thick)
- (80 g) onions(chopped)
- garlic(minced)
- (2.5 cm) 1 piece ginger(grated or chopped fine)
- (227 g) minced chicken
- (1 g) Kashmiri red chili powderShop →
- (3 g) ground corianderShop →
- (1 g) garam masalaShop →
- (1 g) turmericShop →
- (75 g) frozen peas
- green onions(chopped)
- salt(to taste)Shop →
Instructions
For the chicken keema filling
- 1
Heat pan on medium heat and add ghee. When the ghee is hot, add cumin seeds and hing and sauté until reddish brown.
Heat pan on medium heat and add ghee. When the ghee is hot, add cumin seeds and hing and sauté until reddish brown.
Learn the technique - 2
Add ginger, garlic, chopped carrots and onions and let that sauté until the vegetables start to turn brown. Keep mixing so they don’t get burnt.
Add ginger, garlic, chopped carrots and onions and let that sauté until the vegetables start to turn brown. Keep mixing so they don’t get burnt.
- 3
Add the minced chicken and break down the large pieces.
Add the minced chicken and break down the large pieces.
- 4
Add spices. Add red chili powder, ground coriander, garam masala and turmeric. Mix well and keep breaking down large chunks of chicken.
Add spices. Add red chili powder, ground coriander, garam masala and turmeric. Mix well and keep breaking down large chunks of chicken.
- 5
When the chicken is no longer pink, add peas and chopped green onions. Mix well and add salt. Add a splash of water if you notice the mixture is dry.
When the chicken is no longer pink, add peas and chopped green onions. Mix well and add salt. Add a splash of water if you notice the mixture is dry.
- 6
Let the mixture cool down in a bowl and prepare the dough.
Let the mixture cool down in a bowl and prepare the dough.
For the samosa dough
- 1
Measure flour in a bowl and add ajwain and ghee. Mix the dough well until the texture feels crumbly.
Measure flour in a bowl and add ajwain and ghee. Mix the dough well until the texture feels crumbly.
- 2
Then add water as required to knead a dough that is smooth but not too soft. Cover with a damp cloth and let rest at room temperature for at least 30-40 minutes.
Then add water as required to knead a dough that is smooth but not too soft. Cover with a damp cloth and let rest at room temperature for at least 30-40 minutes.
To assemble & bake the samosas
- 1
Divide dough into 4 equal parts, rolling out each dough into a 5-inch thin disk.
Divide dough into 4 equal parts, rolling out each dough into a 5-inch thin disk.
- 2
Using a knife, cut from the center of the dough until the edge, and wet the edges with some water. Pick up one edge and place it 1/4 of the way up the other edge, making a cone. Press to ensure the edges stick.
Using a knife, cut from the center of the dough until the edge, and wet the edges with some water. Pick up one edge and place it 1/4 of the way up the other edge, making a cone. Press to ensure the edges stick.
- 3
Scoop out roughly 2–3 tbsp of keema mixture and add to the cone. Fold the edges of the samosa, making sure to overlap the fold down the center such that once sealed, the samosa can stand. Repeat the same process for the remaining dough and samosa.
Scoop out roughly 2–3 tbsp of keema mixture and add to the cone. Fold the edges of the samosa, making sure to overlap the fold down the center such that once sealed, the samosa can stand. Repeat the same process for the remaining dough and samosa.
- 4
Prepare a baking sheet with parchment paper and add samosas to the baking sheet. Air fry at 350°F for 20 minutes, then turn the samosas over and cook for a further 10-12 minutes, until golden brown and crispy. Enjoy hot with your favorite sauce or chutney.
Prepare a baking sheet with parchment paper and add samosas to the baking sheet. Air fry at 350°F (177°C) for 20 minutes, then turn the samosas over and cook for a further 10-12 minutes, until golden brown and crispy. Enjoy hot with your favorite sauce or chutney.
Did you make this recipe? Tag @cooking.with.anadi on Instagram and hashtag it #cookingwithanadi

Tested & written in Anadi’s kitchen
Recipe history
- April 16, 2026 — Reworked and refreshed for the 2026 relaunch — new photography, restructured and standardized ingredients & instructions.
Filed under
You might also like
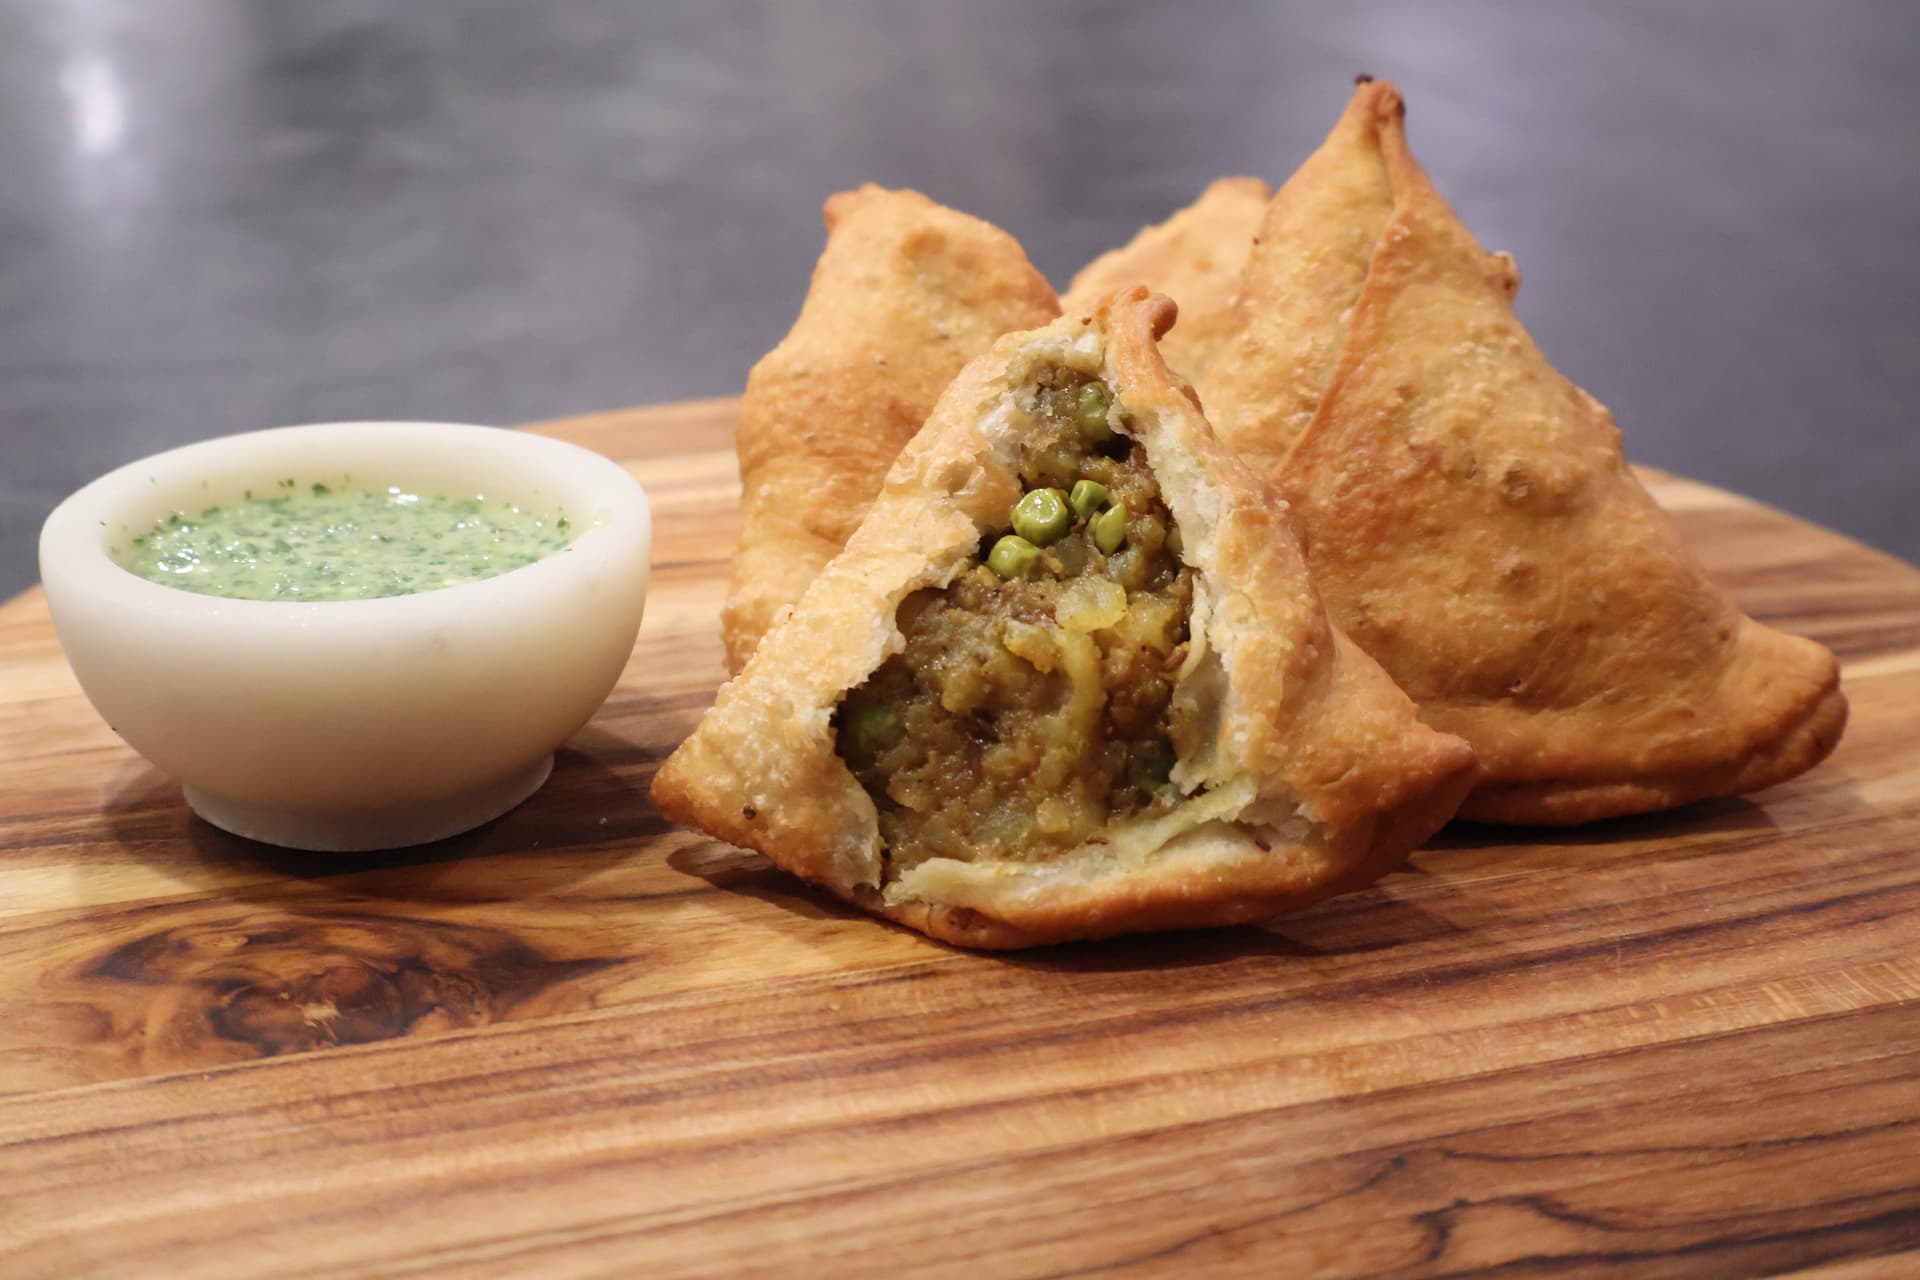
Learn to Make the Best North Indian Samosa Recipe
Make authentic North Indian samosas from scratch with a crispy pastry and spiced potato filling. This homemade samosa recipe guides you step by step to perfect results every time.

Super Easy Corn Jalapeno and Cheese Samosas
Crispy, golden samosas stuffed with sweet corn, spicy jalapeno, and melted cheese. This easy homemade samosa recipe is a crowd-pleasing vegetarian starter you will want to make again and again.

Spinach Cream Cheese Samosas for Stress-Free Holiday Meals!
Make stress-free holiday entertaining easy with these crispy Spinach Cream Cheese Samosas. A creamy, vegetarian filling wrapped in golden pastry — perfect as a make-ahead starter everyone will love.
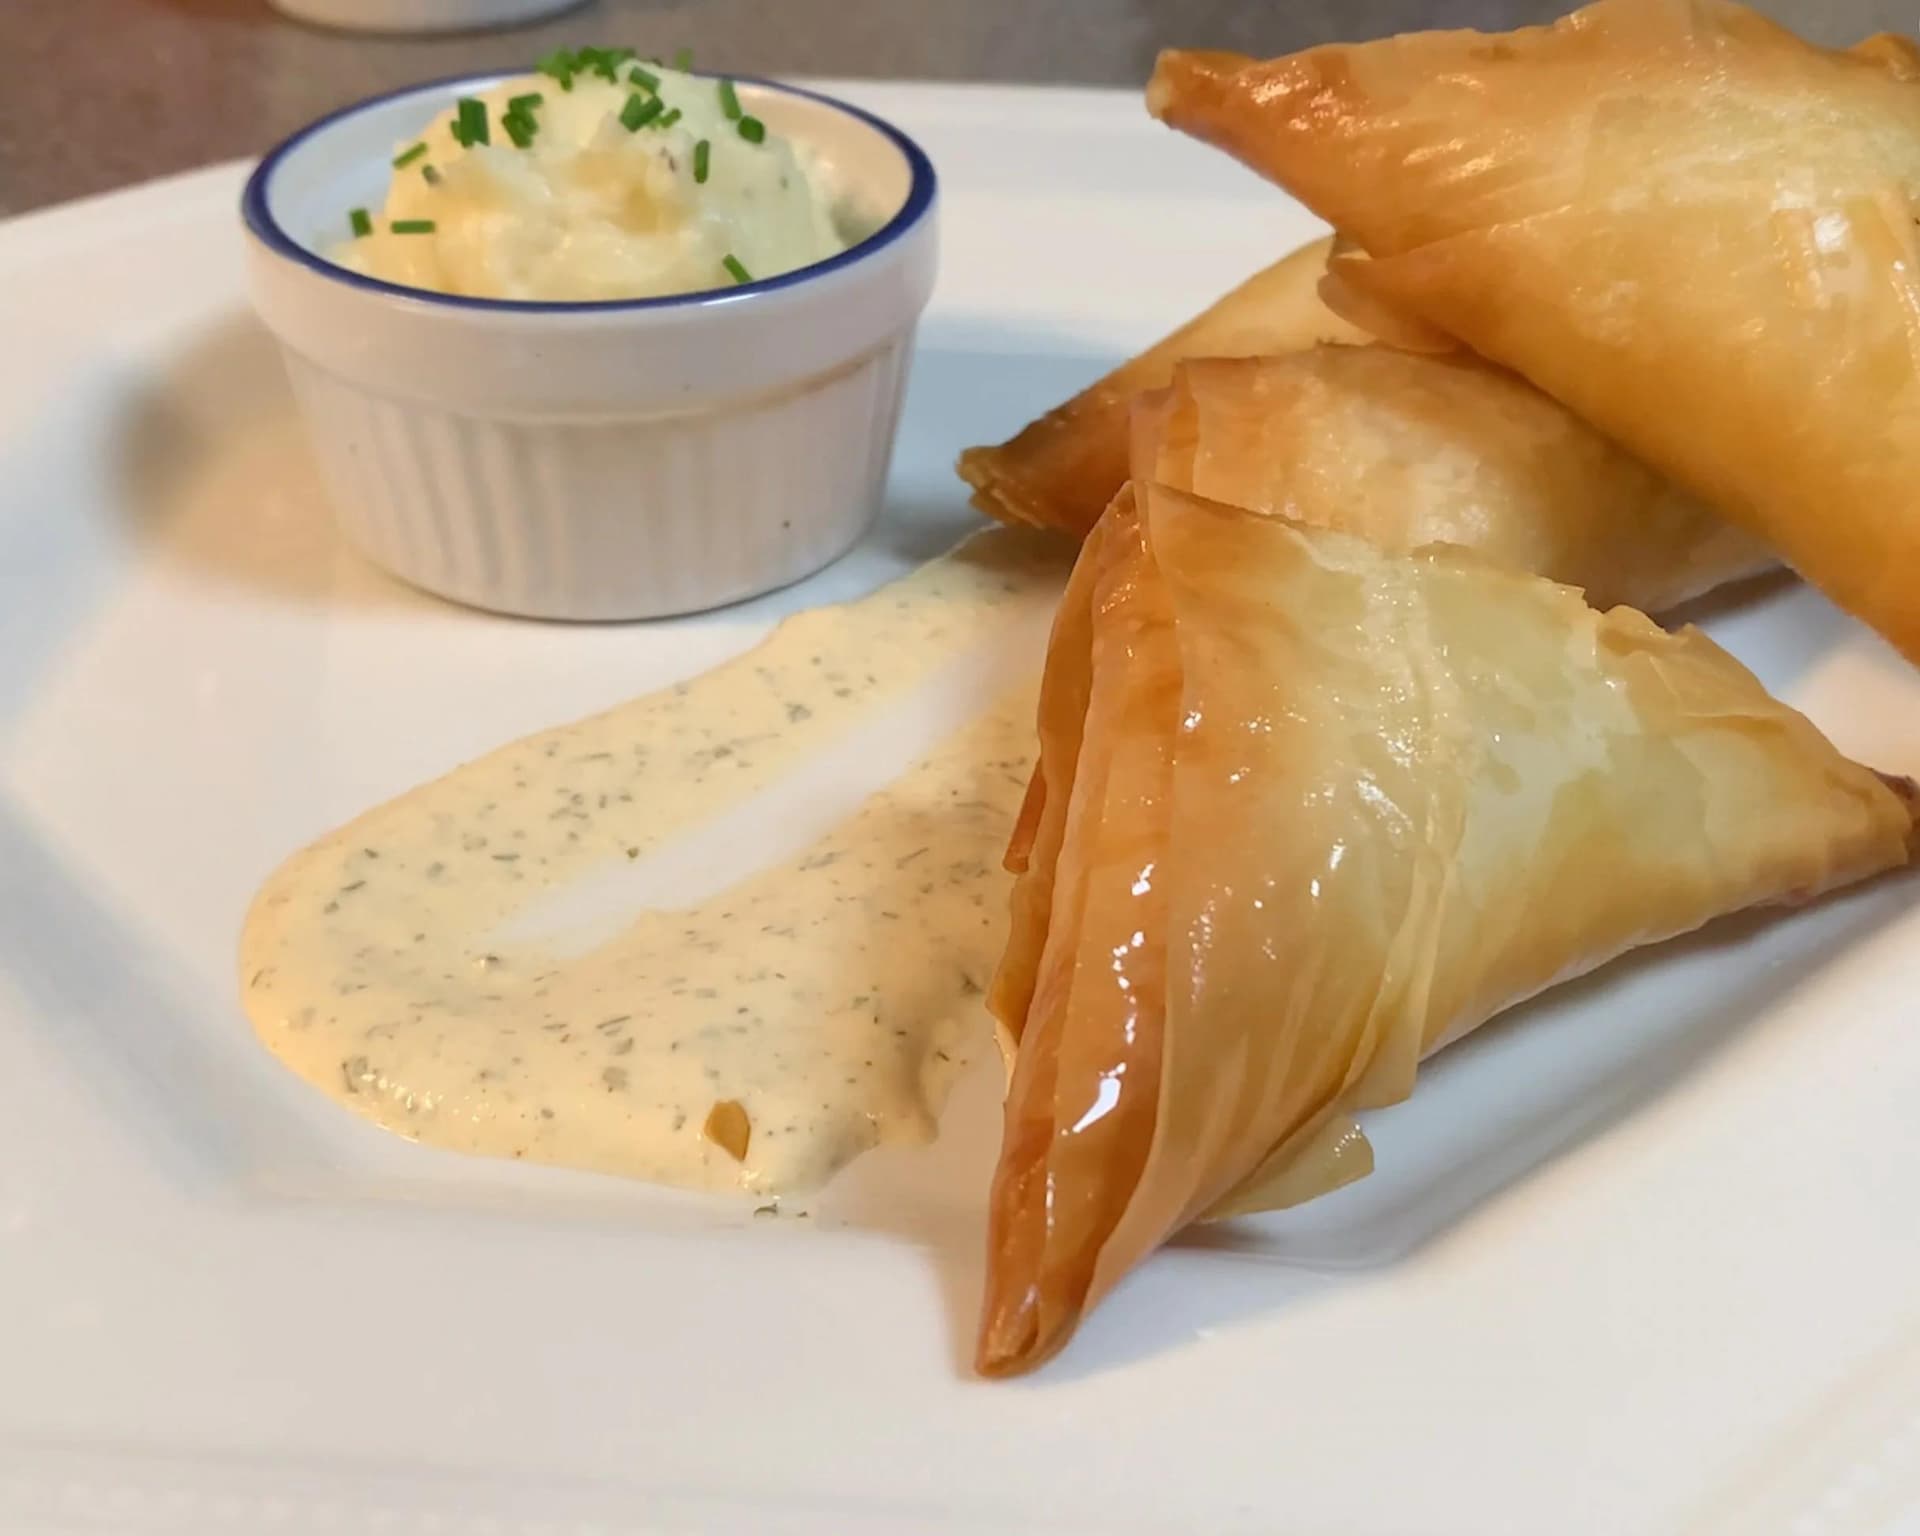
Festive Fusion: Mashed Potato Samosas for Holiday Appetizers
Make festive mashed potato samosas your new holiday appetizer! Crispy, golden pastry filled with creamy spiced potato — an easy homemade samosa recipe perfect for impressing guests.

Easy Air Fryer Indian Chicken Cutlets Recipe with a Crunch!
Crispy, flavorful Indian chicken cutlets made easy in the air fryer. No egg, no breading needed — just bold spices and a satisfying crunch ready in minutes.

Learn How to Make Delicious Baked Paneer Samosas
Make delicious Baked Paneer Jalfrezi Samosas from scratch! These crispy, golden parcels are filled with spiced paneer and make the perfect vegetarian party snack. Your new favorite homemade samosa recipe awaits.


Comments
No comments yet — be the first to share your thoughts!
Leave a review
Be the first to share how it went — your note helps other cooks (and earns the recipe its stars).