


This post may contain affiliate links. Read our disclosure policy
Watch the recipe

One of my favorite desserts of all time are brownies. What’s not to love - they’re basically small chocolate cakes! I actually usually prefer cakey brownies, but these Gluten-Free Banana Brownies totally have my heart!
The concept behind this brownie recipe actually came to be by mistake. When I was making the mousse for my No-Bake Oreo Mud Pie, I actually forgot to throw in butter when melting the chocolate chips using the double boiler method! What was I to do with all that molten chocolate? I knew already that I was going to have to re-make the mousse, but I really didn’t want the chocolate to go to waste. As I describe in my Make Cooking Fun!! free motivational guide to inspire your creativity in the kitchen, being resourceful and using up what you have in your pantry can take you very far! I dumped the molten chocolate into my KitchenAid stand mixer and threw in some flour, the butter, sugar, and bananas that were totally overripe. I threw the batter into a loaf pan and baked. Voila! I had a brownie banana bread in a jiffy, and it was delicious! No waste here! I know that this was actually a banana bread, and to be honest I went into this recipe thinking I was going to make banana bread… but I just love brownies so much that that’s what my heart wanted to do!
Is there a special someone that has brownies near and dear to their heart? Is this your first time making brownies? If any of these are the case, I totally recommend you try out my Gluten-Free Banana Brownies recipe as part of your Live to Cook one-month challenge! You can start your cooking journey for free by signing up to my newsletter with my free resources and all my new recipes delivered right to your inbox!
Don’t forget to watch the video to see exactly how these incredible Fudgy Banana Brownies come together! If you’re not already, I’d appreciate it if you subscribe to my YouTube channel, and be sure to hit the bell button so you get notified when my video recipes go live with the written ones! Let’s get baking!

Why You’ll Love Gluten-Free Fudgy Banana Brownies!
These Gluten-Free Fudgy Banana Brownies are going to be some of the best brownies you’ve ever had - guaranteed! Here’s why you need to bake yourself a batch right now!
- Easy to make: This banana brownie recipe only requires a couple of ingredients and a few steps in the actual procedure. It’s perfect to make when you want to do some Sunday baking but don’t have too much time on your hands!
- Gluten-free: The selling point of this recipe! For those with a gluten intolerance, this is perfect. Even if you can tolerate gluten, it’s going to taste incredible and you can serve this to everyone at a party, all of your family members, share it with your neighbors, whatever you want to do!
- Perfect sweetness: The bananas totally shine and really add some excellent natural sweetness here! Additionally, we’re combining white sugar and brown sugar for just the right touch to balance out the bitter cocoa powder.
- Super chocolatey: If you’re having a brownie then you expect lots of chocolate, right? This has just the perfect amount of chocolate with the cocoa powder and chocolate chips both in the batter and on top! I can’t resist those molten chocolate chips when you take the brownie out of the oven and serve it fresh!
- Fudgy and moist: These brownies are just so fudgy and there isn’t a hint of dryness! This is thanks to the bananas! You won’t be able to stop at one because they’re just so addictive and satisfying!

How Do You Know when the Gluten-Free Banana Brownies Are Ready?▼
The brownie should be set in the middle and a toothpick inserted in the middle should come out with a couple moist crumbs. Be careful not to pierce through a chocolate chip on the top of the brownie, that will give you false-negative results.
How Can I make the Gluten-Free Banana Brownies cakier? Fudgier?▼
A cakier brownie usually has more flour, lesser fat, more eggs while a fudgier brownie has lesser flour, more fat and lesser eggs. Also, cakier brownies usually makes use of baking powder while fudgier brownies use baking soda.
You can experiment with these amounts and find your perfect texture. For me, it is kind of a mix of cakey and fudgy.
Can I Use Regular All-Purpose Flour For Gluten-Free Banana Brownies?▼
Yes, you can if you don’t have a gluten intolerance or you’re making this for folks who don’t have one. The measurements won’t be affected if you choose to use regular all-purpose flour instead. The only difference is that because the gluten-free flour I’m using contains xantham gum, I needed some water to thin out my brownie batter. You probably won’t need this if you’re using regular wheat flour.

Can I use Another Type of Gluten-Free Flour Instead?▼
I would not recommend you use another type of gluten-free flour, such as chickpea flour, coconut flour or almond flour. These react with liquid differently from the gluten-free flour I’ll be using, so you won’t be able to follow the ratios I’ll be giving - even with the extra water to thin out the batter. When it comes to baking, you must be precise. So for best results, I recommend you follow the exact gluten-free flour I’ll be using.
Can This Gluten-Free Banana Brownies Recipe Be Dairy-Free Or Vegan?▼
If you really need these banana gluten free brownies to be vegan, simply replace the butter and ensure that your chocolate chips are dairy-free. To replace the butter, you can use olive oil, vegetable oil, or coconut oil. However, keep in mind that coconut oil will give off a mild coconut flavor to your brownies. If you’re fine with that, then go for it!
On the other hand, veganizing these gluten free banana brownies may be a little more challenging, as I can’t guarantee you’ll get the exact same results as I have with eggs. In order to replace the eggs, you could make a “flax egg” by using a mixture of flaxseeds and water. Full disclaimer that I’ve never tried this before and I can’t guarantee how well this would work. You can refer to this recipe for more information.
Tools Needed for the Best Gluten Free Brownies with Banana
Ingredients for Gluten Free Banana Brownie Recipe
Scroll to the bottom of this post for the FULL PRINTABLE recipe card which shows all ingredient quantities and to save the recipe for later! The recipe card will also allow you to scale the recipe based on how many brownies you want to make and based on the size of your baking pan. I’ll be using a 8”x8” brownie pan.

- Flour: The gluten-free flour I’ll be using here is by Bob’s Red Mill and it’s the 1 to 1 Gluten Free Baking Flour. I like to use this flour because I don’t have to modify the quantities of other ingredients in this recipe. I will be adding water to thin out the batter since this flour still produces a thicker batter with the same amount of flour used in comparison to regular flour, but no other modifications are needed. Use this flour for best results in terms of taste and texture for your brownies too.
- Salt: This is optional, but I strongly recommend you do add a bit to bring out all of the flavors of the other ingredients in the brownie batter.
- Water: As needed to thin out the batter. You may not need water if you’re using regular all purpose flour.
- Vanilla extract: Don’t we all love the aroma of vanilla? I think it’s essential to add a splash to truly add another hint of decadence to your brownies!
- Cocoa powder: Use any cocoa powder you have. We’ll be adding it to the batter and onto the buttered pan to prevent our brownies from sticking. More details in the tips - this actually works!
- Baking powder: I like to add baking powder to my brownies to get some good height in them!
- Instant coffee: You can use instant coffee or espresso powder, whatever you have on hand. If you’re sensitive to caffeine or want to enjoy these brownies for a midnight snack, then you can even opt for a decaf option - that’s actually what I did here!
- Eggs: At room temperature.
- Chocolate chips: My favorite part of this recipe! Use semi-sweet chocolate chips so that your brownies aren’t too sweet, and instead they’re rich and chocolatey.
- Butter: Softened at room temperature. We’ll use butter both in the batter and to grease up the brownie pan. If you’re adding salt to the batter, go with unsalted butter. If you only have salted butter on hand, you most likely won’t need to add extra salt.
- Sugar: granulated white sugar is used here, and it’ll be used to make our brown butter.
- Brown sugar: Combined with regular sugar into our batter.
How to Make the Best Gluten Free Brownie Recipe
Preheat the oven to 350°F. Lightly grease a square or 8"x 8" pan and brush room temperature butter all over the pan. Then add a coating of cocoa powder to create a thin layer on the pan.


Mash the bananas until mostly pureed and set aside for now.


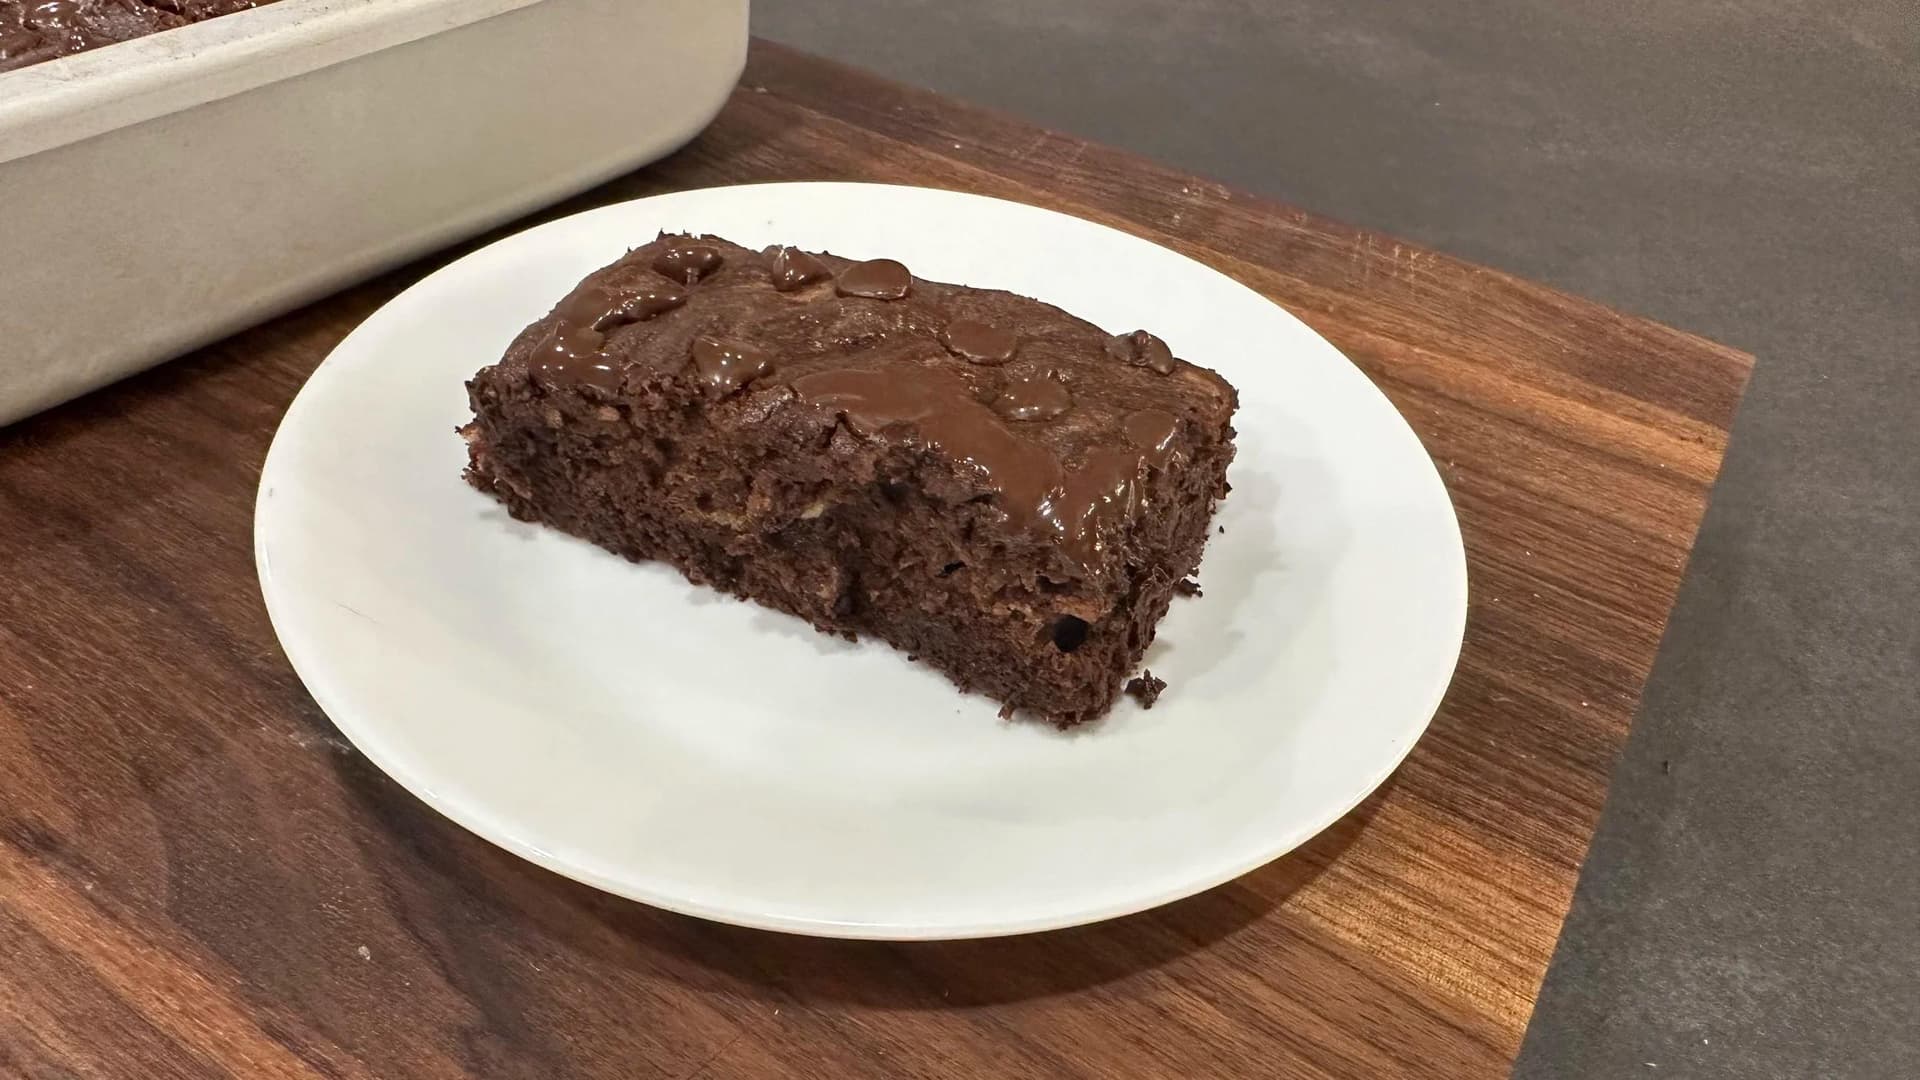
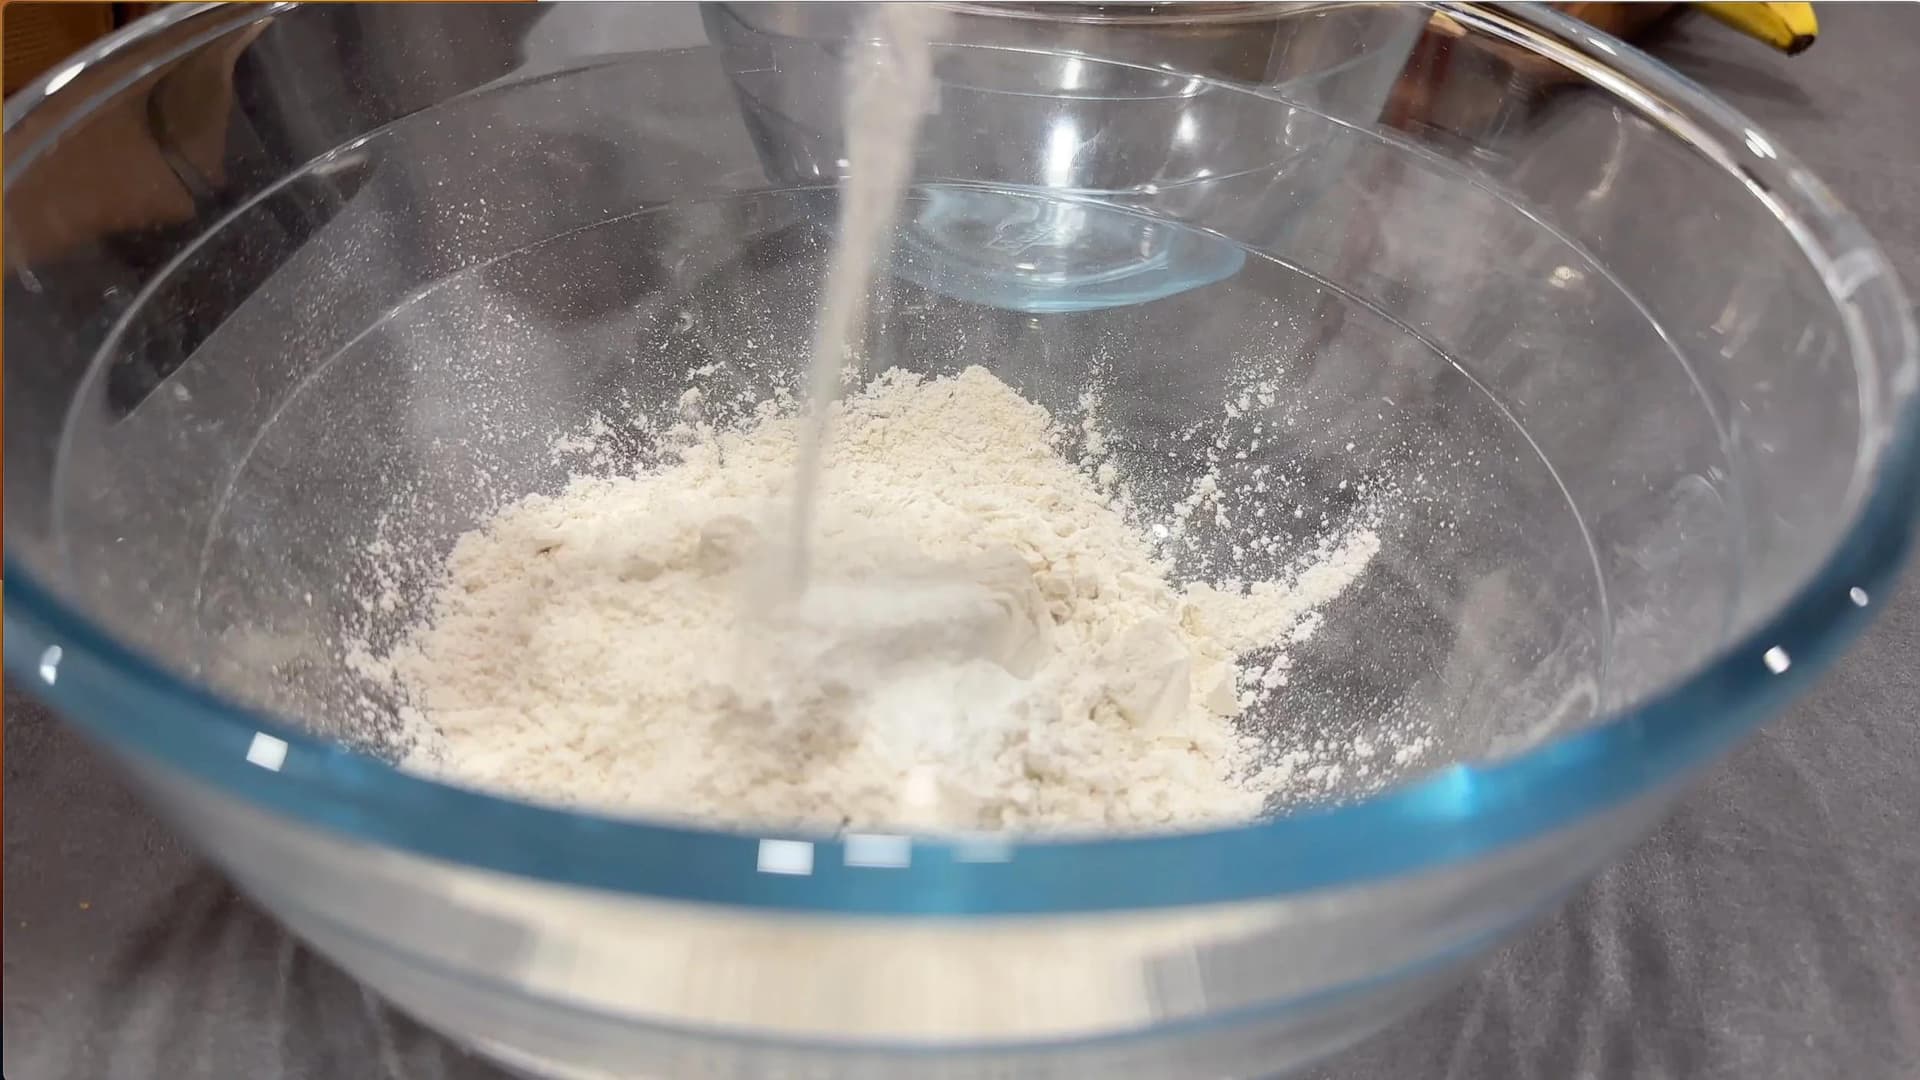
In a large mixing bowl, combine the flour, baking powder, and salt and set aside.



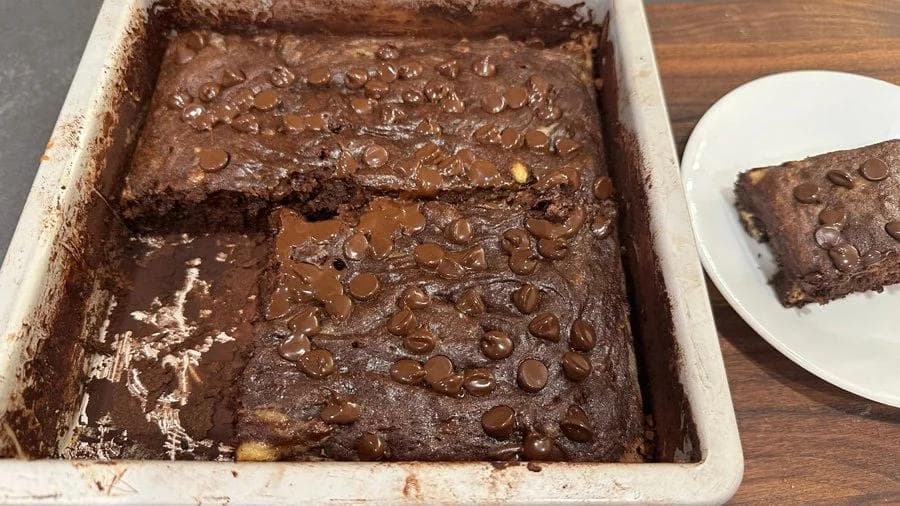
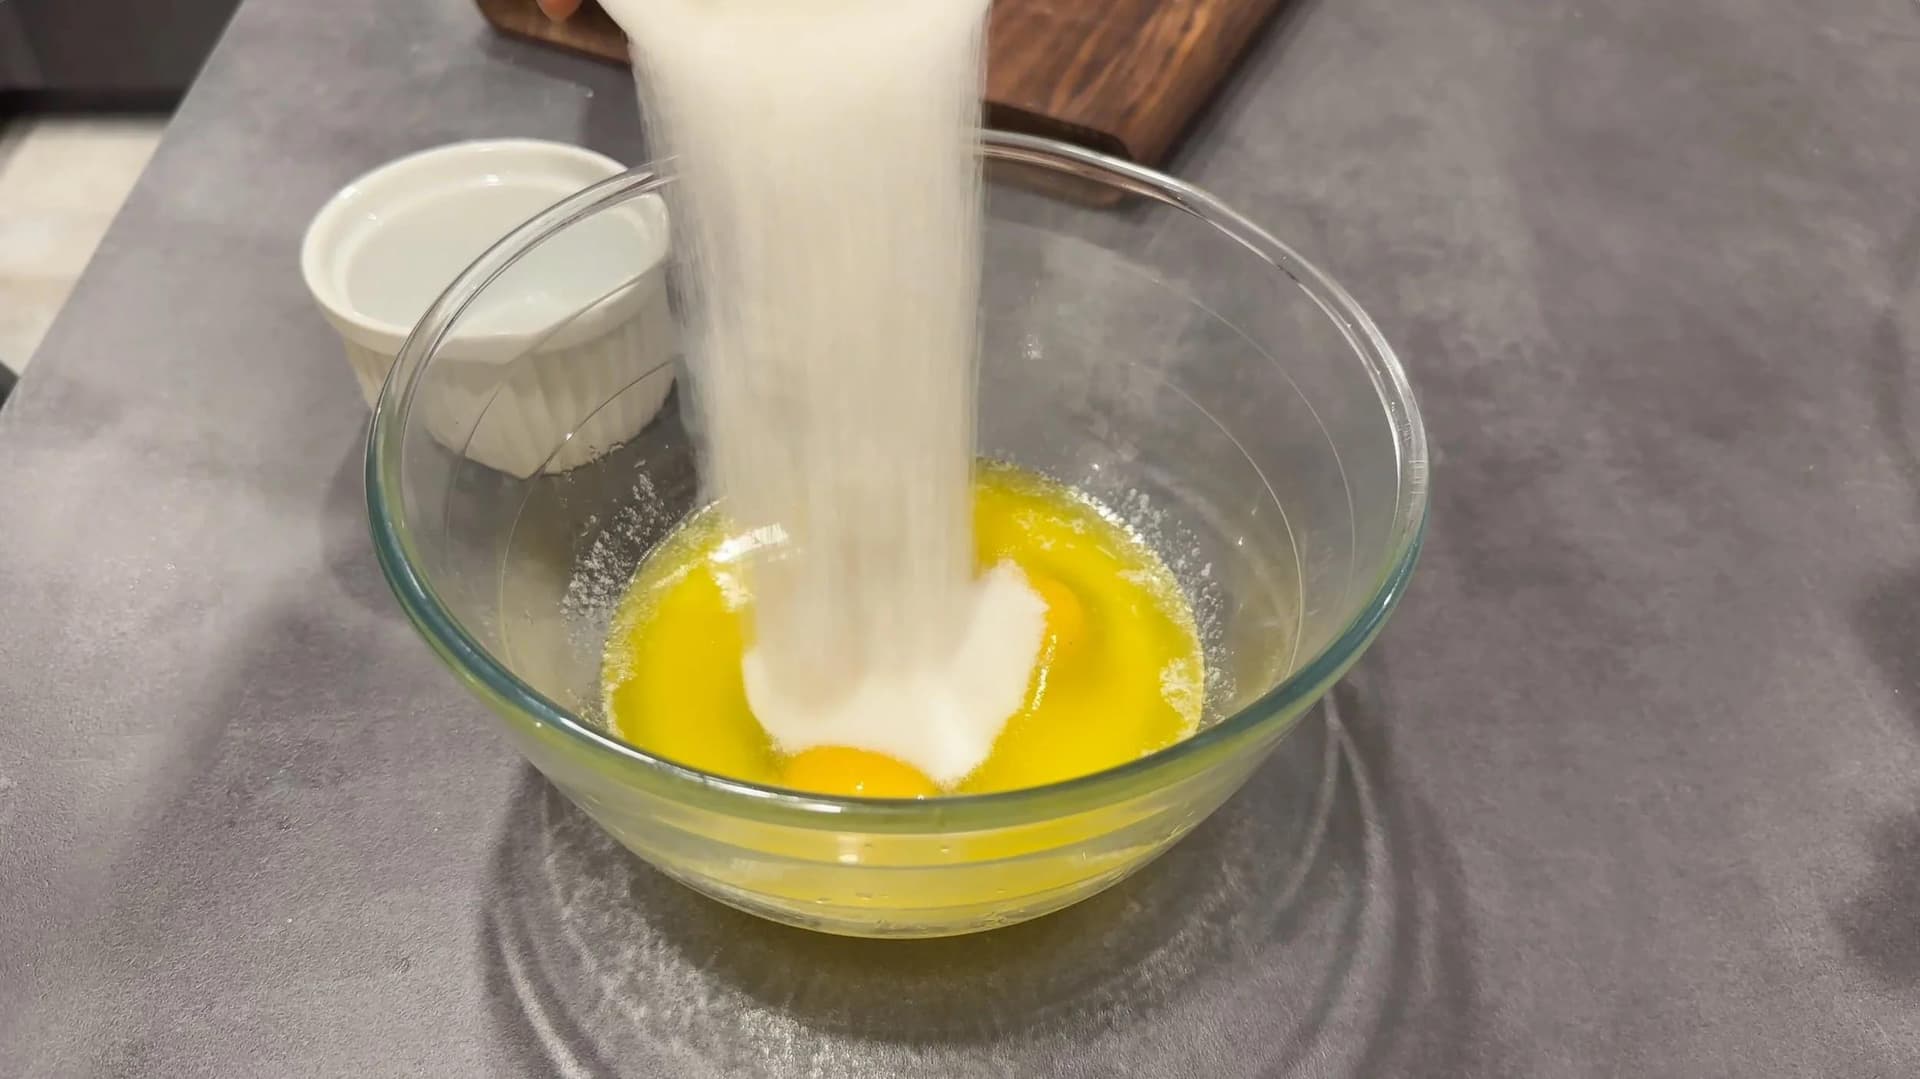
In another bowl, combine the butter, eggs, sugars, and vanilla extract.



Add the wet mix to the dry mix and combine until mostly together. Ensure there are no dry spots of flour, lumps are okay.


Divide this mixture between two bowls and in one of them, add the cocoa powder. Depending on the gluten free flour, xanthan gum may thicken the batter. Add water as needed to the chocolate mix until it has a thick smooth consistency, like the banana mix. Then, mix in the chocolate chips and espresso powder.


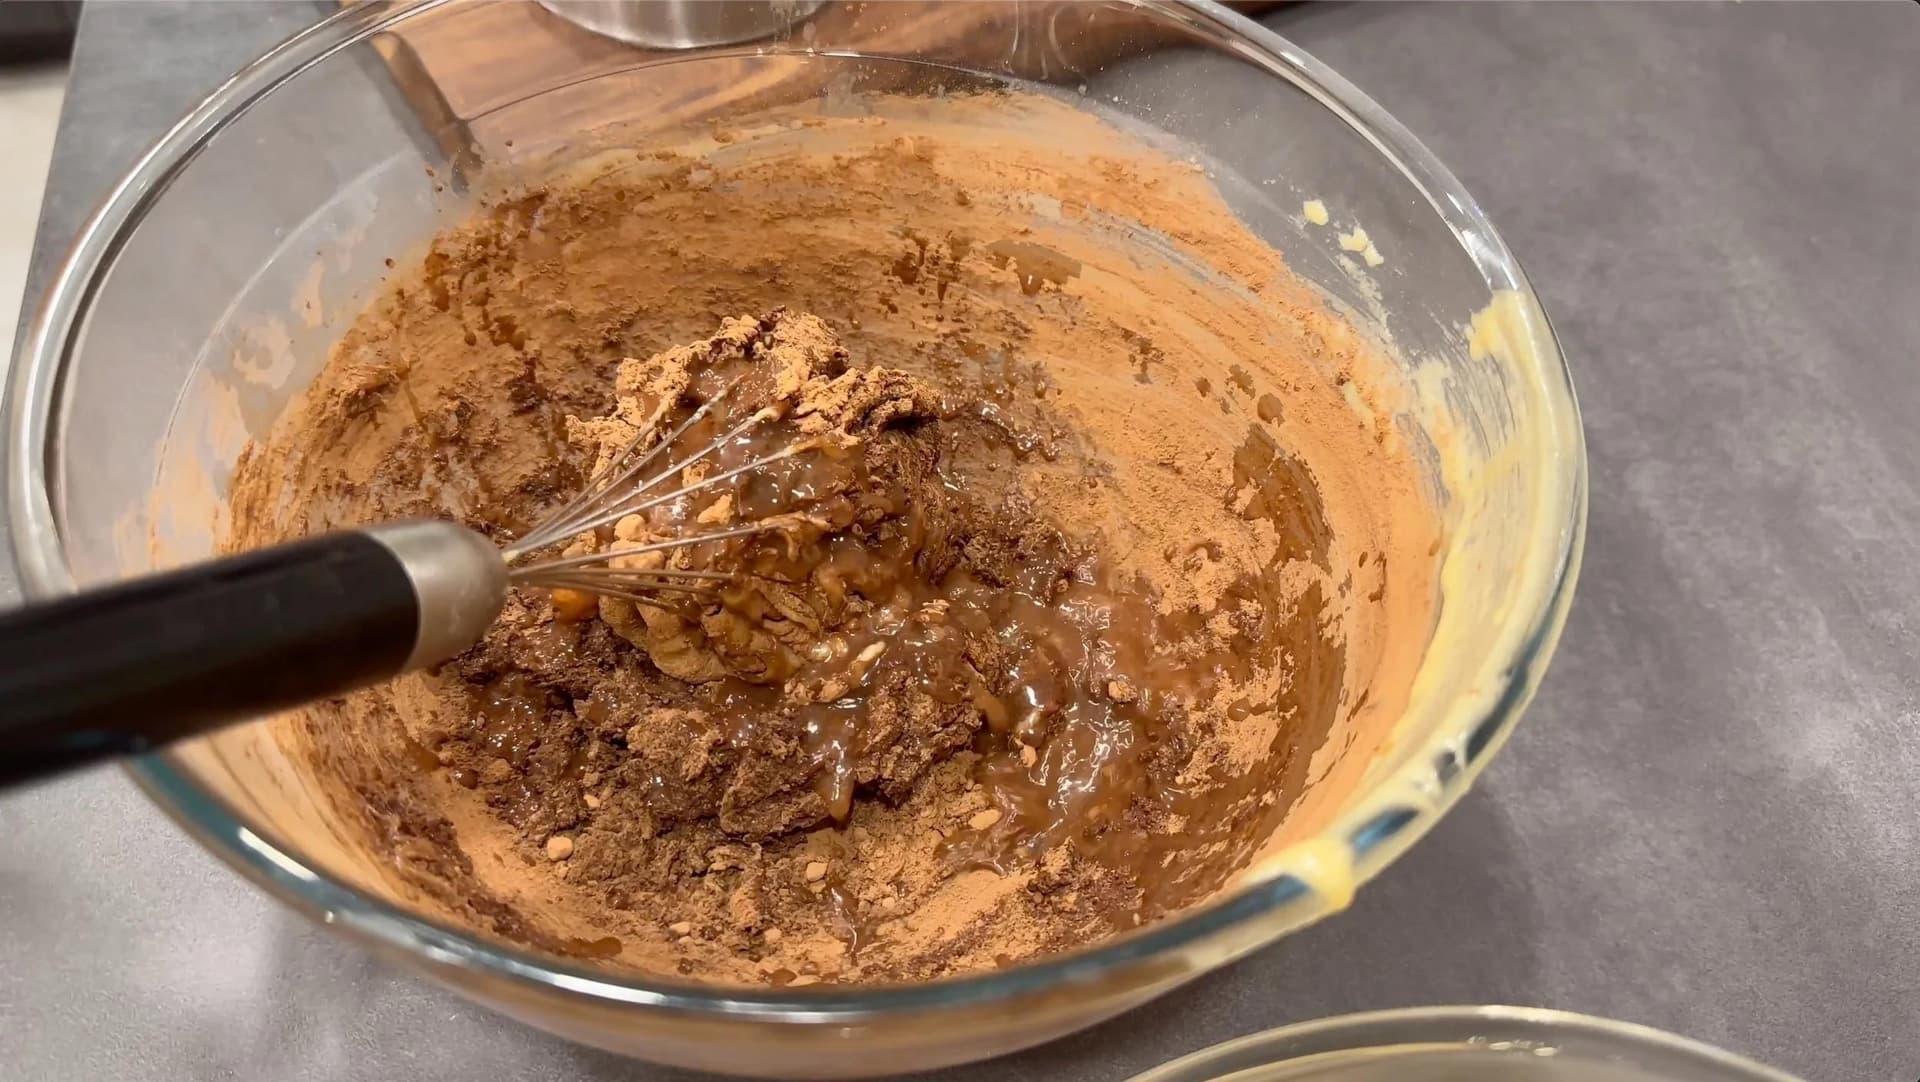


In the other bowl, add the mashed bananas.


Spoon the chocolate batter into the prepared pan and then add the banana batter.


Using a fork or skewer, mix together and swirl. You can mix completely or leave it swirly. Add additional chocolate chips on top.


Bake the brownies for 30-35 minutes on the middle rack, until a toothpick inserted into the center comes out with a few moist crumbs attached.

Remove the brownies from the oven, and cool them slightly before serving.

Enjoy!

Variations of Gluten-Free Banana Brownies
- Switch up the chocolate chips: For some fun, you could swap or mix and match white or dark!
- Chopped nuts: If you want to add a little more I recommend almonds, walnuts, hazelnuts, or pistachios.
- Other garnishes: You could do sea salt flakes, coconut flakes, or a drizzle of Caramel Sauce, Cream Cheese Glaze, peanut butter, or Chocolate Mocha Syrup.
- Sweetener: If you want to keep the sweeteners natural, you can use maple syrup or honey instead of the white sugar.
Tips for the Secret to Fudgy Brownies
- Tap the baking sheet to ensure you have the batter evenly distributed and there are no air pockets.
- The amount of swirling and mixing of the chocolate and banana mixture will affect the texture and the appearance of the brownie. So have fun and experiment with what works best for you.
- Your brownies have finished baking when you put in a wooden skewer or a knife down the middle of your brownies, and it comes out with some moist crumbs. Check more than one spot, if you hit a chocolate chip, the skewer/knife would appear wet.
- Allow your brownies to completely cool down slightly before slicing and serving.

How to Serve Gluten-Free Banana Brownies
- Whipped cream: Homemade or from an aerosol can.
- Vanilla ice cream
- Berries
- A warm beverage: Dirty Chai Latte, White Hot Chocolate, or Maple Bourbon Latte (for adults please!)
- A cold beverage: Milk, Chocolate Cream Cold Brew, Iced White Chocolate Mocha
Can These Gluten-Free Banana Brownies Be Made Into Muffins?▼
Sure, definitely use this batter to make some awesome chocolatey gluten-free muffins! Simply pour the batter into a muffin tray instead! I need to try that out!

Storing Gluten-Free Banana Brownies
In the Fridge
Ensure your Banana Brownies are completely cool before storing in the fridge. You can slice them and keep the slices in an airtight container or keep them in the pan tightly covered with plastic wrap. Your brownies should stay fresh in the fridge for about a week.
In the Freezer
If you want to save the gluten-free banana brownies to have for an instant dessert whenever you’ve got a sweet craving, then you can certainly freeze them! Again, ensure they’re tightly wrapped or in an airtight container. You can keep them in the freezer for three months.
I recommend you allow the slices to defrost naturally in the fridge. However, if you’re like me and decided in the moment to enjoy the brownies, then microwaving for 30 seconds to a minute will be just fine!
More Incredible Chocolate Treats!
- Gluten-Free Chocolate Crepes
- Coffee Pancakes with Mocha Syrup
- Chocolate Espresso Cheesecake Overnight Oats
- Espresso Brownies with Peppermint Mocha Cream
- Double Chocolate Hazelnut Oatmeal
- Chocolate S’mores Stuffed Cookies
Other Banana Favorites!
- Apple Spiced Caramelized Bananas
- Pumpkin Banana Bread Pudding
- Banana Chocolate Chip Overnight Oats
- Banana Bread Chocolate Chip Pancakes with Hazelnut Spread
- Strawberry Banana Nutella Crepes
Choosing and Ripening Your Bananas
The ingredient list calls for two ripe bananas, and out of everything in this recipe they are the one thing worth being fussy about. Ripe here means properly ripe - a peel gone deep yellow and well freckled with brown, soft enough that the banana gives when you press it. That is when the starch has turned to sugar, and since the bananas are doing a good share of the sweetening here, an underripe one leaves you with a batter that tastes a little starchy and a banana swirl that never really comes through.
If your bananas are still firm, you have two options. The patient one is a paper bag on the counter for a day or two - the bananas give off ethylene and the bag traps it around them. The quick one is the oven: bake the unpeeled bananas on a lined sheet at 350 F for about fifteen minutes, until the skins go black, then let them cool before mashing. That is not part of the recipe as written, but the oven is already coming up to 350 F for the brownies anyway, so it costs you nothing but the wait.
Mash them until they are mostly pureed, the way the recipe says. A few small lumps are fine, but large chunks of banana stay wet through the bake and turn into damp patches in the finished brownie. And remember this is a banana that has to swirl through a chocolate batter of roughly the same consistency, so the smoother you get it, the cleaner the marbling.
Preparing the Pan: Butter, Cocoa, and Whether to Use Parchment
The first step of the recipe is the one people skim, and it is doing more work than it looks like. You grease the 8x8 pan with room temperature butter, brushed right into the corners, and then dust it with cocoa powder rather than flour. On a chocolate bake, flour leaves a pale, chalky film down the sides of every slice. Cocoa does exactly the same non-stick job and simply disappears into the brownie.
If you would rather lift the whole slab out in one piece, butter the pan and then line it with a sling of parchment paper, leaving an overhang on two sides to pull on. That is not how I make them - I grease and dust with cocoa - but it does make neat squares much easier, especially while the brownies are still a little warm. Butter the pan first either way; that is what holds the parchment flat against the sides.
One note on the cocoa itself. The recipe calls for cocoa powder, and any cocoa you have on hand will do, both in the batter and on the pan. Raw cacao powder is not quite the same ingredient - it is more absorbent and noticeably more bitter - so if that is all you have, expect a sharper, drier brownie, and be ready to use a little more of the optional water to bring the chocolate batter back to a thick, smooth consistency.
On pan size: this is written for an 8x8 square and eight servings. A 9x9 will work, but the brownies come out thinner and will be ready before the 30 to 35 minute window, so start testing with a skewer several minutes early rather than trusting the clock.
Flourless, Vegan and Nut Butter Brownies: How This Recipe Differs
Search for gluten free brownies and you land in three quite different camps, so it is worth saying plainly which one this recipe belongs to. Flourless brownies skip flour altogether and lean on melted chocolate and a lot of eggs for structure. Vegan brownies replace both the eggs and the butter, usually with flax eggs and oil. And a whole family of nut butter brownies build the batter around almond butter, natural peanut butter, tahini or sunflower seed butter in place of flour, which is how they end up naturally gluten free.
This one is none of those. It is a conventional brownie batter with the flour swapped one for one: 3/4 cups of all-purpose flour becomes 3/4 cups of 1-to-1 gluten-free baking flour, and nothing else in the recipe changes - the same 1/2 teaspoon vanilla extract, the same 1/2 tsp baking powder, the same two large eggs - except the optional half cup of water you add to loosen the chocolate batter back to a thick, smooth consistency. That is the whole trick, and it is why the texture here is a familiar brownie texture rather than the denser, oilier crumb a nut butter bake gives you.
Two honest limits follow from that. This recipe is not dairy-free and it is not vegan - there is half a cup of melted butter and two large eggs in it, and swapping in flax eggs would change how the brownie sets enough that I would not promise you the same result. There is no baking soda in it either; the lift comes from that half teaspoon of baking powder. If you have seen a brownie recipe that calls for Dutch-process cocoa and tells you to leave the soda out, that is a different recipe - ours is written for plain cocoa powder from the start.
On sweeteners, the batter carries 3/4 cup granulated white sugar and 1/2 cup brown sugar. Coconut sugar will stand in for either at an equal measure if you want something less refined; it browns a little faster and brings a faint caramel note, so start checking at the early end of the 30 to 35 minute window.
Making These With Kids
This is a good bake to hand over to kids, and the swirl step is the reason. Once both batters are in the baking dish, the instructions ask you to drag a fork or skewer through them and marble the chocolate and banana together - and there is no wrong answer. Mix it thoroughly for an even mocha-brown crumb, or pull it through two or three times for big ribbons. It is the rare step in baking where doing it differently every time is the point.
The total time is 55 minutes end to end - 20 minutes of prep and 35 in the oven - which is short enough to hold attention. Younger hands can mash the two ripe bananas, butter and dust the pan, and fold the wet mix into the dry, which the recipe wants stopped early anyway: no dry pockets of flour, lumps are fine. Overworking the batter is the usual way brownies turn tough, so a light hand is genuinely useful here rather than just something to keep someone busy.
The batter takes 1/4 cup chocolate chips, stirred into the chocolate half along with the espresso powder, with more scattered over the top before the pan goes in. Dark chocolate chips work in place of the semi-sweet if you want the finished brownie less sweet, and sprinkles are an easy topping to put someone else in charge of - add them at the same moment as the chips.
To serve, a scoop of vanilla ice cream on a slightly warm square is the version I make most often. Berries cut the richness well, strawberries and blueberries both, and the eight servings this makes are the right size for a treat after dinner rather than a whole dessert course.
Let me know what you think of this recipe in the comments! If you’ve tried this recipe, be sure to post it on social media and tag it with #cookingwithanadi and mention me @cooking.with.anadi. Thank you!
Recipe by Anadi Misra
Fudgy, indulgent, and gluten-free, these chocolate banana brownies are incredibly easy to make. A healthy banana dessert the whole family will love — ready in no time.
Stovetop
5.0 · 1 rating
20 min
Prep
35 min
Cook
55 min
Total
8
brownies
medium
Level
Ingredients
Ingredients
Tap any quantity to scale
- (95 g) all-purpose flourShop →
- (1 g) baking powderShop →
- (1 g) salt(optional)Shop →
- (115 g) butter(melted)
- large eggs · make your own
- (2.5 ml) vanilla extractShop →
- (150 g) granulated white sugarShop →
- (110 g) brown sugarShop →
- ripe bananas
- (50 g) cocoa powderShop →
- (7.5 ml) espresso powderShop →
- (120 ml) water(optional)
- (33 g) chocolate chips(plus more for topping)Shop →
Instructions
- 1
Preheat the oven to 350°F. Lightly grease a square or 8" x 8" pan and brush room temperature butter all over the pan. Then add a coating of cocoa powder to create a thin layer on the pan.
Preheat the oven to 350°F (177°C). Lightly grease a square or 8" x 8" pan and brush room temperature butter all over the pan. Then add a coating of cocoa powder to create a thin layer on the pan.
- 2
Mash the bananas until mostly pureed and set aside for now. In a large mixing bowl, combine the flour, baking powder, and salt and set aside. In another bowl, combine the butter, eggs, sugars, and vanilla extract.
Mash the bananas until mostly pureed and set aside for now. In a large mixing bowl, combine the flour, baking powder, and salt and set aside. In another bowl, combine the butter, eggs, sugars, and vanilla extract.
- 3
Divide this mixture between two bowls and in one of them, add the cocoa powder. Depending on the gluten free flour, xanthan gum may thicken the batter. Add water as needed to the chocolate mix until it has a thick smooth consistency, like the banana mix. Then, mix in the chocolate chips and espresso powder. In the other bowl, add the mashed bananas.
Divide this mixture between two bowls and in one of them, add the cocoa powder. Depending on the gluten free flour, xanthan gum may thicken the batter. Add water as needed to the chocolate mix until it has a thick smooth consistency, like the banana mix. Then, mix in the chocolate chips and espresso powder. In the other bowl, add the mashed bananas.
- 4
Spoon the chocolate batter into the prepared pan and then add the banana batter. Using a fork or skewer, mix together and swirl. You can mix completely or leave it swirly. Add additional chocolate chips on top.
Spoon the chocolate batter into the prepared pan and then add the banana batter. Using a fork or skewer, mix together and swirl. You can mix completely or leave it swirly. Add additional chocolate chips on top.
- 5
Bake the brownies for 30-35 minutes on the middle rack, until a toothpick inserted into the center comes out with a few moist crumbs attached.
Bake the brownies for 30-35 minutes on the middle rack, until a toothpick inserted into the center comes out with a few moist crumbs attached.
- 6
Remove the brownies from the oven, and cool them slightly before serving.
Remove the brownies from the oven, and cool them slightly before serving.
Nutrition per brownie
384
Calories
8g
Protein
52g
Carbs
18g
Fat
3g
Fiber
37g
Sugar
229mg
Sodium
Did you make this recipe? Tag @cooking.with.anadi on Instagram and hashtag it #cookingwithanadi

Tested & written in Anadi’s kitchen
Recipe history
- April 16, 2026 — Reworked and refreshed for the 2026 relaunch — new photography, restructured and standardized ingredients & instructions.
Filed under
You might also like
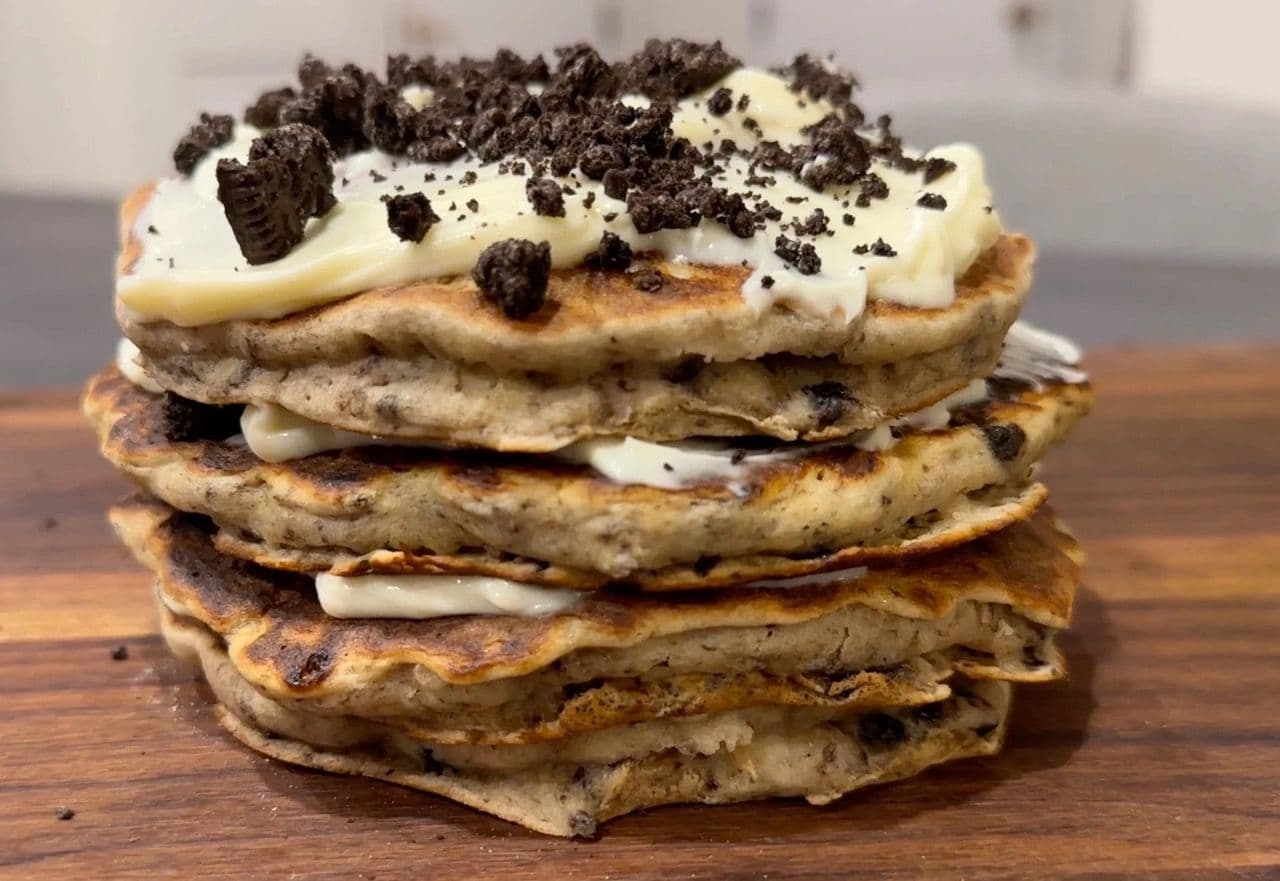
Gluten-Free Double Stuff Oreo Cheesecake Pancakes
Fluffy gluten-free Double Stuff Oreo Cheesecake Pancakes loaded with cookies and cream flavor, topped with a rich cream cheese glaze. The ultimate indulgent breakfast you will crave every weekend.
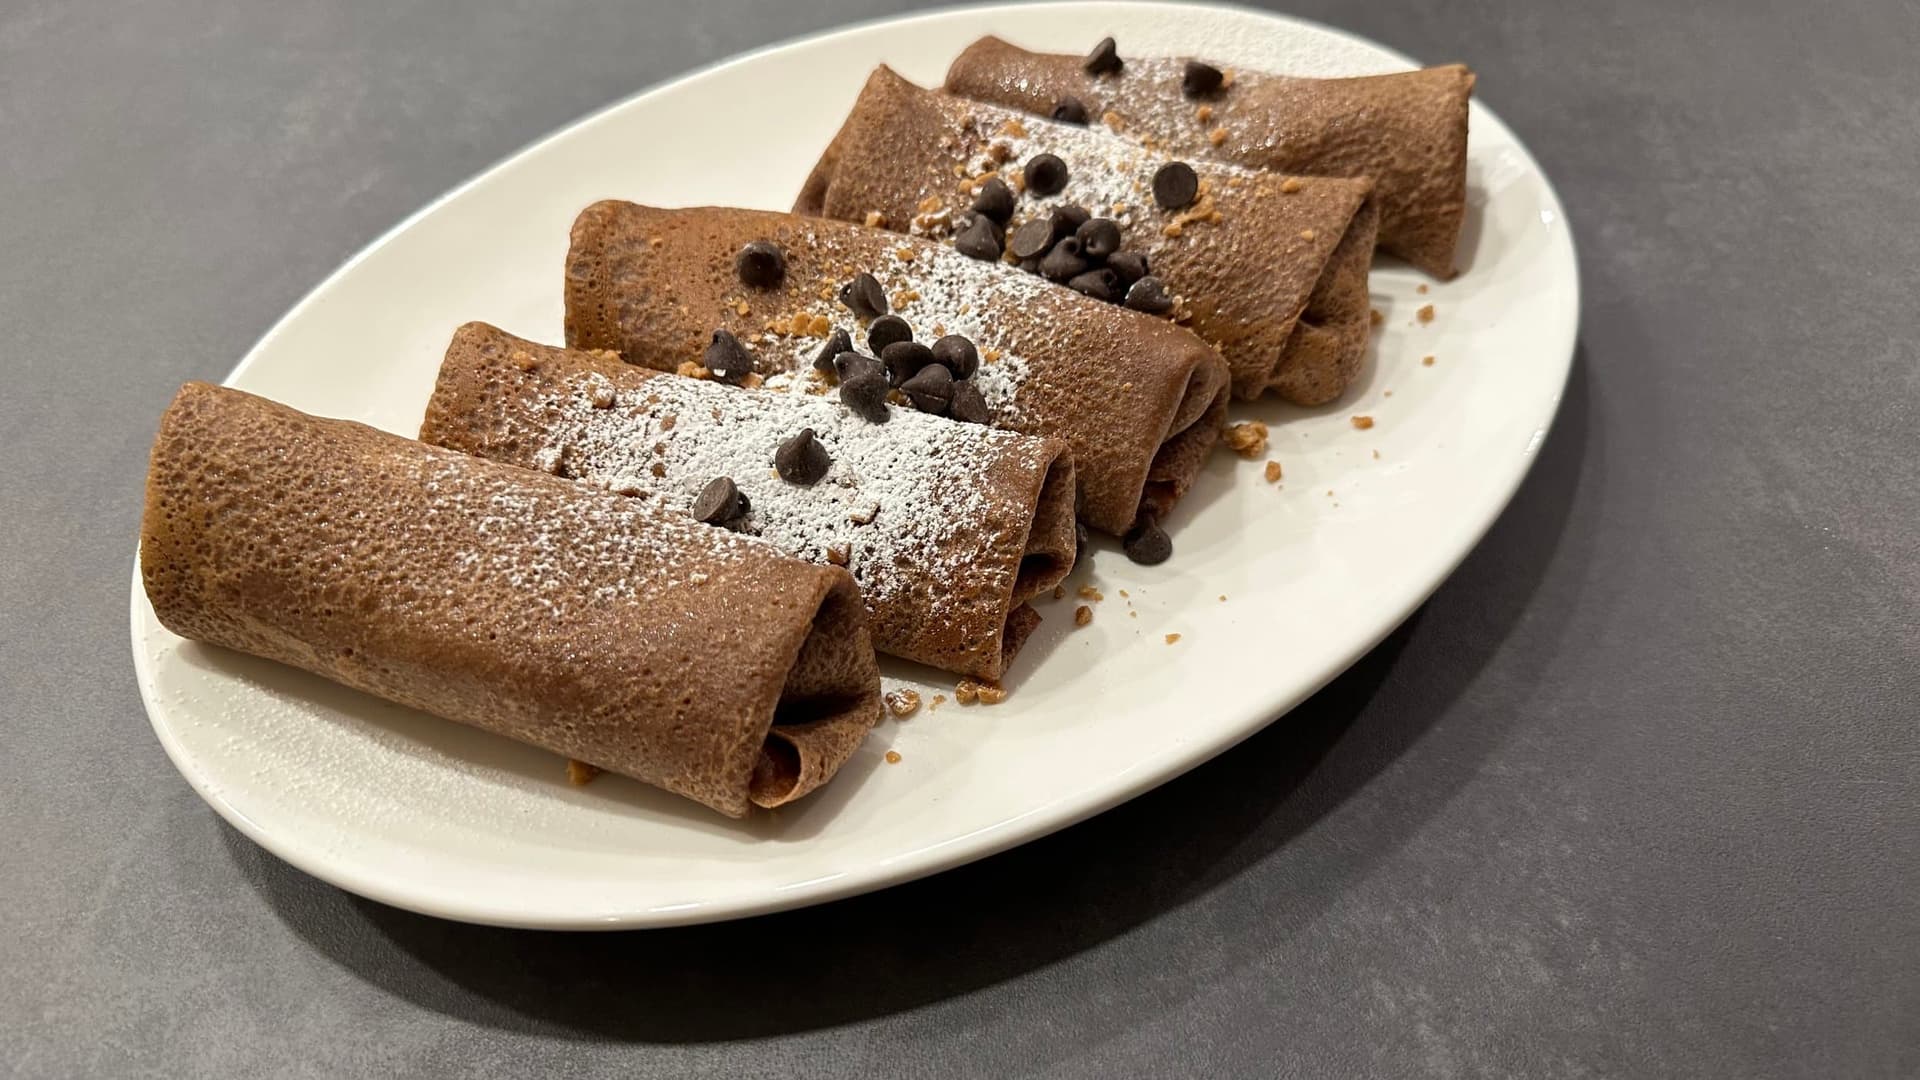
Irresistible Gluten-Free Chocolate Crepes Recipe
Make perfect gluten-free chocolate crepes at home with this easy blender batter recipe. Thin, rich, and irresistible — a hot breakfast everyone will love.
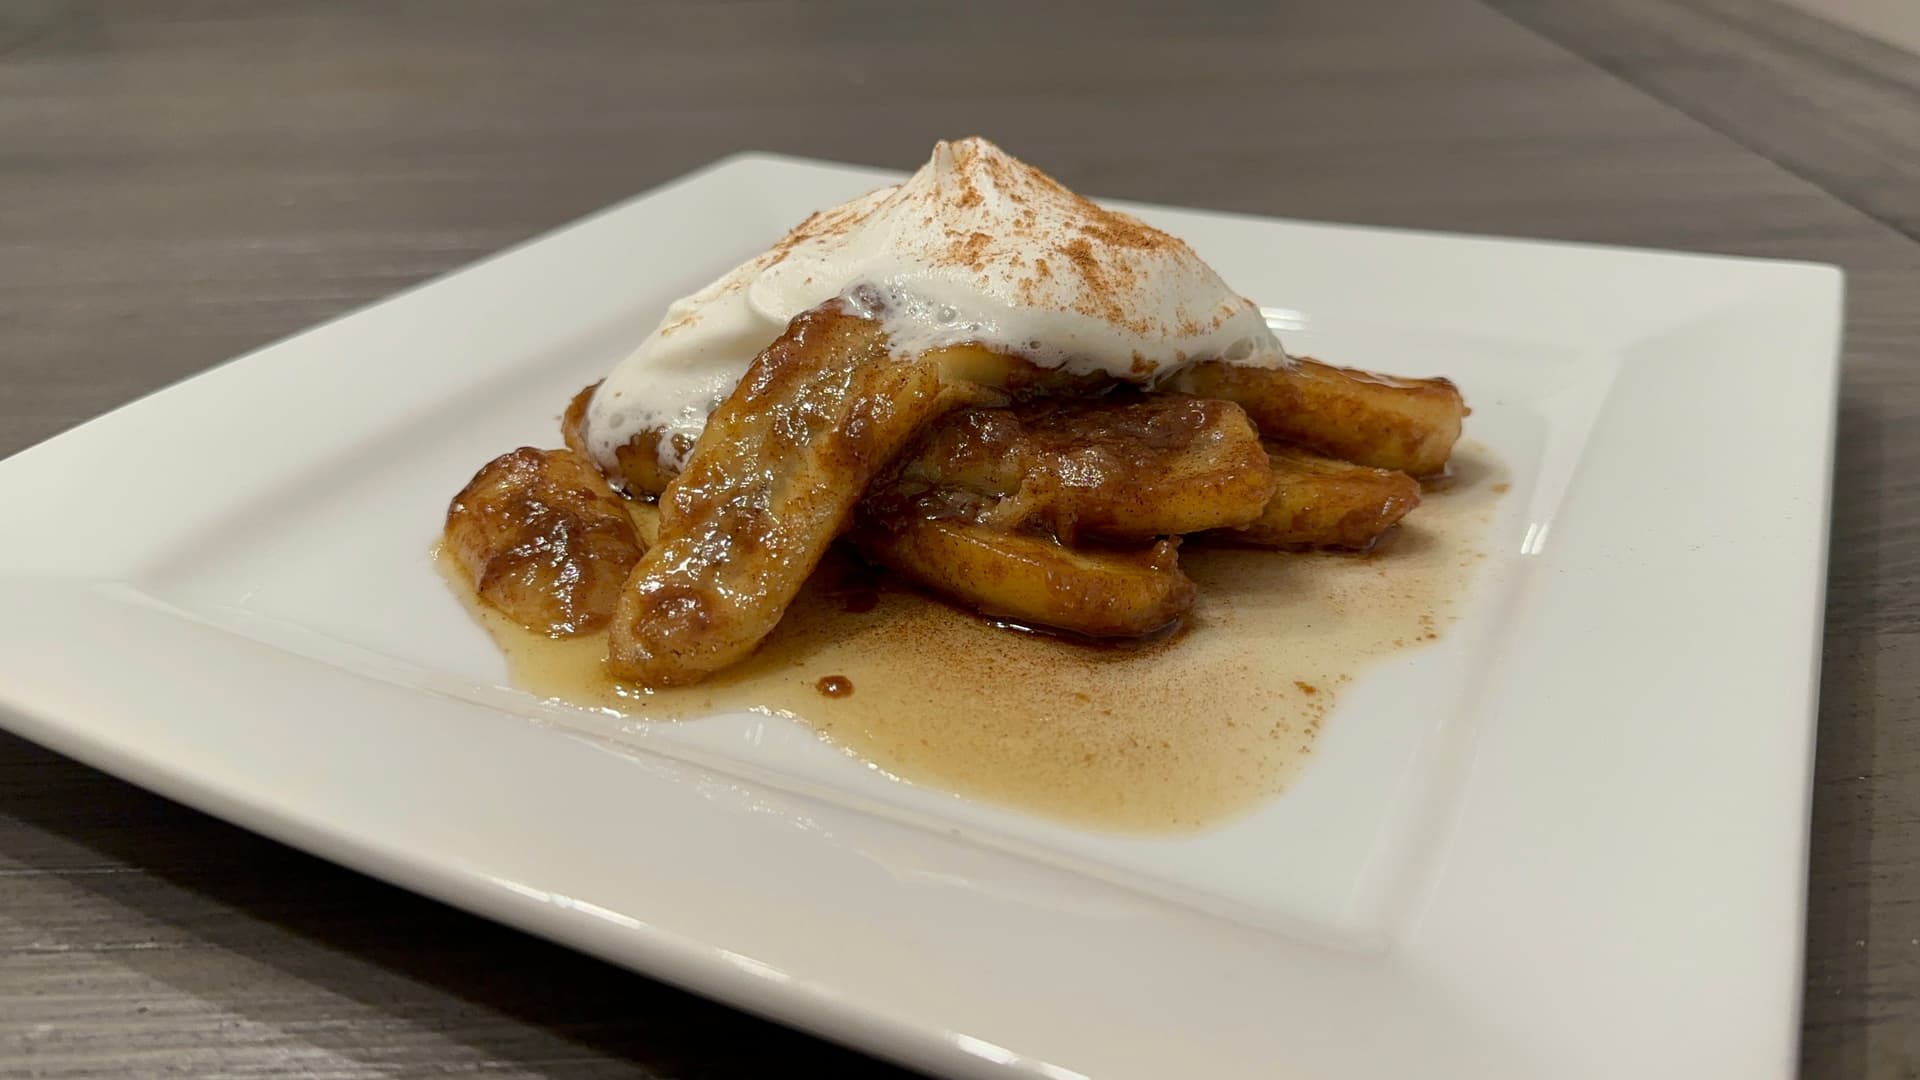
Easy Apple Pie Spiced Caramelized Banana Recipe
Warm caramelized bananas with apple pie spice make the easiest banana dessert you will ever make. Ready in minutes with simple ingredients, this sweet treat is pure comfort in every bite.
Easy Gingerbread Holiday Banana Bread Recipe
Warm up the holidays with this easy gingerbread banana bread recipe! Moist, spiced, and ready in no time, it is the perfect festive dessert for any occasion.

Creamy Homemade Lactose-Free Condensed Milk Recipe
Make creamy lactose-free sweetened condensed milk at home with just a few simple ingredients. Rich, smooth, and easy to prepare, this recipe is a must-have for all your favorite lactose-free desserts.
Chocolate Peanut Butter Cereal Milk Blended Baked Oats
Chocolate peanut butter cereal milk blended baked oats make the creamiest, most indulgent healthy breakfast. Easy to prep and packed with flavor, this recipe will transform your morning routine.


Comments
No comments yet — be the first to share your thoughts!
Leave a review
Be the first to share how it went — your note helps other cooks (and earns the recipe its stars).