


This post may contain affiliate links. Read our disclosure policy
Watch the recipe

The Best Roti Recipe - Everyday Bread
Roti is made with stone ground wholemeal flour and water. That’s essentially all it is, you can add ghee to serve but this step is completely optional. This bread is so common in North Indian households, because of how simple it is to prepare it. Read on to find more.
Roti are known as phulka or chapati based on the region in India, but in essence, they are one and the same.
Is Roti Healthy?▼
In addition to being absolutely delicious, roti is packed with nutrients. A plain roti, has a myriad list of benefits such as vitamin(s) (B1, B2, B3, B6, and B9), iron, calcium, phosphorus, magnesium and potassium. They are also rich in fiber which aids the digestive system and helps lower blood cholesterol levels (source).
Also, they are a source of complex carbohydrates, which will keep you satiated longer and are extremely low in fat. The powerhouse behind these nutrients lies in the stoneground wholemeal flour/atta that is used to prepare roti.
Can I Make This Roti Recipe Vegan?▼
Good news! Roti is already vegan if you omit topping it with ghee. Use your favorite plant-based oil to top your bread, such as olive oil or coconut oil.
Key Tips to Make Soft and Puffy Roti
Equipment
To prepare roti, you may require some special kitchen tools in case you don’t already have them.
- Rolling pin: To help roll the dough out into a thin disk, this is a must. I prefer a light, wooden rolling pin to help maintain control of the thickness of the dough.
- Rolling board/chakla: This is optional under certain conditions. Usually, a chakla is made of marble or granite, and the roti is rolled on this surface. If your kitchen has marble/granite counter-tops, you can skip on this.
Knead a Soft Dough
The final dough needs to be soft and pliable but not sticky. If you are confused, I do not blame you. It will come from practice. Start by adding small amounts of water and add more 1 tsp at a time, until the correct consistency is reached.
In case the dough becomes too wet, adjust by adding small amounts of atta.


To help develop the gluten, once the dough has come together, continue kneading (stretching and folding) for 3-5 minutes. Once the dough looks smooth and springs back once pressed on, cover with a damp kitchen towel and let it rest for 20-30 minutes.
Roll the Roti
Once the dough has rested, portion out into golf ball sized portions. Gently flatten and dust with atta flour. Start rolling the portion into a thin disk. Dust with flour as needed to ensure dough does not stick to the board or the pin. As you roll, ensure to:
- roll with a light hand
- not roll the disk too thin
- roll as evenly as possible.


Cooking the Roti
There are two techniques to cooking rotis.
1. Cook the roti on a tawa pan and puff over a naked flame/heat.
2. Cook and puff roti on a tawa pan.
Growing up, I have always had roti puffed over a naked flame, so this recipe will focus on the first technique.
Heat the tawa pan until just smoking and place the rolled disk on. Cook, until small bubbles start to appear; flip and cook the other side for another 30-45 seconds.


Using a pair of tongs, place roti on a naked flame on your gas top stovetop, flipping once until lightly charred and puffy.


What if I Don’t Have a Gas Stove-top?▼
I don’t either, my stove-top is induction. I discovered this beautiful trick where I can use another stove, at high heat with a wire rack placed on top to achieve great results.
Once puffed, add ghee (if using) and serve right away. In case you are preparing rotis in advance, you can wrap them up in a kitchen towel and microwave for 30-40 seconds before serving.
What if Your Roti Doesn’t Puff?▼
Don’t give up!
You just need more practice. I still have roti that don’t puff, and that’s after years of making roti.
Try and be conscious of the consistency of the dough, as well as the thickness and evenness of the final disk. If it is too thin, or uneven, the roti may partly or not puff at all.
These soft rotis are made for scooping up a hearty bowl of Punjabi lobia.
Atta, Chapati Flour and Whole Wheat: Choosing Your Roti Flour
The dough here is only two things: 100 g of atta flour and water, plus a little extra atta for dusting. Atta is stone-ground Indian whole wheat flour, and you will find the same bag sold as chapati flour or chapati atta. It is milled finer than the regular whole wheat flour on most supermarket shelves, which is why it rolls out so thin without tearing. Regular whole wheat flour still works if that is what you have; it is slightly coarser, so sift it first to get closer to the usual texture. Different varieties of wheat also mill differently, which is why two bags of atta can behave a little differently on the same day, and why you always add the water slowly rather than all at once.
There is no salt and no yeast in this dough. Roti is an unleavened whole wheat flatbread, so there is no proving time to wait out. The softness comes from kneading and resting, not from leavening. Tip the atta into a large bowl and knead by hand as written, or let a stand mixer with a dough hook do the same three to five minutes of work for you. Whole wheat atta is also where roti gets its protein and fiber, which is part of why one roti with a bowl of dal feels like a proper meal rather than a side.
Roti vs Naan, Paratha and Puri
Roti goes by different names depending on where you are in India, phulka, chapati or rotli, but they are the same simple bread. What changes is the company it keeps. Naan is leavened: homemade naan usually calls for yeast or yogurt and a very hot oven or tandoor, which is what gives it that chewy, blistered edge. Paratha starts from the same atta dough but is rolled with layers of ghee or butter folded through, so it comes out flaky and rich rather than light. Puris are rolled small and deep-fried, so they balloon in oil instead of over a flame. Roti is the everyday one, no fat in the dough, no leavening, and about ten minutes at the stove for the whole batch. That is why this delicious Indian flatbread turns up at dinner most nights rather than only on special occasions.
Tava, Cast Iron and Storing Leftover Roti
A tava is the traditional flat pan for this, but you do not need one to begin. A cast iron skillet or any flat cast iron pan works, and so does a plain griddle. What matters is that the surface is flat, dry and properly hot, so preheat it on medium-high until it just begins to smoke. Cook the first side only until small bubbles appear, then flip; the second side needs about 30 to 45 seconds, until you see nice brown spots. Move the roti to the wire rack to puff, flip the puffed roti and give it another 5 to 10 seconds. Roll each portion smooth between your palms before you flatten it, and roll with the belan evenly, because even thickness matters more than anything else here. A rolled roti that is thinner in one spot than another will not puff. Keep the rested dough covered with a damp paper towel while you work so it does not dry out, and do give it the rest: at least 15 minutes, though I usually leave it 20 to 30. Total time comes to about 35 mins, most of it hands-off.
Brush the hot roti with 1-2 teaspoons of ghee if you like. Melted butter or vegan butter does the same job, and coconut oil keeps it dairy-free. The taste of a good roti is plain and nutty by design, because it is there to carry the curry, the dal and the rice rather than compete with them. For leftovers, let the roti cool to room temperature before you stack them; stacking them hot traps moisture and turns them soggy. Wrap leftover roti in a clean cloth or foil, keep them in the fridge for a couple of days, and warm them for a few seconds a side on a hot tava to bring the softness back.
Tools Needed
Let me know what you think of this recipe in the comments! If you’ve tried this recipe, be sure to post it on social media and tag it with #cookingwithanadi and mention me @cooking.with.anadi. Thank you!
Recipe by Anadi Misra
Make soft, authentic homestyle roti from scratch with simple ingredients. This easy Indian bread recipe delivers perfectly tender results every time. Your family will love it.
Stovetop
Rate this recipe ✦
25 min
Prep
10 min
Cook
35 min
Total
5
rotis
medium
Level
Ingredients
Ingredients
Tap any quantity to scale
- (100 g) atta flour(plus extra for dusting)Shop →
- water(as needed)
- (5 ml) ghee (optional, plus extra for topping) · make your ownShop →
Instructions
- 1
Add the atta flour in a bowl. Slowly begin pouring in the water, about a teaspoon at a time. Mix with your hands and gradually add more water until the dough comes together into a ball. Continue kneading until the dough is soft and smooth. Optional: Add 1–2 tsp of ghee to the dry flour and knead that into the ball.
Add the atta flour in a bowl. Slowly begin pouring in the water, about a teaspoon at a time. Mix with your hands and gradually add more water until the dough comes together into a ball. Continue kneading until the dough is soft and smooth. Optional: Add 1–2 tsp of ghee to the dry flour and knead that into the ball.
- 2
Cover the dough with a damp paper towel or cloth and let it rest for at least 15 minutes.
Cover the dough with a damp paper towel or cloth and let it rest for at least 15 minutes.
- 3
Divide the dough into 4 equal portions and roll each portion between your hands, forming a smooth ball. For each portion, flatten the ball into a disc and using a rolling pin, gently roll it out into a thin disc, dusting it with the reserved atta whenever the dough starts to get sticky. Dust off the excess flour. Note: Ensure the thickness is even throughout or the rotis will not puff.
Divide the dough into 4 equal portions and roll each portion between your hands, forming a smooth ball. For each portion, flatten the ball into a disc and using a rolling pin, gently roll it out into a thin disc, dusting it with the reserved atta whenever the dough starts to get sticky. Dust off the excess flour. Note: Ensure the thickness is even throughout or the rotis will not puff.
- 4
Preheat a tawa pan on medium-high heat and on another stovetop, place a wire rack on high heat (if you have a gas top, you may puff the rotis on the burners directly without the use of a wire rack).
Preheat a tawa pan on medium-high heat and on another stovetop, place a wire rack on high heat (if you have a gas top, you may puff the rotis on the burners directly without the use of a wire rack).
- 5
Once the pan begins smoking, add the rolled out dough and cook until you start seeing small bubbles. Using tongs, flip the roti and cook the other side for about another 30-45 seconds, or until the roti has light brown spots. Transfer the roti onto the wire rack and let it puff, flip the puff roti and cook the other side for 5-10 more seconds. Note: Puffing the rotis helps to ensure they are soft, fluffy and have some char.
Once the pan begins smoking, add the rolled out dough and cook until you start seeing small bubbles. Using tongs, flip the roti and cook the other side for about another 30-45 seconds, or until the roti has light brown spots. Transfer the roti onto the wire rack and let it puff, flip the puff roti and cook the other side for 5-10 more seconds. Note: Puffing the rotis helps to ensure they are soft, fluffy and have some char.
- 6
Repeat for the remaining dough. Serve hot and enjoy with your favorite curry:)
Repeat for the remaining dough. Serve hot and enjoy with your favorite curry:)
Nutrition per roti
82
Calories
2g
Protein
15g
Carbs
1g
Fat
1g
Fiber
0g
Sugar
1mg
Sodium
Did you make this recipe? Tag @cooking.with.anadi on Instagram and hashtag it #cookingwithanadi

Tested & written in Anadi’s kitchen
Recipe history
- April 16, 2026 — Reworked and refreshed for the 2026 relaunch — new photography, restructured and standardized ingredients & instructions.
You might also like
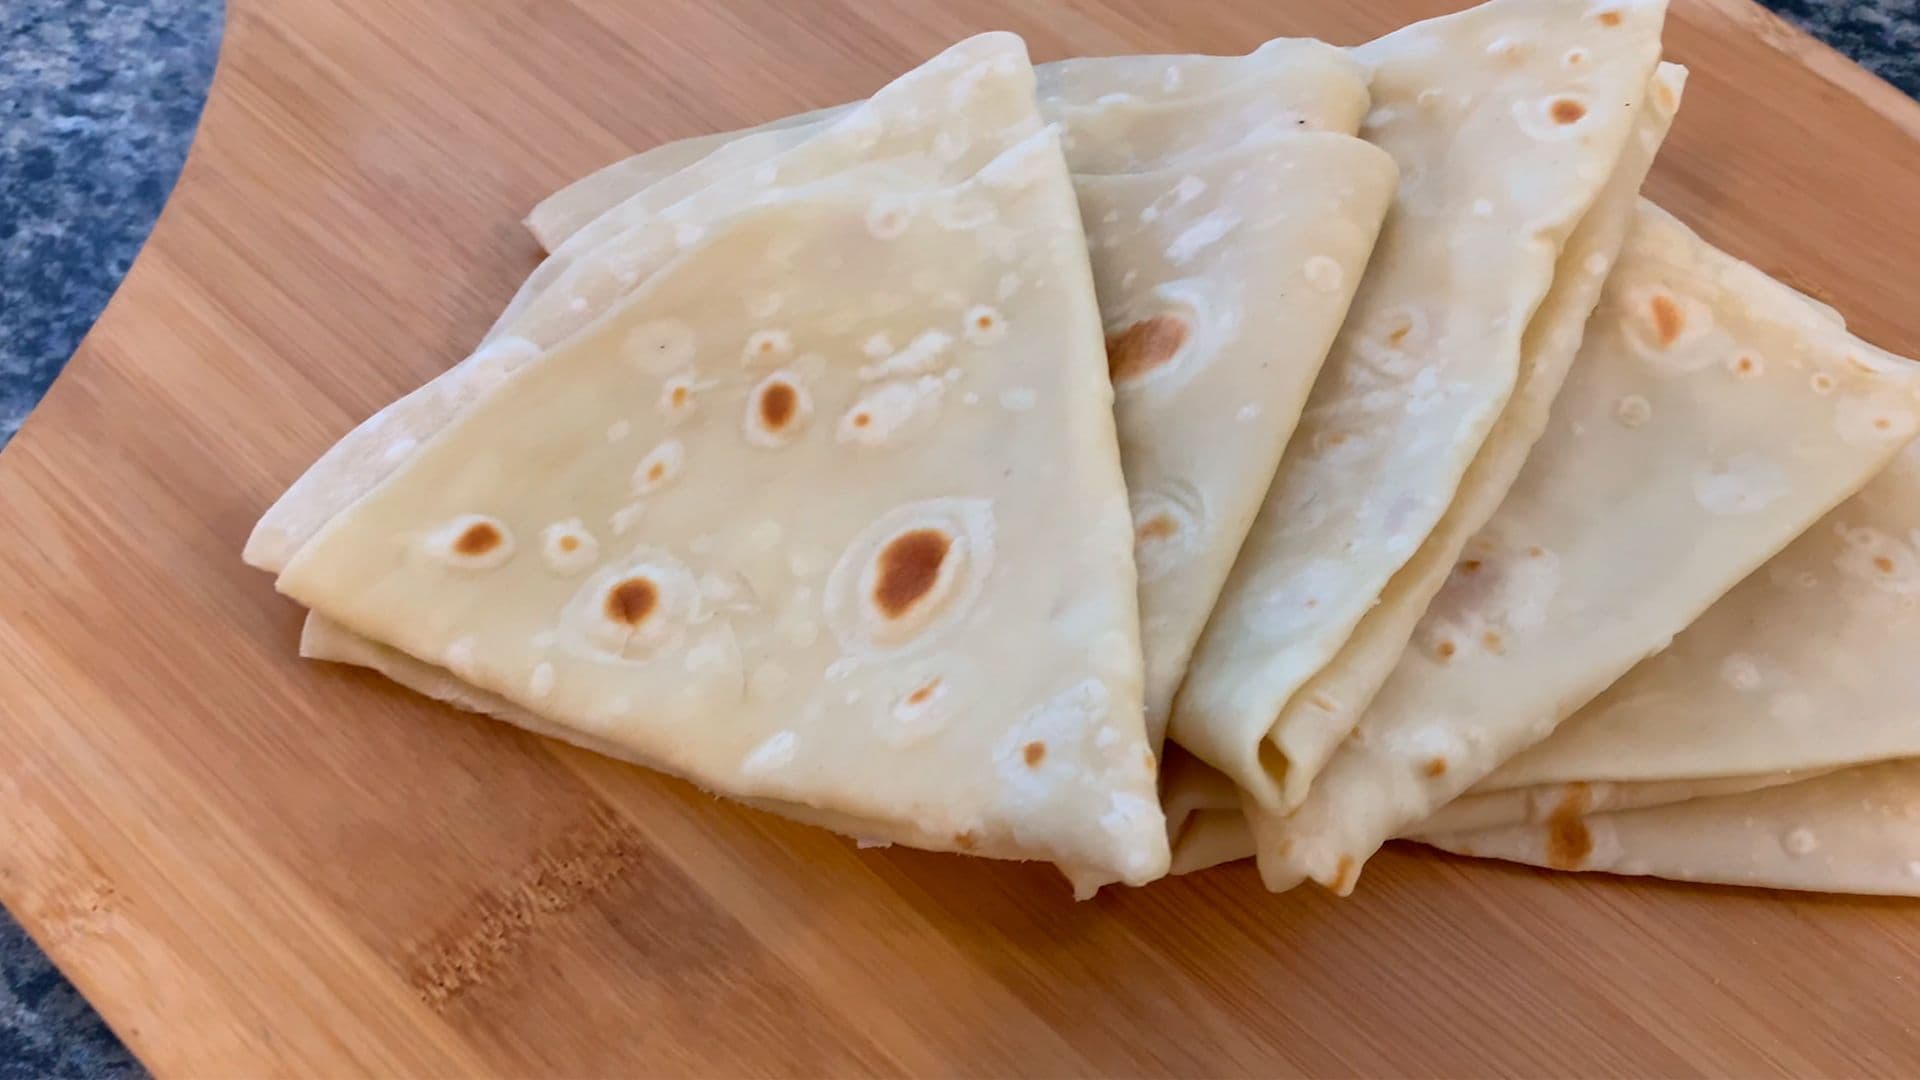
Rumali Roti Recipe - Soft and Thin "Handkerchief" Roti
Make soft, paper-thin Rumali Roti at home with this easy recipe. These delicate handkerchief flatbreads are perfectly pliable and ideal for scooping up your favorite curries.
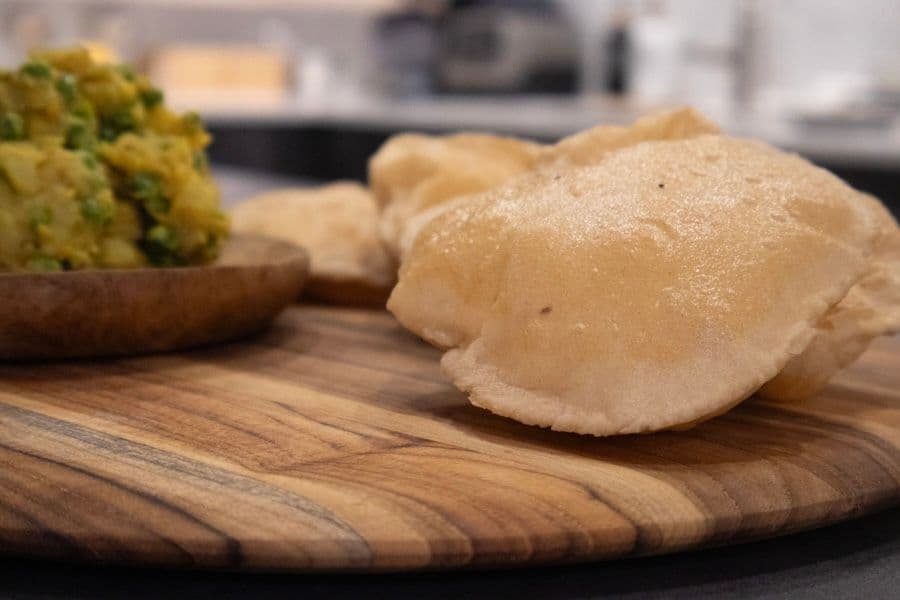
Fried to Perfection: Ultimate Puffy Poori Bread Recipe
Master the art of perfectly puffed poori with this authentic Indian bread recipe. Crispy, light, and golden every time — your go-to guide for foolproof homemade poori from scratch.

Classic Layered Paratha | Triangular Paratha Recipe
Make perfectly flaky, layered triangular paratha at home with this easy whole wheat Indian bread recipe. Soft, crispy, and delicious — ideal for any meal of the day.

Healthy Palak Paratha Recipe: Easy Spinach Layered Flatbread
Make flaky, layered Palak Paratha at home with this easy spinach flatbread recipe. Soft, nutritious, and packed with flavor — perfect for any meal.

Quick Cast Iron Naan: Easy Homemade Recipe in Just One Hour!
Make soft, pillowy homemade naan bread in just one hour using a cast iron skillet. This easy recipe delivers authentic restaurant-style results right from your own kitchen.

How to Make The Best Punjabi Lachha Paratha
Crispy, flaky, and buttery Punjabi Lachha Paratha made right at home. Master this beloved Indian bread with simple steps and pantry staples for perfect layers every time.


Comments
No comments yet — be the first to share your thoughts!
Leave a review
Be the first to share how it went — your note helps other cooks (and earns the recipe its stars).