


This post may contain affiliate links. Read our disclosure policy
Watch the recipe

Cooking With Anadi
12K subscribers · basmati rice perfumed with toasted cumin seeds and ghee
Jeera rice is one of those dishes that is so simple, yet there are a number of ways to prepare it. Jeera simply means “cumin” in Hindi! This Indian jeera rice is prepared very simply with some ghee, cumin seeds, ginger and cilantro. I will go over two ways to prepare this dish, starting with my favorite method.

Jeera Rice Recipe - Pan-Fried Method
1. To follow this method, you will need pre-cooked basmati rice. To do so, rinse 1 cup of rice and add to a pot. Then add about 2 cups of water. I tend to add just a bit less than 2 cups, to get the perfect separated, individual grains of rice.
2. Bring the water up to a boil on medium-high heat. Then turn heat down to low, cover, leaving a small slit open for steam to escape and cook for 15-20 minutes or until the water has been absorbed.
3. Once cooked, heat a pan on medium heat, add oil and crackle the cumin seeds until reddish brown.


4. Add rice and mix well until well coated with oil and heated through.


5. Turn off the heat and season with salt and pepper, cilantro and lime juice.


Jeera Rice Recipe - Steamed Method
1. Heat a pot on medium heat and crackle cumin seeds until reddish brown.
2. Then add rice and mix well until well coated with oil, sauté for about a minute.
3. Add about 2 cups of water and bring the water up to a boil on medium-high heat. Then turn heat down to low, cover, leaving a small slit open for steam to escape and cook for 15-20 minutes or until the water has been absorbed.
4. Turn off the heat and season with salt and pepper, cilantro and lime juice.
Serve it with a bowl of my Punjabi lobia for a satisfying everyday dinner.
Frequently Asked Questions
What is jeera rice?▼
Jeera rice is fragrant basmati rice tempered with cumin seeds (jeera) crackled in ghee or oil — a simple, aromatic North Indian side that pairs with almost any curry.
What is the rice-to-water ratio for jeera rice?▼
This recipe uses about 1 cup of basmati to just under 2 cups of water — that ratio gives you fluffy, separate grains rather than sticky rice.
Can I make jeera rice with leftover rice?▼
Absolutely — it’s a great way to use day-old rice. Crackle the cumin seeds in ghee, toss in the cooked rice until coated and heated through, then finish with salt, cilantro and lime.
What do you serve with jeera rice?▼
It’s the perfect partner for saucy curries and dals — think dal tadka, rajma, or butter chicken. A spoonful of raita on the side rounds it out.
Tools Needed
No Instant Pot and No Pressure Cooker: Both Methods Here Are Stovetop
A lot of jeera rice recipes send you straight to an Instant Pot or a traditional pressure cooker, and the whole method becomes a question of how many whistles, whether the sealing ring is seated, which button you press, when to move the vent to the sealing position and whether you let it sit or do a quick pressure release. None of that applies here. There is no Instant Pot lid, no saute mode, no high pressure setting, no timer to set and no pressure release to wait out, because both of the methods on this page are plain stove work in an ordinary pot and pan.
The water ratio is the part worth getting right. It is 1 cup basmati to about 2 cups water, and my honest preference is to pour a little under the full 2 cups, because that small shortfall is what gives you separate grains instead of a soft, sticky mass. Bring it to a rolling boil on medium-high, then drop the heat to low and cover. Note that it is deliberately not a tight-fitting lid - leave a small slit open so steam can escape, and cook until the water has been absorbed. The recipe card puts the cooking time at 15 minutes, with 4 minutes of prep, so you are looking at roughly 19 minutes start to finish. A stovetop pressure cooker would shave a few minutes off that and cost you the control.
There Are No Whole Spices in This Jeera Rice - Only Cumin
This is where this recipe parts company with most of the jeera rice you will find. There is no bay leaf in it. No cloves, no green cardamoms, no cinnamon stick and no star anise. The entire aromatic load is 2 tsp of cumin seeds, and that is the point: jeera means cumin, so the flavor you are chasing is cumin and not a general garam-masala warmth. Heat ghee - 2 tbsp of it - then add the seeds and let them crackle and pop until they turn a reddish brown. That color change is your cue; pull them too early and the aroma never develops, take them past it and they turn bitter. Nothing else goes into the fat.
On the fat itself: 2 tbsp of ghee is what the card calls for, and ghee is doing real work here beyond richness, because its flavor is part of the restaurant character of the dish. If you need a swap, olive oil works at the same quantity as a neutral substitute, and coconut oil works too though it brings a slight sweetness with it. There is no avocado oil in the list, but any neutral oil behaves the same way. Worth saying plainly: as written this recipe is not vegan, because of the ghee. Swap to olive or coconut oil and it is - everything else in it, the rice, the cumin, the cilantro, the salt and pepper, is already plant-based.
Rinse the Rice, Do Not Soak It: Getting Separate Grains
Step one is to rinse 1 cup of basmati rice, and the reason is extra starch. Long-grain basmati carries loose starch on the outside of the grains from milling, and if you leave it there it dissolves into the cooking water and glues the rice together. Rinse it under cool running water, or in a bowl swapped out 2-3 times, until the water runs mostly clear rather than milky. What this recipe does not ask you to do is soak. There is no soaking step and no resting period while the rice soaks - a rinse is enough, and skipping the soak is part of why the total time stays under 20 minutes.
The card simply says basmati rice; it does not specify aged basmati, though a good quality long-grain basmati will give you a longer grain and more perfume. Among white rice varieties, jasmine is the closest swap - similar long-grain texture, just a little more floral - and plain long-grain white rice works too, with less aroma to it. Brown rice is not a drop-in here: it needs more water and considerably more time than this method allows. Once the water has gone, resist stirring. Fluff the rice with a fork instead, lifting rather than mixing, so you keep the grains intact before they go into the cumin ghee.
What to Serve With Jeera Rice, and How to Store the Leftovers
Jeera rice is not a centerpiece; it is the plain rice that makes a rich gravy taste better, which is exactly why Indian restaurants keep it on the menu next to everything saucy. It is very good under dal makhani, with rajma masala, alongside paneer butter masala, or with a vegetable korma. On this site I most often eat it with my Punjabi lobia for an everyday dinner. A papad on the side and a spoonful of yogurt and you have a full plate. It is deliberately mild, so it will not fight whatever you put next to it - the taste is cumin, ghee, salt, pepper and the fresh lift of cilantro, and nothing more.
Leftover jeera rice keeps well. Cool it down quickly rather than letting it sit out, move it to an airtight container and get it into the fridge within an hour or so - cooked rice is one of the foods that is genuinely worth being careful with. In the refrigerator it is good for a couple of days. For longer, spread the extras out flat, freeze them, and you have single portions ready to go. To reheat, add a splash of water to the container and microwave it covered, or warm leftover rice in a pan over low heat with a teaspoon of hot water so the steam loosens the grains again. If you have cooked a large quantity, freeze it in portions rather than one block - it thaws far more evenly.
Let me know what you think of this recipe in the comments! If you’ve tried this recipe, be sure to post it on social media and tag it with #cookingwithanadi and mention me @cooking.with.anadi. Thank you!
Recipe by Anadi Misra
Make restaurant-style jeera rice at home with this easy, fragrant recipe. Perfectly fluffy basmati rice loaded with aromatic cumin — a simple Indian classic ready in minutes.
Stovetop
5.0 · 3 ratings
4 min
Prep
15 min
Cook
19 min
Total
4
servings
makes 3 cups
easy
Level
Ingredients
Ingredients
Tap any quantity to scale
Instructions
Pan fried method
- 1
Rinse 1 cup of rice and add to a pot. Then add about 2 cups of water. I tend to add just a bit less than 2 cups, to get the perfect separated, individual grains of rice.
Rinse 1 cup of rice and add to a pot. Then add about 2 cups of water. I tend to add just a bit less than 2 cups, to get the perfect separated, individual grains of rice.
Learn the technique - 2
Bring the water up to a boil on medium-high heat. Then turn heat down to low, cover, leaving a small slit open for steam to escape and cook for 7-10 minutes or until the water has been absorbed.
Bring the water up to a boil on medium-high heat. Then turn heat down to low, cover, leaving a small slit open for steam to escape and cook for 7-10 minutes or until the water has been absorbed.
- 3
Once cooked, heat a pan on medium heat and add oil and crackle cumin seeds, cook until reddish brown. Add rice and mix well until well coated with oil and heated through.
Once cooked, heat a pan on medium heat and add oil and crackle cumin seeds, cook until reddish brown. Add rice and mix well until well coated with oil and heated through.
- 4
Turn off the heat and season with salt and pepper, cilantro and lime juice.
Turn off the heat and season with salt and pepper, cilantro and lime juice.
Steamed method
- 1
Heat a pot on medium heat and crackle cumin seeds until reddish brown.
Heat a pot on medium heat and crackle cumin seeds until reddish brown.
Learn the technique - 2
Then add rice and mix well until well coated with oil, sauté for about a minute.
Then add rice and mix well until well coated with oil, sauté for about a minute.
- 3
Add about 2 cups of water and bring the water up to a boil on medium-high heat. Then turn heat down to low, cover, leaving a small slit open for steam to escape and cook for 7-10 minutes or until the water has been absorbed.
Add about 2 cups of water and bring the water up to a boil on medium-high heat. Then turn heat down to low, cover, leaving a small slit open for steam to escape and cook for 7-10 minutes or until the water has been absorbed.
- 4
Turn off the heat and season with salt and pepper, cilantro and lime juice.
Turn off the heat and season with salt and pepper, cilantro and lime juice.
Nutrition per serving
Did you make this recipe? Tag @cooking.with.anadi on Instagram and hashtag it #cookingwithanadi

Tested & written in Anadi’s kitchen
Recipe history
- April 16, 2026 — Reworked and refreshed for the 2026 relaunch — new photography, restructured and standardized ingredients & instructions.
Filed under
You might also like
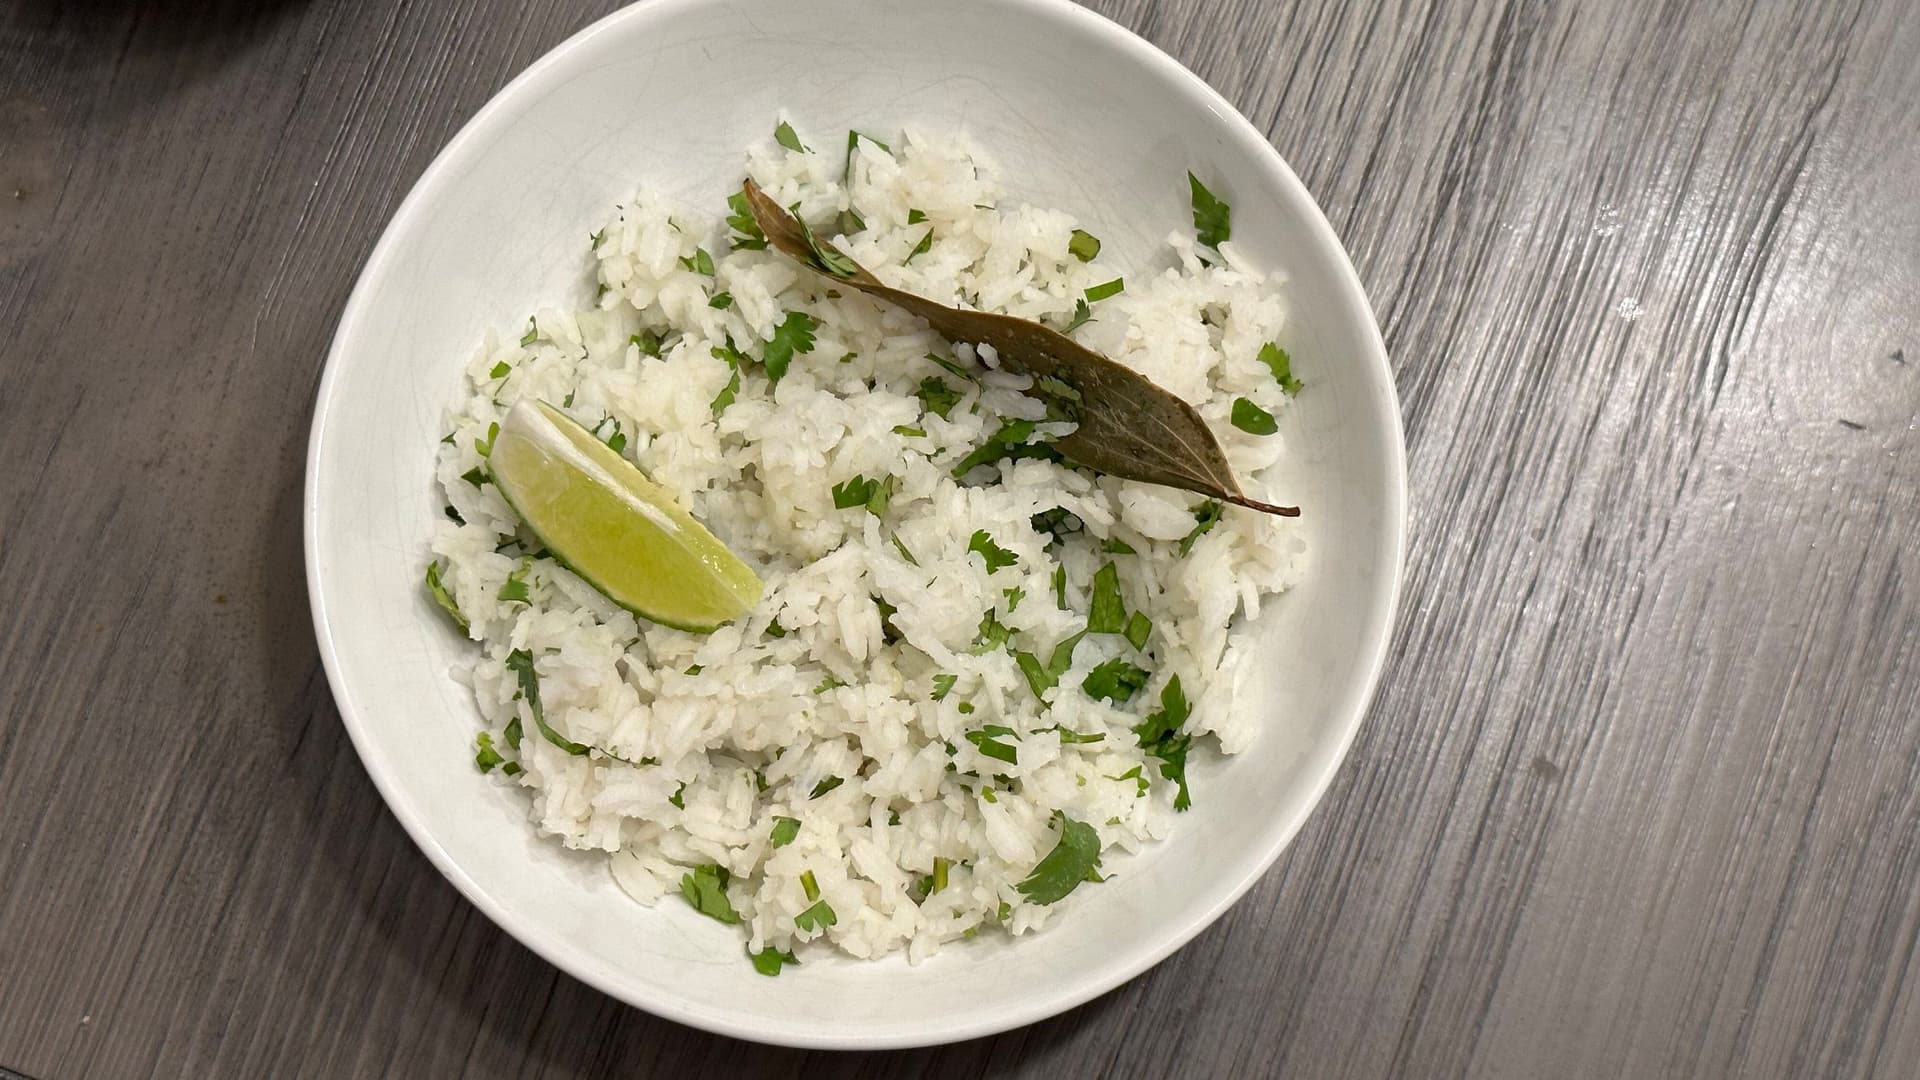
Flavorful Indian Cilantro Lemon Rice Recipe
Bright, zesty, and ready in minutes, this Indian Cilantro Lemon Rice is a flavorful vegetarian dish packed with fresh herbs and bold spices. A quick and easy recipe you will love.

Light and Healthy Vegetable Rice Pulao Recipe
Light, healthy, and bursting with flavor, this Vegetable Rice Pulao is an easy Indian vegetarian dish ready in minutes. Perfect for a wholesome weeknight meal the whole family will love.
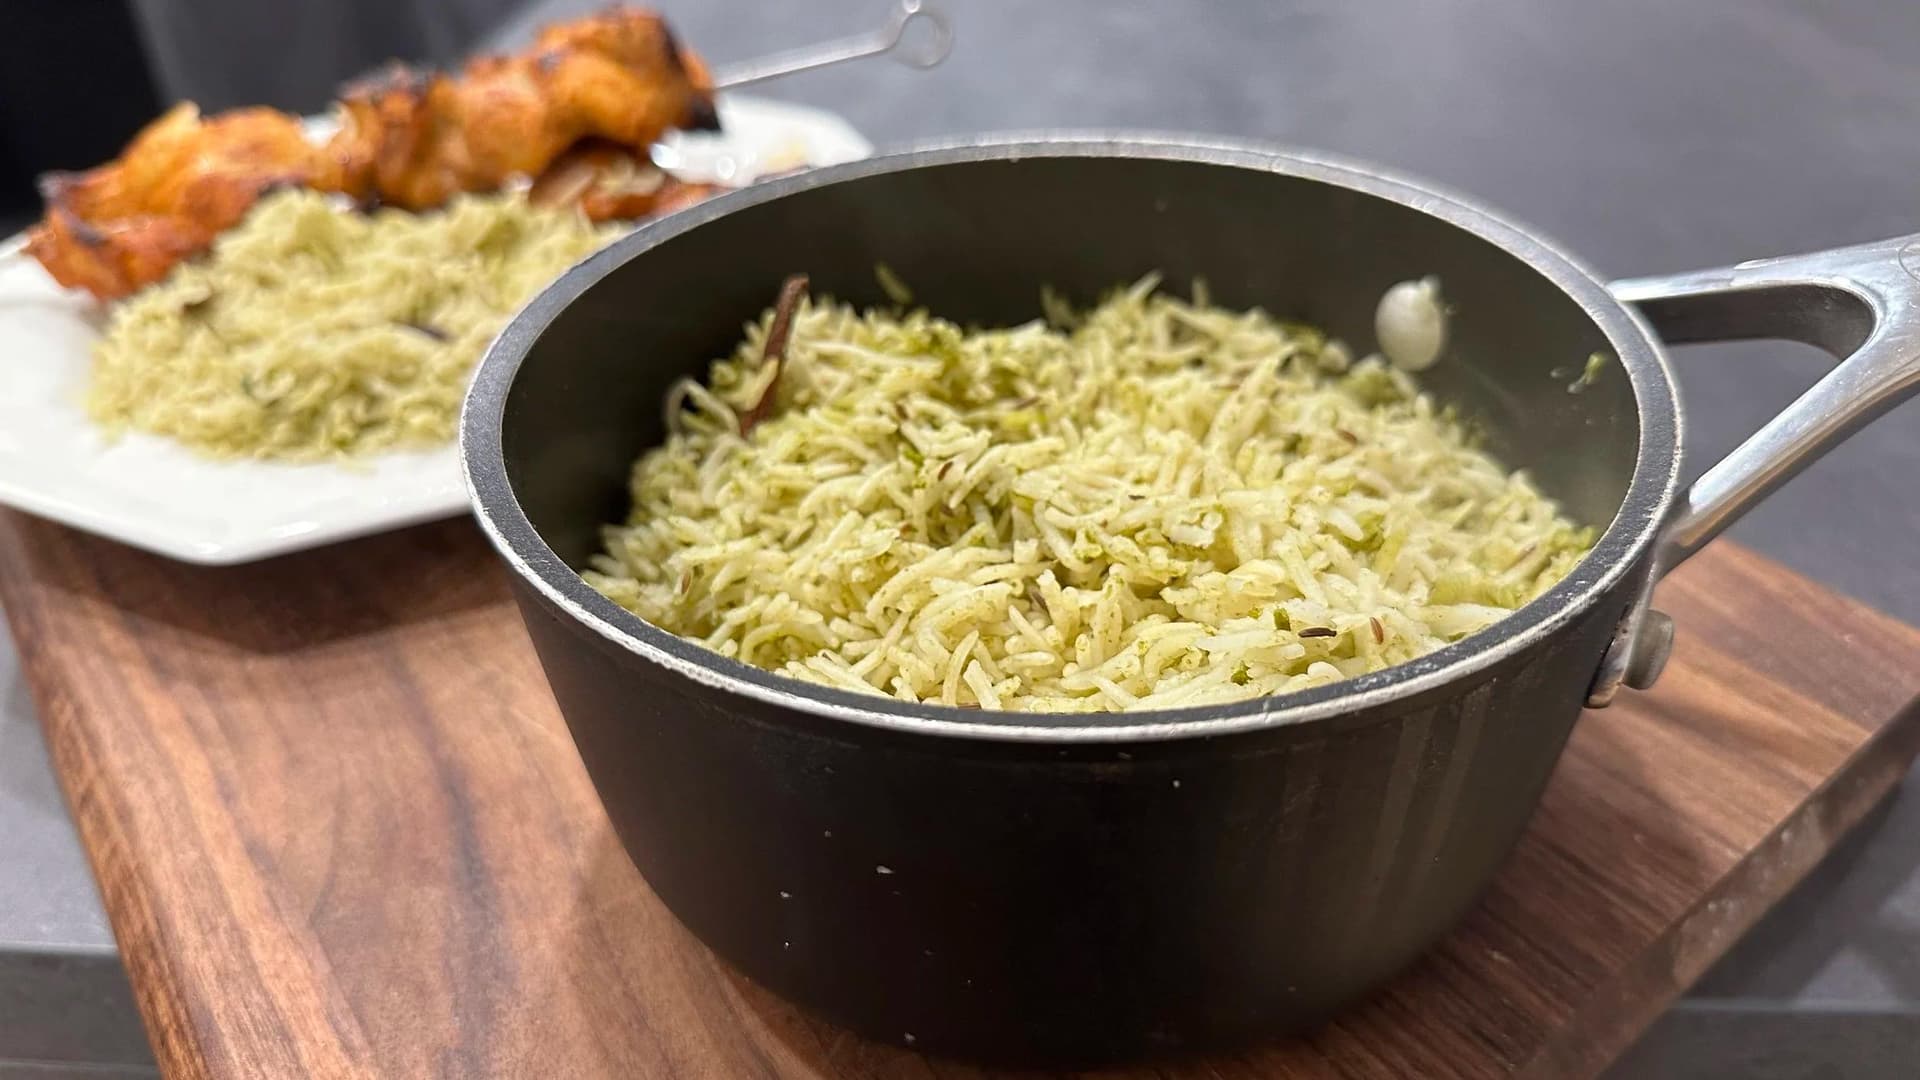
Pudina-Dhanya Pulao (Coriander Mint Rice)
Pudina-Dhanya Pulao is a fragrant Indian mint and coriander rice that comes together quickly for a healthy, flavorful vegetarian side dish perfect for any weeknight meal.
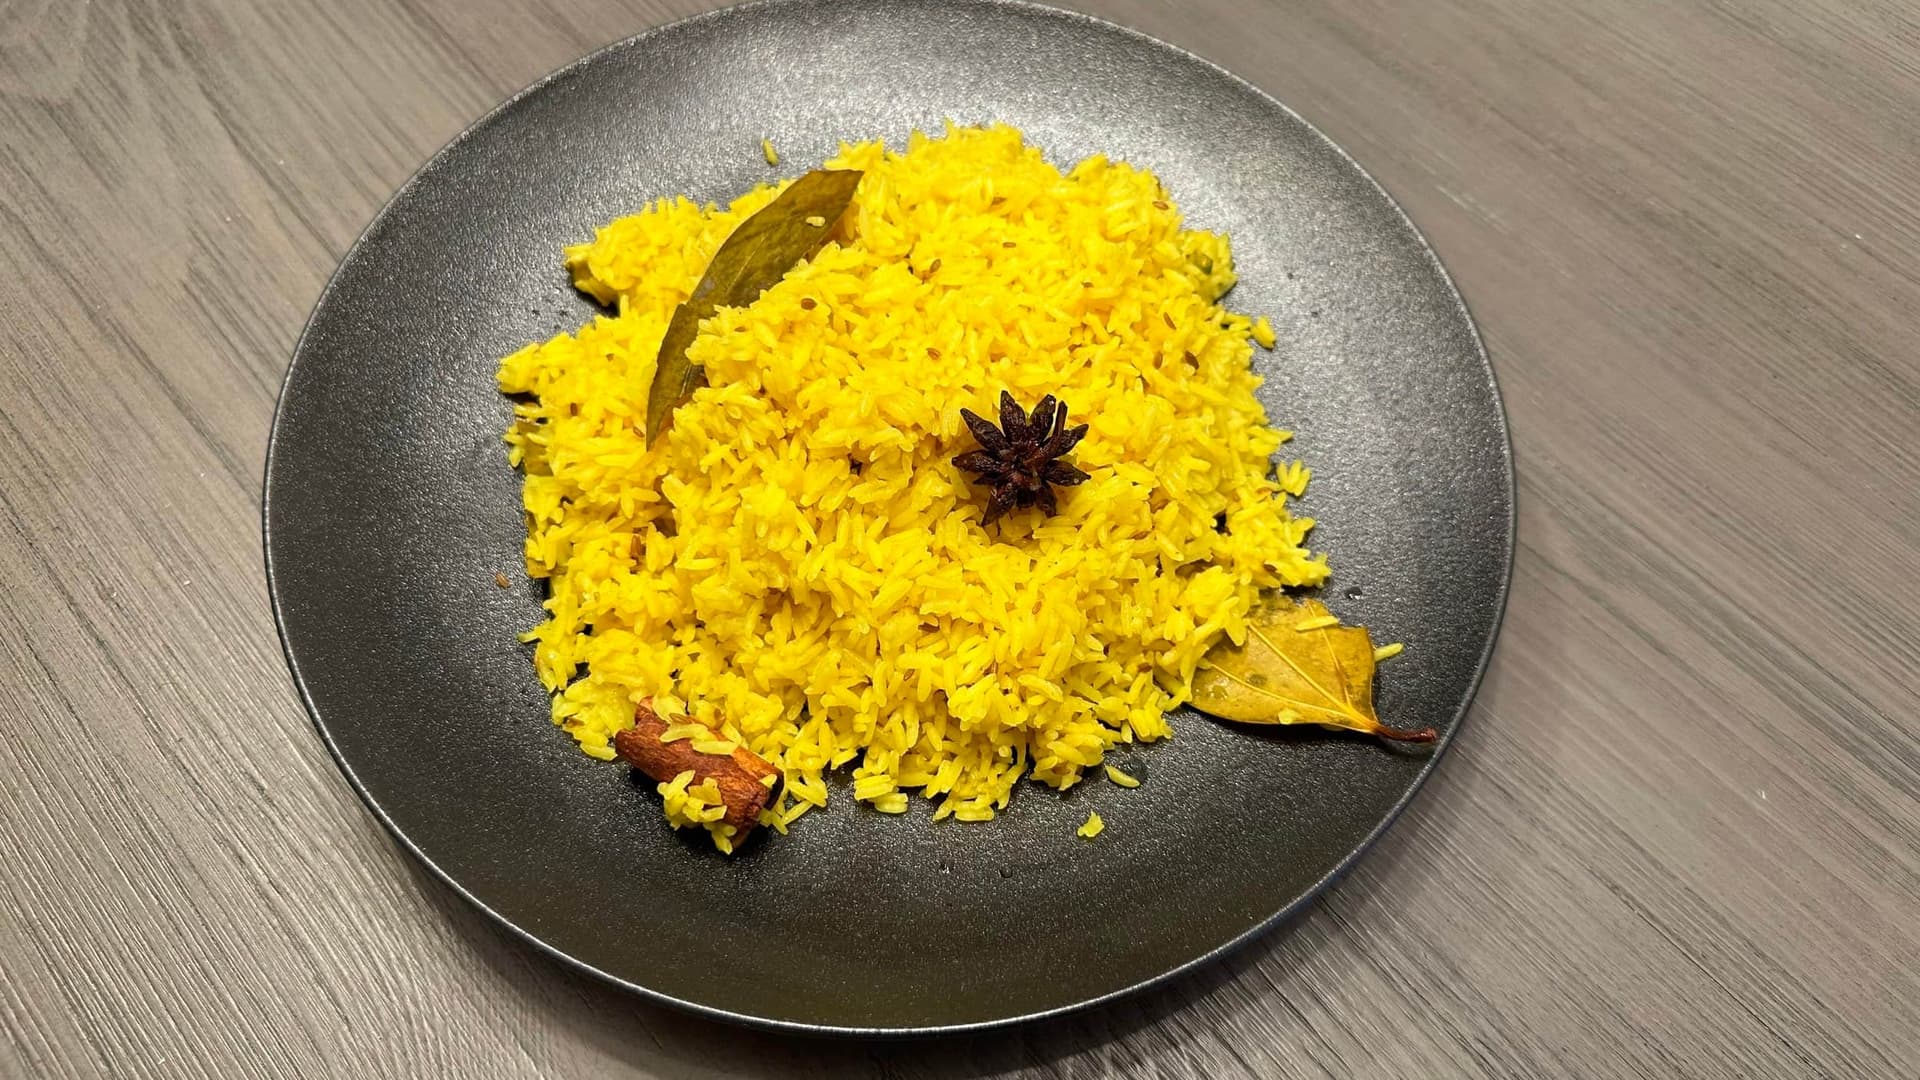
Easy And Aromatic Fluffy Indian Turmeric Rice
Fluffy Indian Turmeric Rice made easy and aromatic with simple spices. A quick vegetarian side dish perfect for any meal. Bright, fragrant, and ready in minutes.
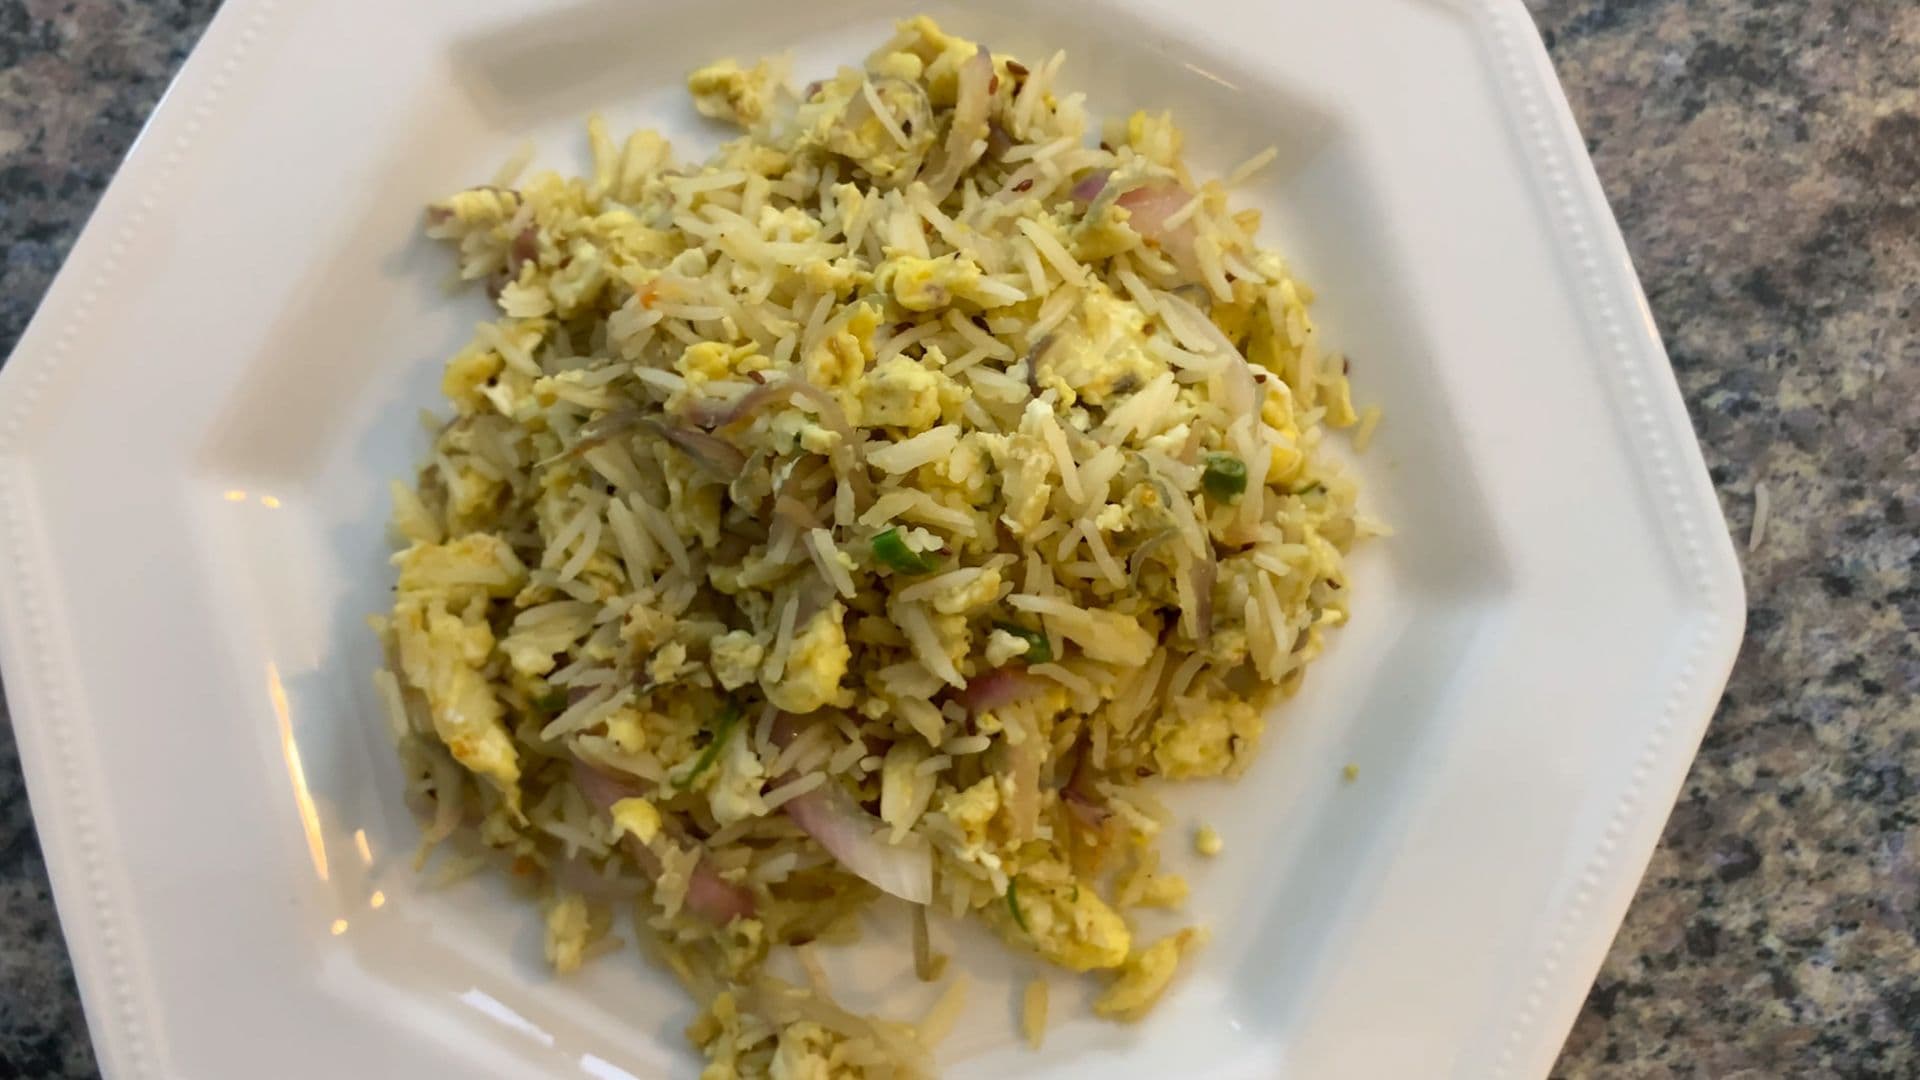
Quick & Delicious Indian Egg Fried Rice Recipe
Quick, spicy, and packed with flavor, this Indian Egg Fried Rice is the perfect homemade meal for brunch or lunch. Ready in minutes with simple ingredients you already have at home.
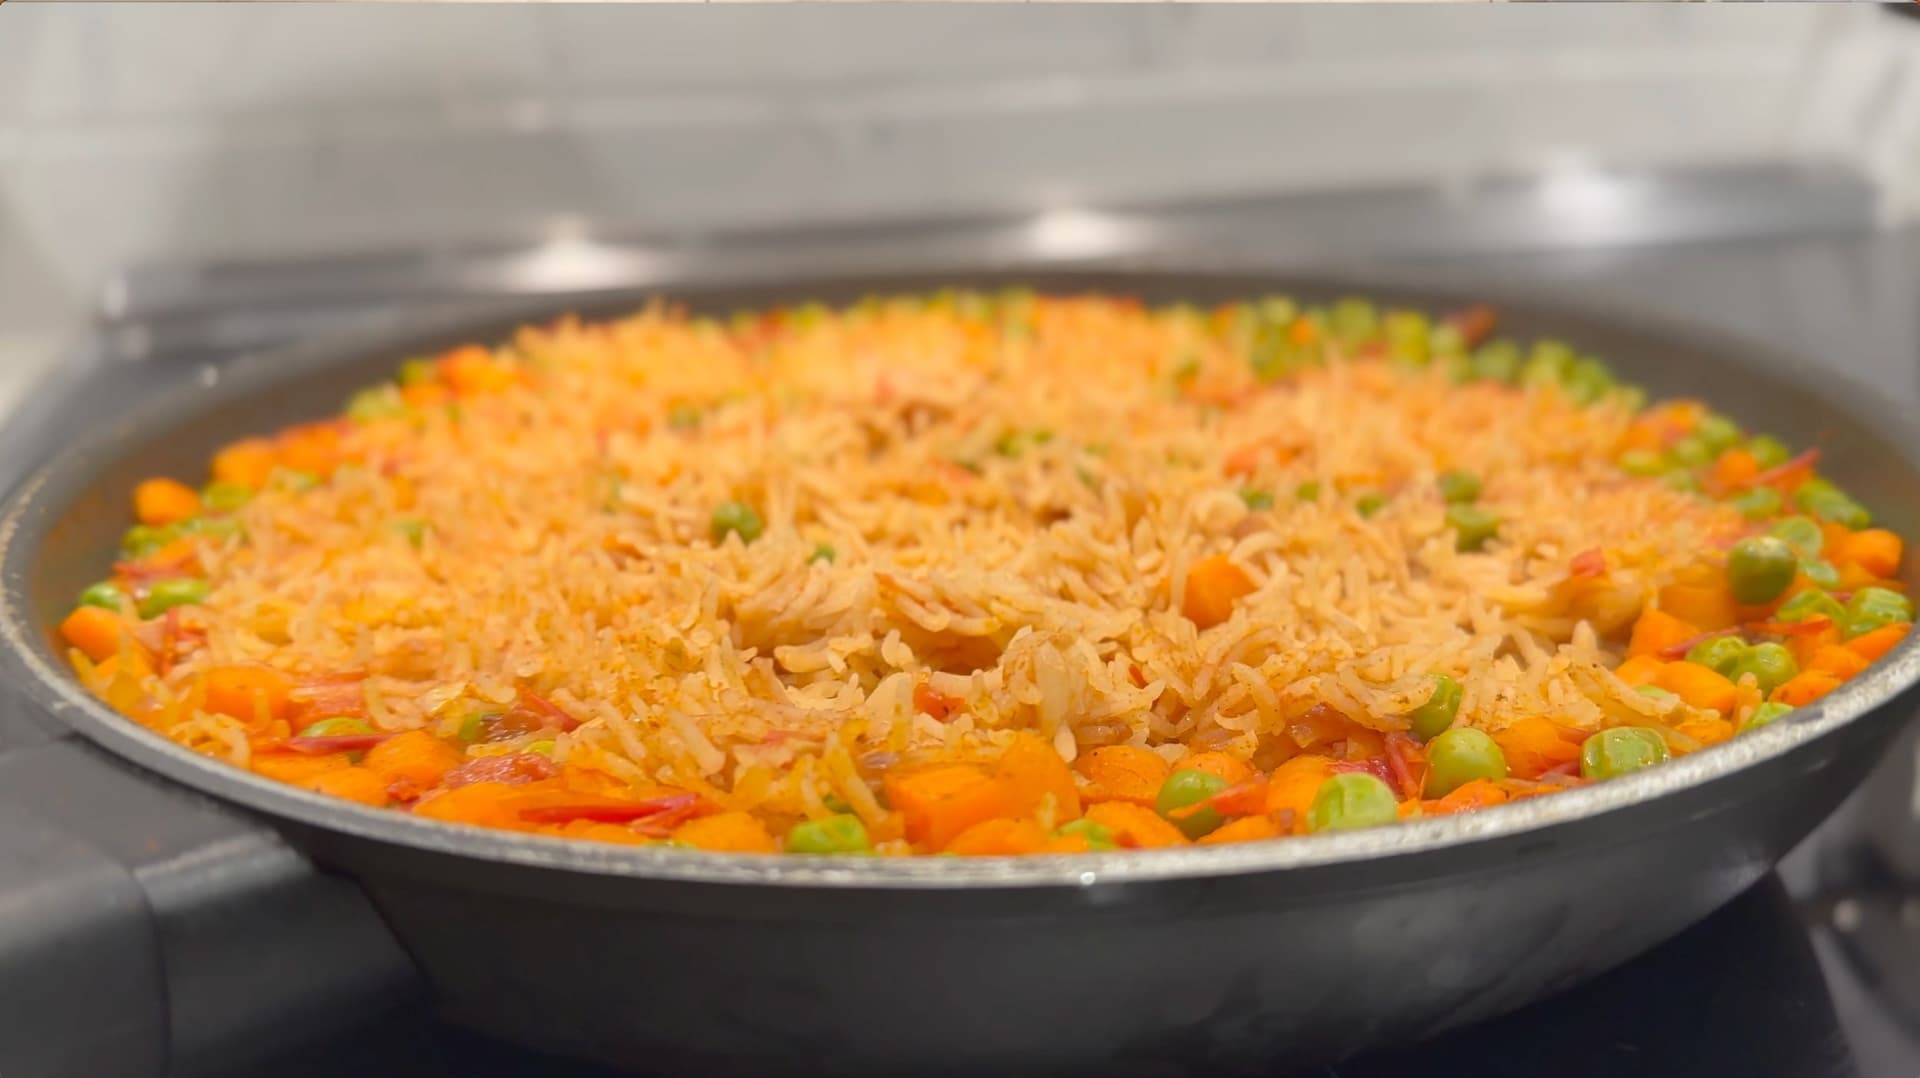
Easy Restaurant-Style Mexican Tomato Rice Recipe
Make restaurant-style Mexican tomato rice at home with ease. Fluffy, flavorful, and ready fast — this authentic recipe rivals your favorite Mexican restaurant every time.


Comments
No comments yet — be the first to share your thoughts!
Leave a review
Be the first to share how it went — your note helps other cooks (and earns the recipe its stars).