This post may contain affiliate links. Read our disclosure policy
Watch the recipe
The year is 2024 and I’m only sharing how to make my own pita bread now. Fun fact here is that once upon a time about 5 years ago, I tried to make pita bread once. Unfortunately, it didn’t puff up, it over-cooked and it ended up crispy. I never tried again until now!
While I love to make bread, and I find it very relaxing, I have to admit that because of my difficulty with achieving the perfect pita bread, I just kind of abandoned ship. That is not the approach you should take when something fails, so please don’t follow my example! As I describe in my free motivational guide to explore your potential in the kitchen, Make Cooking Fun!, setting realistic expectations with your goals is essential to keep you inspired and excited. Certainly the saying “if you fail, try, try again” applies here, but sometimes you just need to distance yourself and recharge until you’re ready to go again!
While waiting 5 years is a bit extreme in my case, it did do the trick! Now, here I am better than ever, and I’ve got all the tips and tricks to guarantee you the fluffiest, tastiest, and softest pita breads you’ve ever had in your life! After making this incredible homemade Arabic bread recipe, I don’t know how I can ever buy the ones from the store again! I’m not joking - you really can’t get this kind of quality from the store unless you’re getting a batch of freshly baked pita from a local bakery!
If making your own pita bread for shawarma has been on your bucket list, then join me in checking it off as part of your Live to Cook one-month challenge! You can get started on your cooking journey for free today by signing up to my free email newsletter, plus all of my recipes will be sent right to your inbox!
To see the entire process from start to finish to make the best Lebanese breads at home and how to make them over the stove or in the oven, be sure to watch the video! If you’re not already, please subscribe to my YouTube channel, and don’t forget to press the bell button to be notified when all of my video recipes are live! Let’s get baking!

What is Pita Bread?▼
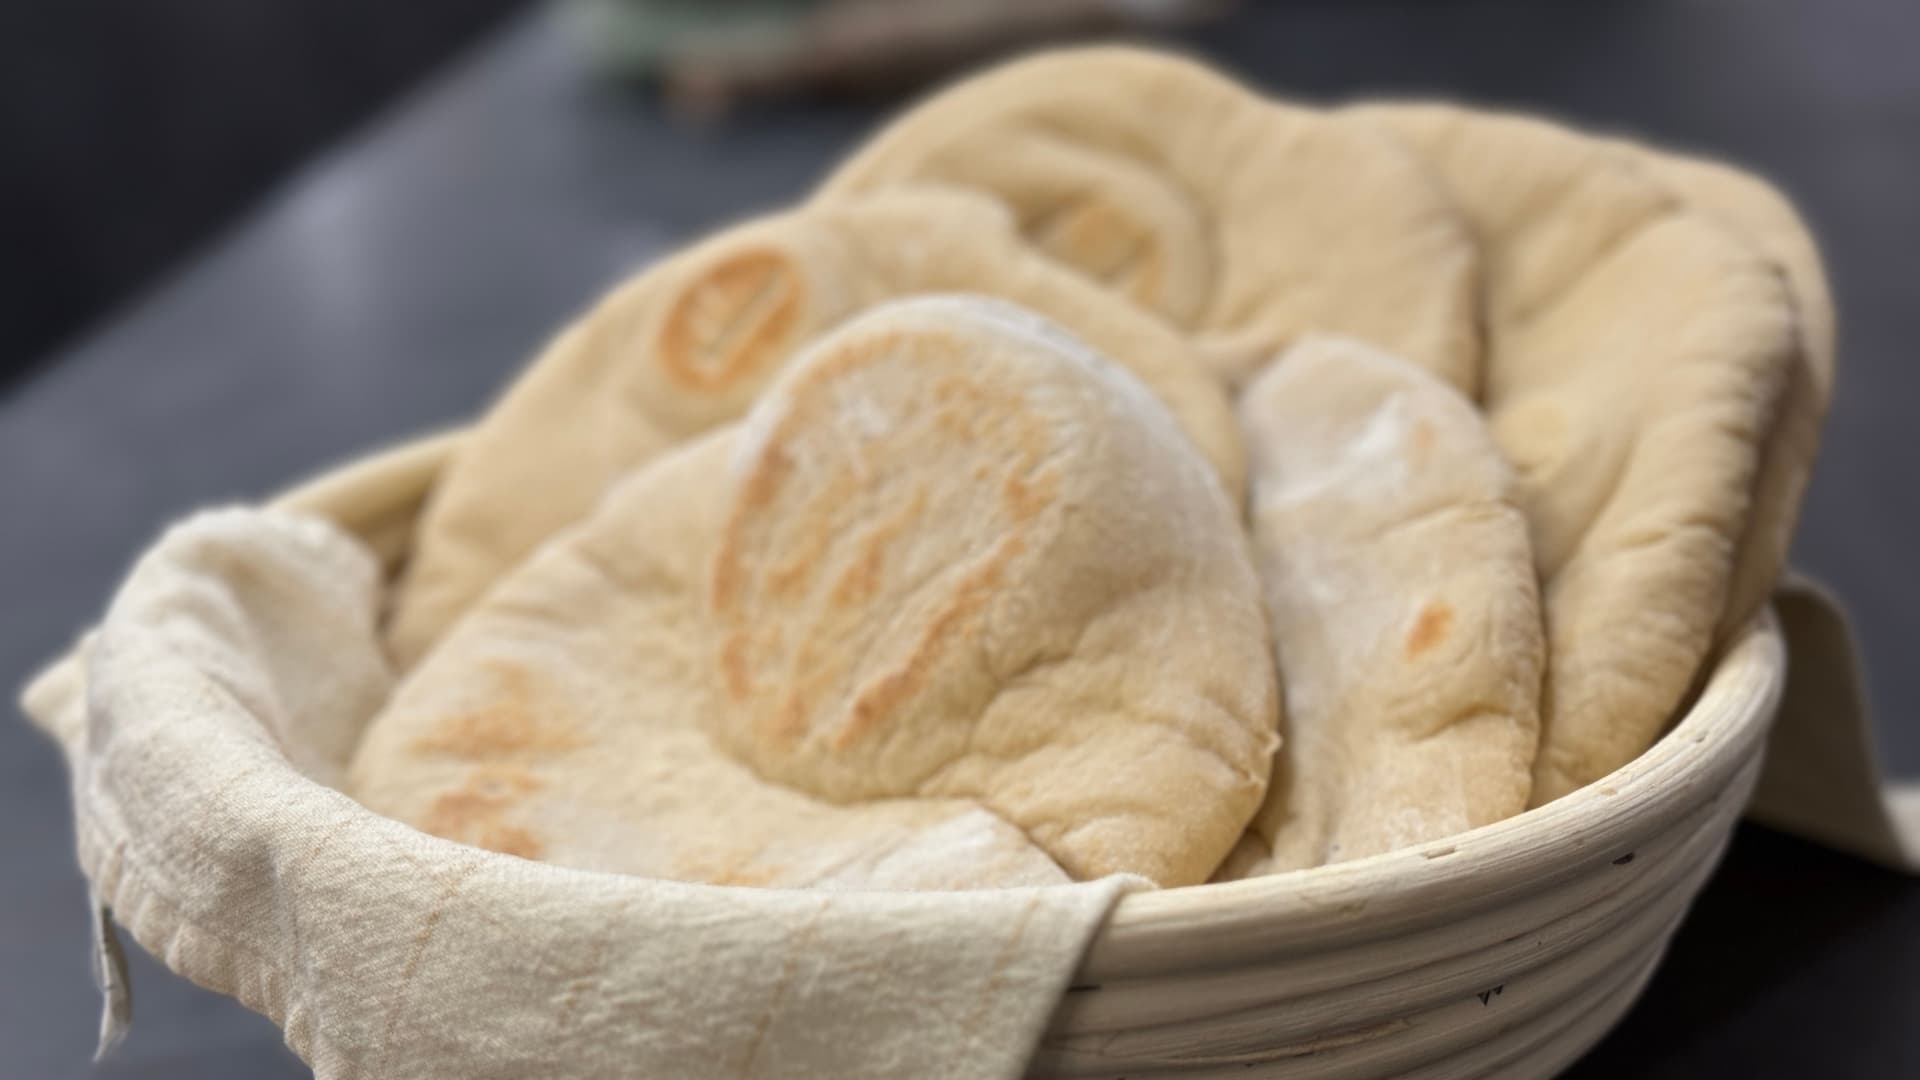
Pita bread (or pitta bread), also referred to as Arabic bread, is a Mediterranean flatbread that is leavened with yeast, so it rises and gets puffy when cooking. Pita bread is very popular in Syria, Lebanon, Israel, and Palestine, but has gained popularity all across the world.They can be small to medium in size, ranging from about 4 to 10 inches in diameter. Pita breads have been around for over 10,000 years, as it has evolved from the roots of early humans first making flatbreads. If you’ve seen pita pockets and shawarmas, you’ll notice that there’s a pocket in the centre to add in your fillings. Pita bread is also known as “shawarma bread” or “Lebanese shawarma bread,” because this is the iconic bread used to make Lebanese shawarmas!

How is a Pita Bread Different from Naan Bread?▼
While both breads are flatbreads, and they are both leavened with yeast, the naan bread takes a bit more patience, and I find the process of making naan bread slightly more technical. Of course, a real restaurant-style naan bread would be made in the tandoor oven, but I doubt any of us have one! On the other hand, pita bread requires less time to rise, and it’s lighter. If you do need a quick alternative to make naan bread, check out my Quick Cast Iron Naan Bread recipe!
Additionally, a good naan bread is firmer, denser, and chewier. Another key difference between naan bread and pita bread is that naan is also made with milk (or yogurt, or a combination of milk and yogurt), which contributes to the change of texture. Using dairy in naan also makes them not vegan, whereas pita breads are vegan.

Why Make Your Own Lebanese Bread!
If you’re new to making bread, then I can understand that it may be a bit daunting to go through all that work, especially when you can just walk over to a store and pick some up! If you’ve read the introduction and read about my very long break from making pita breads, you may get discouraged! However, I’m sharing this recipe today so that you are ENCOURAGED to make your own pita bread, now that you’ll be guaranteed fluffy and soft results!
- Minimal ingredients: All you need are some household staples that you probably already have on hand!
- Fresh: Who doesn’t love the aroma and taste of freshly made bread? The store just can’t compete with that!
- Soft: I find that store-bought pita can be a bit hard, depending on when you buy it. Again, you don’t know when it was baked, and I’m sure the process of bakery to store itself dries the bread out a bit. The results just speak to themselves when you taste homemade pita compared to store-bought!
Dietary Considerations for This Lebanese Pita Recipe
This Homemade Pita Bread is:
- Vegetarian
- Vegan
- Dairy-free

Can I Make This Pita Bread Gluten-Free?▼
Authentic Lebanese Pita Bread is typically made with wheat flour, which contains gluten. I’ve not tried using gluten-free flour as a replacement, but if you want to maintain as close to the true results, then the best gluten-free flour I’ve used in the past for other recipes has been the Bob’s Red Mill 1-to-1 Gluten-Free Flour.
Can I use Just Whole wheat flour?▼
At the store, pita breads are available with white flour or whole wheat flour. As you’ll see below, I’m actually using roughly three parts all-purpose flour and one part whole wheat flour for this pita bread. While white flour helps to make of but you could try out the same amount of whole wheat flour and let me know if this turned out well!

How Do I Prevent My Pita Bread From Drying Out?▼
Overcooking the pita on the pan or the oven will cause it to dry out and become crusty. Same result would happen if you were to store it improperly by leaving it out in the open or uncovered in the refrigerator. Make sure to follow the instructions closely to identify when the pita is done cooking and allow the breads to cool down before storing them in an airtight container or a plastic food safe bag.
WHy Won’t My Pita Bread Puff UP?▼
Multiple factors can result in this. The easiest one to identify is if the yeast did not form bubbles when it was initially whisked with the sugar and water. This would suggest the yeast is dead and the second sign of this would be if the dough did not at least double in size after 1 hour at room temperature.
Another factor is rolling out the pita bread too thin, this will not give the pita with enough dough to cook at the bottom with enough dough leftover above the bottom surface for the yeast to become over-active and puff the bread up with air.
Cooking the pita on the stovetop can also result in mixed results. I would recommend cooking the bread on the cast iron pan until lightly browned and then using a wire rack directly over the stove to use the direct heat to puff the bread.

Tools Needed to Make Homemade Pita Bread
- Kitchen scale
- KitchenAid Stand Mixer
- Bench scraper
- Plastic wrap
- Salt crock
- Measuring spoons
- Measuring cups
- Mixing bowl
- Rolling pin
- Tava pan - if making your pita bread over the stove. Alternatively, you can use a cast iron pan.
- Wire rack - if making your pita bread over the stove.
- Tongs - if making your pita bread over the stove.
- Fish spatula - to flip the pita bread both in the stove and in the oven.
- Baking steel - if making your pita bread in the oven. Alternatively, you could use a baking sheet, but a baking steel will give better results.
What if I Don’t Have a Stand Mixer?▼
You can do everything manually, just follow the same order of instructions to get the dough together and knead by hand - you’re guaranteed excellent results!
Ingredients Required for Homemade Pita Bread
For all ingredients and to save the recipe for later, scroll to the bottom of this post for the FULL PRINTABLE RECIPE CARD, or press the “Jump to Recipe” button. You can use the recipe card to scale the recipe based on how many pita breads you want to make! Baking bread is truly a science, so you need to be precise, and having the ingredients automatically adjust for you prevents the possibility of any calculation errors!

- All purpose flour: Bread flour can also work here, especially if you prefer a chewier texture in your pita bread, similar to naan bread or Napoletana pizza. This is because of the higher protein content in bread flour.
- Whole wheat flour: A little bit to add some flavour to our pita bread. I actually used atta flour because I didn’t have whole wheat flour! Atta flour is an Indian type of whole wheat flour, but it is different from regular whole wheat flour because it is finely milled, and it has a higher protein content. As mentioned, this is just to add flavour, and I quite enjoy the flavour that atta flour provides.
- Water: You need to use lukewarm water to activate the yeast. Make sure that the water is not too hot, or else that will kill the yeast.
- Active dry yeast: My recommendation here to allow the pita bread to rise.
- Olive oil: Adds flavour to the pita bread and helps to make a softer bread. While extra virgin olive oil is the gold standard of Mediterranean cooking, you can technically use any kind of neutral oil. I like to use olive oil spray since it allows for easy application.
- Sugar: This acts as food for the yeast.
- Salt: Mandatory to bring out the flavours of the pita bread, plus it contributes to the chewiness of the bread.
How to Make the Best Homemade Pita Bread Recipe
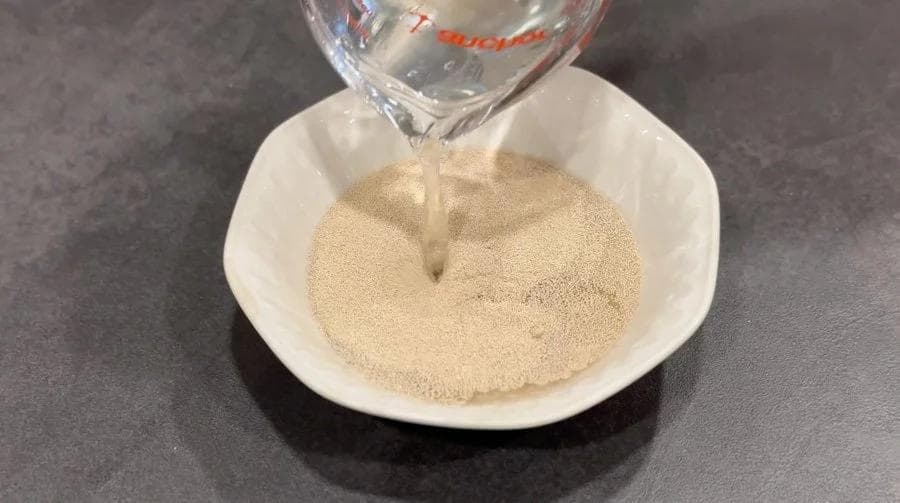
Add yeast to a bowl and add half cup of lukewarm water and sugar. Whisk until yeast is dissolved. If the yeast doesn't bubble up slightly on the surface then your yeast is likely dead. Start again with fresh yeast.


Place all purpose flour and whole wheat flour the bowl of a stand mixer and pour in the yeast mixture. Start the mixer on the lowest setting and add more water, little bit at a time and knead until there are no dried bits of flour. Add the olive oil at this stage as well.


Once the dough has come together, stop the mixer, add the salt and knead again for 1-2 minutes.


Remove the dough from the stand mixer and knead by hand, stretching and folding the dough onto itself for 2-3 minutes.
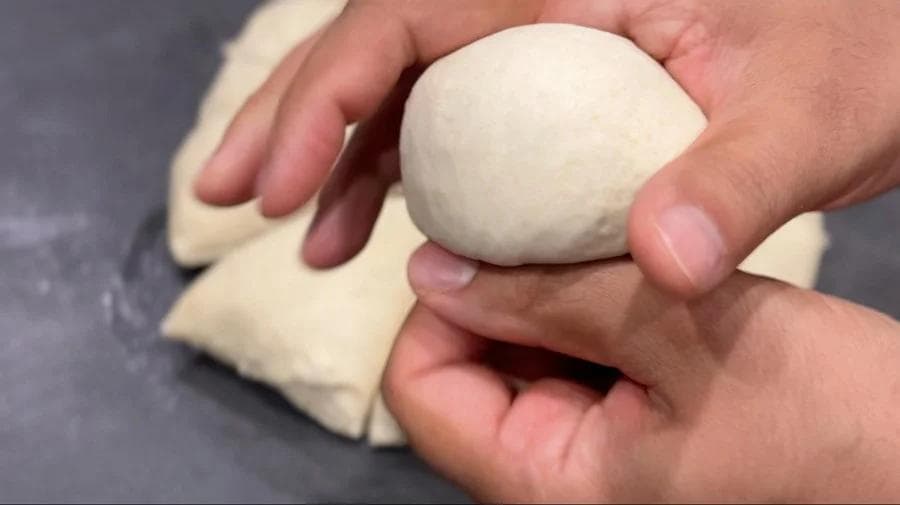
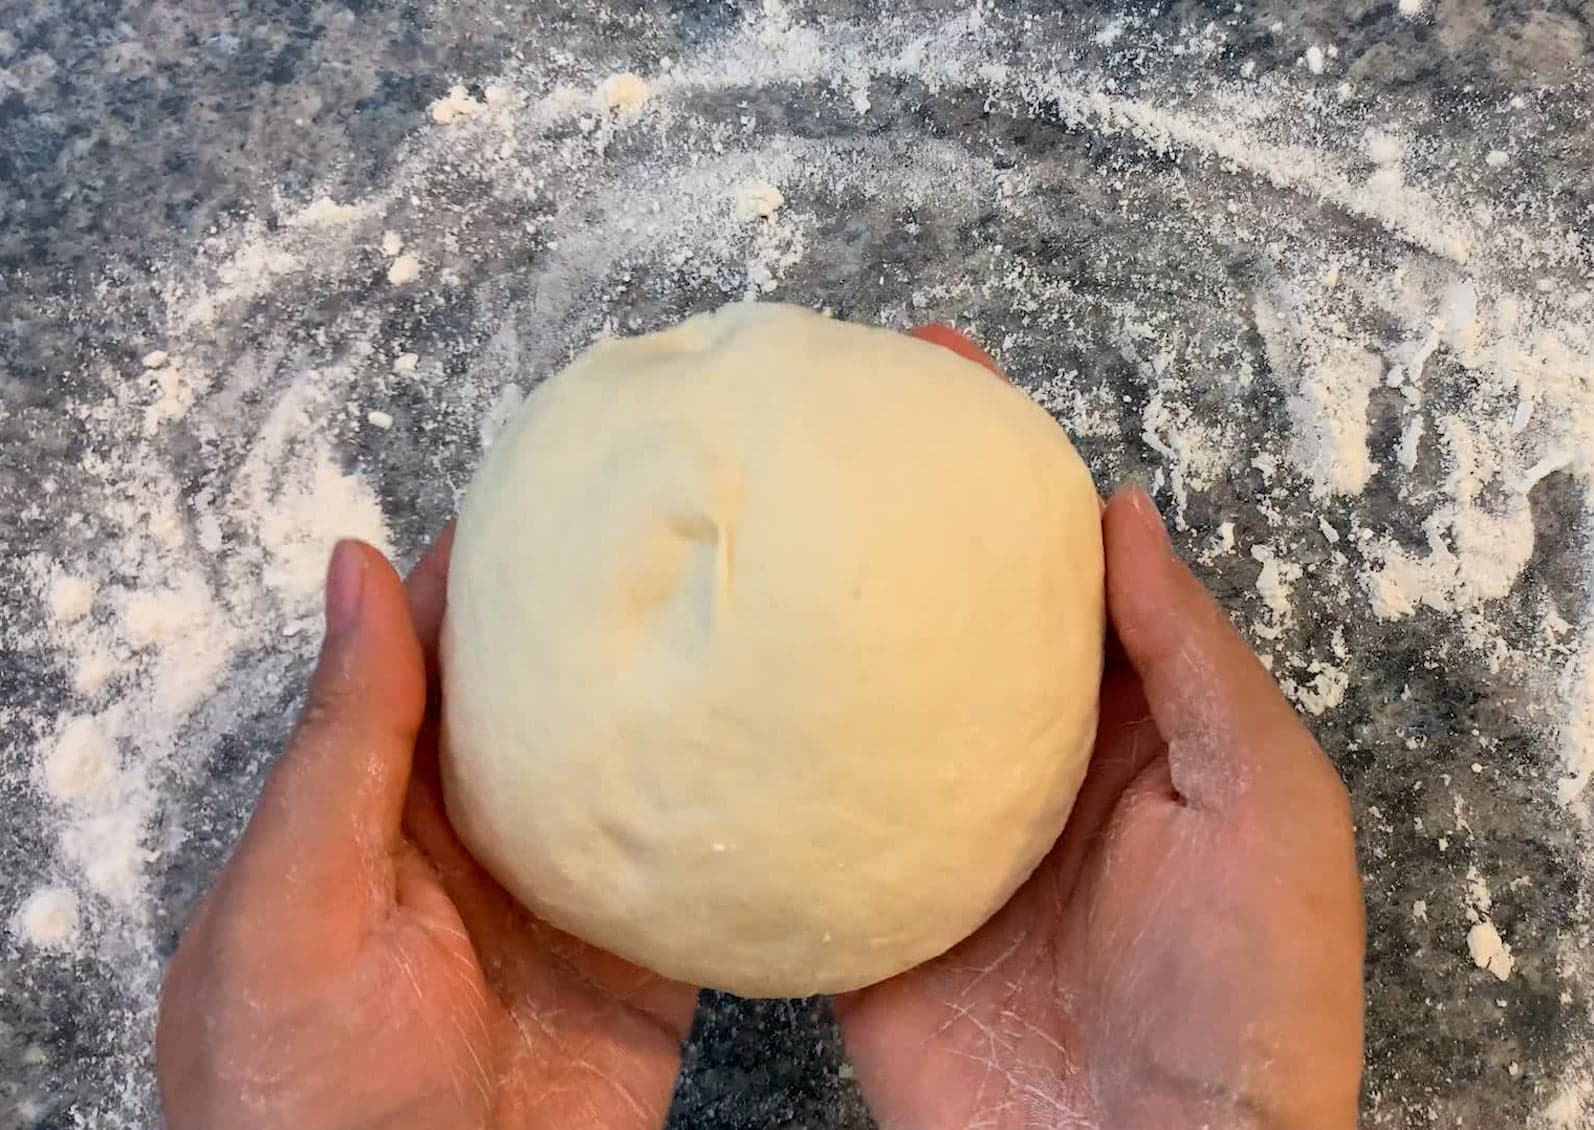
Form the dough into a smooth ball, rub with a few drops of olive oil all over the dough and transfer to a bowl or leave it on your work surface. Cover with a damp kitchen towel and leave for an hour to rise.


Preheat the oven to 500 degrees F. Preferably, use a pizza stone or steel and heat that on the middle rack as the oven preheats.
Once the dough has roughly doubled in size, cut the dough into 8 equal balls for small pitas or 4 equal parts for large pitas. You can go anywhere in between as well. Shape the portions into a ball and dust your work surface with flour. Lightly dust the balls with flour and pat them down slightly. Cover with a damp kitchen towel and allow to rest for 5-10 minutes.


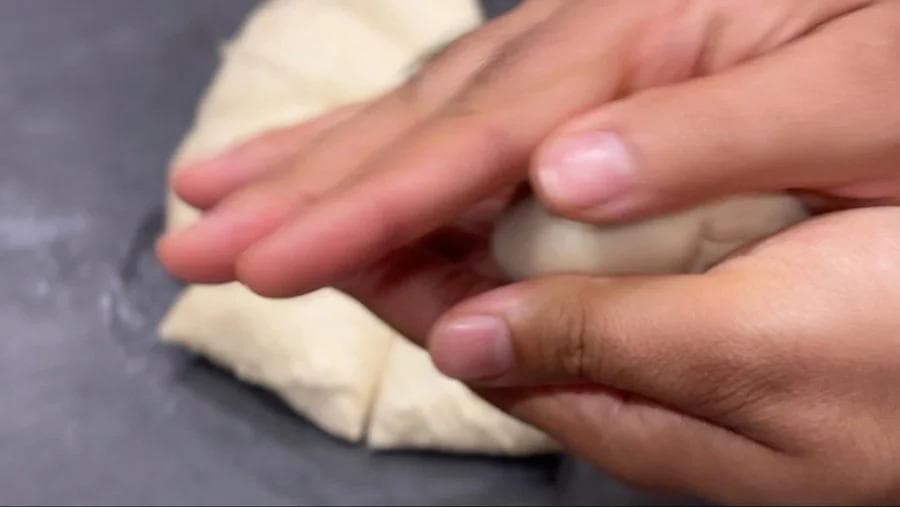


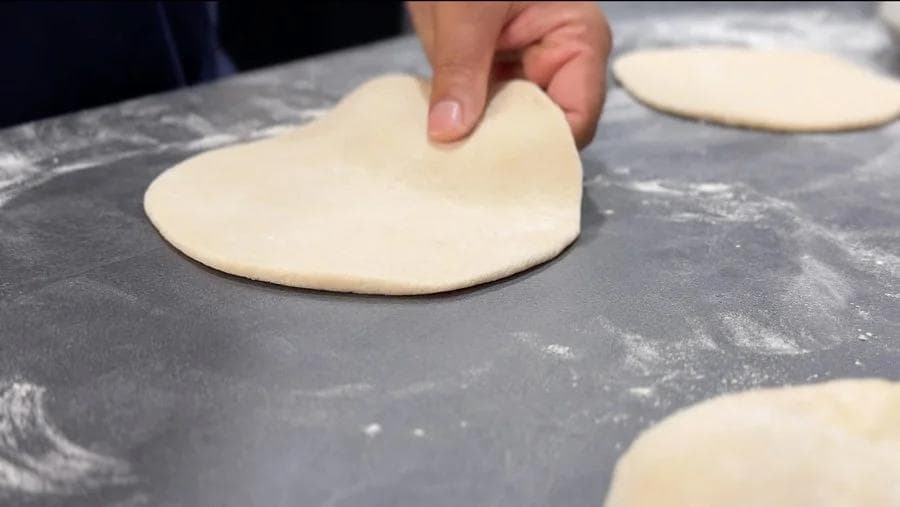
Take each portion and flatten with a rolling pin to roughly 1/8 to 1/4 inch of thickness. Cover all the portions again with a kitchen towel. Allow to rest for 5-10 minutes.


To cook in the oven: Place the flattened portions on the hot pizza stone/steel - you can use a pizza peel or a wooden board to help transfer the dough. Or, if you are not using a pizza stone/steel, use the back of a baking sheet (make sure to heat that for 5 minutes or so before transferring the dough.
Bake/cook until the pita puffs up completely and avoid opening the oven while this happens. You may have to work in multiple batches to cook all the dough portions. Once out of the oven, let the pitas cool down before storing.


Once out of the oven let bread completely cool off before storing.

Serve and enjoy!

Can I Make Pita Bread Over the Stove?▼
Of course! Here’s how you do it.
Follow the steps I have outlined below until you have rolled out the breads and allowed them to rest under a damp kitchen towel.
In the meanwhile heat a cast iron pan on medium to medium high heat until its lightly smoking and then place the rolled out dough on the pan. The bread will start to slowly puff up, monitor the underside of the bread and once that side is lightly browned, flip and do the same on the other side.


To cook on the stovetop: place a wire rack and turn the heat to high. Place the browned bread directly on the wire rack and allow the direct heat from the stove to finish puffing and cooking the bread.


Enjoy your soft and puffy pita bread!

Tips for Soft and Delicious Lebanese Pita Bread
- Make sure to proof the dough in a warm spot in your kitchen. Any cool drafts of air can affect the activity levels of the yeast. If possible, use the Proof setting in your oven to achieve the most consistent results.
- The final dough after kneading should be soft, smooth and not sticky to touch. If needed, add more water or flour to achieve this consistency.
- Prevent the dough from developing dried spots by covering it with plastic wrap or a damp kitchen towel any time its resting on the kitchen countertop.
- The best way to get the desired results is using a hot pizza steel or stone that has been preheated with the oven. Otherwise the backside of a baking sheet can be used as well, just make sure to preheat that for 5 minutes before cooking the pita.
- Try applying very slight pressure with the rolling pin while rolling out the dough. The dough needs to be slightly thicker than usual (between 1/4 to 1/8 inch thickness) to help it puff up.
How to Serve Lebanese Pita Bread
There are many ways to enjoy your Lebanese Pita Bread! Here are just a couple of ideas:
- To dip in hummus
- To dip in Toum
- To dip in Tzatziki
- With Beef Kafta Skewers
- Pita pockets
- Homemade Juicy Chicken Shawarma Sandwich
- Quick Healthy Chicken Shawarma Wrap
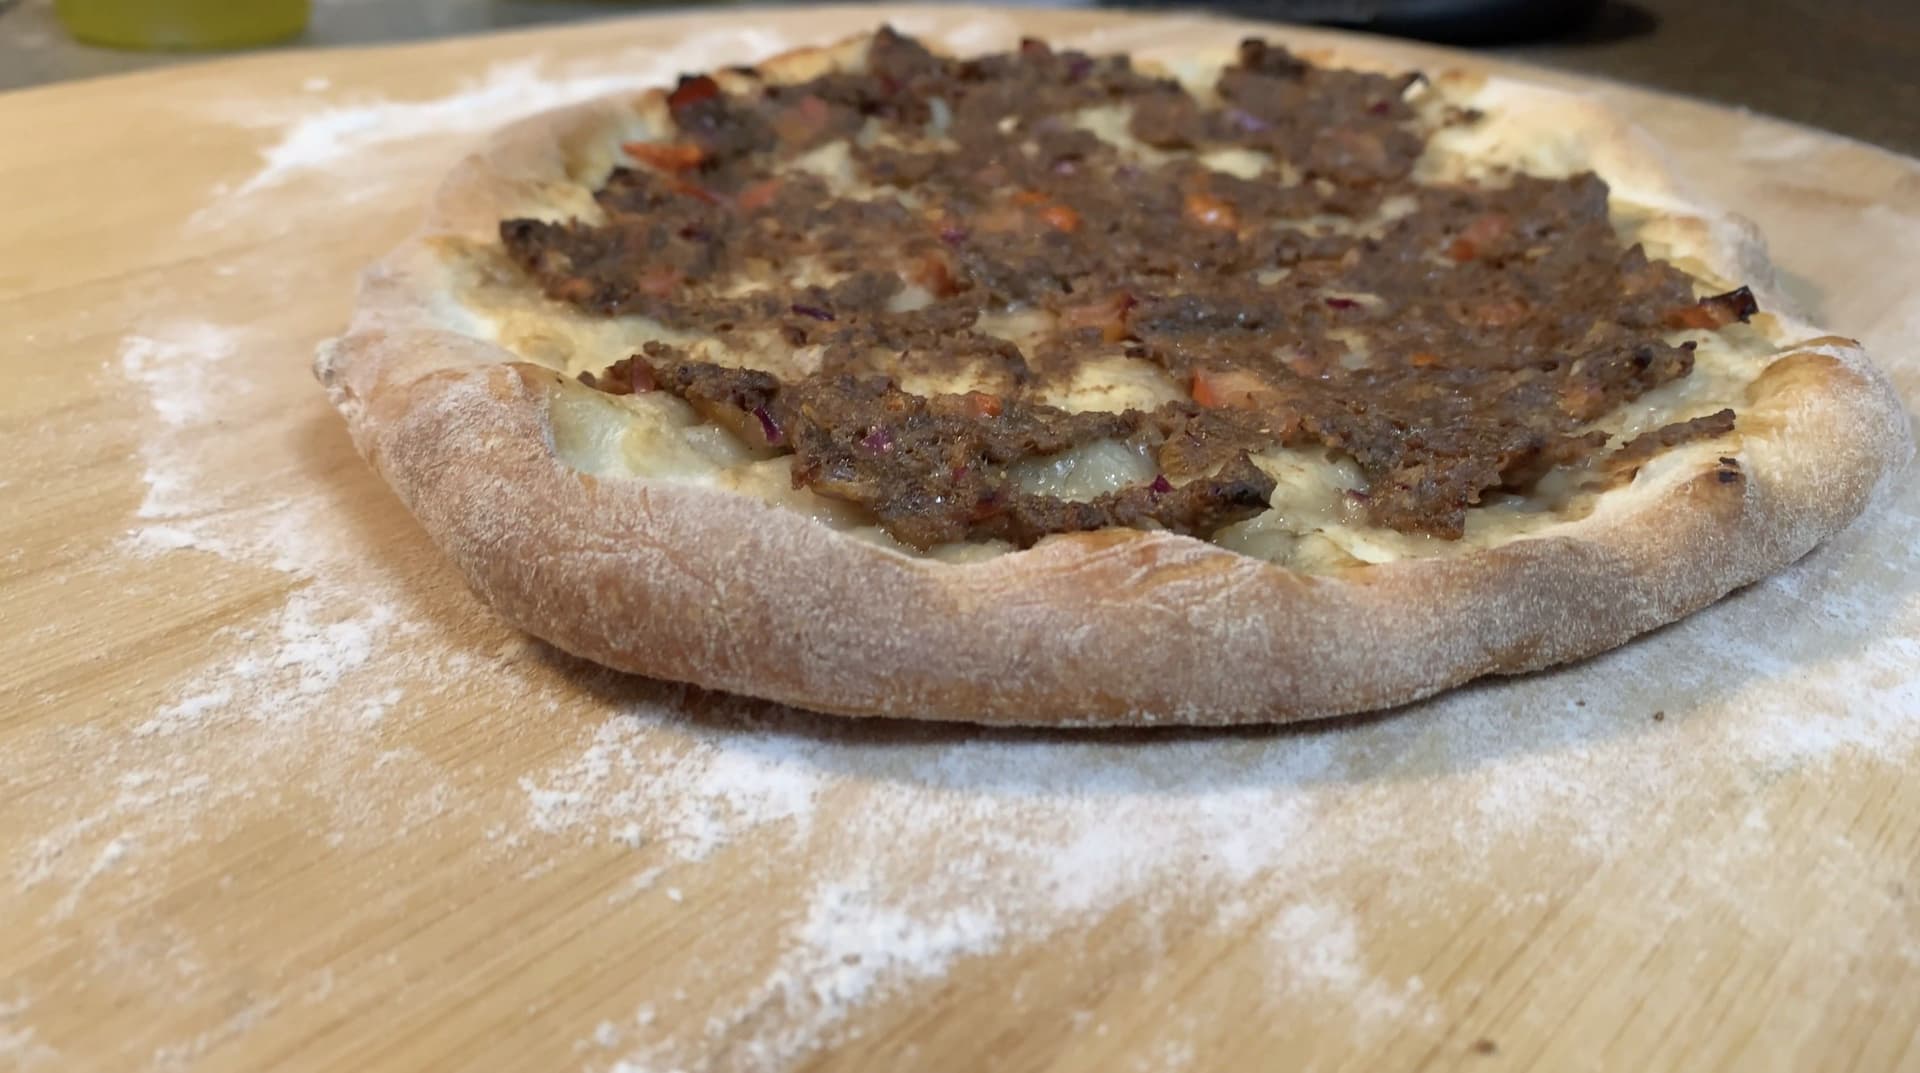
- Pita pizza - you can use the principles I’ve used for this BBQ Chicken Naan Flatbread Pizza to make a pita pizza instead!
- Souvlaki Chicken Skewers
- Falafels
- Gyros - typically you would use Greek pita bread, but if this is all you have, then why not!
- To serve with curries, such as Baingan Bharta, Easy Classic Chole, or Homestyle Chicken Curry. I know that these are Indian recipes, but who says you can’t mix and match cuisines!
Storing Homemade Pita Bread
You can keep cooked Homemade Pita Bread in large Ziploc bags in the refrigerator for best results. Be sure to push out all the air before placing in the fridge. I like to store my breads in Ziploc bags because it’s easy to pull out a single one at a time. You can keep pita bread in the fridge for 1 to 2 weeks until they turn stale.
You can reheat your pita bread over the stove, in the oven, or quickly in the microwave until it is at the desired temperature. Be careful not to heat for too long or else your pita bread will become hard!
If you want, you can also freeze the pita breads for up to 3 months. However, be mindful that the process of thawing the pita bread may cause it to dry out. No need to defrost the pita bread overnight - you can warm frozen pita breads immediately in the oven or the stove, it will just take a little longer to get them warm.
Other Amazing Homemade Bread Recipes!
- Soft and fluffy dinner rolls: You can use these amazing dinner rolls to accompany your pasta or Beef Bourguignon, or use them as burger buns for Smashburger Sliders, or perhaps even McAloo Tikki Sliders!
- Rumali Roti: Known as the “handkerchief” roti because it is soft and thin just like a handkerchief! This is one of my favourite breads to serve with Butter Chicken or Paneer Butter Masala.
- Neapolitan Pizza Dough: Authentic Italian thin-crust pizza dough that’s the base for the famous Margherita Pizza!


Comments
No comments yet — be the first to share your thoughts!
Leave a comment