


This post may contain affiliate links. Read our disclosure policy
Watch the recipe

Cooking With Anadi
12K subscribers · smoky chickpea curry, spiced bold and darkened with tea
What Is Chole?
Chole translates to “chickpeas.” “Chole masala” refers to a chickpea curry, where “masala” translates to the gravy made with spices. Chole masala is the marriage of boiled chickpeas in a flavorful tomato gravy with traditional Indian whole and ground spices. Chole masala is a very popular dish in India because it’s an excellent vegetarian protein source! When you can make some good chole, you’ve got plenty of options for a healthy balanced meal!
About This Delhi Style Chole Recipe
There are quite a few variations of chole masala. You’ve got homestyle versions and you’ve got street-style. This recipe will be my take on the classic street-style chole masala. This iconic dish is my favorite way to enjoy chole, and it’s been such a long time in the making! I’ve finally managed to recreate those wonderful flavors that are heavenly in street-style chole! Even if you’ve never had chole like this, you’re sure to love this, and if you know what I’m talking about, then this will truly take you to the streets of Delhi right at home!
What’s the difference betwen homestyle chole and Delhi-style chole?▼
Last year I shared my Homestyle Chole Masala recipe. To be honest with you, today’s recipe is actually the version I wanted to share first, but I still needed to refine the color and flavors to bring the most authentic Delhi-Style Chole Masala! What I enjoyed on the streets was my favorite version of chole growing up in Delhi. The first main difference is the color. If you check out the homestyle chole masala recipe, the gravy is much redder. Furthermore, it’s less tangy than the Delhi-style chole. In Hindi, there’s a phrase called “chatpata.” There’s no direct translation for this other than spicy & tangy! We’ve got much more pungent and bold flavors in this Delhi-style chole. We also use tamarind in the homestyle chole, but we won’t in this dish. Both are excellent in their own way, but my preference is the Delhi-style version! Let me know in the comments which you prefer!
Do I need to soak the chickpeas?▼
Yes, you really do. You may have seen that in my Instant Pot Rajma Masala recipe, you can get away without soaking the red kidney beans, or rajma. However, cooking chickpeas that haven’t been soaked can potentially cause digestive issues, such as gas and bloating (source: Livestrong). To save your gut, please plan accordingly and soak your chickpeas!
What if I forgot to soak my chickpeas?▼
Okay, fair enough. We’re all human! When I was first testing this recipe, it was too late for me to soak my chickpeas. If you’ve got the extra hour or two to spare, you can bypass soaking your chickpeas by boiling them in hot water. However, for best results, soaking is best!
Can I Use Canned Chickpeas?▼
While technically you can, you will not get a dish that looks similar to what I have presented. Mainly because the canned chickpeas are cooked already. Cooking them for too much longer with the spices and tea might have some effect, but not the full effect. Plus, you risk turning the chickpeas to mush.
How to get the dark brown color▼
The magic of the lovely brown color of the Delhi-style chole comes from the black tea we’ll use! You can use whole tea leaves or powdered black tea, as I’ll be using in this recipe. You really can’t achieve the iconic street-style chole without it!
Tips for Making a Great Delhi-Style Chickpea Curry
- Plan ahead and soak the beans overnight before cooking.
- To speed up the soaking process, boil the chickpeas for 1 hour and then pressure cook them using the steps directed in the recipe.
- Ensure the spice bundle is well sealed.
- For a darker color on the chickpeas, you’ll need to add more tea while the chickpeas are pressure cooking. The tea will stain the chickpeas and the water while they’re cooking. Use 4 Tbsp for a darker color and 2 Tbsp for a lighter shade of brown.
- Reserve the cooking water for the chickpeas, it contains a lot of flavor and provides the classic color we all love in chole masala.
- The base flavor of this curry comes from the “masala” that we cook with the onions, ginger, garlic and tomatoes. Make sure that you cook the masala well, until reddish brown and almost dried out.
- This dish uses more than usual amount of spices, so don’t be alarmed. This is after all similar to a street style experience.
Tools Needed
Ingredients for Delhi-style Chole
Let’s review what we’ll need for our Delhi Chole Recipe.
Remember, the FULL PRINTABLE RECIPE CARD for all ingredient quantities and step by step instructions. You can save the recipe for later, and it’s so easy to scale the ingredient quantities based on how many portions of chickpeas you want to make!
- Chickpeas: Chickpeas are the star of our dish! Ensure that they have been soaking overnight prior to cooking or have boiled for 1-2 hours if you forgot to soak your chickpeas.
- Black tea: You can use tea leaves or powdered black tea. This is a must to stain our chickpeas, and it will provide a lot of flavor.
- Whole spices: Cinnamon stick, cloves, bay leaf, dried Kashmiri red chilies, whole black peppercorn, shahi jeera (caraway seeds), dried pomegranate seeds.
- Ground Spices: Garam masala, ground coriander, ground cumin, Kashmiri mirch and salt to taste.
- Essentials: Garlic cloves, ginger, onions, tomatoes, green chilies.
- Ghee: Used sauté the ingredients to make our masala.
- Onions: We’ll have extra raw sliced onions for garnish.
- Lime: Sliced in wedges, for garnish and to squeeze on lime juice when serving.
You may have seen other recipes use gooseberry or amla. It’s not easy to find here in Canada, and I figured my North American audience may also have difficulty finding it. Trust me, I don’t think you’re missing out by omitting it, but if you do have access for it, then by all means include it!
Furthermore, many recipes use pomegranate seeds, but to make things convenient for me, I used dried pomegranate seeds. Again, use whatever is best for you!
How to Make Authentic Street-style Chickpea Curry
To Prepare the Chickpeas
Stovetop Pressure Cooker
- Place all the whole spices for the chickpeas in the center of a muslin cloth. Make sure the cloth is at least 3-4 layers thick. Add the tea leaves as well and then tie a knot. You can also use a kitchen string to tie it.
- Add chickpeas to stovetop pressure cooker and add around 3-4 times the volume of water, along with the bundle of spices from earlier.
- Season with salt, add the ginger-garlic paste and cook for 2-3 whistles on high heat, then turn down the heat to medium and cook for 15-20 minutes.
- Let the pressure release naturally.
- Place all the whole spices for the chickpeas in the center of a muslin cloth. Make sure the cloth is at least 3-4 layers thick. Add the tea leaves as well and then tie a knot. You can also use a kitchen string to tie it.
- Add chickpeas to the Instant Pot and add 3/4 to 1 quarts of water along with the bundle of spices from earlier.
- Season with salt, add the ginger-garlic paste and set the Instant Pot to Bean and Chili mode and cook for 30 minutes.
- Let the pressure release naturally (about 20 minutes).


To Prepare the Delhi Chole
- Heat ghee in a wok/pan on medium heat and add the caraway seeds. Cook until the shahi jeera/caraway seeds turn reddish brown and aromatic.
- Add the onions and saute until the onions become soft and translucent, making sure to stir ever so often.
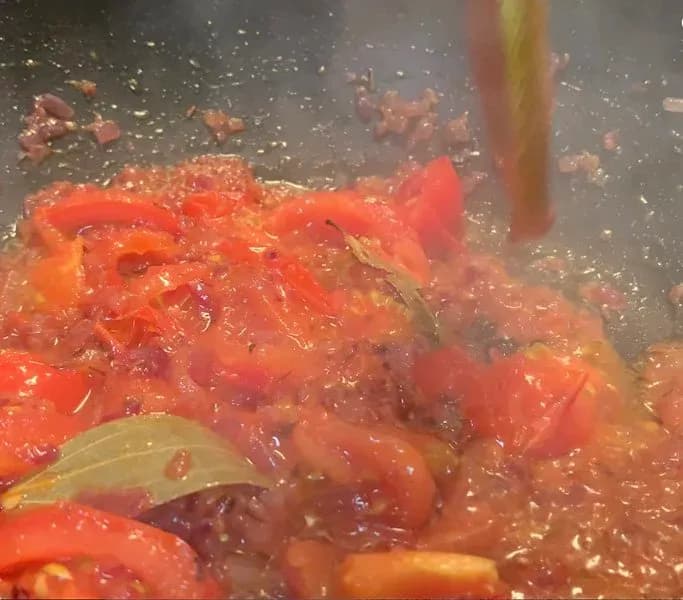
- Once the onions turn slightly brown, add in the tomatoes and cook while stirring until they start to break down. Add all of the dried spices and 1-2 tsp of salt. Keep stirring from time to time.
- Add a splash of water at any stage if the mixture starts to stick to the pan. Once this masala feels fluffy, slides around the pan easily and has released some of the oil, add the cooked chickpeas, along with the cooking liquid. Discard the bundle of spices.
- Season with salt and simmer on medium low heat until the gravy starts to thicken. Reduce the consistency to your preference, traditionally this type of chole has a very thick gravy.
- When the gravy is ready, serve with sliced red onions, green chilies and lime if desired.




How to Serve Chickpea Curry
The most famous combo on the streets is to transform this chole into a Delhi style chole bhature recipe, and that’s what I did as you can see in the video! Bhature are huge fluffy breads, made with semolina and all-purpose flour, and they are deep fried in vegetable or peanut oil. It was only my second time ever making bhature, but I think I did a decent job! The hard part is to get the bhature to rise! You can check out my bhature recipe here to enjoy the complete Delhi style chole bhature experience.
You could also serve this Delhi-Style Chole with puris. Puris are similar to bhature, but they are made with atta flour and they are much smaller. Furthermore, they’re fried in ghee instead of oil. I actually really love the combo of puris and chole, so I definitely need to make this again and enjoy with puris soon!
Another excellent bread option is kulche. I’ve never made kulche at home before but really would love to give it a shot! Kulche is actually one of my favorite breads, and I really have no idea when I last had it! Kulche is made with flour over a tawa pan, so it’s an easy lower-fat alternative to the previously mentioned breads. Another delicious bread that’s low in fat that you could pair with this Delhi-Style Chole is Homestyle Roti! Rotis are made with atta flour, and they are puffy breads made over the tawa! No ghee or oil required!
Finally, if you want an extra side or don’t want to eat bread, then you could of course serve your chole with simple basmati rice. Check out How to Make the Best Basmati Rice for tips and tricks on achieving that perfect fluffy rice - either boiled or steamed!
Chole Masala, Chana Masala and Punjabi Chole Masala: What Is the Difference?
The names get used interchangeably on menus, so here is how they actually differ. Chana masala is the broadest, everyday term — any chickpea curry in a spiced tomato gravy. Punjabi chole masala is the homestyle version: a lighter, more golden gravy, usually richer with ghee and served alongside bhature. What you are making here is the Delhi street-style version, and the giveaway is the colour. The 2 tablespoons of black tea leaves tied into the spice bundle stain both the chickpeas and their cooking water a deep brown, and that stained liquid goes straight into the gravy — use 4 tablespoons for a darker result and 2 for a lighter shade of brown. The other difference is thickness: street-style chole is simmered down until the gravy clings to the chickpeas rather than pooling around them.
Making Your Own Chole Masala Powder
This recipe leans on pre-ground spices: 1 tablespoon garam masala, 1 tablespoon ground coriander, 1/2 tablespoon ground cumin and 1/2 tablespoon Kashmiri chili, which is simply a red chili powder with far more colour than heat. Measured the other way, that is 3 teaspoons garam masala, 3 teaspoons coriander powder, 1 1/2 teaspoons cumin powder and 1 1/2 teaspoons Kashmiri red chili powder. If you would rather build a masala powder from scratch, dry roast the whole spices in a dry pan over low heat until they smell toasty but have not darkened, let them cool completely, then grind them to a fine powder. A tablespoon of coriander seeds, a teaspoon of cumin seeds and a couple of dried Kashmiri chilies will get you most of the way there, and freshly ground spices are noticeably more fragrant than anything from a jar.
Ingredient Substitutes and Optional Additions
Black tea bags: no loose leaves in the house? Two black tea bags tied inside the muslin bundle do exactly the same staining job as the 2 tablespoons of tea leaves — just keep the paper tags outside the knot.
Mango powder: this recipe draws its sourness from 1/2 teaspoon of dried pomegranate seeds. A pinch of amchur, or mango powder, is the usual stand-in and gives a sharper, fruitier tang.
Kasuri methi: not in the recipe as written, but a pinch of dried fenugreek leaves crushed between your palms and stirred in right at the end is a very common Delhi finishing touch.
Hing: a pinch of asafoetida bloomed in the tablespoon of ghee alongside the shahi jeera is optional, and it is the traditional answer to how heavy a bowl of chickpeas can sit.
Black cardamoms and green cardamoms: the spice bundle here is cinnamon stick, cloves, whole black peppercorns, bay leaf and dried Kashmiri red chilies. One black cardamom will add a smoky note and two green cardamoms will add perfume — both are optional extras rather than part of the recipe.
Vegan: swap the 1 tablespoon of ghee for 1 to 2 tablespoons of a neutral oil and the whole dish is vegan, since everything else in it is plant-based already.
Soda: a pinch of baking soda in the soaking or cooking water softens stubborn chickpeas faster. Use it sparingly — too much turns them mushy and leaves a faintly soapy taste.
Cooking Notes, Texture and Storing Leftovers
Soak chickpeas overnight whenever you can; 1/2 cup of dried chole will roughly double in size. If you forget, bring them to a rolling boil in enough water to cover them generously, boil for an hour with the lid off, then pressure cook as directed. In the Instant Pot that means 3/4 to 1 quart of water — 3 to 4 cups — on Bean and Chili for 30 minutes with a natural release. For the masala, take the onions to golden brown before the fresh tomatoes go in, then keep the pan on medium-low heat once the chickpeas and their cooking liquid are back so the gravy thickens without catching. Texture is what you judge by: the masala should feel fluffy, slide around the pan easily and have released some of its oil before the chickpeas join it. For less heat, leave the dried Kashmiri red chili out of the spice bundle and halve the Kashmiri chili powder. Leftovers keep in an airtight container in the fridge for up to four days and will thicken as they sit, so loosen them with a splash of water when you reheat. Finish the bowl the way it is served on the street — sliced red onions, a lime wedge, and chopped cilantro if you like it.
Quick Reference: Measurements and Heat
Everything is in the printable recipe card, but if you like to measure as you go: 1 teaspoon salt seasons the chickpeas in the pot, with more going into the masala to taste, and 1 tablespoon ghee is all the fat this curry needs. The Instant Pot takes 3 to 4 cups water for 1/2 cup of soaked chole. The chickpeas are seasoned with salt and ginger garlic paste before they cook — one to two teaspoons ginger garlic paste is the usual amount at this quantity. If your spice drawer only runs to a teaspoon measure, the ground spices scale like this: one teaspoon garam masala three times over, one teaspoon coriander powder three times, one and a half of a teaspoon cumin powder, and one and a half of a teaspoon Kashmiri chili powder. Grinding your own instead? Start with one tablespoon coriander seeds. Cooking it vegan means 2 tablespoons oil in place of the ghee. And on heat: the stovetop pressure cooker wants high heat for its 2 to 3 whistles — medium-high heat is plenty if your burner runs hot — then medium for 15 to 20 minutes, and medium-low once the gravy is simmering down.
Other Indian Bean & Grain Recipes
Let me know what you think of this recipe in the comments! If you’ve tried this recipe, be sure to post it on social media and tag it with #cookingwithanadi and mention me @cooking.with.anadi. Thank you!
Recipe by Anadi Misra
Make authentic Delhi Style Chole at home with bold, smoky flavors! This easy Punjabi chickpea curry is Instant Pot friendly and perfect for a hearty vegetarian meal any night of the week.
Instant Pot
5.0 · 4 ratings
20 min
Prep
1 hr
Cook
15 min
Rest
1 hr 35 min
Total
6
servings
medium
Level
Ingredients
Ingredients
Tap any quantity to scale
For the chickpeas
For the curry
- (15 ml) ghee · make your ownShop →
- (8 g) shahi jeeraShop →
- bay leafShop →
- medium onion(finely chopped)
- medium tomato(quartered)Shop →
- (8 g) garam masalaShop →
- (8 g) ground corianderShop →
- (4 g) ground cuminShop →
- (4 g) Kashmiri chili(red chili powder)Shop →
- (1 g) dried pomegranate seedsShop →
- salt(to taste)Shop →
- water(as needed)
- red onions(sliced, for garnish)
- lime wedge(for garnish)
Instructions
To prepare the chickpeas in a stovetop pressure cooker
- 1
Place all the whole spices for the chickpeas in the center of a muslin cloth. Make sure the cloth is at least 3-4 layers thick. Add the tea leaves as well and then tie a knot. You can also use a kitchen string to tie it.
Place all the whole spices for the chickpeas in the center of a muslin cloth. Make sure the cloth is at least 3-4 layers thick. Add the tea leaves as well and then tie a knot. You can also use a kitchen string to tie it.
- 2
Add chickpeas to stovetop pressure cooker and add around 3-4 times the volume of water, along with the bundle of spices from earlier.
Add chickpeas to stovetop pressure cooker and add around 3-4 times the volume of water, along with the bundle of spices from earlier.
- 3
Season with salt, add the ginger-garlic paste and cook for 2-3 whistles on high heat, then turn down the heat to medium and cook for 15-20 minutes.
Season with salt, add the ginger-garlic paste and cook for 2-3 whistles on high heat, then turn down the heat to medium and cook for 15-20 minutes.
- 4
Let the pressure release naturally.
Let the pressure release naturally.
To prepare the chickpeas in an Instant Pot
- 1
Place all the whole spices for the chickpeas in the center of a muslin cloth. Make sure the cloth is at least 3-4 layers thick. Add the tea leaves as well and then tie a knot. You can also use a kitchen string to tie it.
Place all the whole spices for the chickpeas in the center of a muslin cloth. Make sure the cloth is at least 3-4 layers thick. Add the tea leaves as well and then tie a knot. You can also use a kitchen string to tie it.
- 2
Add chickpeas to the Instant Pot and add 3/4 to 1 quarts of water along with the bundle of spices from earlier.
Add chickpeas to the Instant Pot and add 3/4 to 1 quarts of water along with the bundle of spices from earlier.
- 3
Season with salt, add the ginger-garlic paste and set the Instant Pot to Bean and Chili mode and cook for 30 minutes.
Season with salt, add the ginger-garlic paste and set the Instant Pot to Bean and Chili mode and cook for 30 minutes.
- 4
Let the pressure release naturally (about 20 minutes).
Let the pressure release naturally (about 20 minutes).
To prepare the curry
- 1
Heat ghee in a wok/pan on medium heat and add the caraway seeds. Cook until the shahi jeera/caraway seeds turn reddish brown and aromatic.
Heat ghee in a wok/pan on medium heat and add the caraway seeds. Cook until the shahi jeera/caraway seeds turn reddish brown and aromatic.
- 2
Add the onions and sauté until the onions become soft and translucent, making sure to stir every so often.
Add the onions and sauté until the onions become soft and translucent, making sure to stir every so often.
- 3
Once the onions turn slightly brown, add in the tomatoes and cook while stirring until they start to break down. Add all of the dried spices and 1-2 tsps of salt. Keep stirring from time to time.
Once the onions turn slightly brown, add in the tomatoes and cook while stirring until they start to break down. Add all of the dried spices and 1-2 tsps of salt. Keep stirring from time to time.
- 4
Add a splash of water at any stage if the mixture starts to stick to the pan. Once this masala feels fluffy, slides around the pan easily and has released some of the oil, add the cooked chickpeas, along with the cooking liquid. Discard the bundle of spices.
Add a splash of water at any stage if the mixture starts to stick to the pan. Once this masala feels fluffy, slides around the pan easily and has released some of the oil, add the cooked chickpeas, along with the cooking liquid. Discard the bundle of spices.
- 5
Season with salt and simmer on medium low heat until the gravy starts to thicken. Reduce the consistency to your preference, traditionally Delhi style chole has a very thick gravy.
Season with salt and simmer on medium low heat until the gravy starts to thicken. Reduce the consistency to your preference, traditionally Delhi style chole has a very thick gravy.
- 6
When the gravy is ready, serve with sliced red onions, green chiles and lime if desired.
When the gravy is ready, serve with sliced red onions, green chiles and lime if desired.
Did you make this recipe? Tag @cooking.with.anadi on Instagram and hashtag it #cookingwithanadi

Tested & written in Anadi’s kitchen
Recipe history
- April 16, 2026 — Reworked and refreshed for the 2026 relaunch — new photography, restructured and standardized ingredients & instructions.
Filed under
You might also like
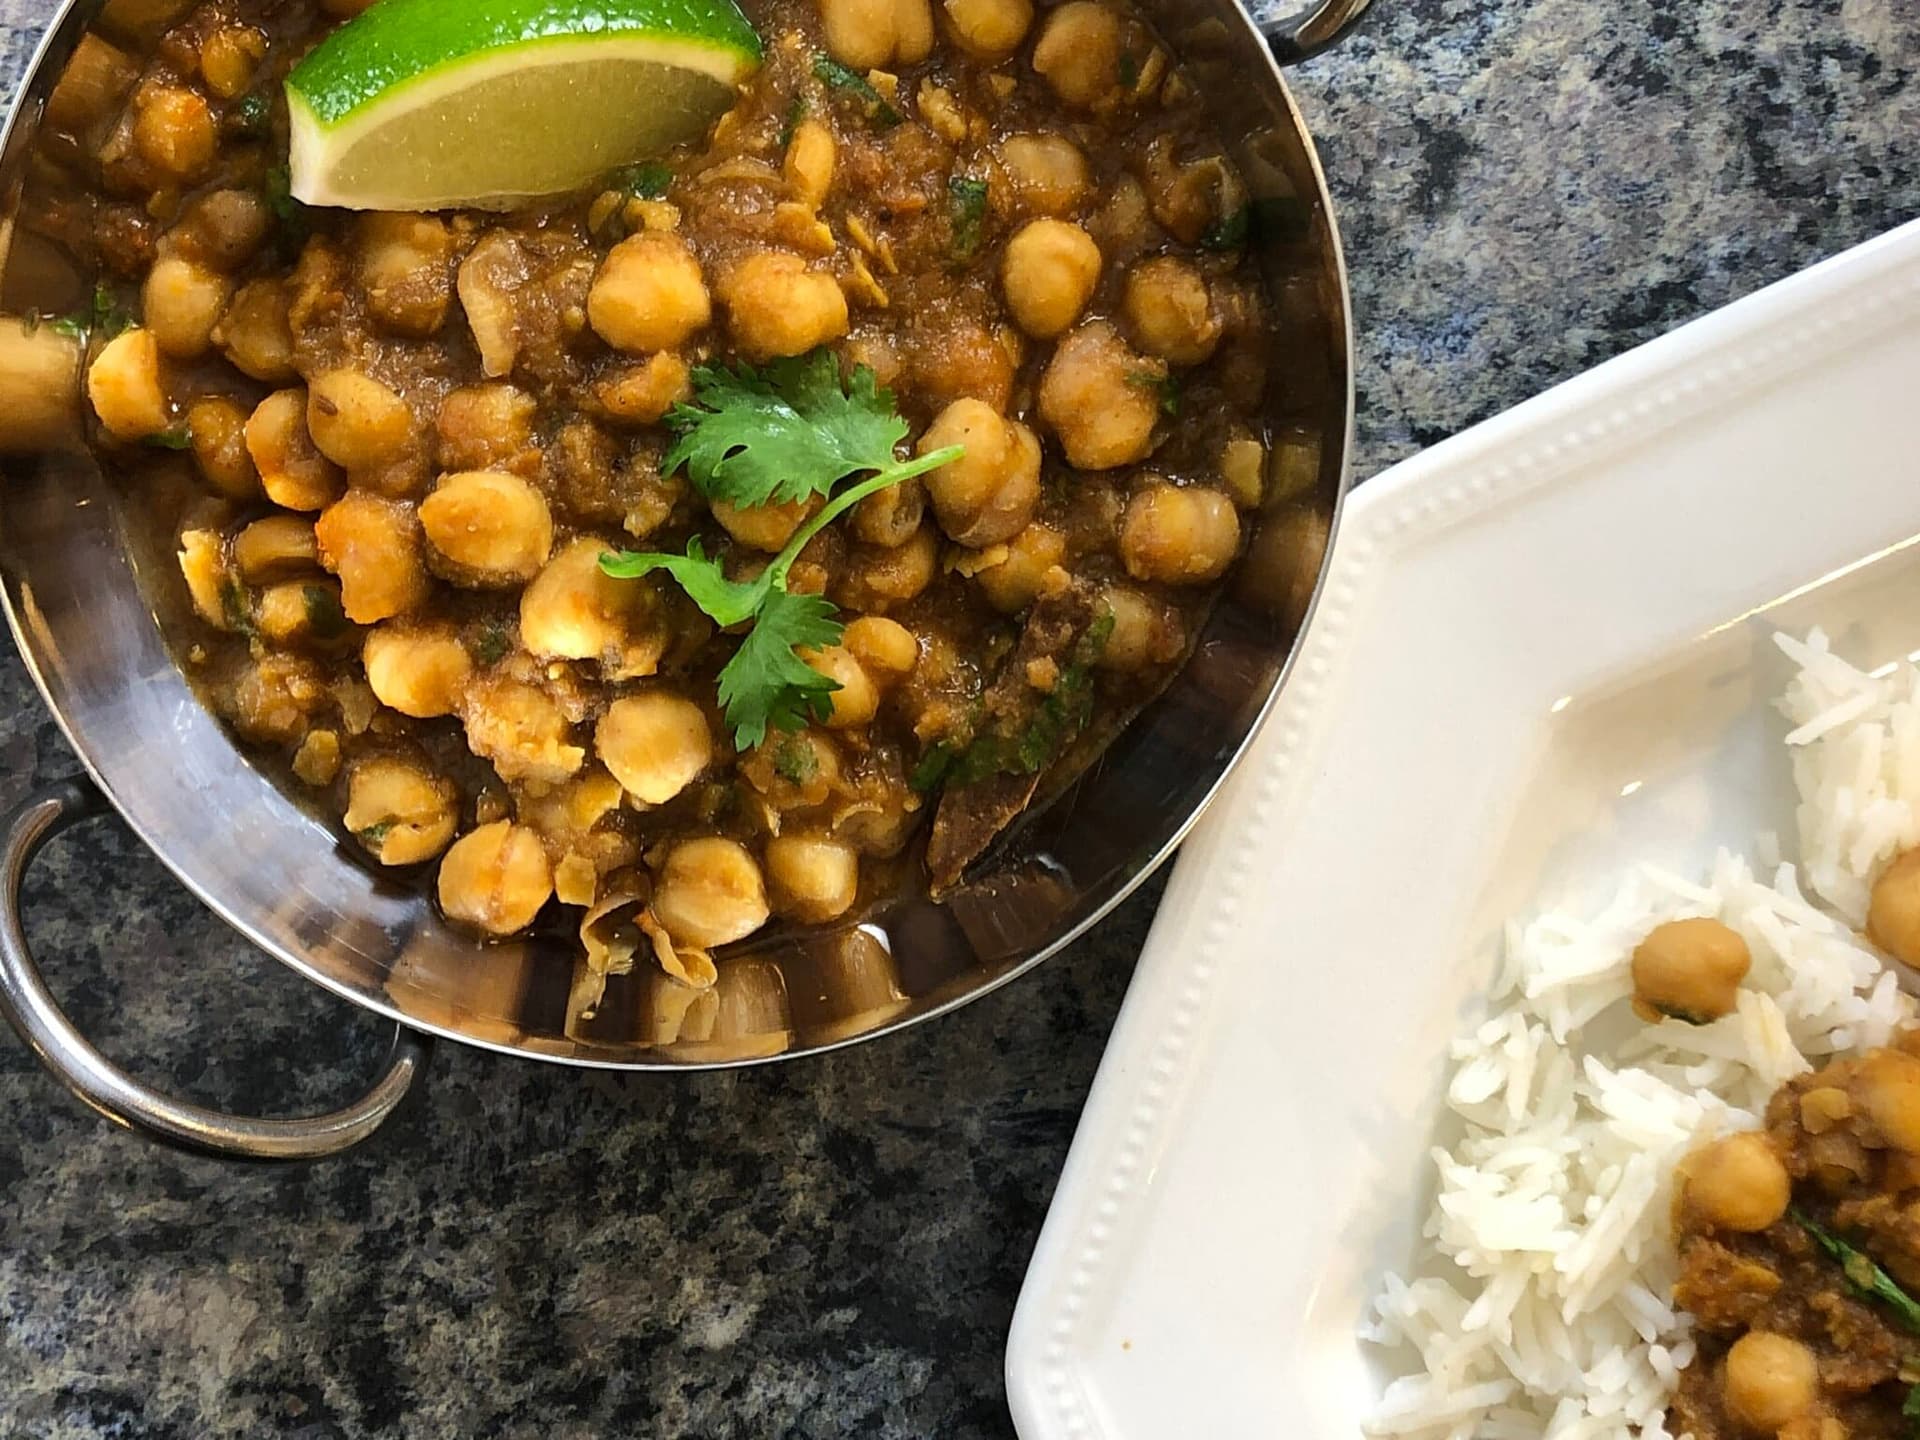
Easy Punjabi Chole masala - Homestyle Chickpea Curry
Make authentic Punjabi Chole Masala at home with this easy, homestyle chickpea curry recipe. Bold spices, rich flavor, and simple steps make it a perfect vegetarian dinner any night of the week.

Instant Pot Indian Black Eyed Pea Curry (Lobia Masala)
Lobia Masala made easy in the Instant Pot! This hearty Indian black eyed pea curry is packed with bold spices, totally vegetarian, and ready in one pot for a satisfying weeknight dinner.
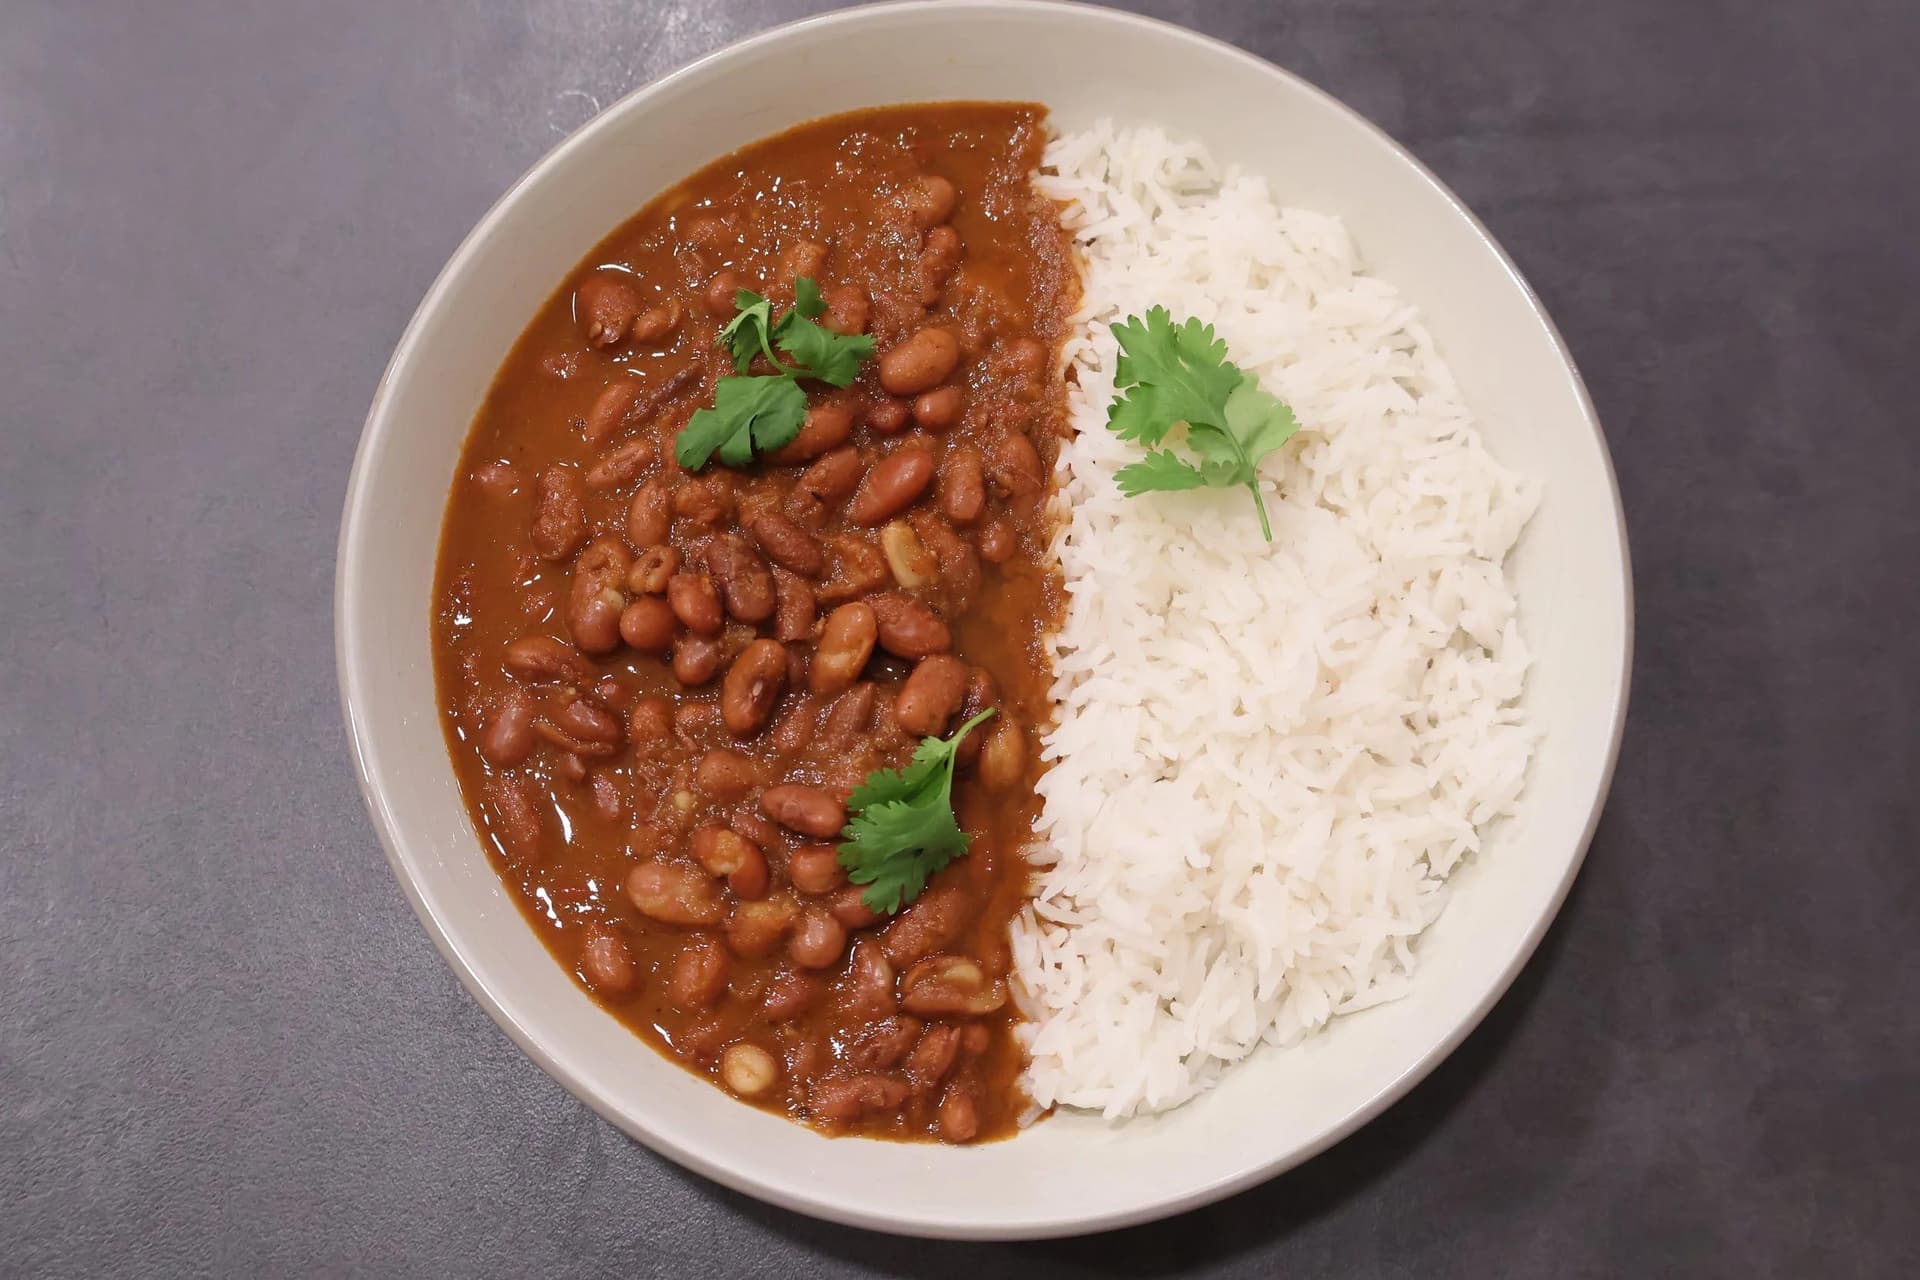
Step-by-Step Guide to Perfect Rajma Masala Recipe
Make perfect Rajma Masala at home with this step-by-step guide. A rich, hearty North Indian kidney bean curry packed with bold spices — comfort food the whole family will love.

No-Soak Instant Pot Rajma Masala - Curried Red Kidney Beans
Make rich, creamy Rajma Masala in your Instant Pot with no soaking required. This one-pot curried red kidney beans recipe is easy, hearty, and perfect for a satisfying Indian dinner.
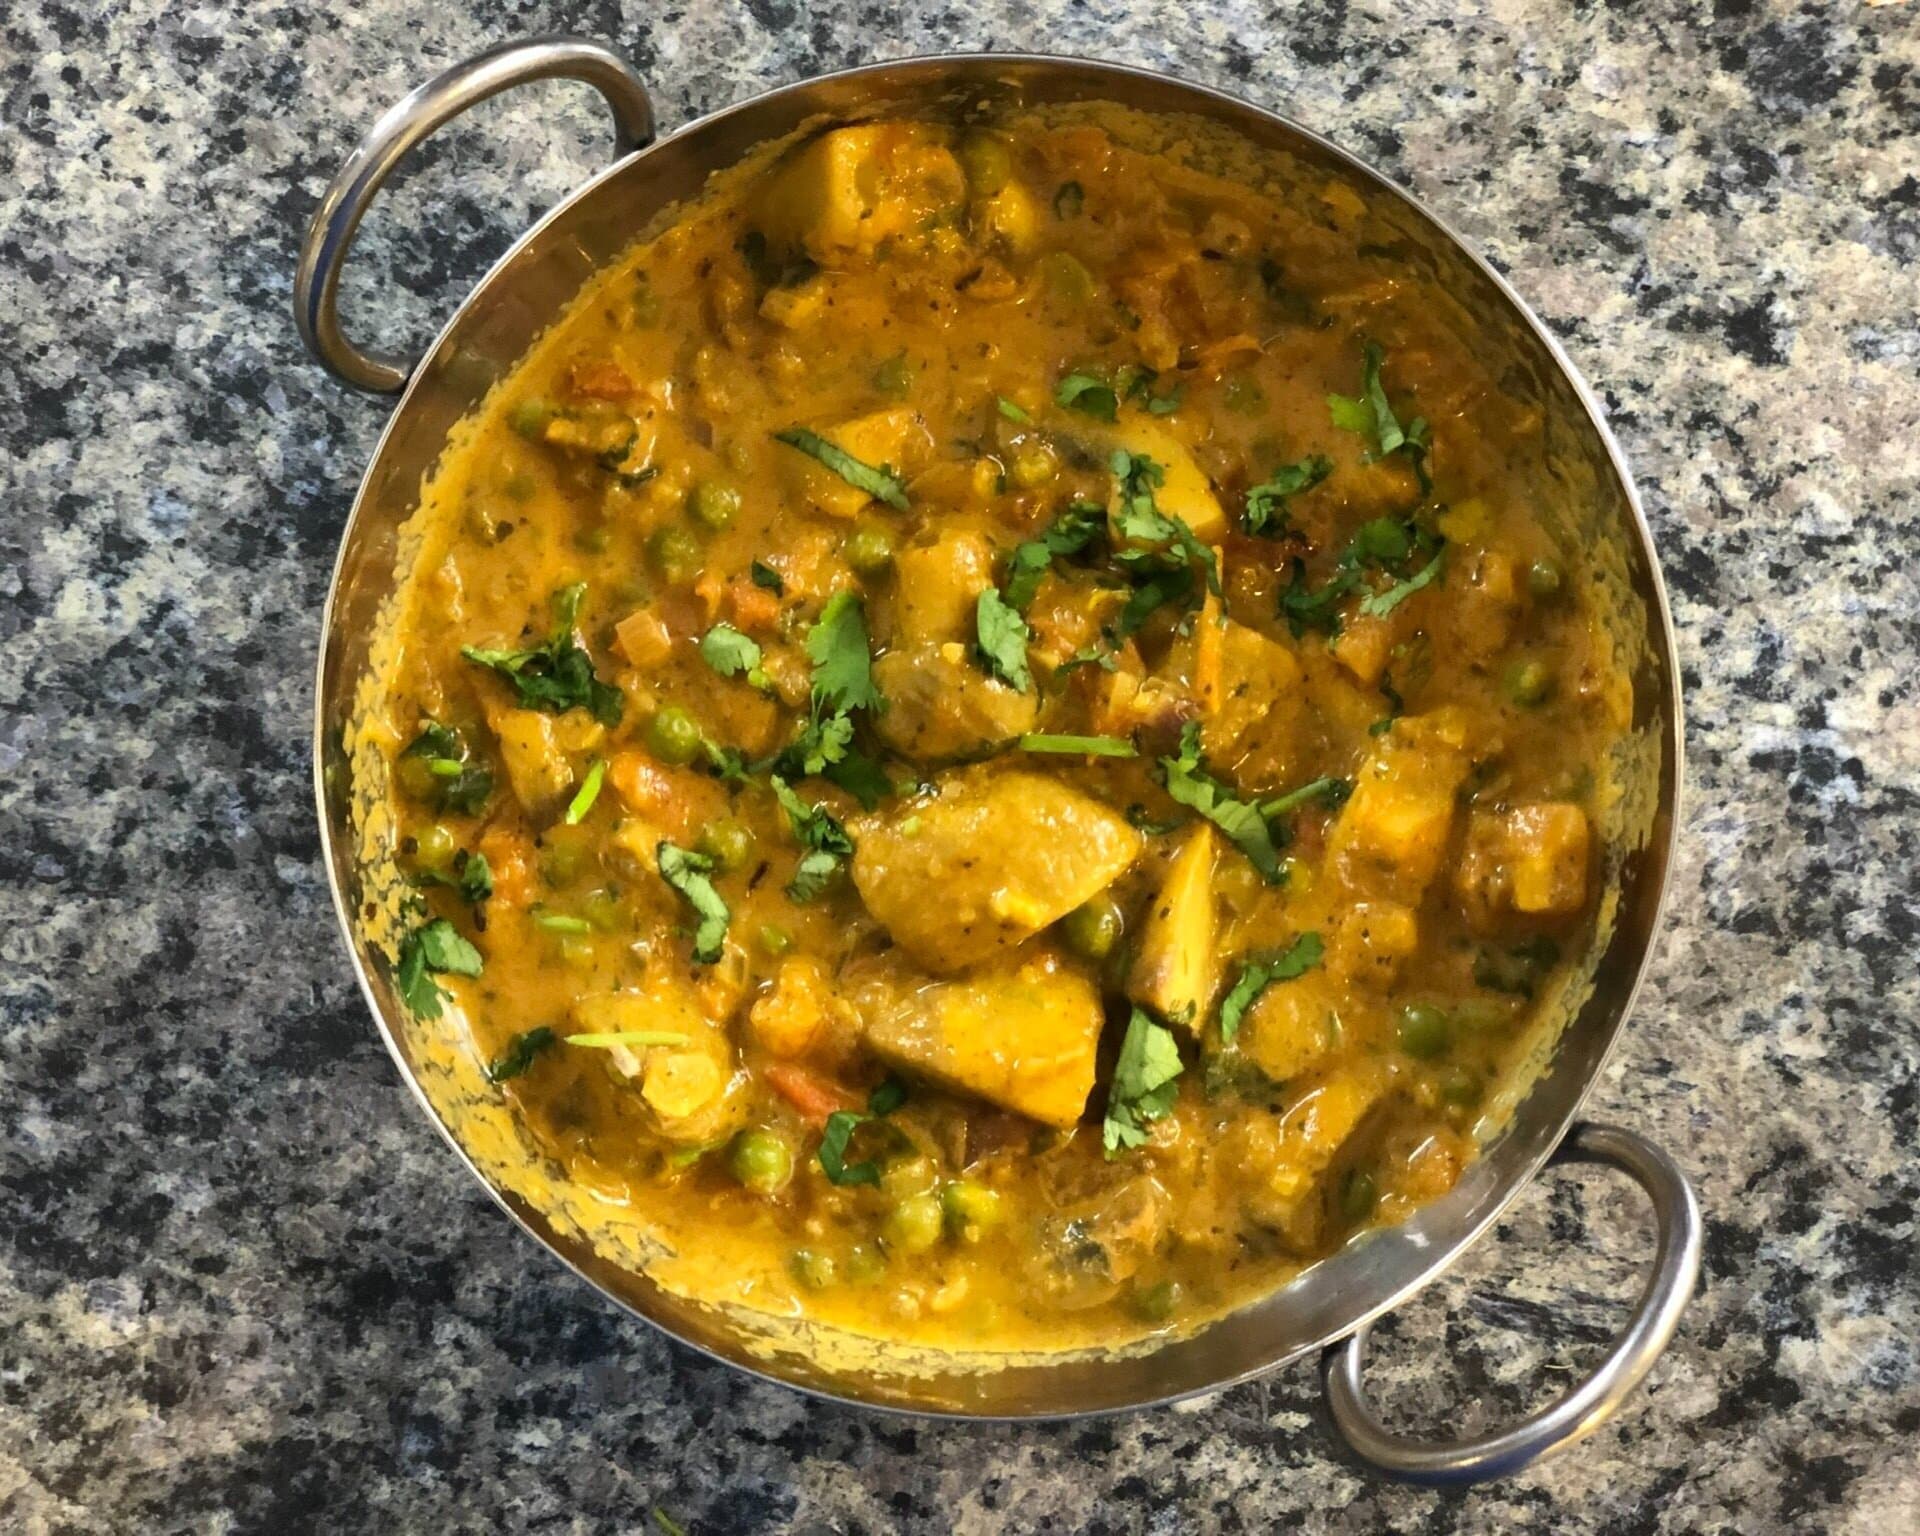
Mushroom Matar Masala | One-Pot Mushroom & Peas Curry
Rich, creamy Mushroom Matar Masala made in one pot! This restaurant-style curry is packed with tender mushrooms and peas in a bold, spiced gravy. Perfect for a satisfying Indian dinner or lunch.

Delicious Punjabi Lobia Recipe: Step-by-Step Guide
Make authentic Punjabi Lobia at home with this easy step-by-step guide. A hearty, flavorful black eyed pea curry packed with bold spices — perfect for a satisfying vegetarian Indian meal.


1 comment
Awesome chickpeas he cooks & loved to eat many times for brunch
Leave a review
Join 1 cook who've shared a note here.