


This post may contain affiliate links. Read our disclosure policy
Watch the recipe

Would you believe I’ve never made my own noodles before? Yup, never!
I’ve made bread now for several years and I do it quite often. You must have seen plenty of my Indian bread recipes in particular, from Broccoli Parathas to Aloo Parathas and Cast Iron Naan Bread. Of course, I also make my own pizza doughs and dinner rolls! I’ve tried my hand at gnocchi once a long time ago, but noodles? Nope, never!
Well, if you know me, then my philosophy is that if you need to get your creativity going in the kitchen, then set aside some time to think of some realistic goals. For more details on goal setting and other ways to inspire you to get started on your cooking journey today, be sure to check out my free motivational guide to explore your potential in the kitchen, Make Cooking Fun!
In my specific case, I wanted to prepare Cambodian Lort Cha noodles to explore Cambodian cooking for the first time. However, one of the main ingredients of this, the silver needle noodles, just weren’t available in any regular grocery store or even the Asian grocery stores! I saw that you could easily make these noodles at home, so why not! Now, here we are!
If you’ve never made noodles before and want to check it off your bucket list, then prepare this Rice Pin Noodles recipe as part of your Live to Cook one-month challenge! You can get these free resources by signing up to my email newsletter, plus all of my latest recipes will be sent directly to your inbox!
To follow along with the process of making some delicious Loh Shi Fun noodles, then be sure to watch the video! Don’t forget to subscribe to my YouTube channel if you’re not already, and be sure to press the bell button so you’re notified whenever a new video recipe goes live! Let’s get cooking!
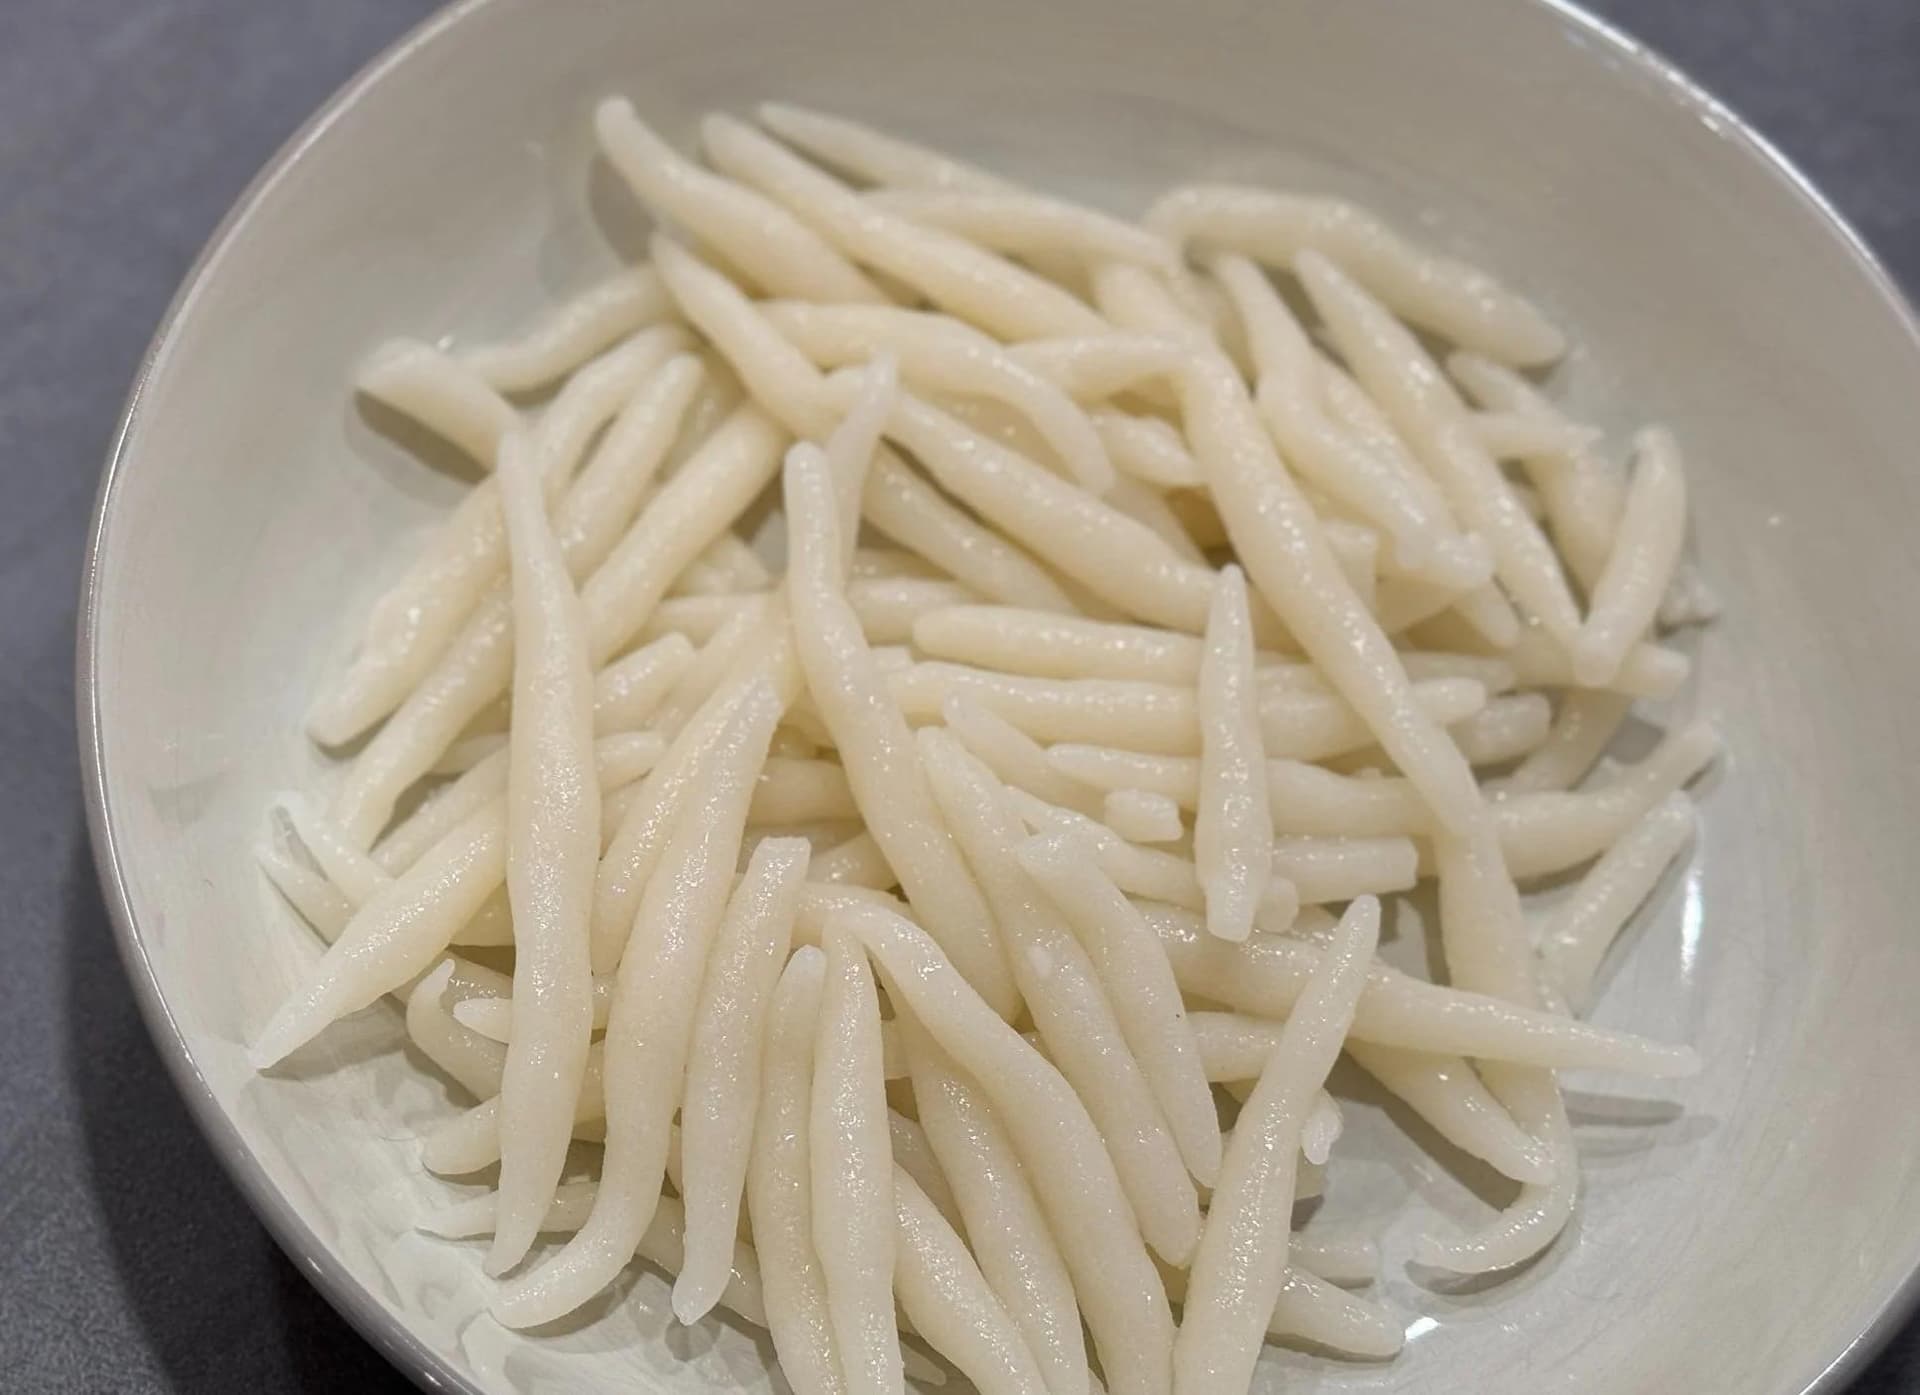
What Are Silver Noodles?▼
Silver Needle Noodles, also known as Silver Pin Noodles, Rice Pin Noodles, Tail Noodles, or Lou Shi Fun, are thin and translucent short noodles that are made from rice flour. These noodles are commonly used in Asian recipes, such as Chinese, Malaysian, Cambodian, and Vietnamese. They are similar to vermicelli noodles in the sense that they are translucent, but they are dense like Udon noodles. Unlike either of these noodles, they are short and have pointy tips, which is why they are called pin or needle noodles, or even rat tail noodles, because their ends look like those of a rats’ tail!
Dietary Information for This Silver Noodle Recipe
These Silver Pin Noodles are…
- Vegetarian
- Vegan
- Gluten free
- Low fat
- Dairy free

What does Loh Shi Fun Taste Like?▼
Honestly they’re very unique but they are very delicious! They are dense noodles, but overall they are soft with a slight chew that bounces back. I snacked on a few plain ones, actually, so they are indeed tasty! However, they are neutral enough to really soak up whatever sauce you’ll coat them with!

Equipment to Make Silver Pin Noodles
Ingredients for Loh Shi Fun
You only need 5 simple ingredients to prepare your silver noodles from scratch! For all ingredients and their quantities and to save the recipe for later, scroll to the bottom of this post for the FULL PRINTABLE RECIPE CARD, or press the “Jump to Recipe” button. You can also scale the recipe based on how many portions of noodles you want to make.

- Rice flour: I love to use rice flour when I need to add thickness and density to what I’m cooking. Some recipes substitute this with wheat flour, but this could affect the appearance, texture and taste. Furthermore, using wheat flour will no longer make these noodles gluten-free. You’ll need rice flour for the noodles themselves and the dusting.
- Tapioca starch: You could also use potato starch. This adds the chewiness to the noodles.
- Corn starch: Gives the noodles that white color and binds everything together.
- Water: For cooking your noodles.
- Salt: You can’t make anything without salt! This will add some flavor to our silver pin noodles, similar to how you would season pasta noodles.
How to Make Loh Shi Fun
Kneading the Dough
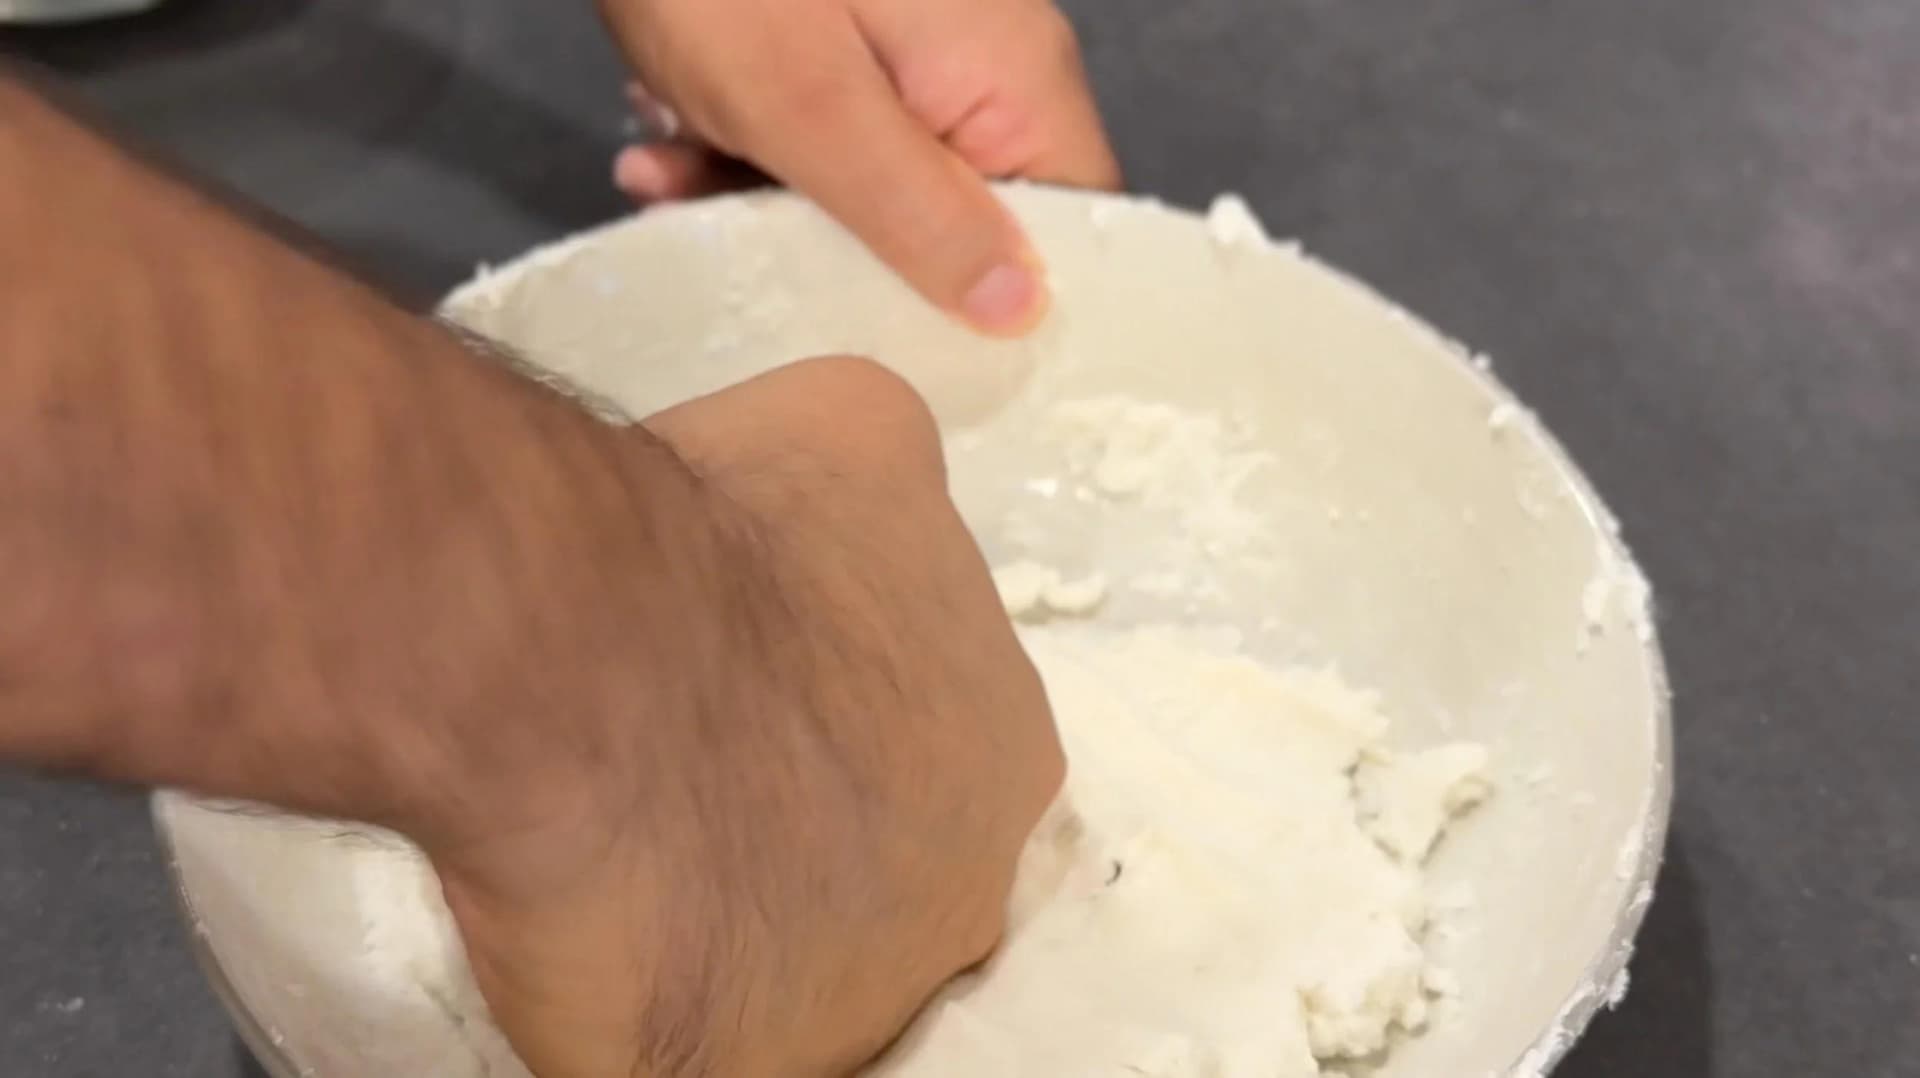
Put all the dried ingredients in a large bowl and mix well. Boil the water and then carefully pour all of it in the bowl.
Start mixing with a spatula until all the ingredients come together.


Then, start sprinkling rice flour 1 Tbsp at a time and start kneading until the dough is no longer sticky. Once the dough is no longer sticky, you can switch to kneading with your hands.
Once the dough has been kneaded to a soft, smooth and stretchy dough, set it aside and sprinkle some rice flour over a 1/4 baking sheet or a plate.


Shaping the Noodles
Take a small dime size ball from the dough, place between the palms of your hands and roll into a long rod with pointy edges, essentially a pin and place on the prepared baking sheet or plate from earlier.
Repeat the same with the remaining dough and every so often lightly dust each layer of silver noodles with rice flour to prevent sticking.


Cooking the Noodles
Once the noodles have been shaped, bring a pot of water to a boil and add a generous portion of the noodles in the water. Try not to overcrowd the pot.
Once the noodles start floating, drain or strain and then place in a bowl full of cold water.


Once you have cooked all the noodles and placed them in the bowl of cold water, drain this water, and transfer the noodles to a container or a bowl.
Store at room temperature for 1-2 days.


Tips for Delicious Silver Needle Noodles From Scratch
- The water needs to be at a boil before you add it to the dry ingredients to allow the flour to cook slightly before making the dough.
- You may need to add extra rice flour once you start kneading the dough to make it soft, stretchy and not sticky. Add about 1 Tbsp at a time to adjust the consistency.
- These noodles will not hold well in the fridge and may dry out if stored uncooked. If you have to store it for later, cook them first and then store in the refrigerator or at room temperature for 1-2 days.
- Removing any accessories from your hands or fingers will help in rolling out the pin noodles consistently.
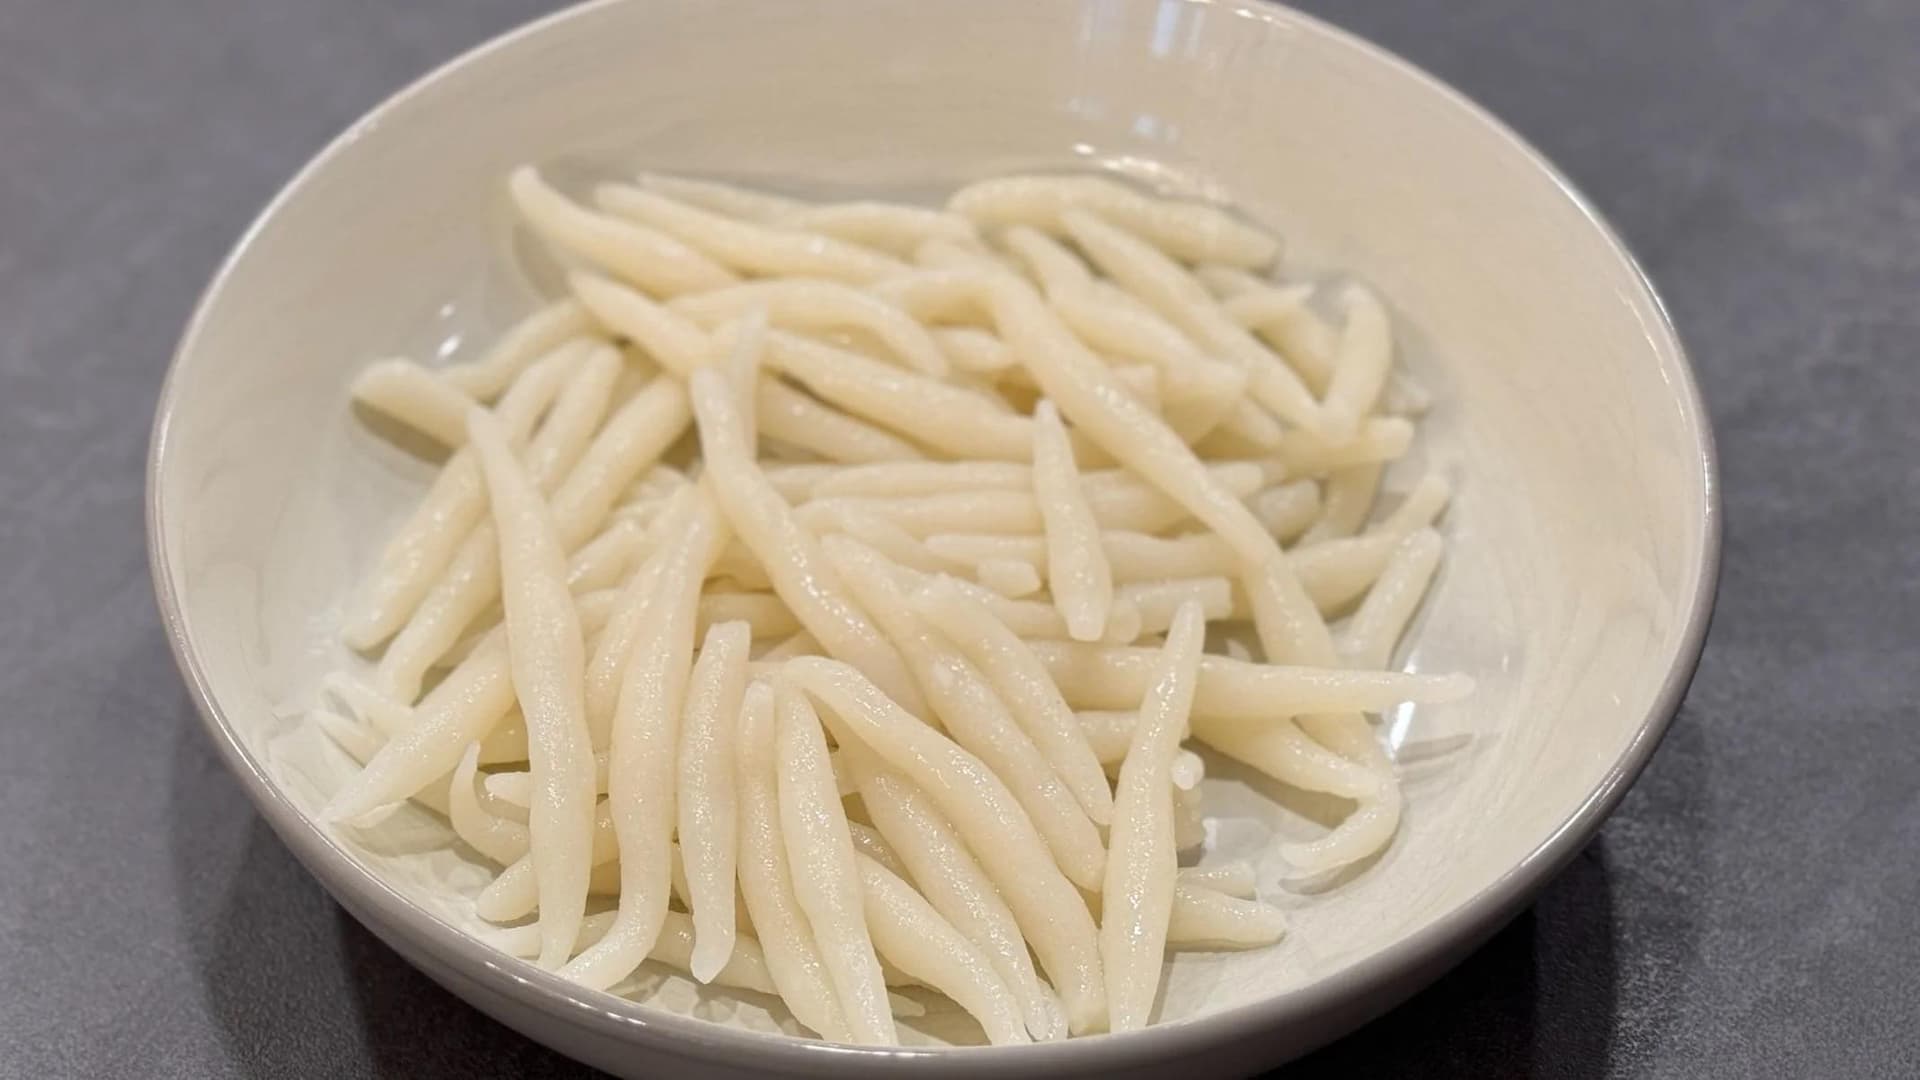
What to Cook With Your Rice Pin Noodles
These noodles were a means to an end for me. I made them because I wanted to cook Cambodian Lort Cha and could not find silver needle noodles anywhere, not even at the Asian grocery stores, and that is still my favorite way to use them. They are short, slippery and pleasantly chewy, which suits a hot wok far better than a delicate broth. Get the pan properly hot, cook whatever else is going in first, then tip the noodles in near the end and toss. They are already cooked, so all they need is to heat through and pick up the sauce; a lid over the wok for a moment is enough if you want to steam something green alongside them. Lort Cha is usually a stir-fry of these noodles with beef, egg and Chinese broccoli, but green onions and just about any quick-cooking vegetable are wonderful here too. They are also lovely dropped into a brothy soup at the last minute, or simply tossed with a sauce and eaten as they are.
Finding the Flours, and Why These Noodles Are Gluten Free
Only three dry ingredients go into this dough: rice flour, corn starch and tapioca starch. The corn starch you almost certainly have already, and the rice flour and tapioca starch are worth a trip to an Asian grocery store, where both come in proper bags at a fraction of what the tiny supermarket jars cost. You will notice there is no wheat starch here, which some silver needle noodle recipes call for. Leaving it out is exactly what keeps this version gluten free, alongside vegan and dairy free. One more thing worth doing: weigh the starches rather than scooping them. The proportions are what give these noodles their chew, and flour packs differently from cup to cup, which is why there is a kitchen scale on the equipment list.
There is a real simplicity to this dish once you see what it actually is: a starch mixture, boiling water and your own two hands. The rice flour, cornstarch and tapioca starch go into the bowl and get mixed together dry first, so they hydrate evenly the moment the water hits them. That is the whole trick behind the dough coming together in a single go rather than in stubborn lumps.
Rolling, Portioning and Storing
Rolling is the slow part of this recipe, and also the oddly satisfying part. Take a dime-size ball, roll it between your palms and taper both end points so it finishes as a little pin. Work in small portions and keep the rest of the dough covered while you go so it does not dry out, dusting each finished layer with rice flour so the noodles do not stick to one another. If you have kids in the kitchen, this is the job to hand over: it is repetitive, forgiving, and nobody minds if a few come out wonky.
One thing to know about storing them. Do not keep the shaped noodles raw, because uncooked dough dries out and cracks. Cook them first, cool them in their bath of cold water, and then keep them either at room temperature or in the refrigerator for a day or two before they go into your stir-fry.
How to Store Silver Needle Noodles Here▼
As a common theme on the blog, it is recommended that you enjoy your Silver Pin Noodles fresh. If you leave them for too long, they will get limp and dry. However, if you do have extra or you want to prepare these before making the dish that will actually use your noodles, then that’s totally fine! Simply place your noodles into an airtight container and store at room temperature. Room temperature is key because the fridge can dry out your noodles!

Let me know what you think of this recipe in the comments! If you’ve tried this recipe, be sure to post it on social media and tag it with #cookingwithanadi and mention me @cooking.with.anadi. Thank you!
Recipe by Anadi Misra
Make homemade Loh Shi Fun (rice thin noodles) from scratch with just a few simple ingredients. These chewy, silky silver needle noodles are easier than you think to pull off at home.
Stovetop
Rate this recipe ✦
15 min
Prep
10 min
Cook
25 min
Total
2
servings
makes 8–9½ oz
hard
Level
Ingredients
Ingredients
Tap any quantity to scale
Instructions
- 1
Kneading the dough: Put all the dried ingredients in a large bowl and mix well. Boil the water and then carefully pour all of it in the bowl.
Kneading the dough: Put all the dried ingredients in a large bowl and mix well. Boil the water and then carefully pour all of it in the bowl.
- 2
Start mixing with a spatula until all the ingredients come together. Then, start sprinkling rice flour 1 Tbsp at a time and start kneading until the dough is no longer sticky. Once the dough is no longer sticky, you can switch to kneading with your hands.
Start mixing with a spatula until all the ingredients come together. Then, start sprinkling rice flour 1 Tbsp at a time and start kneading until the dough is no longer sticky. Once the dough is no longer sticky, you can switch to kneading with your hands.
- 3
Once the dough has been kneaded to a soft, smooth and stretchy dough, set it aside and sprinkle some rice flour on a 1/4-inch baking sheet or plate.
Once the dough has been kneaded to a soft, smooth and stretchy dough, set it aside and sprinkle some rice flour on a 1/4-inch baking sheet or plate.
- 4
Shaping the noodles: Take a small dime-size ball from the dough, place between the palms of your hands and roll into a long rod with pointy edges, essentially a pin and place on the prepared baking sheet or plate from earlier.
Shaping the noodles: Take a small dime-size ball from the dough, place between the palms of your hands and roll into a long rod with pointy edges, essentially a pin and place on the prepared baking sheet or plate from earlier.
- 5
Repeat the same with the remaining dough and every so often lightly dust each layer of rice pin noodles with rice flour to prevent sticking.
Repeat the same with the remaining dough and every so often lightly dust each layer of rice pin noodles with rice flour to prevent sticking.
- 6
Cooking the noodles: Once the noodles have been shaped, bring a pot of water to a boil and add a generous portion of the noodles in the water. Try not to overcrowd the pot.
Cooking the noodles: Once the noodles have been shaped, bring a pot of water to a boil and add a generous portion of the noodles in the water. Try not to overcrowd the pot.
- 7
Once the noodles start floating, drain or strain and then place in a bowl full of cold water. Once you have cooked all the noodles and placed them in the bowl of cold water, drain this water, and transfer the noodles to a container or a bowl.
Once the noodles start floating, drain or strain and then place in a bowl full of cold water. Once you have cooked all the noodles and placed them in the bowl of cold water, drain this water, and transfer the noodles to a container or a bowl.
- 8
Store at room temperature for 1-2 days.
Store at room temperature for 1-2 days.
Nutrition per serving
207
Calories
4g
Protein
46g
Carbs
0g
Fat
1g
Fiber
0g
Sugar
590mg
Sodium
Did you make this recipe? Tag @cooking.with.anadi on Instagram and hashtag it #cookingwithanadi

Tested & written in Anadi’s kitchen
Recipe history
- April 16, 2026 — Reworked and refreshed for the 2026 relaunch — new photography, restructured and standardized ingredients & instructions.
Filed under
You might also like
The Ultimate Guide on How to Make Sushi Rice Over the Stove
Make perfect sushi rice on the stove every time with this easy, foolproof guide. Seasoned with rice vinegar and ready in one pot, it is the ideal base for all your favorite sushi creations.

Teriyaki Shrimp Stir Fry With Veggies and Udon Noodles
Juicy teriyaki shrimp, colorful veggies, and chewy udon noodles come together in this easy beginner stir fry. Bold flavors, one pan, and dinner on the table fast.
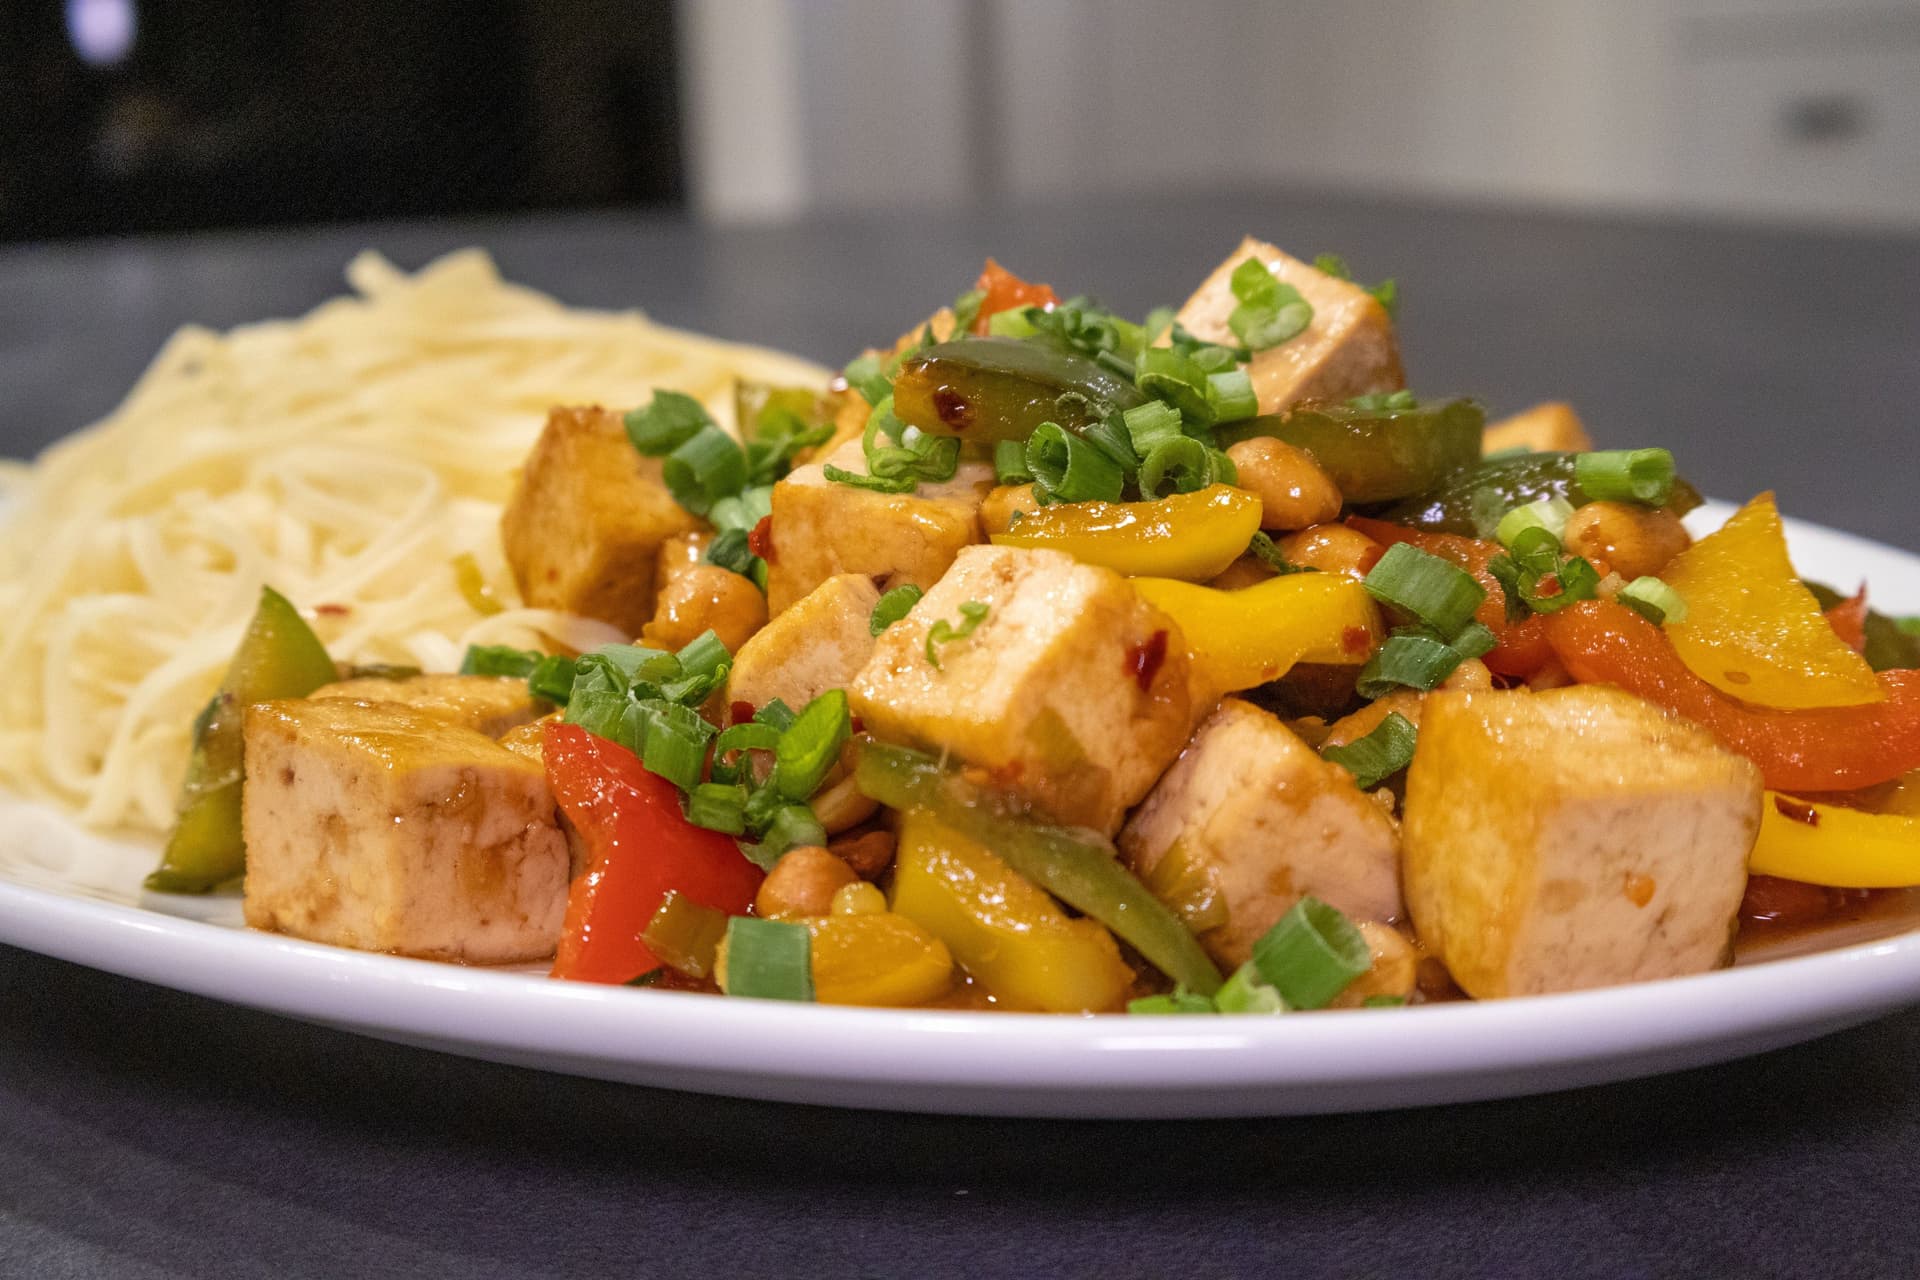
Easy Weeknight Tofu Noodles Stir Fry Recipe
Quick, flavorful, and ready in minutes, this tofu noodle stir fry is the perfect easy weeknight dinner. Crispy tofu, tender noodles, and bold Asian-inspired sauce in every bite.
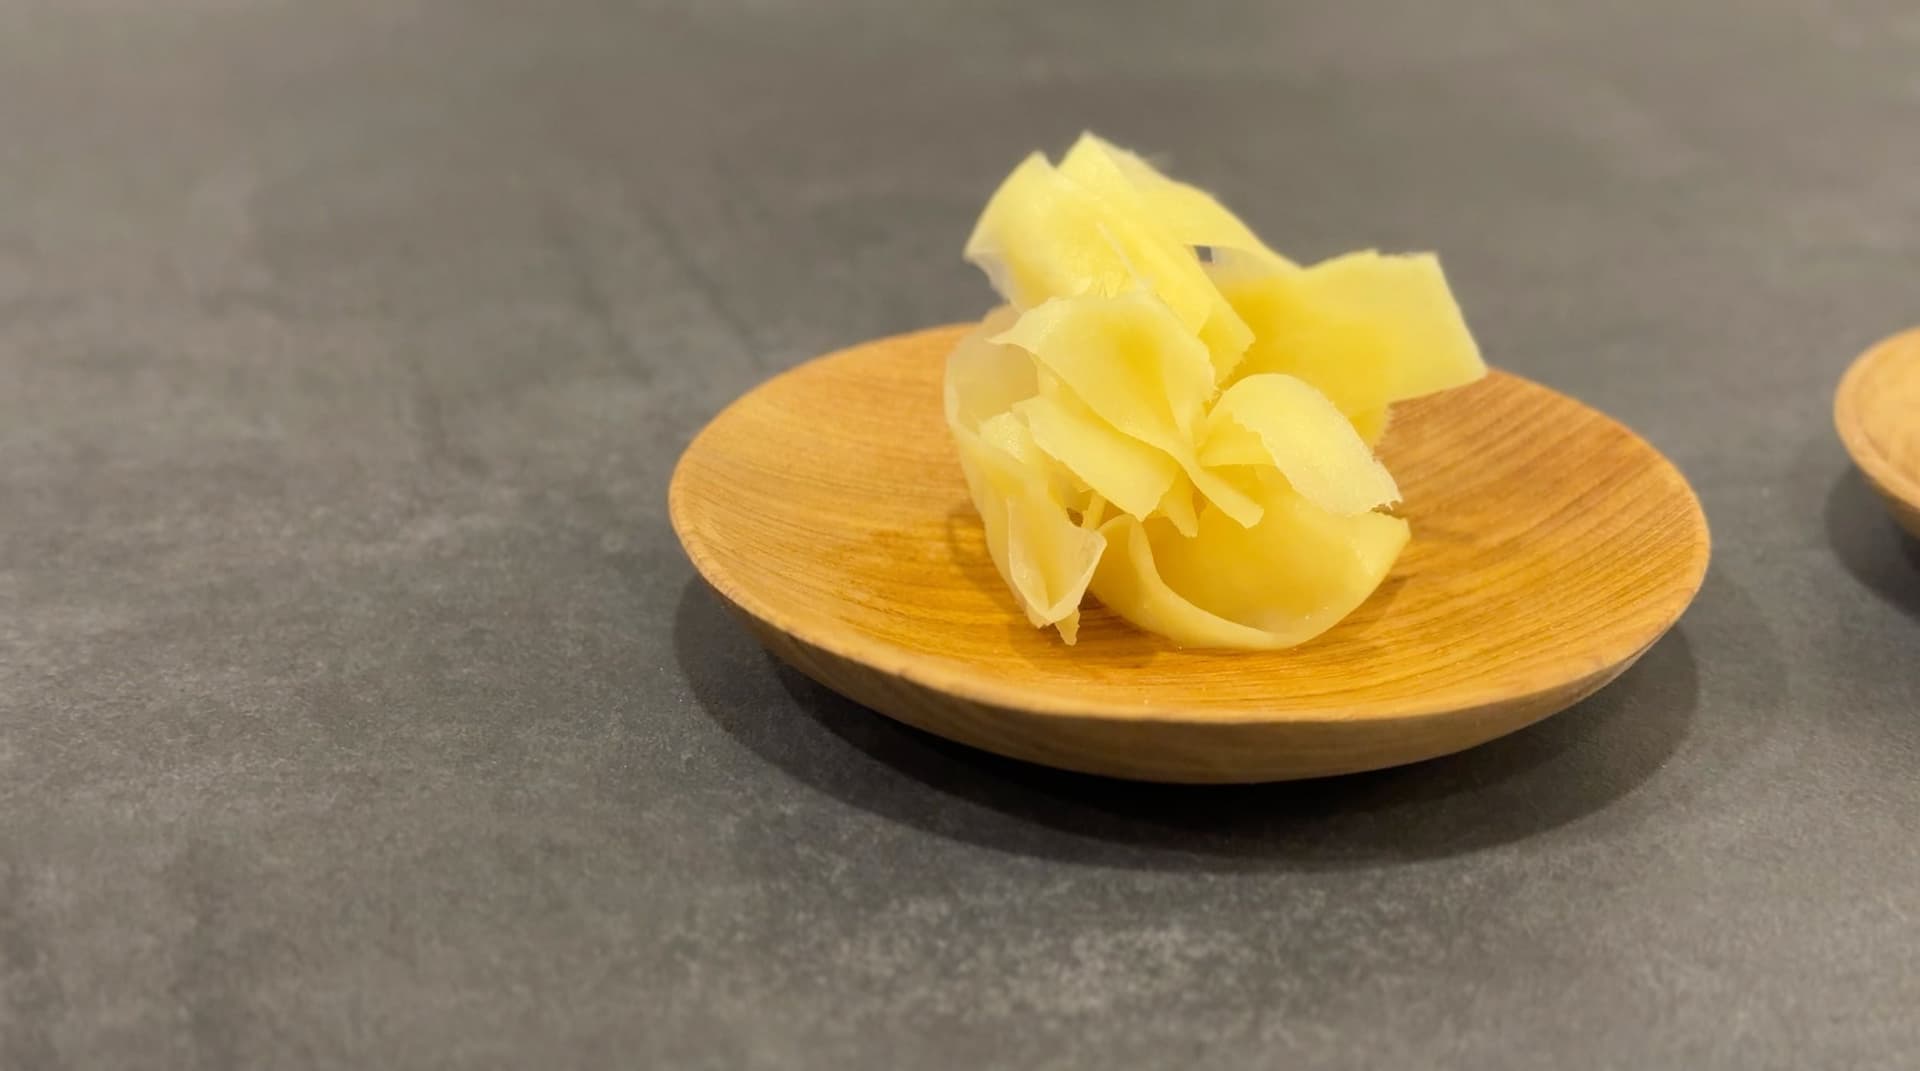
How To Make Pickled Ginger for Sushi (Gari)
Make authentic Japanese pickled ginger (gari) at home with just a few simple ingredients. Sweet, tangy, and ready in minutes, it's the perfect homemade sushi accompaniment.
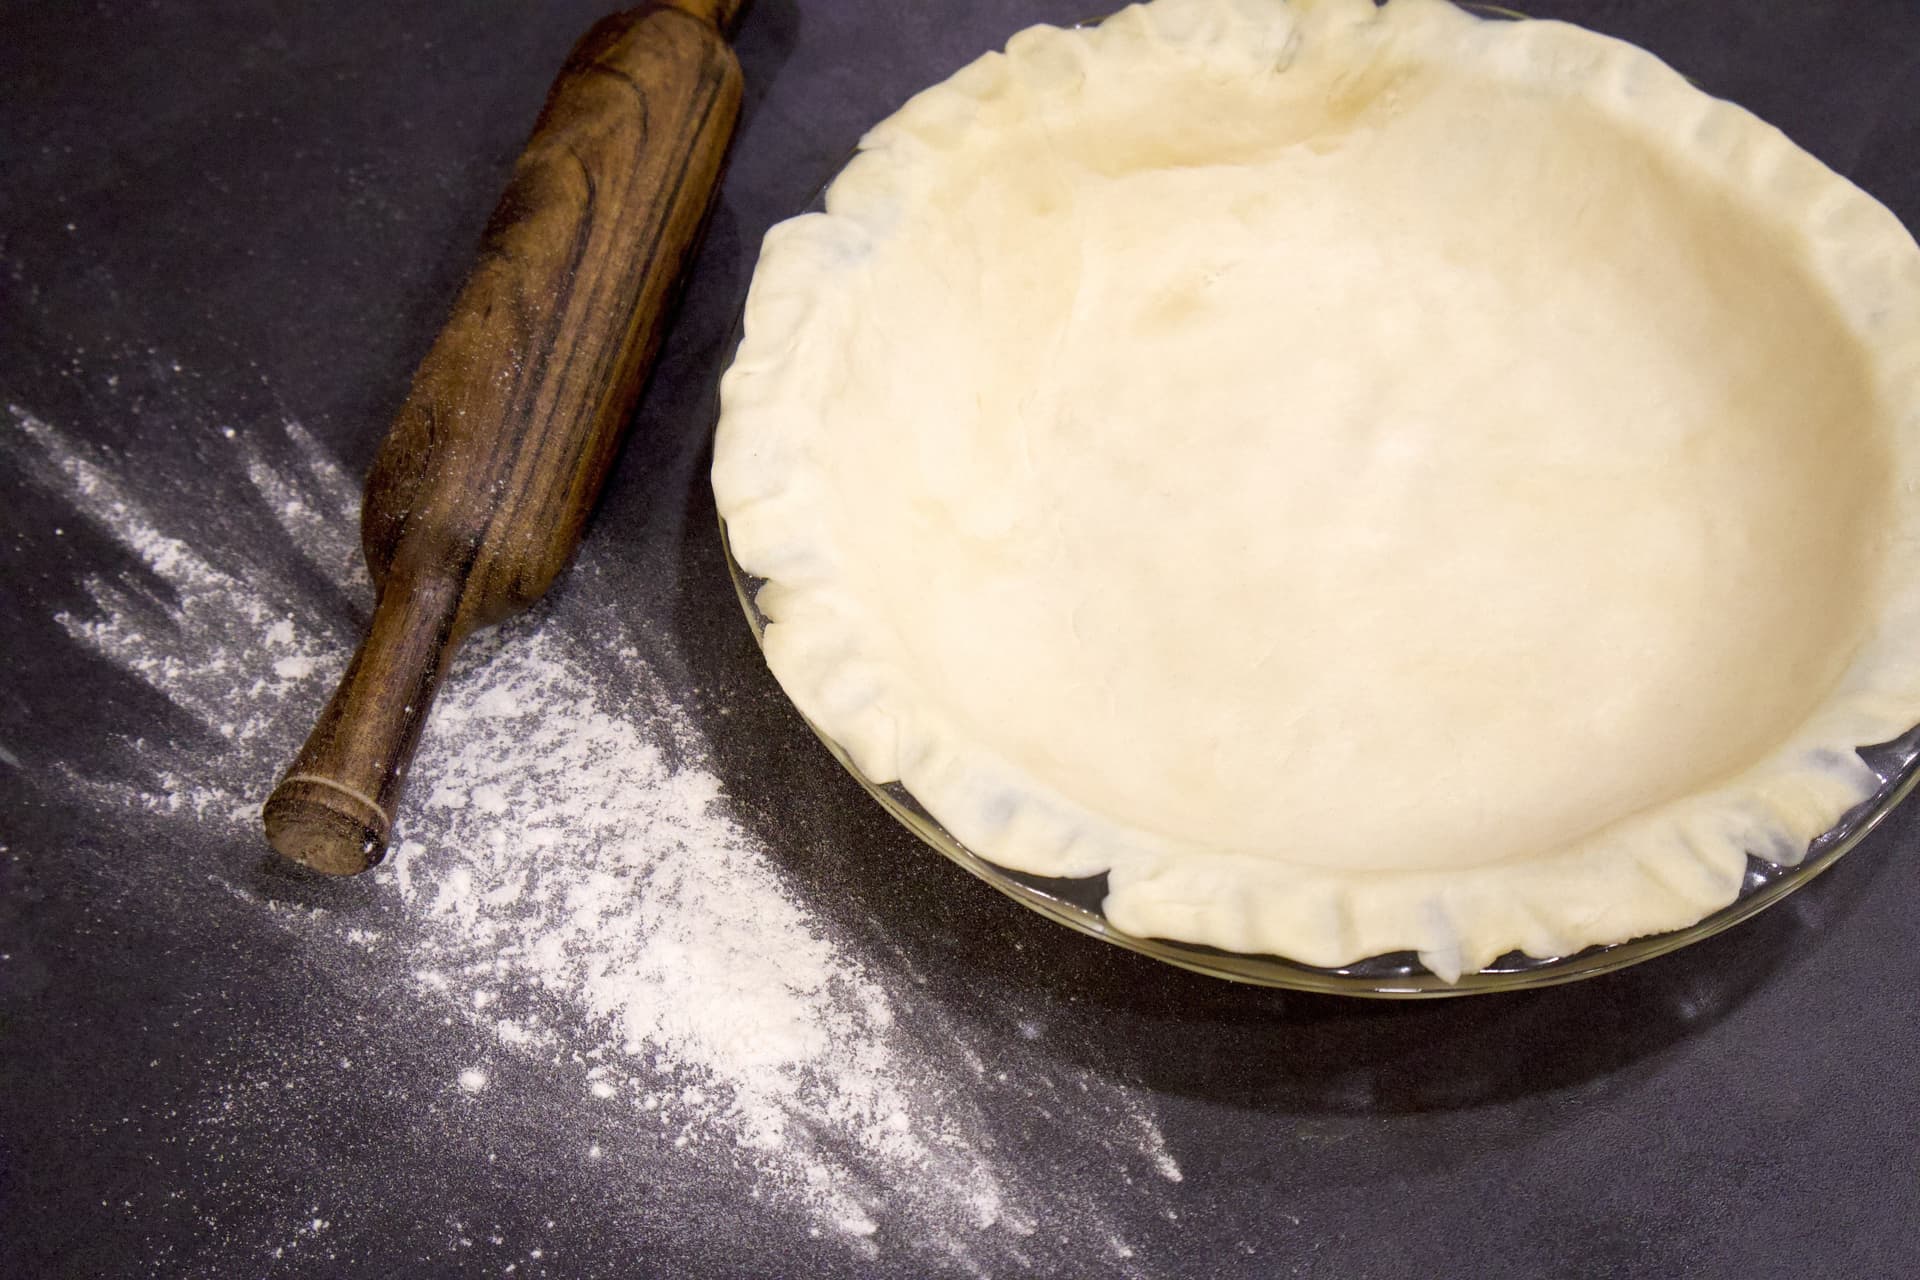
Perfect Flaky & Easy Homemade Pie Crust Recipe
Make the perfect flaky pie crust by hand with just 3 ingredients and no butter needed. Simple, foolproof, and vegan-friendly — your homemade pie dough starts here.

The Only Toum Recipe You Need (Lebanese Garlic Sauce)
Make the creamiest Lebanese toum at home with just a blender and 4 ingredients. This fluffy garlic sauce is bold, airy, and ready in minutes — perfect for dipping, spreading, and drizzling on everything.


Comments
No comments yet — be the first to share your thoughts!
Leave a review
Be the first to share how it went — your note helps other cooks (and earns the recipe its stars).