


This post may contain affiliate links. Read our disclosure policy
Watch the recipe

Cooking With Anadi
12K subscribers · red velvet pancakes with chocolate and cream cheese glaze
Ho ho ho! Merry Christmas! I’m not writing this at Christmas-time but why not save this fluffy Red Velvet Chocolate Chip Pancakes when it rolls around? Actually, Valentine’s Day is less than a week away at the time of writing this recipe, so I recommend you prepare these red velvet pancakes for Valentine’s Day! This is the perfect occasion to put your heart on a plate as part of your Live to Cook one-month challenge! Not only will you be proud of making this incredibly pretty and delicious pancake stack, but I guarantee that your special someone will be over the moon! This indeed is a great brunch to remember and enjoy for two! Cooking for a red velvet lover? I discuss in my top 5 tips to explore your potential in the kitchen, Make Cooking Fun!, how using ingredients that you already have and using up things that really should be finished can inspire you! For instance, you’ll probably have lots of red food coloring after these pancakes, so why not make a Valentine’s WEEK instead of day and have a theme around red and food that screams “I love you!” The perfect complement to this Red Velvet Pancakes recipe is my Easy Red Velvet Latte - it should take no more than 10 minutes to make and it can really be perfect to serve your loved one for breakfast in bed!
If none of those holidays are nearby, then don’t fret! You can just make these stunning red velvet pancakes when you’ve got a craving for the cake but don’t want to eat a cake for breakfast! I mean, if you eat the real cake for breakfast, I won’t judge. I’ve done it once before… Or maybe more. hehe.
Check out the video recipe to follow along with preparing our perfect Valentine’s Day Red Velvet Pancakes! If you haven’t already, please subscribe to my YouTube channel and be sure to hit the bell button to receive the notifications when all my video recipes are live! I love sharing the videos to go hand in hand with the written recipes so you’ve got all the tools you need for success! Let’s get cooking!
Why You’ll Love These Red Velvet Chocolate Chip Pancakes!
- Made from scratch: I’d also like to point out that I’m not using a box mix for these pancakes. They’re 100% made from scratch! I am adding some red food coloring to my traditional pancake batter that uses oat flour.
- Cakey: We’ve also got some cocoa powder in the batter! I find that cocoa powder really adds that cakiness that makes the pancakes so fluffy. This is really going to give you the feeling that your pancakes are truly like the red velvet cake itself!
- Perfectly sweet: We’ve got some sweetness in our pancake batter to ensure that our cocoa powder isn’t too bitter. This can come from powdered sugar or honey. Furthermore, the white chocolate chips we’ll add in as our pancakes cook add some more chocolate goodness so you get a full on cake experience!
- Easy process: These pancakes won’t involve too many steps to make, so they’re perfect for a last-minute special brunch!
- Eye-catching stack: Additionally, I not only top my pancakes with my classic rich cream cheese glaze, but I love sandwiching these pancakes with the glaze! A garnish of some shaved chocolate really brings these pancakes all together so that they not only taste incredible, but they look almost too pretty to eat!

Equipment for Red Velvet Chocolate Chip Pancakes
- Non-stick pan
- Fish spatula
- Measuring spoons
- Measuring cup
- Ladle
- Whisk
- Mixing bowl
- Cake cutter
- Peeler
- Ramekins
Red Velvet Chocolate Chip Pancakes Ingredients
Scroll down to the bottom of this post for the FULL PRINTABLE RECIPE CARD or press the “Jump to Recipe” button for all ingredient quantities and to save the recipe for later. The recipe card also allows you to scale the recipe based on how many pancakes you want to have, and all ingredient quantities get automatically adjusted for you!

- Flour: My go-to option for a perfect pancake batter is simply all-purpose flour. However, if you have a gluten intolerance, you can replace this with 1 to 1 gluten-free baking flour. I recommend you use this flour instead of other gluten-free varieties because this will allow you to maintain the flour to milk ratio I’ve outlined in this recipe. I’ve made these pancakes with both regular flour and the 1 to 1 flour and had the same results! On the other hand, in my Ultimate Chocolatey S’mores Pancakes, I have used gluten-free all-purpose flour with garbanzo beans and required more milk. Check out that recipe if that’s the flour that you already have on hand and want to make these pancakes.
- Milk: If you’re making these pancakes for someone who is lactose intolerant, lactose-free milk will work just fine. I’m using whole milk here, and I’ve found it makes for a thicker batter. You can use any milk of your choice, but keep in mind that if you’re using a non-dairy milk, the texture and taste will differ.
- Egg: One whole egg cracked into our batter.
- Butter: Molten butter will go directly into our pancakes. We actually won’t put butter on the pan
- Vanilla extract: Ensure that you’re using pure vanilla extract and not artificial vanilla extract for the best flavor. Yes, it’s more expensive, but it’s really worth investing in it because
- Red food coloring: A few drops is all you’ll need to get a vibrant red color! People who don’t want to use food coloring tend to use beet juice for a natural option. You can, but the color won’t be as bright red as with the food coloring. A little bit every now and then won’t harm you!
- Powdered sugar: This is going to be the sweetener for our pancake batter. I typically like to add honey to my pancake batter, but I kept these pancakes low FODMAP so I opted for powdered sugar today. If you’re not going to use honey, I recommend powdered sugar over granulated white sugar because this will make your pancakes grainy. Powdered sugar allows the texture to be smooth.
- Cocoa powder: You may be worried that the cocoa powder will ruin the color of your pancakes. No, it won’t! We’re only using a tablespoon, and that’ll not only help give a cakey texture to our pancakes, but add some body and transform the flavor. A typical red velvet cake is made with cocoa powder, so you can’t skip this crucial ingredient in our red velvet pancakes!
- Salt: Brings out the flavor of the cocoa powder and vanilla here. We only need a little pinch.
- Baking powder: Helps the pancakes get super fluffy!
- White chocolate chips: These really make the red velvet pancakes special. They add some nice sweetness to the pancakes and when you cut into your pancakes, you’ll see the awesome molten chocolate chips! This really takes our red velvet pancakes to the next level!
- Classic Cream Cheese Glaze: Made with cream cheese, powdered sugar, and milk. This will be used for layering and topping our pancakes.
- Shaved chocolate of choice: I recommend baker’s semi-sweet or dark chocolate.
How to Make Red Velvet Pancakes
Here’s a step-by-step guide on how to make these excellent cakey red velvet pancakes with cream cheese glaze!
Preheat your oven to 200 F. This step is optional. We don’t want our cooked pancakes to get cold as we cook all of the batter, so we’ll keep them warm by adding them to a baking tray in the oven.
Prepare your cream cheese glaze. You can see how to make my Classic Cream Cheese Glaze recipe here.


Prepare the batter. In a large mixing bowl, add the dry ingredients together - flour, cocoa powder and baking powder.


In a separate bowl, mix together the wet ingredients - milk, egg, powdered sugar and the vanilla extract. Then add in the red food coloring and mix again.


Add the wet ingredients to the dry and begin whisking using either a whisk or a stand mixer until you get a thick but runny pancake batter. You don’t need to work out all the lumps. After mixing, adjust the red food color to add more red as necessary to get the desired color and then mix in the molten butter.


Heat a non-stick skillet or griddle on medium heat and using a 1/3 cup measuring cup or a ladle, pour the batter onto the center of the hot pan. Then add the chocolate chips on the wet side and then cover the chocolate chips with more batter.
Cook until bubbles start to appear. Then, carefully flip onto the other side. Lower the heat and cook until the pancake is entirely cooked through, for about another minute or two. Turn the heat back up to medium and continue cooking the rest of the pancakes.


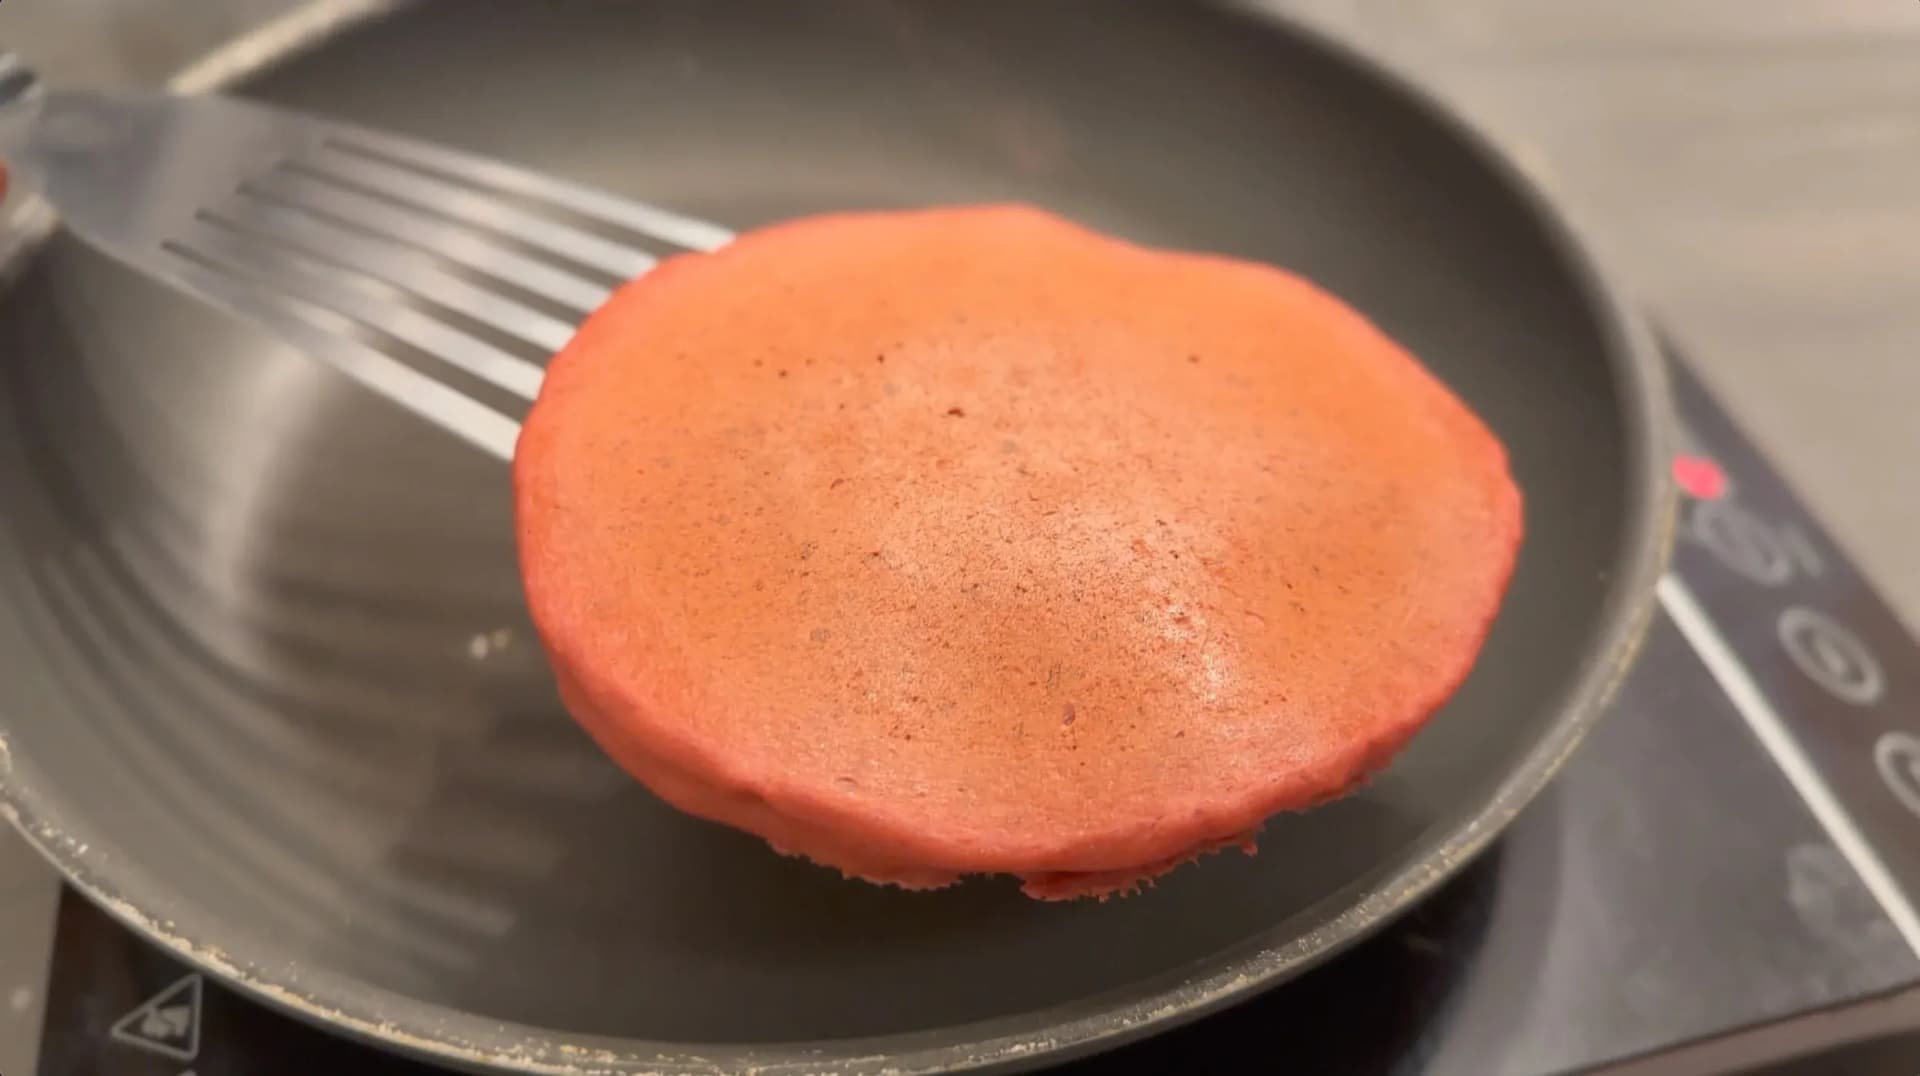
If making ahead, transfer the cooked pancake to a baking tray. Put the tray in the oven and repeat the previous step for the remaining batter.
Assemble the pancakes. When all the pancakes have cooked start layering the pancakes with the glaze. Place one pancake on your plate and spoon on 2-3 Tbsp of glaze. Spread it in a circular motion onto the pancake, going close to the edge - leave a slight rim.
Stack on another pancake and repeat until you've coated the top pancake with a final layer of cream cheese glaze.


Sprinkle the top with shaved dark chocolate and serve warm. Enjoy!


Can You Make Red Velvet Pancakes in Advance?▼
The pancakes themselves CAN be made in advance, but please avoid storing assembled pancakes in the fridge! Additionally, I never recommend that you make the batter in advance or else it’ll become too thick to cook with. Store any leftover cooked pancakes in the fridge in an airtight container. The pancakes will stay fresh for about 4 days.
You can reheat plain pancakes over the stove on a pan on medium-low heat. Additionally, pancakes can be reheated in the oven at 200 F for about 10 minutes, or until warmed through. Assemble and enjoy!
Why This Batter Uses Baking Powder, Not Buttermilk and Soda
A traditional red velvet cake gets its lift from buttermilk and baking soda reacting with each other, and historically a little of its colour from that acid meeting the cocoa. This pancake batter does it differently on purpose: 1 1/4 cups of plain milk and 2 teaspoons of baking powder. Baking powder brings its own acid along, so nothing has to be timed and nothing has to be raced; you can mix the batter and pour it straight onto the pan. If you do want the tang of the cake version, the swap is easy. Use buttermilk in place of the milk, drop the baking powder to 1 teaspoon, and add 1/2 teaspoon of baking soda to react with the acid. Expect a slightly tangier pancake and a marginally deeper colour. One thing not to change is how much you mix: the batter should be thick but still runny, and lumps are completely fine. If it has stiffened up, loosen it with liquid a tablespoon at a time rather than beating it, because overworked pancake batter turns tough. And yes, you could stir cocoa powder and a few drops of red food coloring into a boxed pancake mix and land somewhere near this, but from scratch is barely more work and you get to control the sweetness.
Cooking in Batches, Keeping Them Warm and Freezing Leftovers
This batter feeds four, which is more than any pan handles in one go, so you will be working in batches and the last pancake should not be a cold one. Heat the oven to 200F before you start and slide a sheet pan in. As each pancake comes off the skillet, lay it on the sheet pan in a single layer rather than a stack, because stacked warm pancakes steam each other and go limp. Keep the skillet at medium between batches and drop the heat after each flip, exactly as the method says, or the later pancakes cook darker than the first ones. Remember the chocolate chips go onto the wet surface and then get covered with a little more batter, which seals them inside the pancake instead of letting them sit against the hot pan and scorch.
Leftovers freeze beautifully. Cool them completely, lay them flat on a sheet pan and freeze for an hour before bagging them; done that way they will not weld together and you can drop one straight from the freezer into the toaster. Glaze after reheating and never before, because cream cheese glaze will not survive a second trip through the heat. Cooked pancakes also keep in the refrigerator for two or three days, and the glaze itself keeps separately in a covered container for about a week.
Let me know what you think of this recipe in the comments! If you’ve tried this recipe, be sure to post it on social media and tag it with #cookingwithanadi and mention me @cooking.with.anadi. Thank you!
Recipe by Anadi Misra
Fluffy Red Velvet Chocolate Chip Pancakes topped with a rich cream cheese glaze make the ultimate indulgent breakfast. This easy recipe delivers bold flavor and stunning color every time.
Stovetop
Rate this recipe ✦
15 min
Prep
17 min
Cook
32 min
Total
4
pancakes
medium
Level
Ingredients
Ingredients
Tap any quantity to scale
For the pancakes
- (125 g) all purpose flourShop →
- (5 g) baking powderShop →
- (6 g) cocoa powderShop →
- (300 ml) milk
- (8 g) powdered sugarShop →
- (5 ml) vanilla extractShop →
- large egg · make your own
- (3 g) red food coloring(more if needed)Shop →
- (14 g) butter(butter)
- (8 g) white chocolate chipsShop →
- Classic Cream Cheese Glaze (for topping) · make your own
- (5 g) dark chocolate(shaved, for garnish)Shop →
For the cream cheese glaze
- (142 g) cream cheese
- (23 g) powdered sugarShop →
- (11.3 ml) milk
Instructions
- 1
Preheat the oven to 200°F, this step is optional and prepare the cream cheese glaze as described in my recipe here.
Preheat the oven to 200°F (93°C), this step is optional and prepare the cream cheese glaze as described in my recipe here.
- 2
In a large mixing bowl, add the dry ingredients together - flour, cocoa powder and baking powder. In a separate bowl, mix together the wet ingredients - milk, egg, powdered sugar and the vanilla extract. Then add in the red food coloring and mix again.
In a large mixing bowl, add the dry ingredients together - flour, cocoa powder and baking powder. In a separate bowl, mix together the wet ingredients - milk, egg, powdered sugar and the vanilla extract. Then add in the red food coloring and mix again.
- 3
Add the wet ingredients to the dry and begin whisking using either a whisk or a stand mixer, until you get a thick but runny pancake batter. You don’t need to work out all the lumps. After mixing, adjust the red food coloring to add more red as necessary to get the desired color and then mix in the melted butter.
Add the wet ingredients to the dry and begin whisking using either a whisk or a stand mixer, until you get a thick but runny pancake batter. You don’t need to work out all the lumps. After mixing, adjust the red food coloring to add more red as necessary to get the desired color and then mix in the melted butter.
- 4
Heat a non-stick skillet or griddle on medium heat and using a ⅓ cup measuring cup or a ladle, pour the batter onto the center of the hot pan. Then add the chocolate chips on the wet side and then cover the chocolate chips with more batter.
Heat a non-stick skillet or griddle on medium heat and using a ⅓ cup measuring cup or a ladle, pour the batter onto the center of the hot pan. Then add the chocolate chips on the wet side and then cover the chocolate chips with more batter.
- 5
Cook until bubbles start to appear. Then, carefully flip onto the other side. Lower the heat and cook until the pancake is entirely cooked through, for about another minute or two. Turn the heat back up to medium and continue cooking the rest of the pancakes.
Cook until bubbles start to appear. Then, carefully flip onto the other side. Lower the heat and cook until the pancake is entirely cooked through, for about another minute or two. Turn the heat back up to medium and continue cooking the rest of the pancakes.
- 6
If making ahead, transfer the cooked pancake to a baking tray. Put the tray in the oven and repeat the previous step for the remaining batter.
If making ahead, transfer the cooked pancake to a baking tray. Put the tray in the oven and repeat the previous step for the remaining batter.
- 7
Assemble the pancakes. When all the pancakes have cooked start layering the pancakes with the glaze. Place one pancake on your plate and spoon on 2–3 tbsp of glaze. Spread it in a circular motion onto the pancake, going close to the edge - leave a slight rim.
Assemble the pancakes. When all the pancakes have cooked start layering the pancakes with the glaze. Place one pancake on your plate and spoon on 2–3 tbsp of glaze. Spread it in a circular motion onto the pancake, going close to the edge - leave a slight rim.
- 8
Stack on another pancake and repeat until you've coated the top pancake with a final layer of cream cheese glaze. Sprinkle the top with shaved dark chocolate and serve warm. Enjoy!
Stack on another pancake and repeat until you've coated the top pancake with a final layer of cream cheese glaze. Sprinkle the top with shaved dark chocolate and serve warm. Enjoy!
Nutrition per pancake
464
Calories
15g
Protein
49g
Carbs
24g
Fat
3g
Fiber
22g
Sugar
224mg
Sodium
Did you make this recipe? Tag @cooking.with.anadi on Instagram and hashtag it #cookingwithanadi

Tested & written in Anadi’s kitchen
Recipe history
- April 16, 2026 — Reworked and refreshed for the 2026 relaunch — new photography, restructured and standardized ingredients & instructions.
Filed under
You might also like
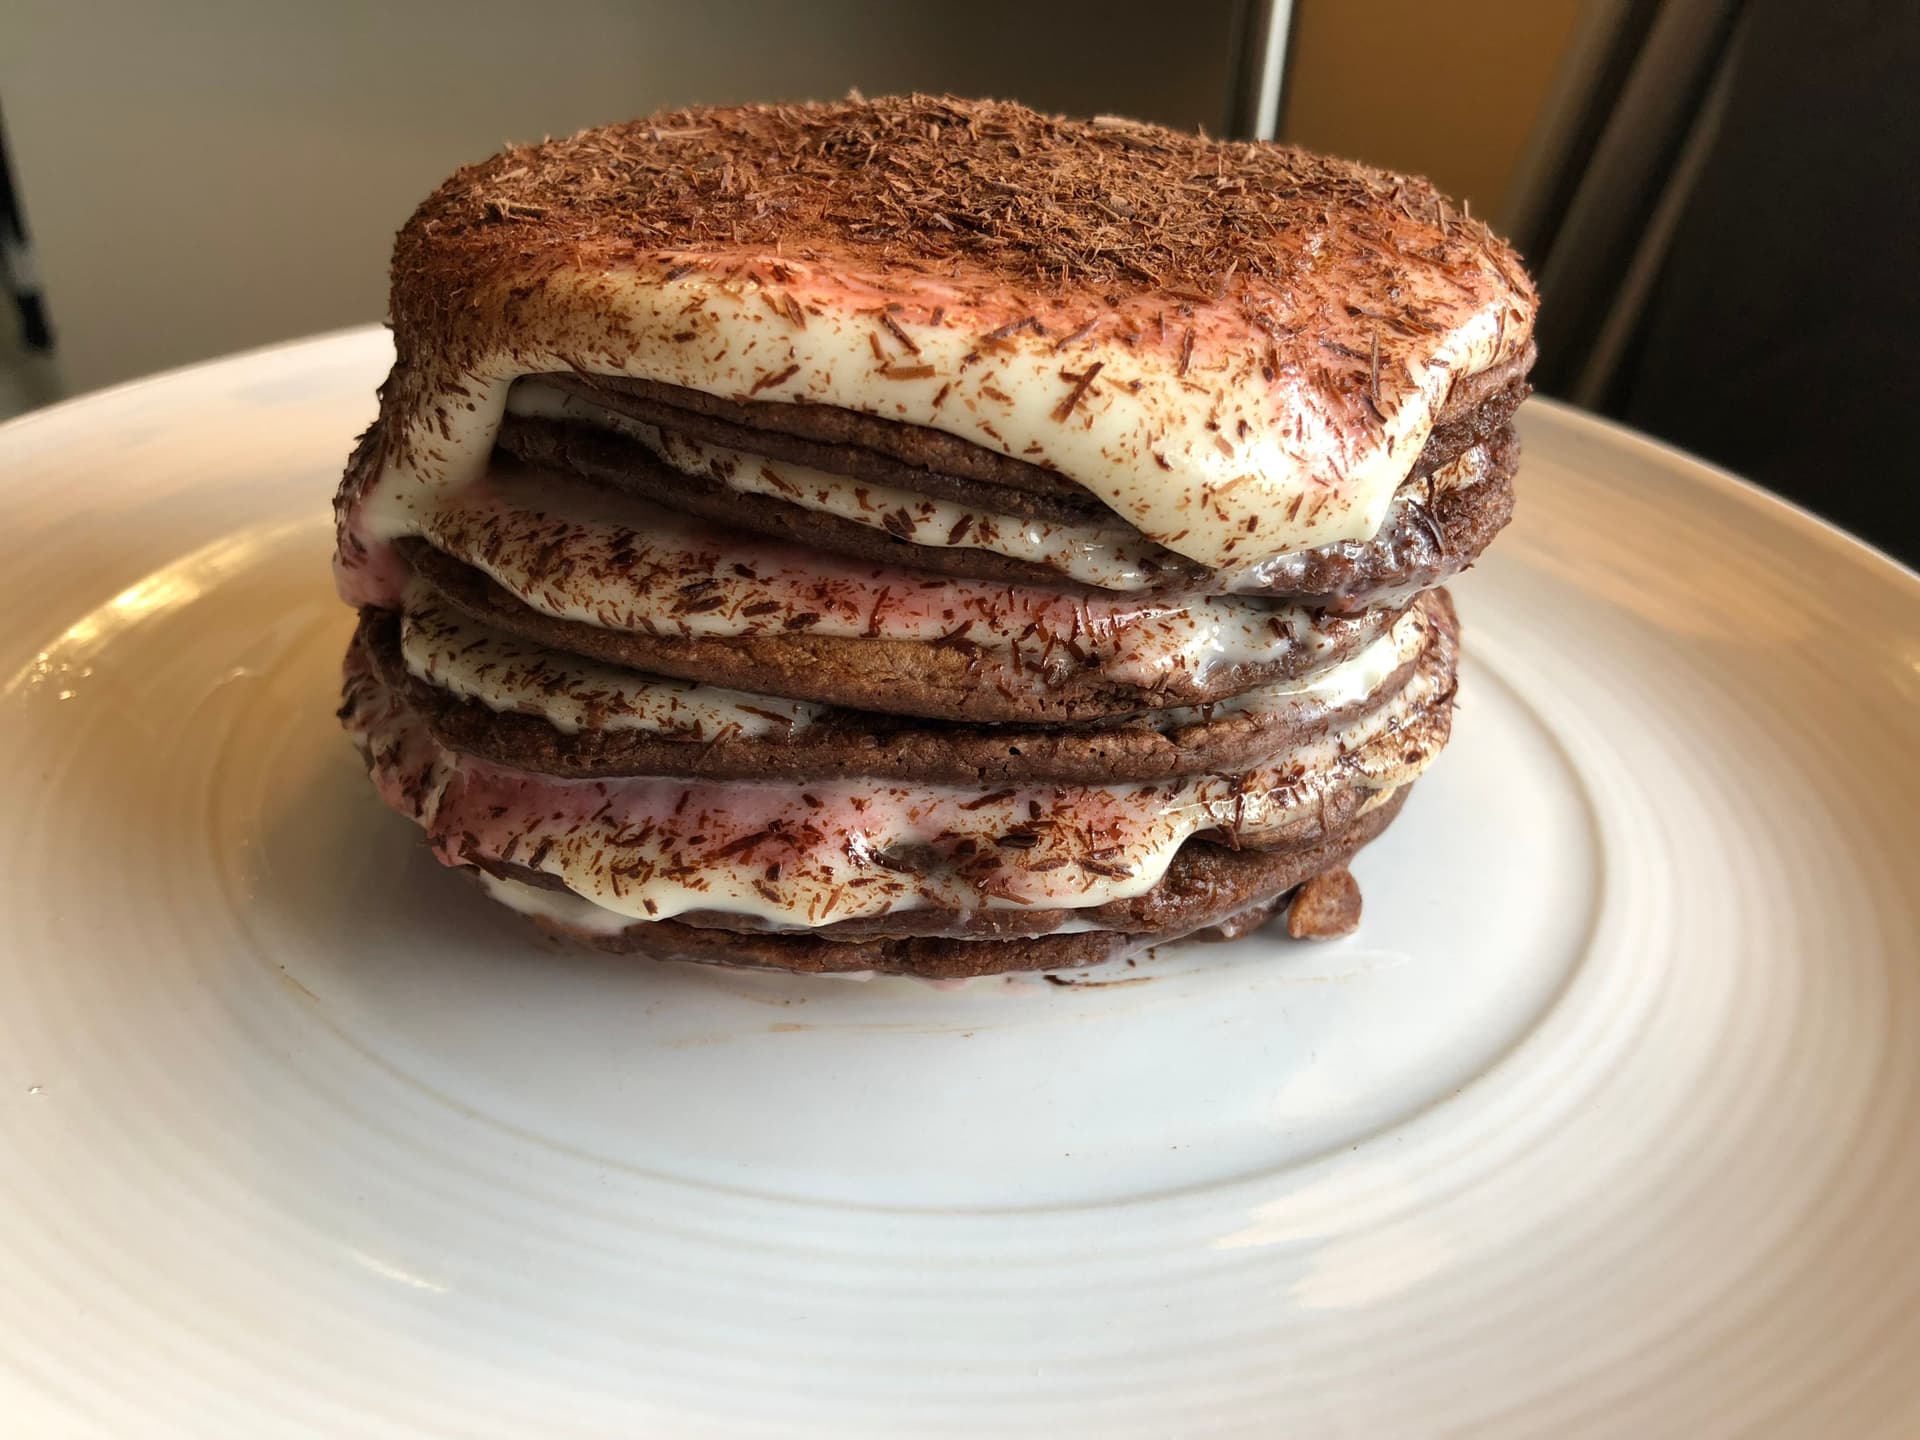
Black Forest Pancake with Cream Cheese Glaze
Fluffy Black Forest Pancakes loaded with rich chocolate and cherries, topped with a dreamy cream cheese glaze. The ultimate indulgent breakfast treat you will want to make every weekend.

Indulge in These Heavenly Strawberry Shortcake Pancakes
Fluffy, fruity, and utterly irresistible — these Strawberry Shortcake Pancakes are the best way to start your morning with a healthy, delicious twist on a classic treat.

Extremely Fun & Fluffy M&M Funfetti Pancakes
Fluffy, fun, and loaded with M&Ms and rainbow sprinkles, these Funfetti Pancakes are the ultimate birthday breakfast treat. Easy to make and impossible to resist!
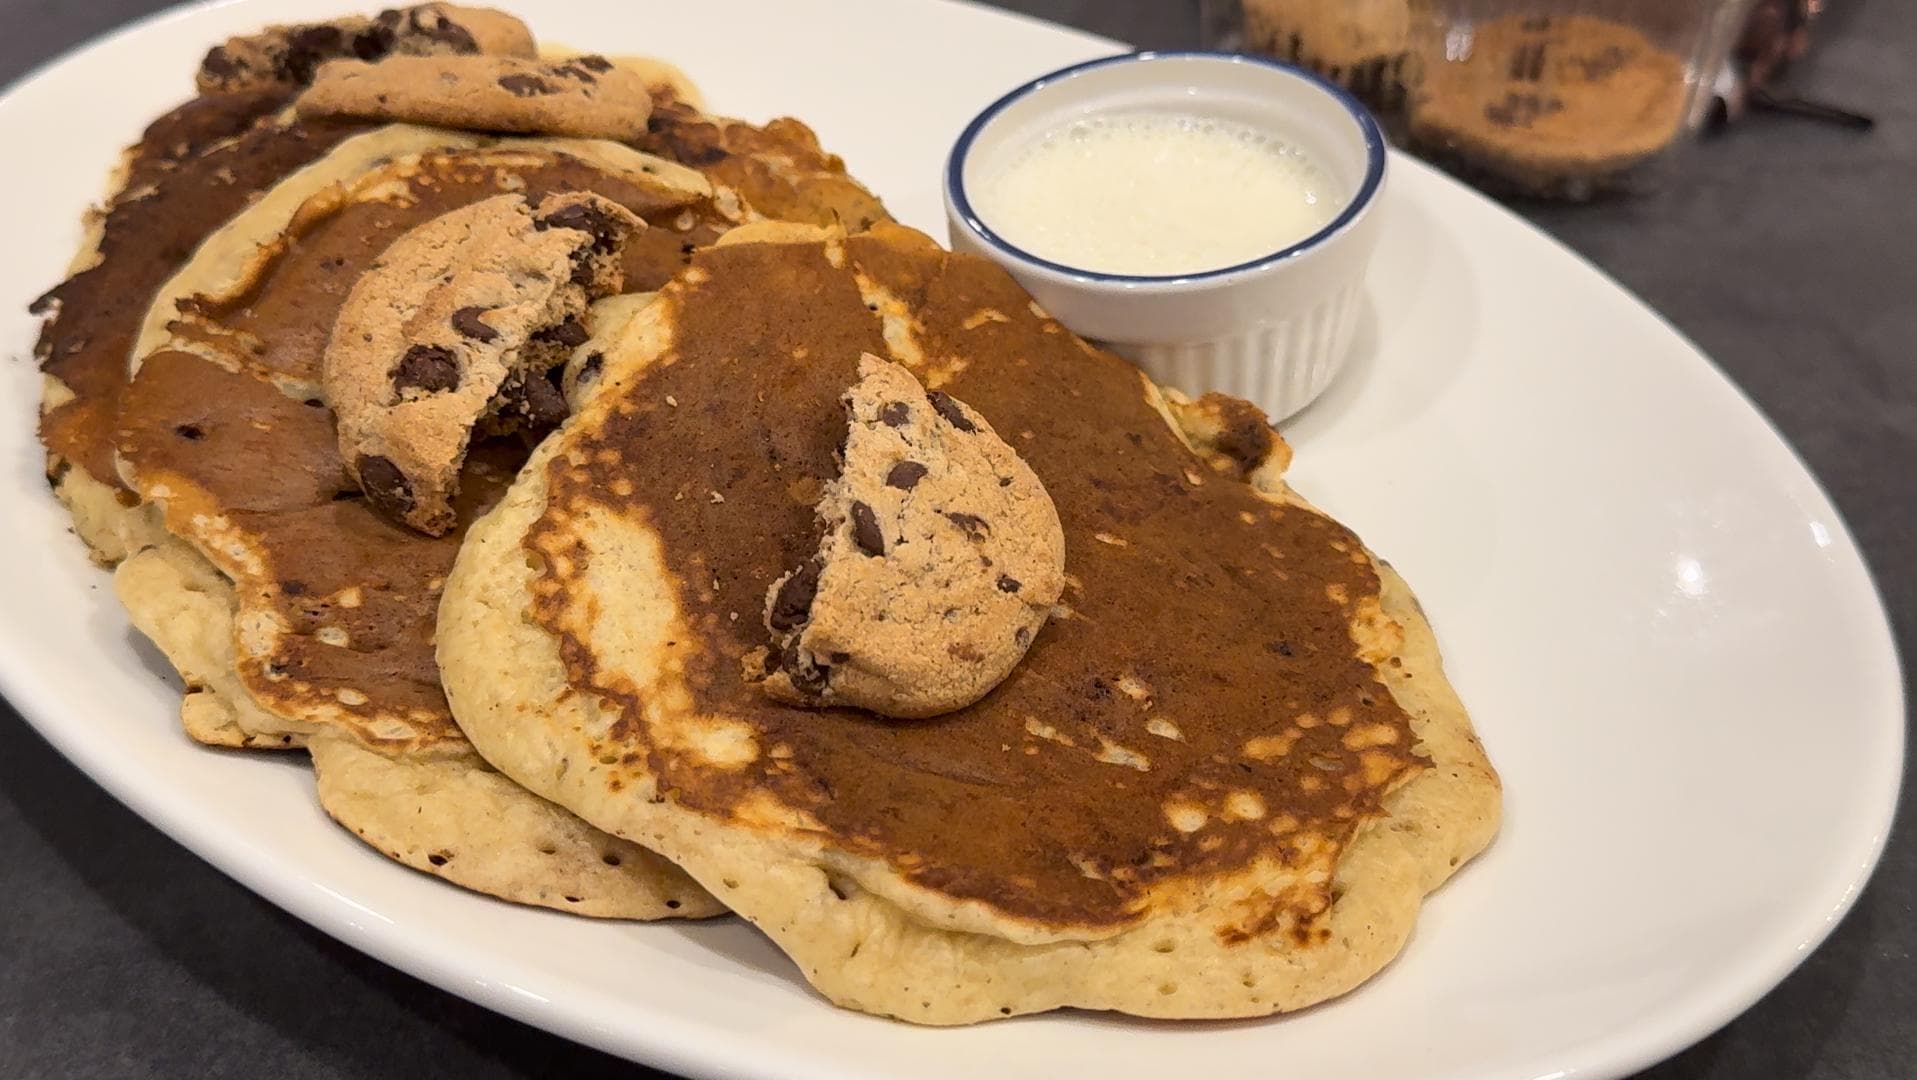
Chocolate Chip Cookie Pancakes with Creamy Milk Dip
Make fluffy Chocolate Chip Cookie Pancakes with a creamy milk dip your new favorite breakfast. Easy to make and irresistibly delicious, this recipe is a guaranteed crowd-pleaser.
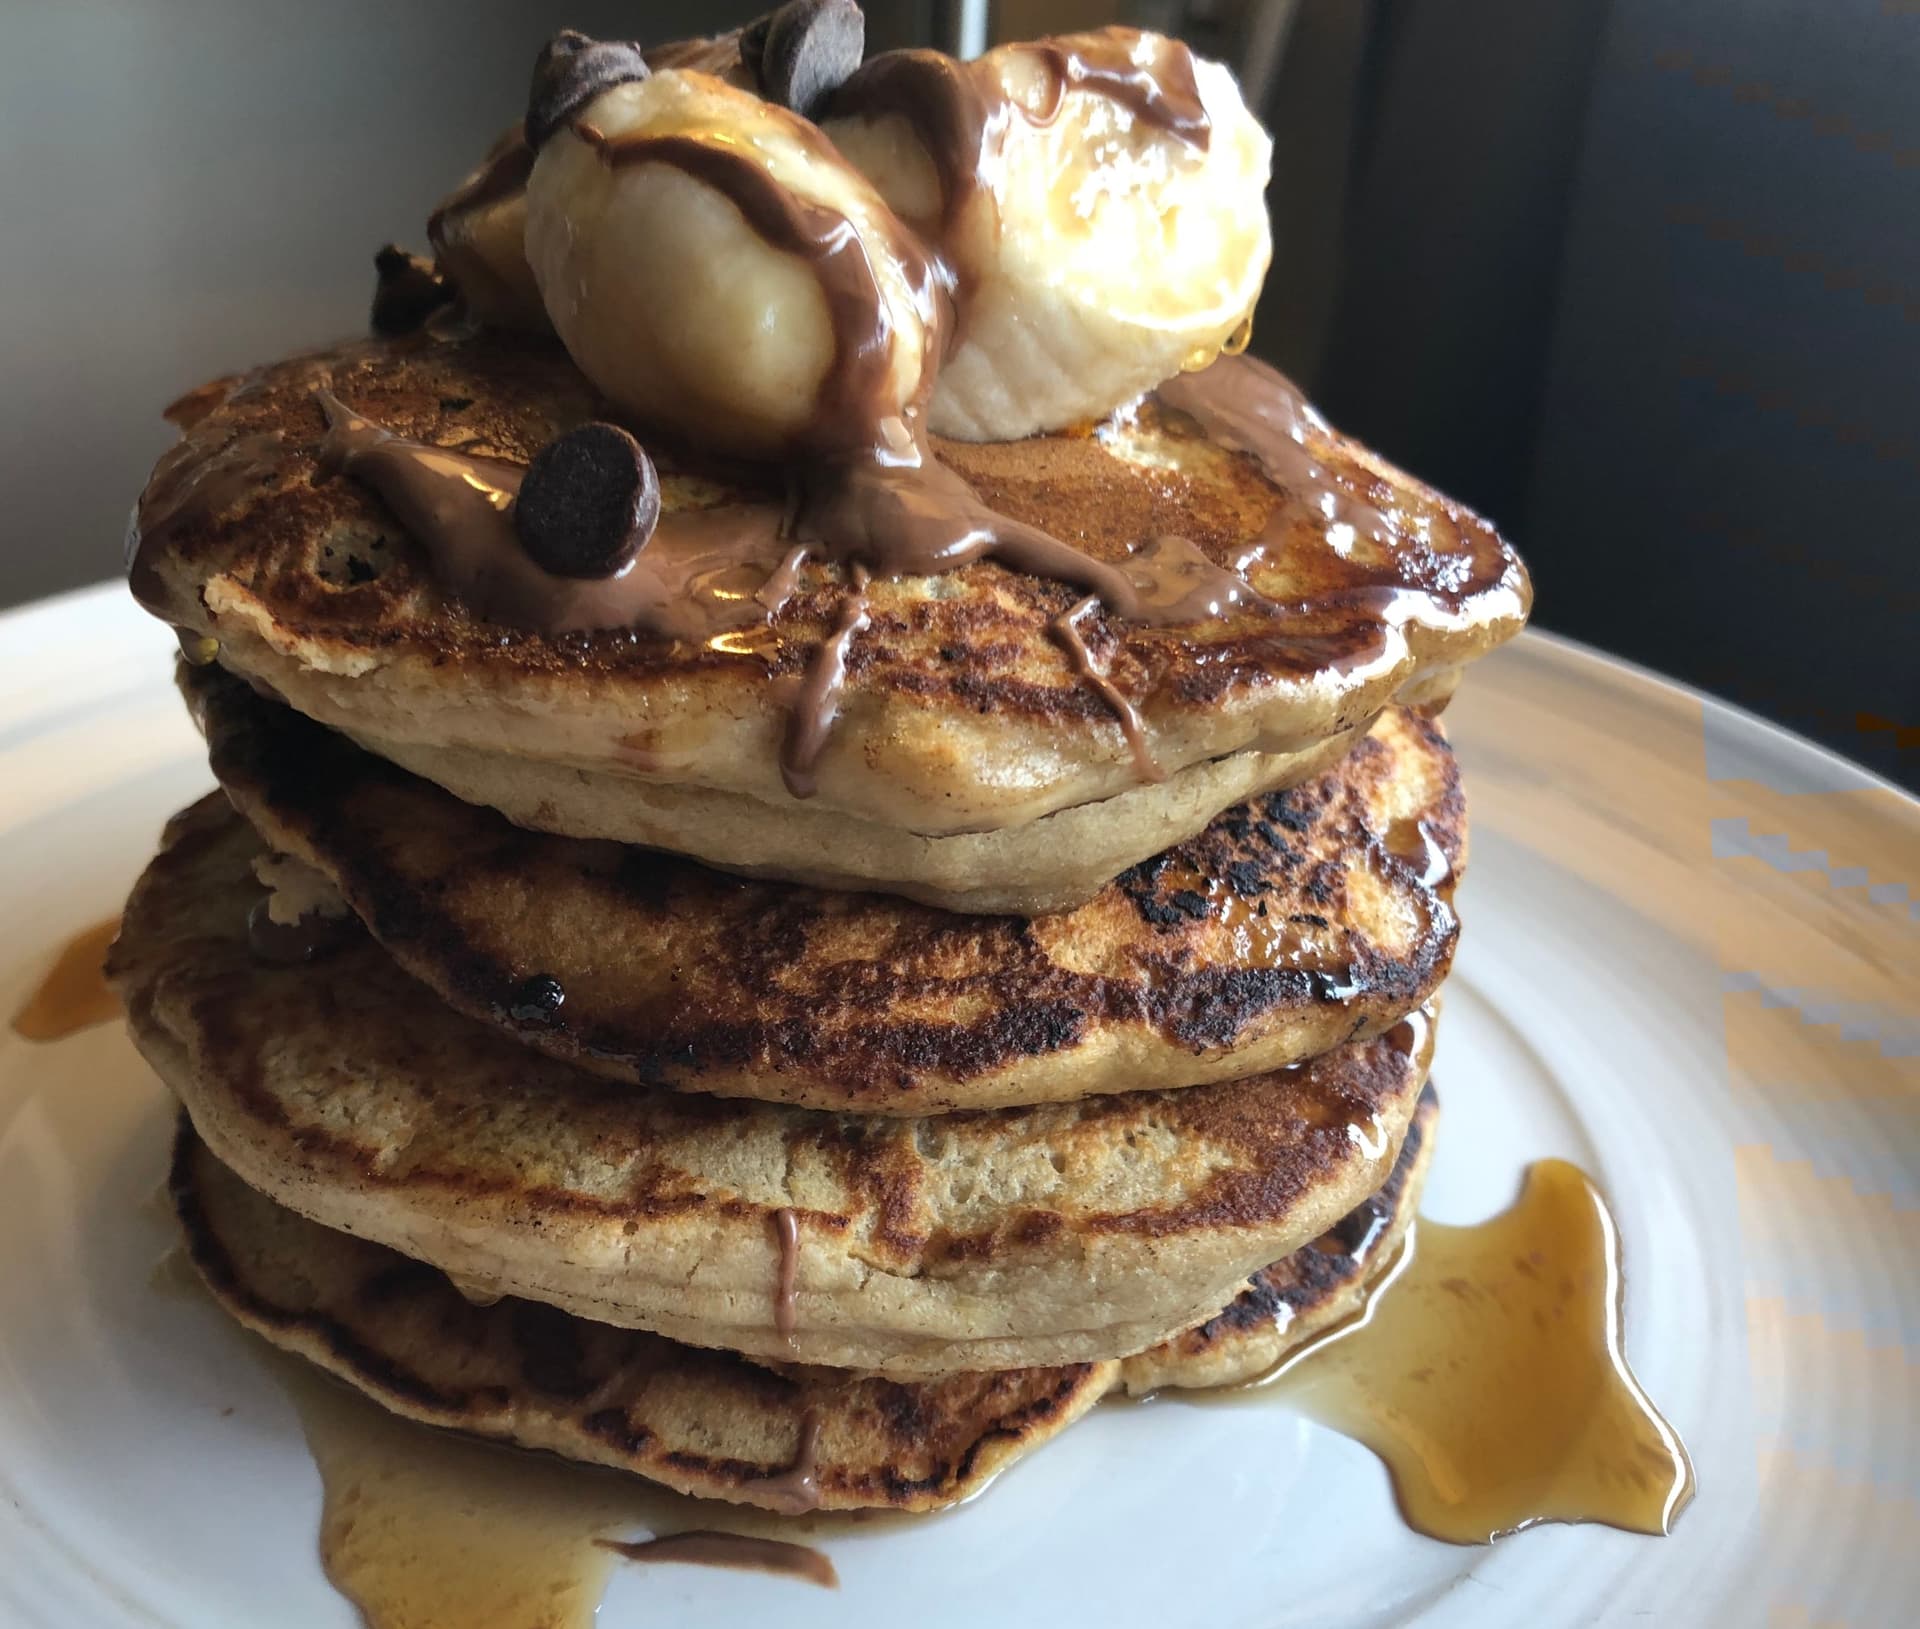
Fluffy Banana Nutella Pancakes to Sweeten Your Morning
Fluffy banana Nutella pancakes made with ripe bananas and creamy hazelnut spread. A rich, indulgent breakfast recipe the whole family will love. Ready in minutes!

Easy Coconut Milk Chocolate Pancakes Recipe
Fluffy, rich, and indulgent, these coconut milk chocolate pancakes are the best way to start your day. Easy to make and packed with flavor, this recipe will become your new breakfast favorite.


Comments
No comments yet — be the first to share your thoughts!
Leave a review
Be the first to share how it went — your note helps other cooks (and earns the recipe its stars).