


This post may contain affiliate links. Read our disclosure policy
Watch the recipe

Cooking With Anadi
12K subscribers · molten cheddar cheese in the middle of a bacon-wrapped patty
At the time of writing this it’s mid-September, so summer may be coming to a close! However, the sun is still shining bright over here, and as the motto goes around here - “there’s no time of year for good food!” It can be the middle of winter and I’ll still be in the mood for an awesome burger!
What Is a Jucy Lucy Burger?
One of the best books I’ve ever received as a gift was The Ultimate Burger by America’s Test Kitchen. I thought I loved burgers before looking into the book, but wow did that book really open my eyes to the awesome world of burgers! I keep telling myself that I’ll try all the recipes in the book, but I flip flop between following the recipes and then being inspired to make my own combinations! The recipes are so awesome and so inspirational at the same time! I doubt I’m even a quarter of the way through the book to be honest with you!
One of my favorite discoveries from the book was the Jucy Lucy. A Jucy Lucy originates from Minneapolis, Minnesota, and this genius burger is stuffed with CHEESE! Yes, cheese is inside the patty! It became popular around all of Minneapolis, but an official story comes from Matt’s Bar, where a patron asked for two patties with cheese in the middle, and when he bit into the new creation, he yelled “That’s one Jucy Lucy!” (source: Matt’s Bar). Now, their motto is literally “Fear the cheese!”. Also, the “i” is missing in the name because the demand grew so rapidly that the owners forgot to add the “i” on the menu!
There you have it, history! But yes, when you take a bite cheese just explodes in your mouth! Ooooh now that’s dangerous! I’m not sure I’d yell “juicy Lucy” when taking a bite, but I’ve exclaimed some other things haha!
A favorite spin on the traditional Jucy Lucy burger recipe included in The Ultimate Burger that I really loved was the Brie-Stuffed Turkey Burgers! I absolutely adore brie cheese, and that idea is genius!
With all that being said, we’re really going to have a blast by making these Jucy Lucy burgers transform into probably the best homemade hamburger you’ve ever had! Not only will we be stuffing our beef patties with cheese, but we’ll be adding bacon to the mix! Because bacon ALWAYS makes everything better!
I don’t know about you, but I love bacon in burgers. One example where bacon really shines is in my California Grilled Chicken Burger recipe. Bacon just contrasts so nicely with a tender and juicy patty! I was originally going to stuff the bacon with the cheese, but then I didn’t think you could really stuff bacon. You know something I’ve never actually done before? A bacon-wrapped ANYTHING! Feast your eyes on my very first “bacon-wrapped” recipe! Let’s just say it sure was a success and I’m here still salivating over the amazing burger I had created last night! The kitchen was smelling so good as this burger patty was cooking!
You’ll love the molten goodness of the cheese bursting with every bite, and you’ll get an amazing contrast with crispy, smoky bacon. Is your mouth watering and your tummy rumbling? Mine sure is! So let’s get to the recipe!
What cheese is used in a jucy lucy?▼
American cheese traditionally is used in a Jucy Lucy. Where I am, you don’t get American cheese. Sad face. I’ve never had American cheese before but I hear such good things about it, and one day I seriously need to make a burger with American cheese!
If you have access to American cheese, then yes, by all means go use that! That’s the real authentic stuff for a Juicy Lucy!
For those of you in the same boat as I am, then you can use cheddar cheese. I used a medium yellow cheddar cheese here. As mentioned earlier, there is a variation of Jucy Lucy using ground turkey instead of beef, and the cheese used was brie. So I guess you could technically use whatever cheese you want, but to be authentic then go for the American cheese! Essentially, I would recommend a cheese that will have a strong taste but will also still be gooey. My personal recommendations for other variations would be Monterey Jack, white cheddar, or Havarti.
What kind of ground beef should I use?▼
In this recipe, I’m using extra lean ground beef, also known as 90% ground beef, simply because that’s what I already had in the fridge. If you’re barbecuing your patties, then I actually recommend a higher fat content of beef, such as lean or medium ground beef. That will be even juicier and go amazingly well on the char!
Do I grill or pan-fry the beef patty?▼
Traditionally, the Jucy Lucy is grilled. However, do what you’d like! In this recipe, I’ll be pan-frying my burger patty. You could of course take these to the barbecue if you have that luxury!
Tips for the Best Bacon-wrapped Jucy Lucy
- Don’t over-salt your patty! The bacon and the cheese will already be very salty. As a result, you’ll want to be very minimal with salting the beef patty.
- This recipe will give you some nice thick patties. However, if you ever want to make smaller burgers, simple cut the portion sizes of the meat and cheese by an equal ratio (for example 4 ounce portion of mince would need a cheese portion that is 1/3 of an inch in thickness and has sides of 1 1/3 inch by 1 1/3 inch).
- Feel free to experiment with a variety of cheeses, including American Cheese, Gruyere and Brie.
- Cover the pan with a lid or a stainless steel bowl to ensure we can sear the burgers to add color while making sure the inside gets cooked as well.
Tools Needed
Ingredients for Jucy Lucy Burgers
Let’s review the ingredients we need for this amazing Bacon-Wrapped Jucy Lucy! We’re going to keep the patties and the toppings pretty simple so the beef, cheese, and bacon totally shine through. For all measurements, be sure to scroll down to the bottom of this post for the FULL PRINTABLE recipe card!
For the Patty
- Ground beef
- Milk
- White bread
- Garlic powder
- Onion powder
- Salt and pepper
- Bacon
- Cheddar cheese
- Olive oil(for cooking)
For the Toppings
- Mayonnaise
- Lettuce
- Onions
How to Make an Ultra “Jucy” Lucy!
Making the Patties
- In a large bowl, break 1 to 1 1/2 inch large chunks of bread. You may omit the crust if you like. Add milk, garlic powder and onion powder.
- Using a fork, mash the breadcrumbs well. Then add in the meat and knead well to combine. Season with salt and pepper to taste.
- Divide the mince into 4 portions, 6 ounces each. Then divide each of these portions by half. Working with one 3 ounce portion at a time, form the portion to a tight ball and then lightly pat down to a thick disk (1/2 inch thickness). The diameter should be large enough to fit one cheese portion.
- Gently pat the mince out to envelop the cheese completely. Each side should have an even thickness (watch video for demonstration).
- Then, with another 3 ounce portion, roll that into a tight ball and pat it out into a thin disk. Use this portion to wrap around the cheese stuffed portion. Gently pat the mince and ensure the meat on each side is of an even thickness.
- Repeat the same with the remaining portions.
- To wrap with bacon, place one strip of bacon down the center of a patty and another strip at a perpendicular of the previous bacon strip.
- Turn the patty to the other side and then wrap the bacon strips on the other side. Wrap with plastic wrap and let the patties chill for 15-30 minutes.
Cooking the Patties
- Heat a pan on medium high heat and add a touch of olive oil. Add the bacon wrapped patty to the pan making sure that the cross-section of the bacon faces you.
- To ensure the burger cooks all the way and we get an even sear, cover the pan with a lid or a stainless steel bowl and cook for 4-5 minutes.
- Then remove the lid, flip the burger and cook on the other side for 4-5 minutes as well with the lid/bowl on.
- Repeat at 1 minute intervals on each side until the mince is completely cooked. Ground beef is cooked at 160 F or you may poke the patty and if it has the same springiness as the tip of your nose, the burger should be cooked.
Assembling the Burger
To assemble the burger, add the mayonnaise on both burger buns. Then, add lettuce, followed by the patty, and top with sliced onions. Add the top bun, and optionally seal it all together with skewers! Cut the burger in half so that you can see that amazing cheese ooze out!
Serving Suggestions for Jucy Lucy Burgers
Go wild with these Bacon-Wrapped Jucy Lucy Burgers! This sure is a special recipe, so of course I recommend some French Fries! Not sure what French Fries to make? I’ve got a recipe for Restaurant-Style French Fries, Air Fryer French Fries, or Oven-Baked French Fries, depending on what equipment you have and how special you want to make this meal! I love to have my fries with some ketchup to dip in of course! Fun fact: I love to dip my burger in ketchup too! Do you do the same? Let me know in the comments!
Don’t feel like plain fries? Take your fries up a notch with Ultimate Mozzarella Cheesy Fries or Loaded Cheese & Bacon Air Fryer Fries if you can’t get enough of the bacon goodness! You could even serve this burger with a poutine! You can make the Epic Classic Canadian Poutine, but if you want a fusion then I recommend Indian-Fusion Aloo Keema Poutine (Indian-spiced minced meat with potatoes!) or Mexican-Fusion Poutine!
Loved This Juicy Lucy Burger? Here Are Other Burger Recipes!
- Crispy Panko Chicken Burger - Baked or Fried!
- California Grilled Chicken Burger
- Supreme Grilled Vegetable Burger
- Crispy Paneer Burger
- Classic American Cheeseburger
- Indian-Spiced Chicken Burger
This Is Not the Matt's Bar Original, and Here Is What I Changed
The Jucy Lucy you would be handed in Minneapolis is a deliberately plain thing: two thin patties of seasoned ground beef, a folded slice of American cheese sealed in the middle, cooked on a flat-top griddle. No bacon, no panade, no cheddar. Mine departs from the bar version on all three counts, and I would rather say so plainly than let you assume this is the original.
The cheese here is cheddar, cut into squares roughly 2 inches by 2 inches by half an inch, because I wanted more flavor than American gives you. American does melt more smoothly, so if that molten stretch matters more to you than flavor, use it. The beef gets a bread-and-milk panade. And the whole patty is cross-wrapped in two strips of bacon before it ever meets the pan. If it is the Minneapolis original you are after, leave out the bacon and the panade and use American cheese. Everything else in the method below still holds.
Why There Is Bread and Milk in the Patty
That very first step, where you tear two slices of crusty white bread into inch-and-a-half chunks, soak them in a quarter cup of milk with the garlic powder and onion powder, and mash the whole lot with a fork before the beef goes anywhere near it, is a panade. It looks fussy for a burger and it is doing more work than it appears to.
A stuffed burger has to be cooked all the way through. You cannot serve a Jucy Lucy medium-rare, because the cheese in the middle only goes molten around the point the beef reaches 160 F. That is exactly the temperature at which a plain beef patty starts to dry out and go crumbly, and it is the whole reason the panade is there. The soaked bread holds moisture through a longer cook, and it makes the meat far more willing to stretch around the cheese without tearing. Skip it and you get a drier burger that is also harder to seal.
How to Keep the Cheese From Leaking Out
A blowout is the one failure that actually ruins this burger, and it is worth being fussy to avoid. Each burger is 6 ounces of beef, and the trick is that it is built from two 3 ounce portions rather than one. Roll the first 3 ounces into a tight ball, pat it down to a disk about half an inch thick and comfortably wider than the cheese square, sit the cheese in the middle, then bring the meat up and over so the cheese is completely enveloped with an even thickness on every side. Thin spots are where it splits.
The second 3 ounce portion is your insurance. Roll it tight, pat it out thin, and wrap it right around the first parcel, smoothing as you go. Then cross two strips of bacon over the patty, turn it and wrap the ends around the back, and let the whole thing chill under plastic wrap for 15 to 30 minutes. That rest firms the fat so the seal holds when it hits the heat, and the bacon works as a second belt around the seam. One last thing, and it is the one people get wrong: never press the burger down in the pan. Every bit of pressure is trying to force the cheese out through a seam.
Why These Burgers Never See the Grill
People assume a burger this size wants a grill, and this one really does not. Two strips of bacon wrapped around a patty drip a lot of fat, and over an open flame that means flare-ups that scorch the outside long before the middle has come up to 160 F. Worse, if a cheese-stuffed patty does split over a grate, everything that makes it a Jucy Lucy runs straight into the fire.
So it is a pan, on medium-high, with just a touch of olive oil, and the burger goes in with the cross-section of the bacon facing you. Then comes the part that matters: cover the pan with a lid, or upturn a stainless steel bowl over the burger. That traps the heat around the patty so it cooks through in 4 to 5 minutes a side while the outside still sears, the bacon renders, and the cheese goes properly molten. If the beef is not at 160 F yet, keep going in one-minute turns. Press the patty with a finger and it should have about the same springiness as the tip of your nose.
What Goes On Top, and What Does Not
The build here is deliberately restrained: mayonnaise on both cut sides of a toasted bun, lettuce, the patty, then onions and the top bun. That is it. There is no tomato, which is the one thing people are usually surprised by, and it is a choice rather than an oversight. A cheese-stuffed patty is already leaking fat and molten cheddar into the bread the moment you cut it, and a wet slice of tomato on top of that gives you a bun that collapses before you are halfway through. If you want the acidity, a few pickle slices do the same job without the water.
On sauces: mayonnaise is what I use, but this is genuinely a use-your-sauce-of-choice situation, and a burger sauce or plain ketchup and mustard all work. Onions are worth a thought too. Red onions are the mildest raw and the ones I would reach for if you are putting them on uncooked; a white or yellow onion is sharper and better if you soften it in the bacon fat first. And one thing that is not in this recipe at all, anywhere: worcestershire sauce. A lot of classic burger patties get a splash of it mixed into the meat, but the only seasoning in this mince is garlic powder, onion powder, salt and pepper. The bacon and the cheddar are doing the savory work, and adding more liquid to a patty you are trying to seal shut is working against yourself.
Portioning, the Cheese, and the Cleanup
Weigh the meat if you can. The recipe divides 1 1/4 pounds of beef into four equal portions of 6 ounces, and each of those is halved again into two 3 ounce pieces, which is the whole reason the seal works. Eyeballing it gives you a fat first disk and a mean second patty that will not reach all the way around the seam. Equal portions are worth thirty seconds with a scale.
The cheese is worth its own note. I use cheddar cut into a squat square roughly two inches across rather than a slice of cheese, because a block holds its shape while you build the parcel and gives you a proper cheesy center. A folded cheese slice, which is what the Minneapolis bars use, melts smoother and gives you that long stretch when you cut in, so pick whichever matters more to you. Either way, let the burger sit a minute or two off the heat before cutting. Straight out of the skillet the cheese melt is molten enough to burn, and resting also lets the juices settle back into the meat instead of running out onto the plate.
Two practical things afterwards. Cleanup is easier if you deal with the pan while it is still warm: eight strips of bacon render a lot of fat, and it pours off cleanly then, whereas cold bacon fat has to be scraped. And for storage, cooked burgers keep in an airtight container in the refrigerator for three to four days, though the crust softens overnight, so reheat them in a dry skillet rather than the microwave if you want any of it back. You can also build the raw patties a day ahead and leave them wrapped in the refrigerator; the chill only helps the seal.
Let me know what you think of this recipe in the comments! If you’ve tried this recipe, be sure to post it on social media and tag it with #cookingwithanadi and mention me @cooking.with.anadi. Thank you!
Recipe by Anadi Misra
Sink your teeth into the ultimate Bacon-Wrapped Juicy Lucy Burger — stuffed with melty cheese and wrapped in crispy bacon. The best homemade cheeseburger recipe you will ever make.
Stovetop
Rate this recipe ✦
20 min
Prep
12 min
Cook
15 min
Rest
47 min
Total
4
burgers
medium
Level
Ingredients
Ingredients
Tap any quantity to scale
For the patty
For the toppings
- Mayonnaise · make your own
- Lettuce
- Onions(sliced)
Instructions
To prepare the Bacon Wrapped Lucy Jucy Patties
- 1
In a large bowl, break 1 to 1 1/2 inch large chunks of bread. You may omit the crust if you like. Add milk, garlic powder and onion powder.
In a large bowl, break 1 to 1 1/2 inch large chunks of bread. You may omit the crust if you like. Add milk, garlic powder and onion powder.
- 2
Using a fork, mash the breadcrumbs well. Then add the meat and knead well to combine. Season with salt and pepper to taste.
Using a fork, mash the breadcrumbs well. Then add the meat and knead well to combine. Season with salt and pepper to taste.
- 3
Divide the mince into 4 portions, 6 oz each. Then divide each of these portions by half. Working with one 3 oz portion at a time, form the portion to a tight ball and then lightly pat down to a thick disk (1/2 inch thickness). The diameter should be large enough to fit one cheese portion.
Divide the mince into 4 portions, 6 oz each. Then divide each of these portions by half. Working with one 3 oz portion at a time, form the portion to a tight ball and then lightly pat down to a thick disk (1/2 inch thickness). The diameter should be large enough to fit one cheese portion.
- 4
Gently pat the mince out to envelop the cheese completely. Each side should have an even thickness (watch video for demonstration).
Gently pat the mince out to envelop the cheese completely. Each side should have an even thickness (watch video for demonstration).
- 5
Then, with another 3 oz portion, roll that into a tight ball and pat it out into a thin disk. Use this portion to wrap around the cheese stuffed portion. Gently pat the mince and ensure the meat on each side is of an even thickness.
Then, with another 3 oz portion, roll that into a tight ball and pat it out into a thin disk. Use this portion to wrap around the cheese stuffed portion. Gently pat the mince and ensure the meat on each side is of an even thickness.
- 6
Repeat the same with the remaining portions.
Repeat the same with the remaining portions.
- 7
To wrap with bacon, place one strip of bacon down the center of a patty and another strip at a perpendicular of the previous bacon strip.
To wrap with bacon, place one strip of bacon down the center of a patty and another strip at a perpendicular of the previous bacon strip.
- 8
Turn the patty to the other side and then wrap the bacon strips on the other side. Wrap with plastic wrap and let the patties chill for 15-30 minutes.
Turn the patty to the other side and then wrap the bacon strips on the other side. Wrap with plastic wrap and let the patties chill for 15-30 minutes.
To cook the Bacon Wrapped Lucy Jucy Patties
- 1
Heat a pan on medium high heat and add a touch of olive oil. Add the bacon wrapped patty to the pan making sure that the cross-section of the bacon faces you.
Heat a pan on medium high heat and add a touch of olive oil. Add the bacon wrapped patty to the pan making sure that the cross-section of the bacon faces you.
- 2
To ensure the burger cooks all the way and we get an even sear, cover the pan with a lid or a stainless steel bowl and cook for 4-5 minutes.
To ensure the burger cooks all the way and we get an even sear, cover the pan with a lid or a stainless steel bowl and cook for 4-5 minutes.
- 3
Then remove the lid, flip the burger and cook on the other side for 4-5 minutes as well with the lid/bowl on.
Then remove the lid, flip the burger and cook on the other side for 4-5 minutes as well with the lid/bowl on.
- 4
Repeat at 1 minute intervals on each side until the mince is completely cooked. Ground beef is cooked at 160 F or you may poke the patty and if it has the same springiness as the tip of your nose, the burger should be cooked.
Repeat at 1 minute intervals on each side until the mince is completely cooked. Ground beef is cooked at 160°F (71°C) or you may poke the patty and if it has the same springiness as the tip of your nose, the burger should be cooked.
To assemble the burgers
- 1
While the burgers are cooking, toast your buns.
While the burgers are cooking, toast your buns.
- 2
Then add mayonnaise (or your sauce of choice) on each side of the bun, lettuce, followed by the Jucy Lucy patty.
Then add mayonnaise (or your sauce of choice) on each side of the bun, lettuce, followed by the Jucy Lucy patty.
- 3
Top with onions and the top bun and serve hot with fries!
Top with onions and the top bun and serve hot with fries!
Did you make this recipe? Tag @cooking.with.anadi on Instagram and hashtag it #cookingwithanadi

Tested & written in Anadi’s kitchen
Recipe history
- April 16, 2026 — Reworked and refreshed for the 2026 relaunch — new photography, restructured and standardized ingredients & instructions.
Filed under
You might also like
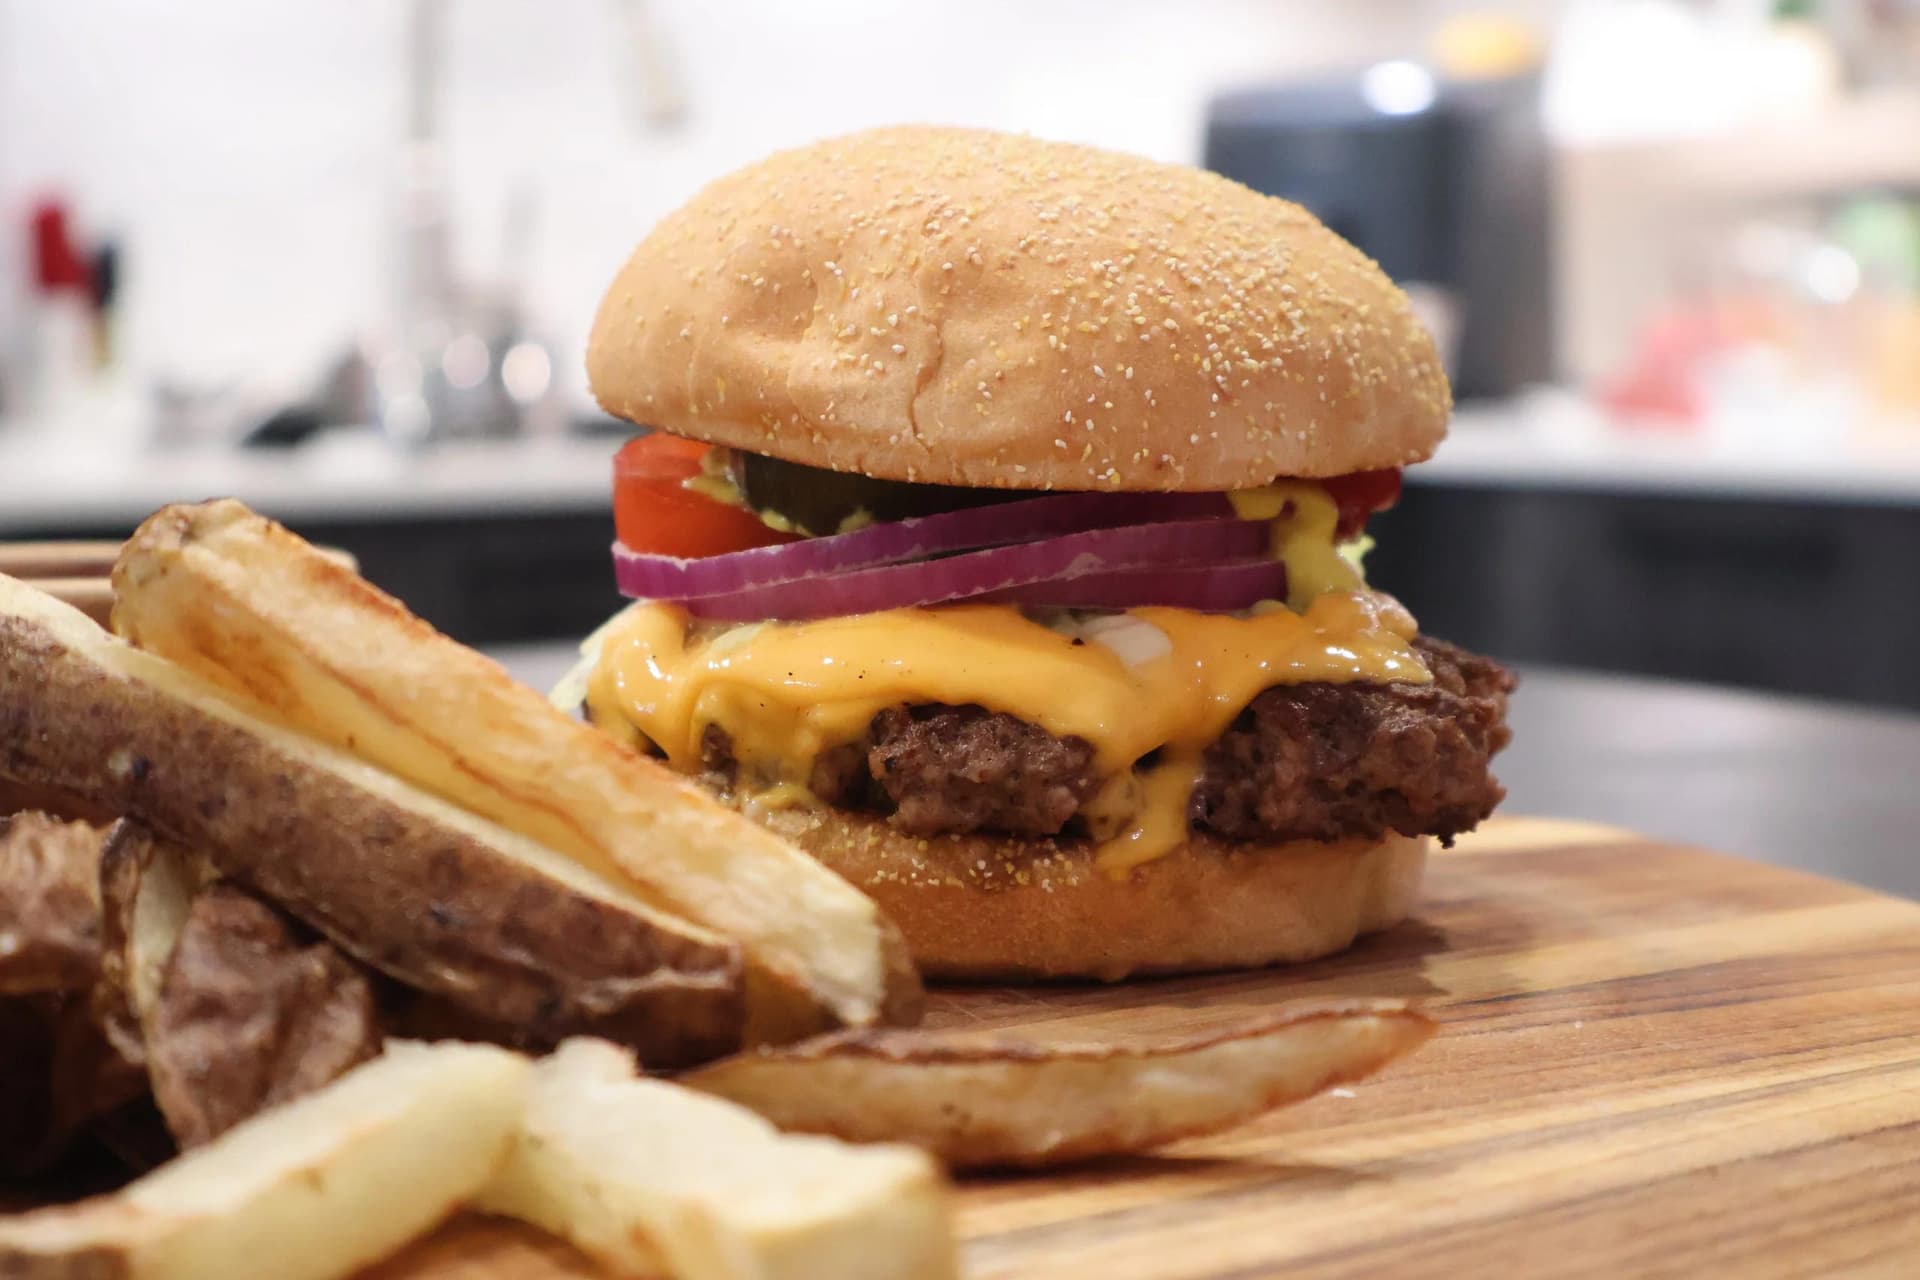
Juicy Classic American Cheeseburger Recipe
Make the juiciest homemade classic American cheeseburger with our best beef burger recipe. Perfectly seasoned patties, melty cheese, and all the fixings in every bite.
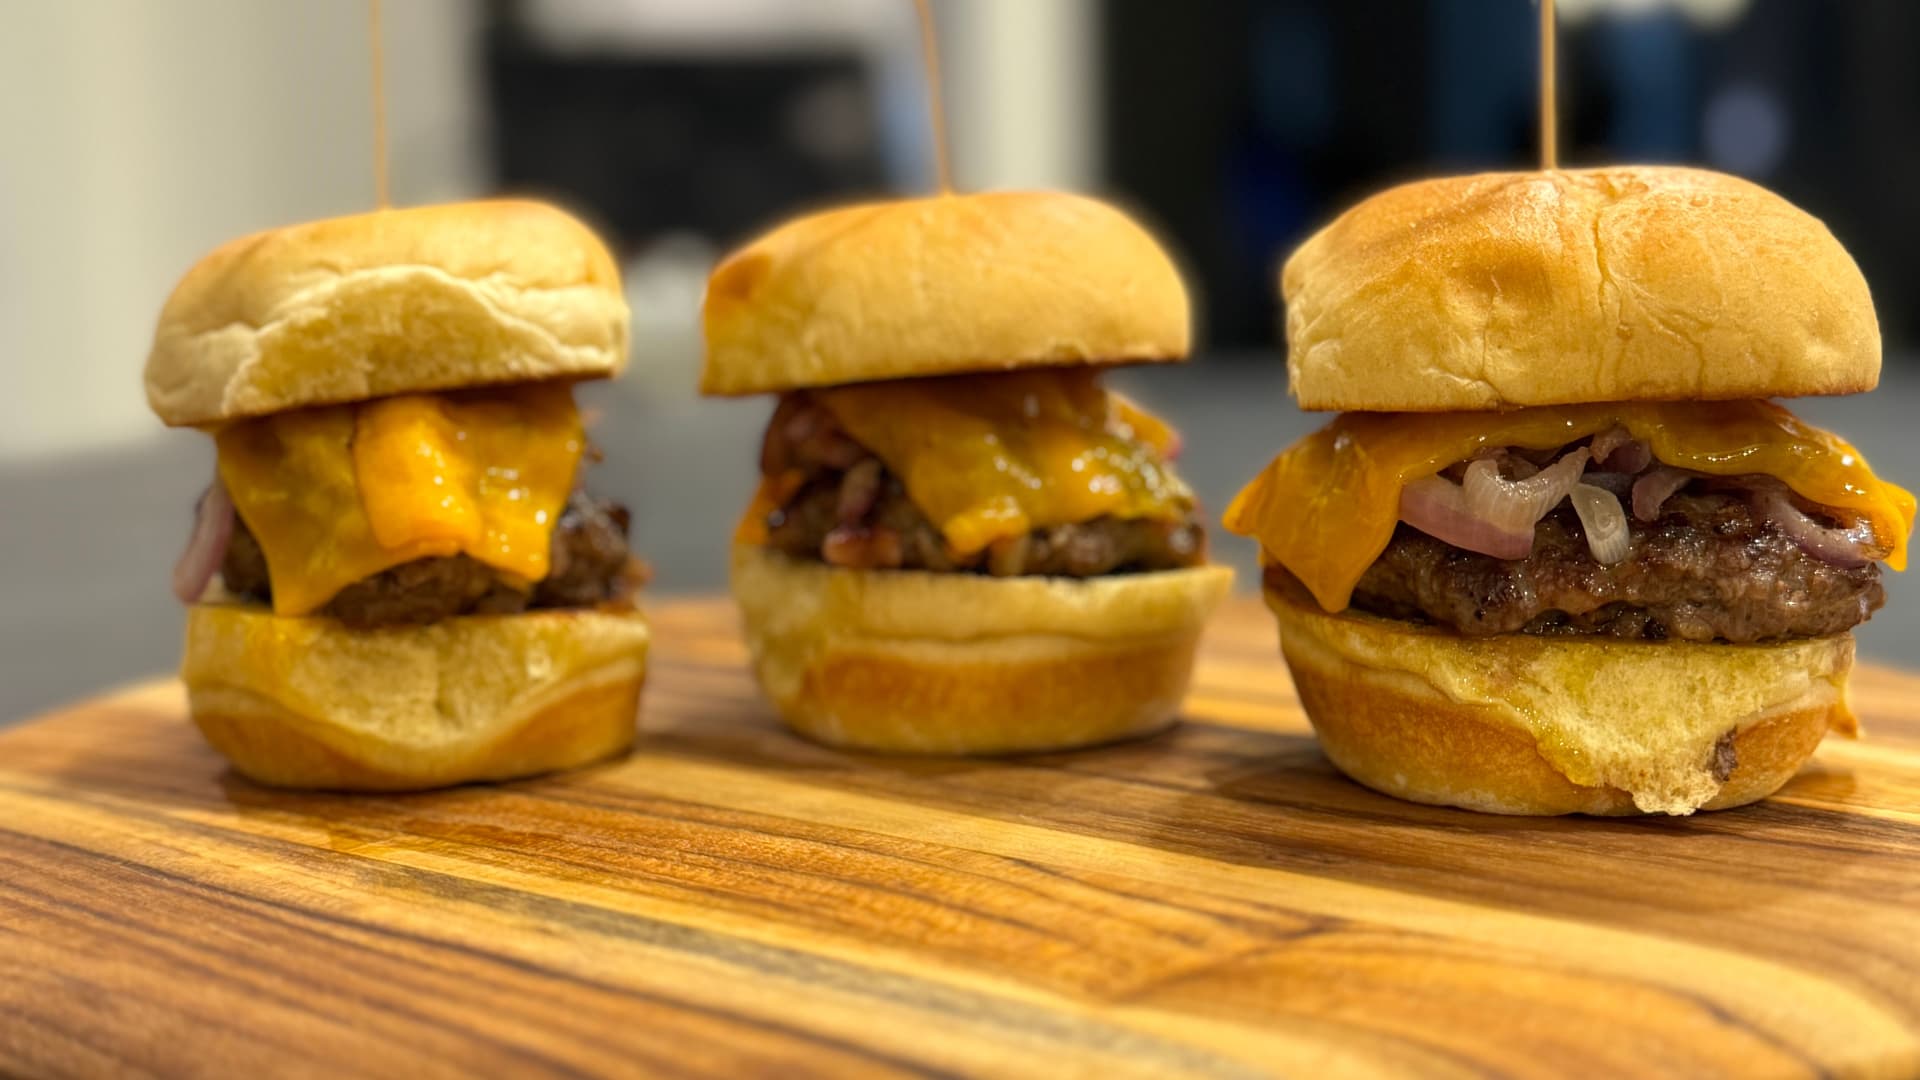
Experience the Sizzle: Fired-Up Bacon Cheeseburger Sliders
Fire up the grill for these Bacon Cheeseburger Sliders with torched, melty cheese. Juicy beef patties, crispy bacon, and bold flavors make the ultimate lunch or dinner crowd-pleaser.
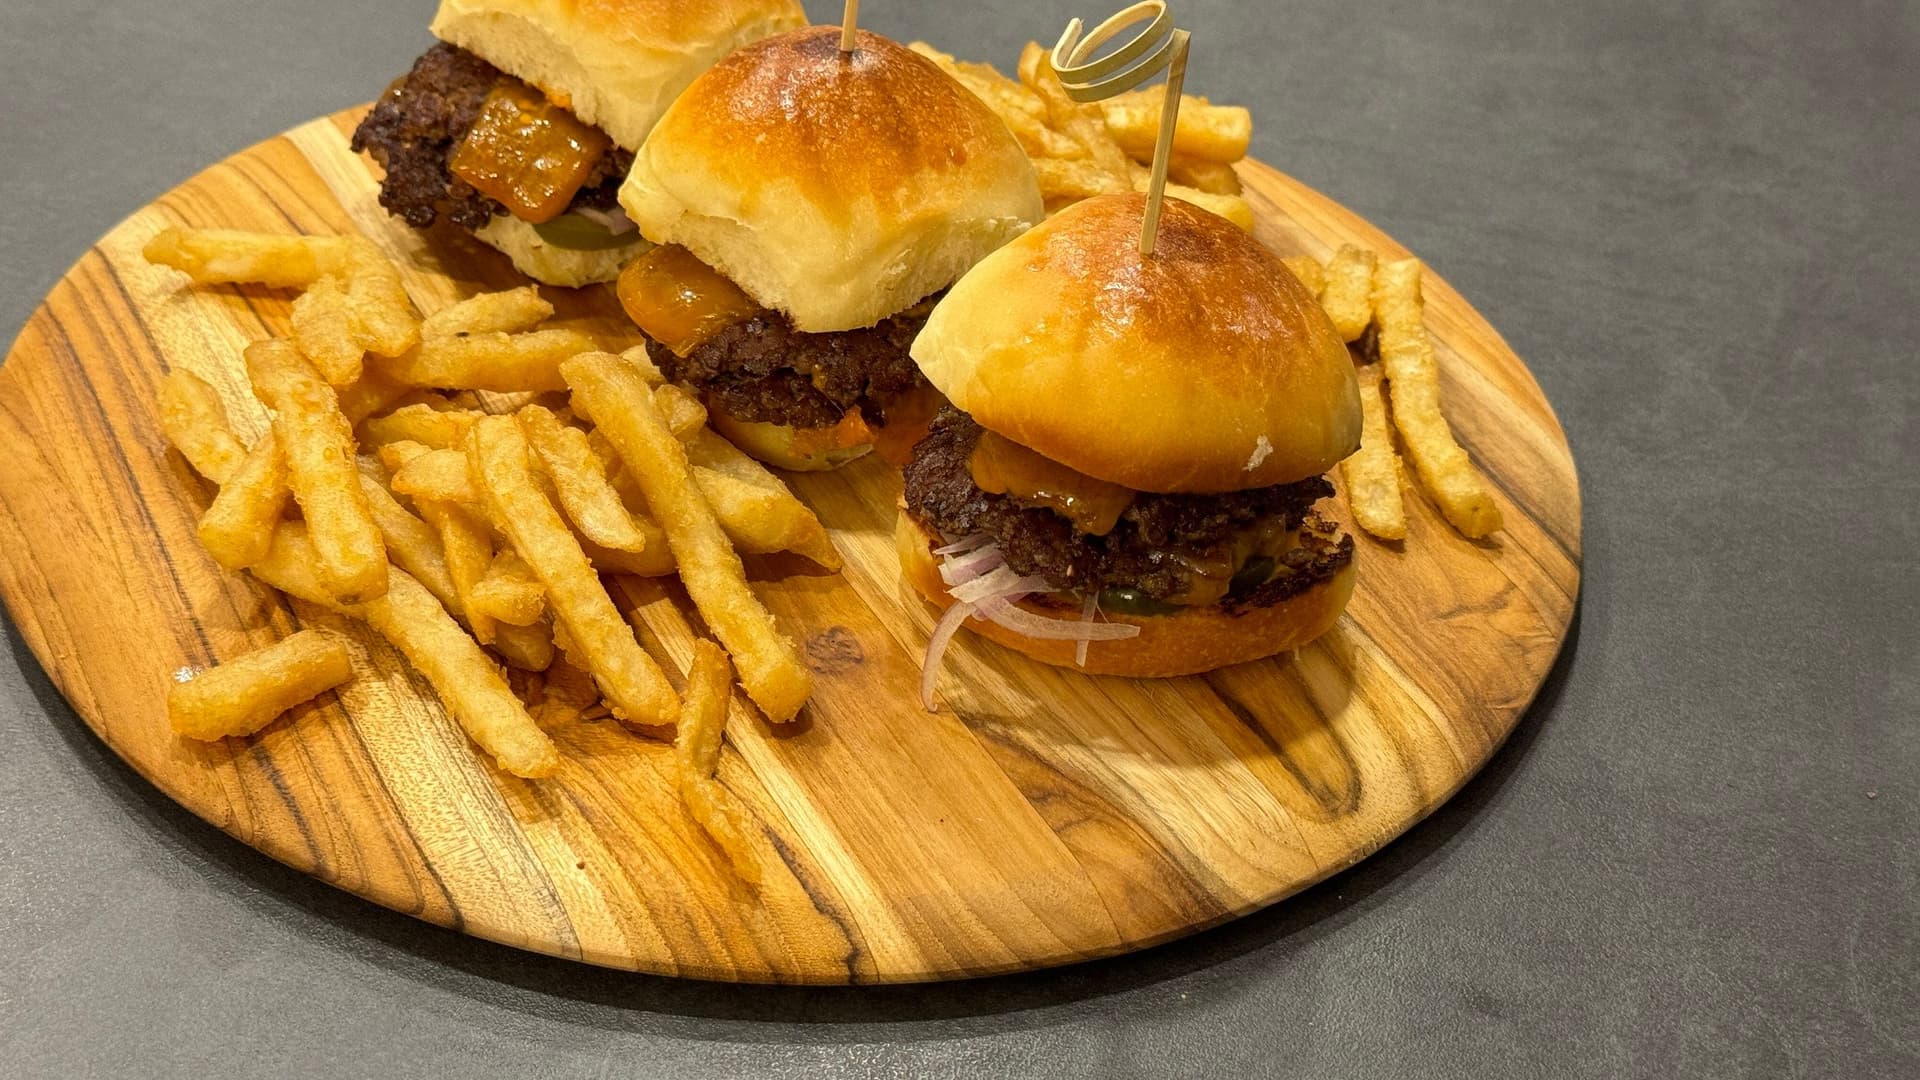
Leftover Thanksgiving Dinner Roll Smash Burger Sliders
Turn leftover Thanksgiving dinner rolls into crispy, juicy smash burger sliders! A genius way to use holiday leftovers for a quick, crowd-pleasing lunch or dinner the whole family will love.
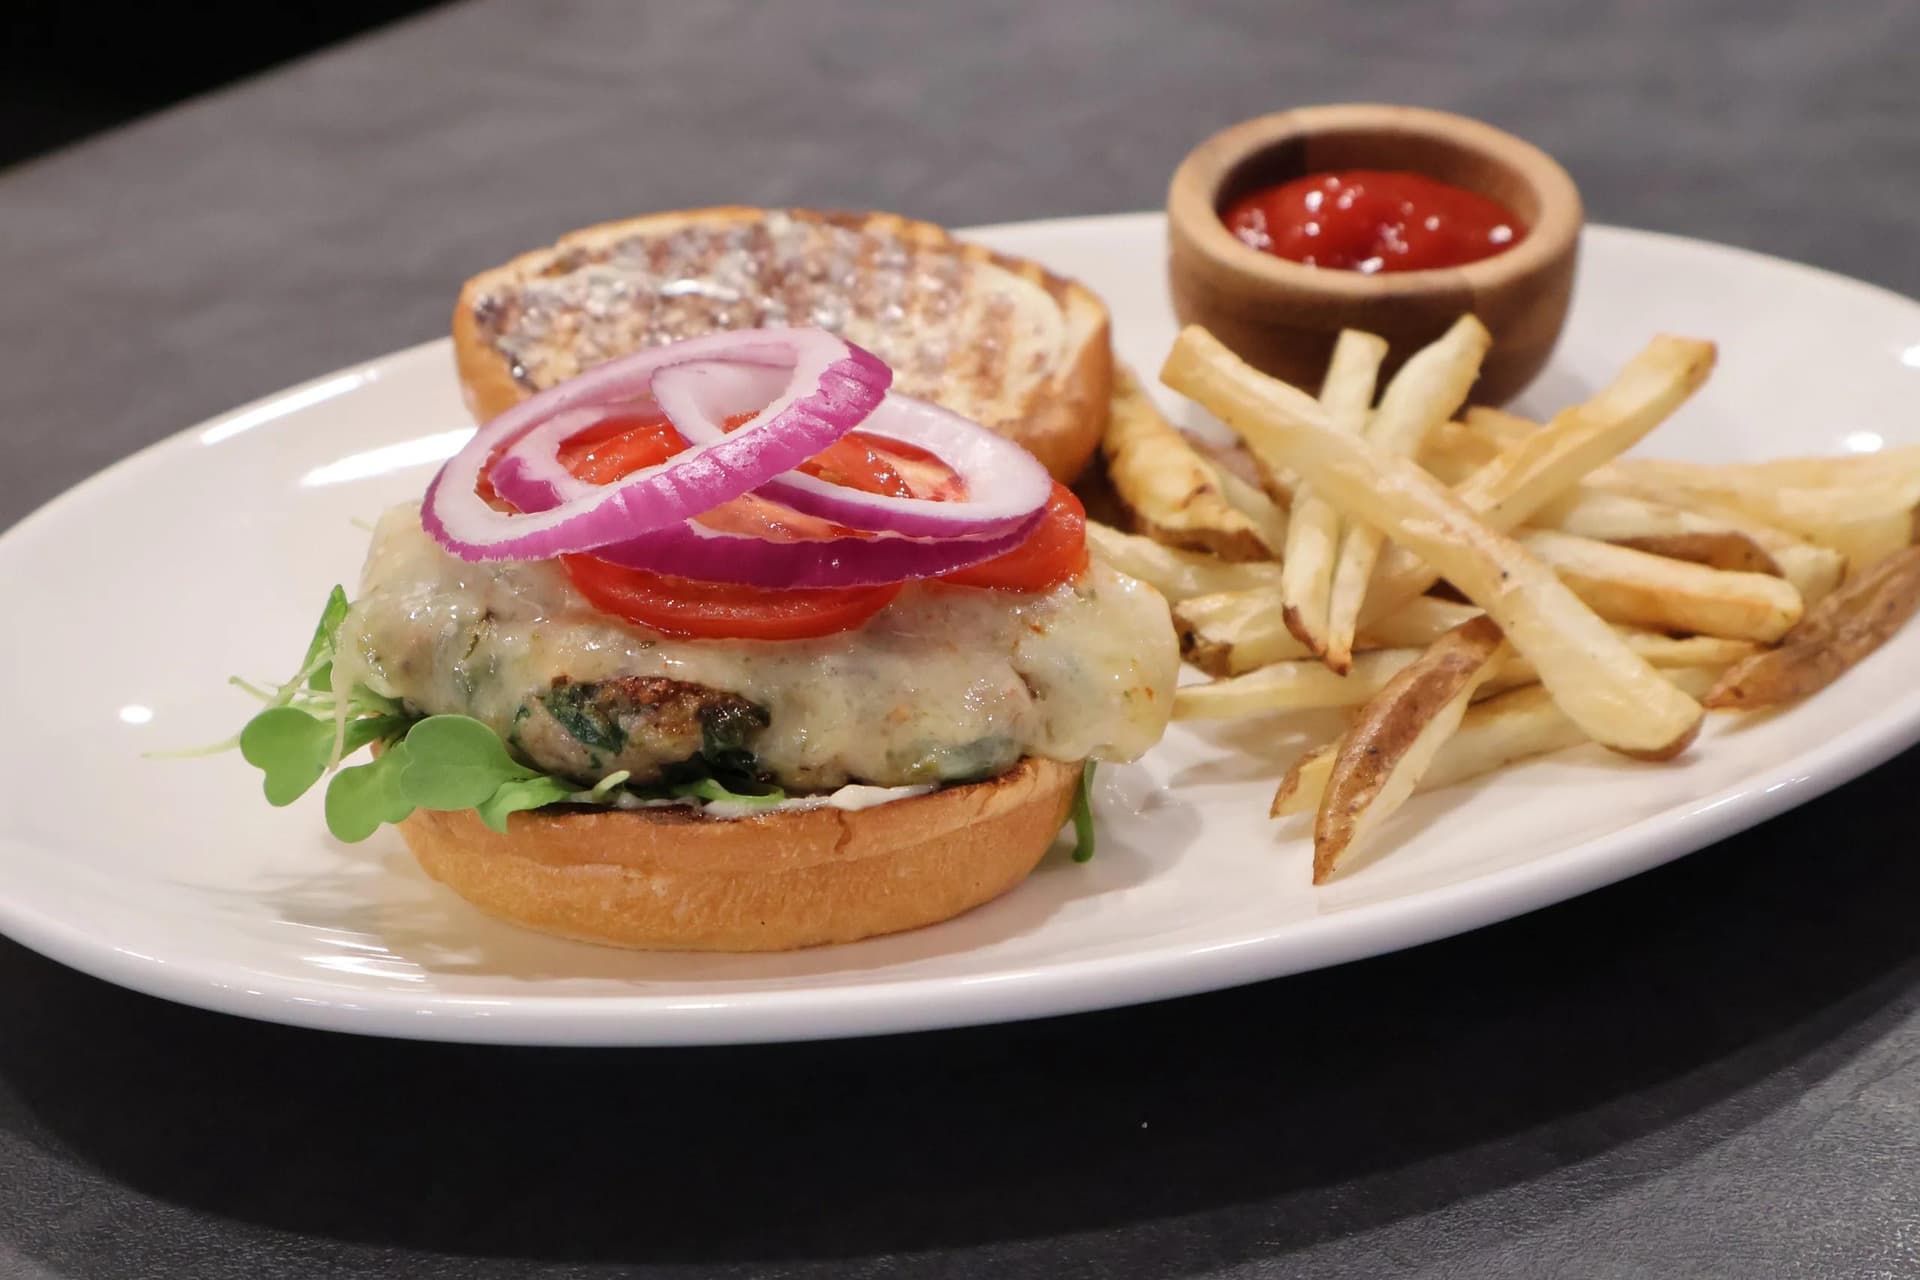
Super Healthy Spinach Turkey Burger Recipe
Make the juiciest homemade turkey burger packed with fresh spinach for a healthy, flavorful dinner. This easy turkey burger recipe is nutritious, delicious, and perfect for the whole family.

Epic Smash Burger Bacon Patty Melts Recipe
Epic Smash Burger Bacon Patty Melts are crispy, juicy, and packed with flavor. Quick and easy to make, this ultimate sandwich recipe will become your new favorite lunch in no time.

Power Bean Burger - Vegetarian Burger Recipe
Make the ultimate Power Bean Burger! This healthy vegetarian burger is packed with protein, easy enough for beginners, and so satisfying you won't miss the meat.


Comments
No comments yet — be the first to share your thoughts!
Leave a review
Be the first to share how it went — your note helps other cooks (and earns the recipe its stars).